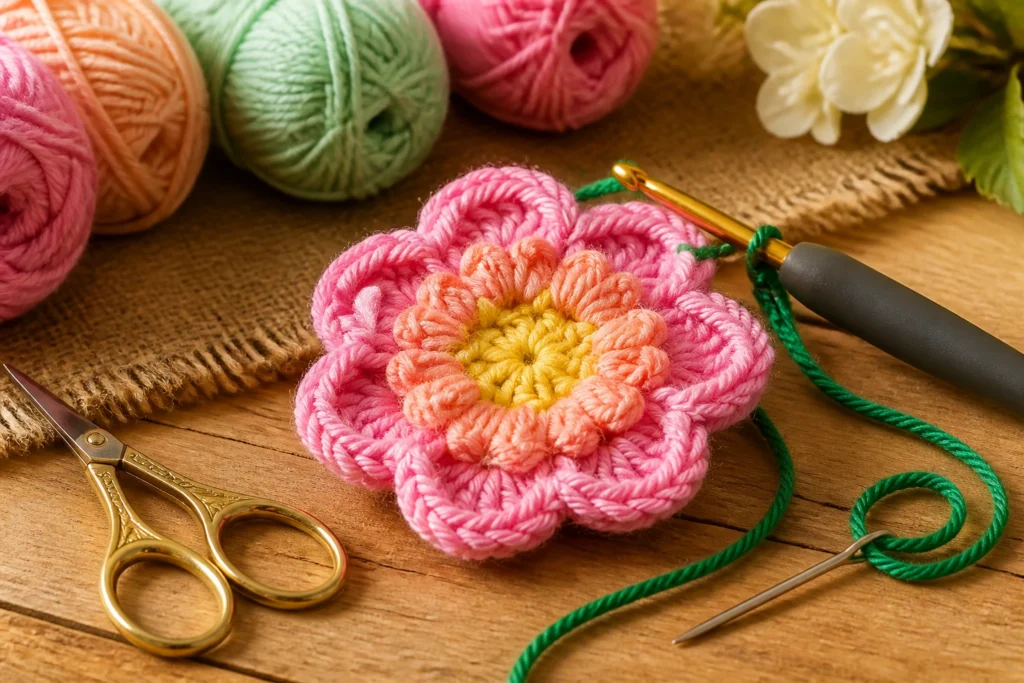
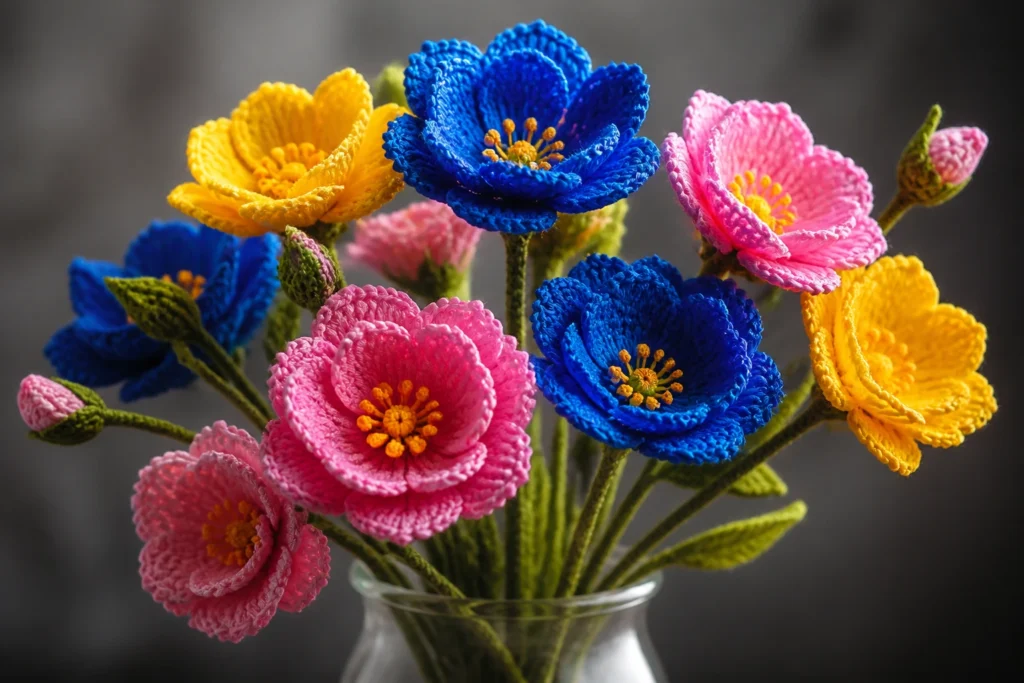
The secret to legitimately cute tiny crochet flowers is not just about tiny stitches—it’s about making them look intentional. You want them to whisper “professional” rather than scream “cute hobbyist.” Spoiler: with a few simple tweaks, your mini blooms can rival store-bought ones without breaking your wrists or your budget.
What makes a tiny crochet flower look professional?
You’ve probably seen tiny flowers that look delicate and polished, and others that look like a kid’s messy doodle. The difference isn’t just talent; it’s technique, consistency, and a dash of finishing finesse. When you hit the right balance, your flowers hold their shape, keep their petals defined, and sit proudly on whatever you stitch them onto.
Key traits to chase:
- Symmetrical petals that hold their form
- Neat joins and tiny gaps that disappear into the bloom
- Firm but flexible fabric that holds up to wear
- Thoughtful color choices and subtle shading
How do I actually achieve that without turning crochet into a marathon? Let’s break it down into doable steps that feel less like a lecture and more like a crafty chat with a friend.
Choosing the right yarn and hook for tiny petals

Tiny crochet flowers start with the right tools. The wrong yarn can make petals fuzzy, lose shape, or simply be a pain to work with at small gauges. Pick materials that behave when you shrink them.
Yarn matters more than you think
- Choose a smooth, plied yarn, like a soft cotton or a mercerized cotton. These hold stitches cleanly and aren’t too slippery.
- Avoid fuzzy or novelty yarns for tiny petals—they shed and look bulky fast.
- Opt for a light fingering to sport a delicate look, or size up to sport weight for slightly chunkier blooms.
Hook size and tension
- Use a hook that lets you see each loop clearly. Smaller hooks = tighter fabric. You want crisp petals, not stuffed sausages.
- Swatch a tiny flower first. If your stitches disappear or look uneven, tweak your hook or tension a hair.
- Consistency is king. Don’t switch hook sizes mid-flower unless you’re intentionally shading or shaping.
Mastering the basic tiny flower shapes
Start with a few reliable shapes. The more you practice, the more “pro” your blooms will read. Pick a few shapes you love and perfect them.
Mini daisies and five-petal stars
- Da’ tip: Use a tight chain foundation so the center sits neat and flat.
- Petal tips should fan out evenly. If one petal looks shorter, check your round increases and slip stitches.
Tiny rosebud with tight spirals
- Work tight spirals by keeping a consistent tension and avoiding big increases early on.
- Use a slightly darker shade for the inner layers to get that “real” depth.
Simple layered blossoms
- Layer petals in rounds or rounds with small decreases for a curled look.
- Finish with a small, tight center to anchor the petals.
Finishing touches that elevate tiny blooms
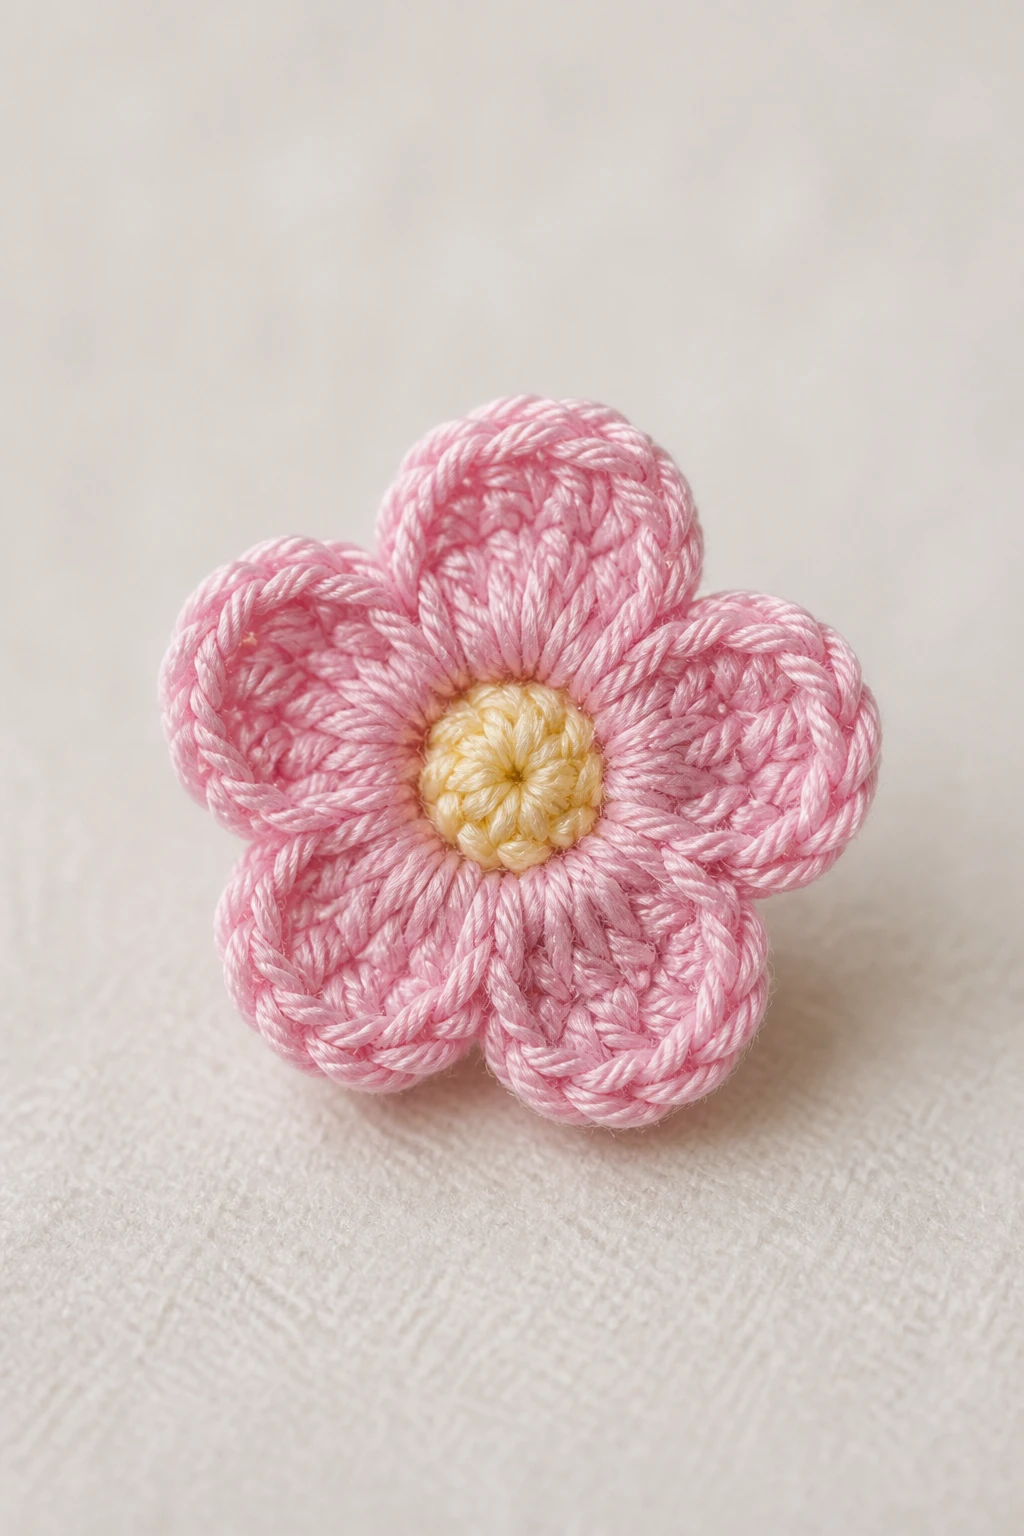
This is where a lot of flowers go from cute to professional. It’s all in the finishing.
Shape and blocking tips
- Spritz with a light steam and shape with a stiff brush or pin into a gentle cup shape. Let dry completely.
- For a more permanent shape, lightly starch or use a tiny dab of textile glue at the base—just enough to hold, not to stiffen.
Edges that look intentional
- Turn under or slip-stitch the petal edges to reduce fraying and puffiness.
- PB: Press each petal edge to keep a crisp outline, not a blob.
Center crowns and bead accents
- Add a tiny center bead or a French knot stitched with a contrasting color to anchor the bloom visually.
- Be mindful of weight. Too much center can tilt the flower and ruin the symmetry.
Color play: shading, contrast, and harmony
Color choices make or break the “professional” vibe. Subtle shading and thoughtful contrasts read as deliberate craftsmanship.
Start with a plan, not a guess
- Pick 2–3 colors maximum for a bouquet of tiny blooms. Too many colors look chaotic at small scales.
- Use a shade lighter or darker for petals to create natural depth.
- Consider a light highlight at the tip of each petal for a sun-kissed effect.
Shade the layers
- For layered flowers, build centers in a deeper shade and use lighter tones outward.
- Blending yarns mid-row can create a soft gradient without changing yarns.
Color testing
- Make a tiny test flower in your color plan before committing to a full batch. FYI, this saves you from disasters later.
- Lay blooms next to each other in natural light to judge harmony.
Stability and attachment: turning blooms into projects
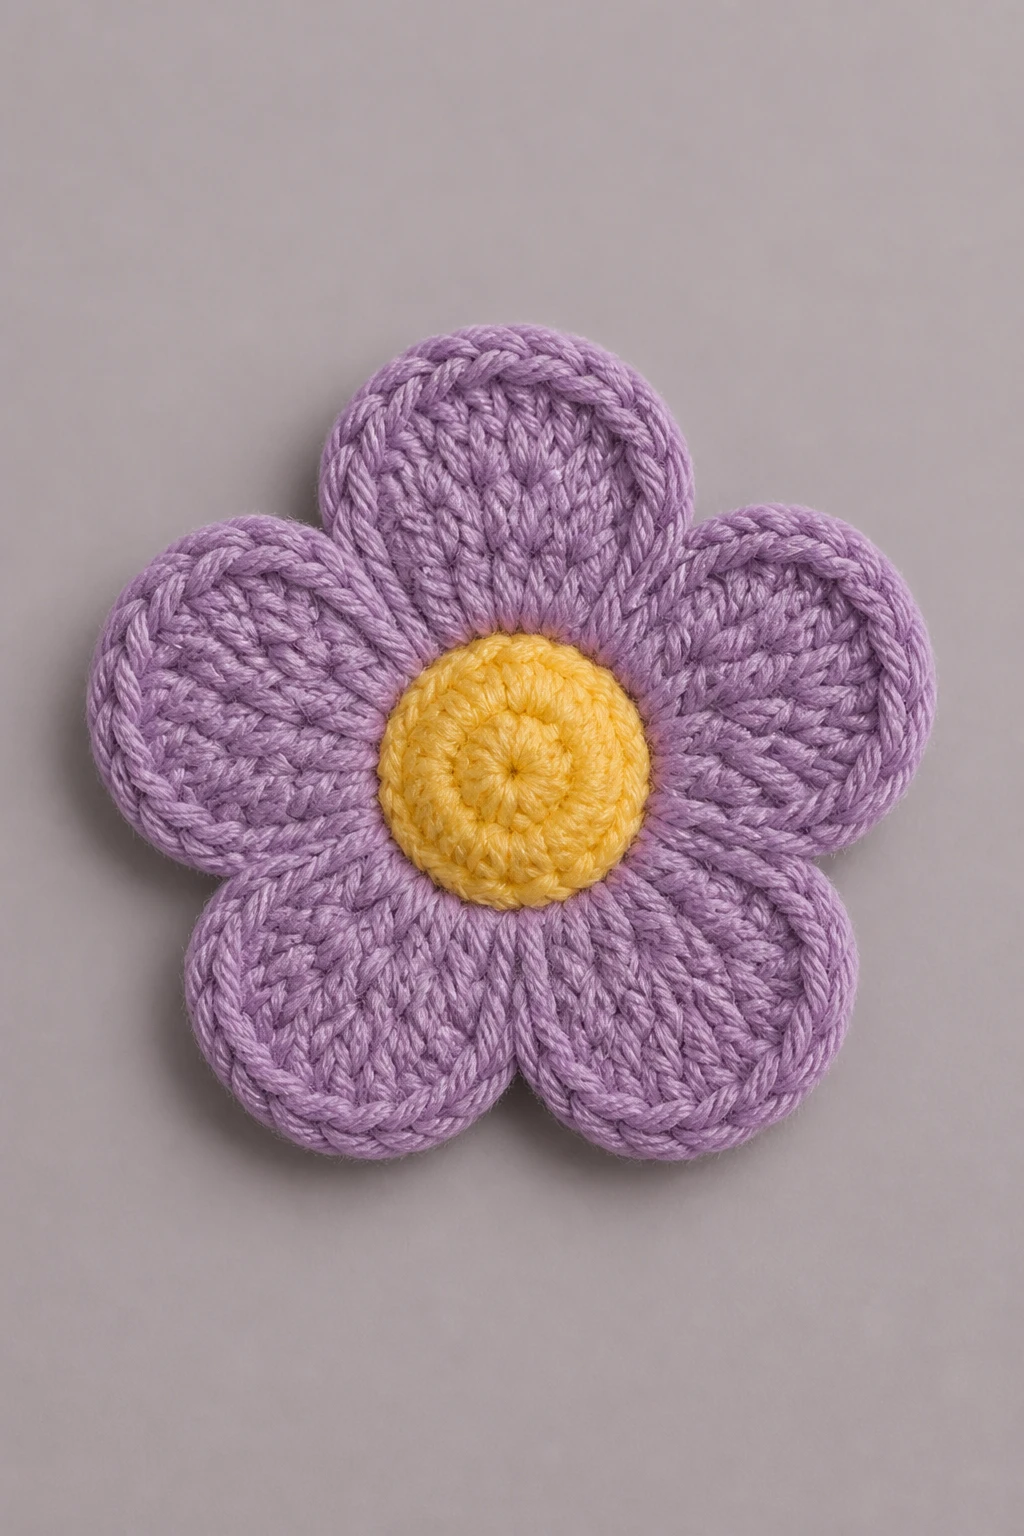
Tiny flowers look professional when they stay put and feel sturdy.
Backing and stiffening options
- Attach blooms to felt or interfacing for stiffness without crunch.
- Lightly coat with fabric stiffener or thinned glue for long-term hold—test first on a scrap.
Mounting techniques
- Shank-based attachment works well for jewelry and brooches; stitch a small loop behind the flower.
- For scarves, hats, or bags, stitch around the base with a tight thread to secure without bulk.
Common mistakes and quick fixes
Even experienced crocheters slip up. Here are the usual suspects and how to beat them.
Petals collapsing or warping
- Fix: tension balance; don’t crochet too loosely or too tight. If you see floppy petals, rework the row with a firmer hold.
Gaps at joins
- Fix: join with a snug slip stitch, then pull tight before finishing. A tiny dab of stitching glue at the base can help set it.
Inconsistent petal count
- Fix: mark the starting point or count aloud as you go. A counter helps keep symmetry in check.
Inspiration and real-world projects
Seeing real examples helps you visualize what professional looks like.
Tiny bouquets on headbands
- Secure multiple micro-flowers on a pliable headband with a thin fabric loop between blooms.
- Space them for balance, not cluster the flowers into one corner.
Crochet jewelry that feels luxe
- Combine small blooms with metal accents and tiny seed beads for a dainty look.
- Use a satin ribbon or leather cord to tie the piece together with a modern vibe.
Soft decor accents
- Mini bouquets pinned to a linen throw or framed as a wall collage read as refined rather than crafty.
- Coat with a light spray of protective sealant to keep colors bright over time.
FAQ
Do tiny crochet flowers really look professional, or is it just marketing fluff?
Yes, they can look professional. It hinges on clean finishing, consistent tension, and thoughtful color work. If your petals sit evenly and your centers feel anchored, people will assume you paid a premium for them—except you didn’t, you just hustled smartly.
What’s the best way to practice without wasting yarn?
Start with scraps or thrifted leftover yarn in similar weights. Practice a few flowers, then reuse the test pieces as embellishments or appliques. FYI, practice saves your sanity and your wallet.
Should I block tiny flowers, or is that overkill?
Blocking is a game-changer for tiny petals. It helps shapes stay consistent and reduces curling. Steam lightly or pin to a foam block and let dry. It’s not optional if you want a polished look.
How do I attach tiny flowers to fabric without making it bulky?
Use small, tight stitches at the base and consider a hidden backing like felt. You want to secure without creating a lumpy seam that fights against the garment or project’s drape.
Can I dye or adjust color after crocheting?
Coloring tiny crochets post-make is tricky but doable with fabric markers or gentle color washes on cotton blends. Test on scrap first—colors can bleed or stain the yarn differently at this scale.
Conclusion
Tiny crochet flowers aren’t just little knits; they’re mini statements. When you pick the right yarn, keep your tension consistent, shape with intention, and finish with a light, deliberate touch, you’ll see your blooms move from “cute hobby” to “look-at-that-professional-detail.” FYI, your friends will start asking for tutorials, not freebies. If you want, I’ll help you map out a 2-week tiny-flower project plan to put all these tips into action.