Introduction
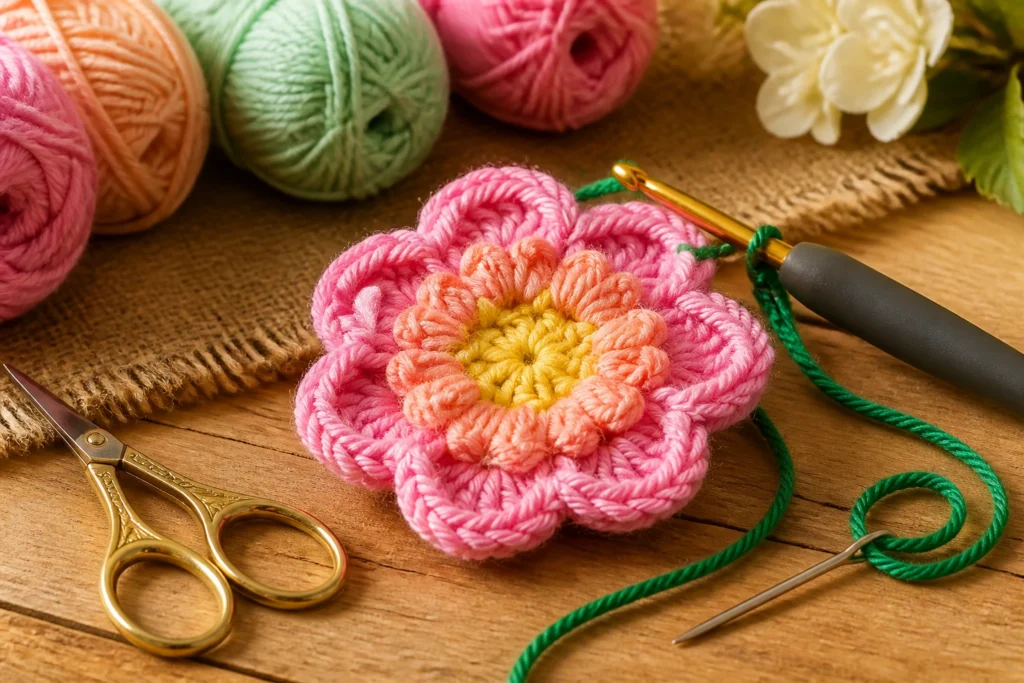
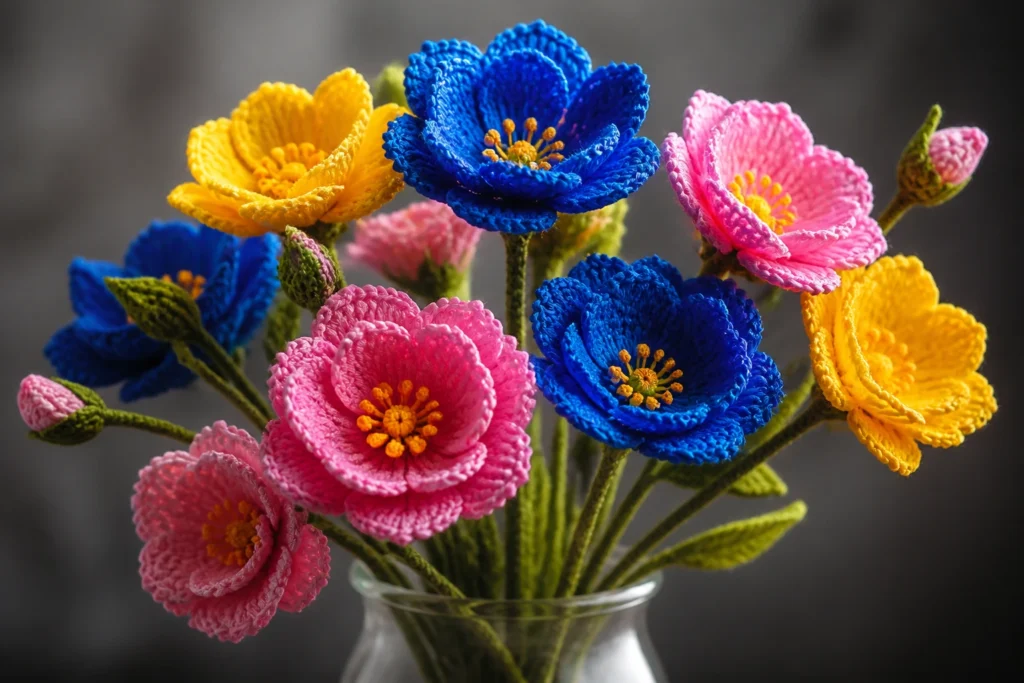
Crochet flowers that leap off the page? Yes, please. If you’ve ever wanted petals with real dimension and a little “wow,” you’re in the right place. We’ll break down how to shape 3D crochet flowers so you can create stunning blooms for accessories, decor, or gifts. FYI, this isn’t a mystery—it’s a set of tricks you can actually apply.
What makes a 3D crochet flower pop?
– Depth and layering: You want petals that curl and stack, not a flat daisy on a doily.
– Texture: Use different stitches to add ridges and curves, so petals feel tactile.
– Proportions: Scale petals and centers so they mimic real flowers but still read as crochet artistry.
– Stability: Shape needs to hold through mounting, framing, or wearing.
Folks often chase that “alive” look. It’s not magic, it’s strategy. Think about how real flowers twist, roll, and bend with breezes. Your crochet needs to imitate that movement in a controlled way.
Choosing the right base stitches for shape
There’s no one-size-fits-all here. The technique depends on how dramatic you want the bloom to be and what you plan to do with it.
Common foundational stitches
- Slip stitches and single crochets for tight centers and sturdy bases.
- Half-double and double crochets for soft petals with a gentle bend.
- Corner-to-corner shaping to create natural curves in petals.
- Start small: try a two-round center, then add petals that rise out in gentle arcs.
- Test runs on scrap yarn to feel how stiff or flexible you want your petals.
Shaping petals: the art of curling and contour
This is where your flowers start to feel alive. The trick is not to overthink it—let the hook and yarn do the talking.
Curl with tension and fiber choice
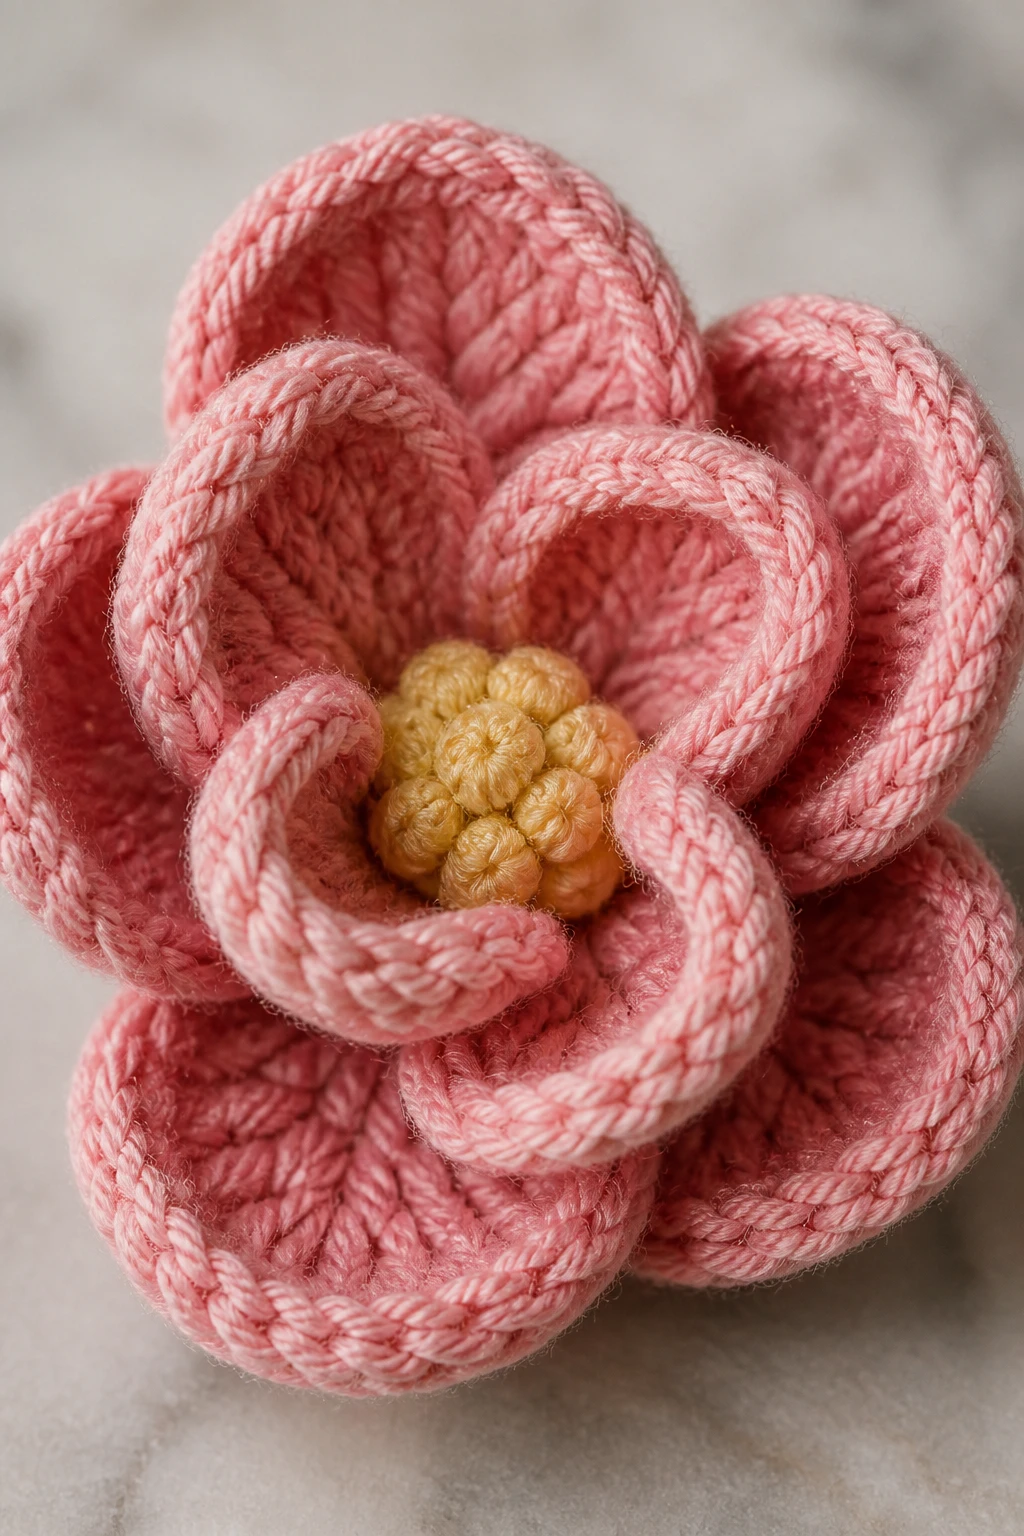
– Use slightly tight stitches for edges to encourage curling inward.
– Softer yarns like cotton blends tend to curl more naturally than super bulky acrylics.
– If you want a dramatic curl, give the petals a tiny pre-stretch before joining.
Are you surprised that yarn choice can swing shape so hard? IMO, it’s a game changer. Try the same pattern in two fibers and compare side by side.
Petal layering and overlap
– Build petals in staggered heights. Don’t lay them out in a neat circle—vary the row count for each petal.
– Overlap petals by one stitch or half-stitch to create a more organic bloom.
– Place a light crimp along the outer edge with a finishing needle to encourage a gentle curl.
This technique makes petals look like they’re catching a breeze. If you’ve ever blown on a flower in a field, you know that motion translates nicely to crochet.
Centers that anchor the bloom
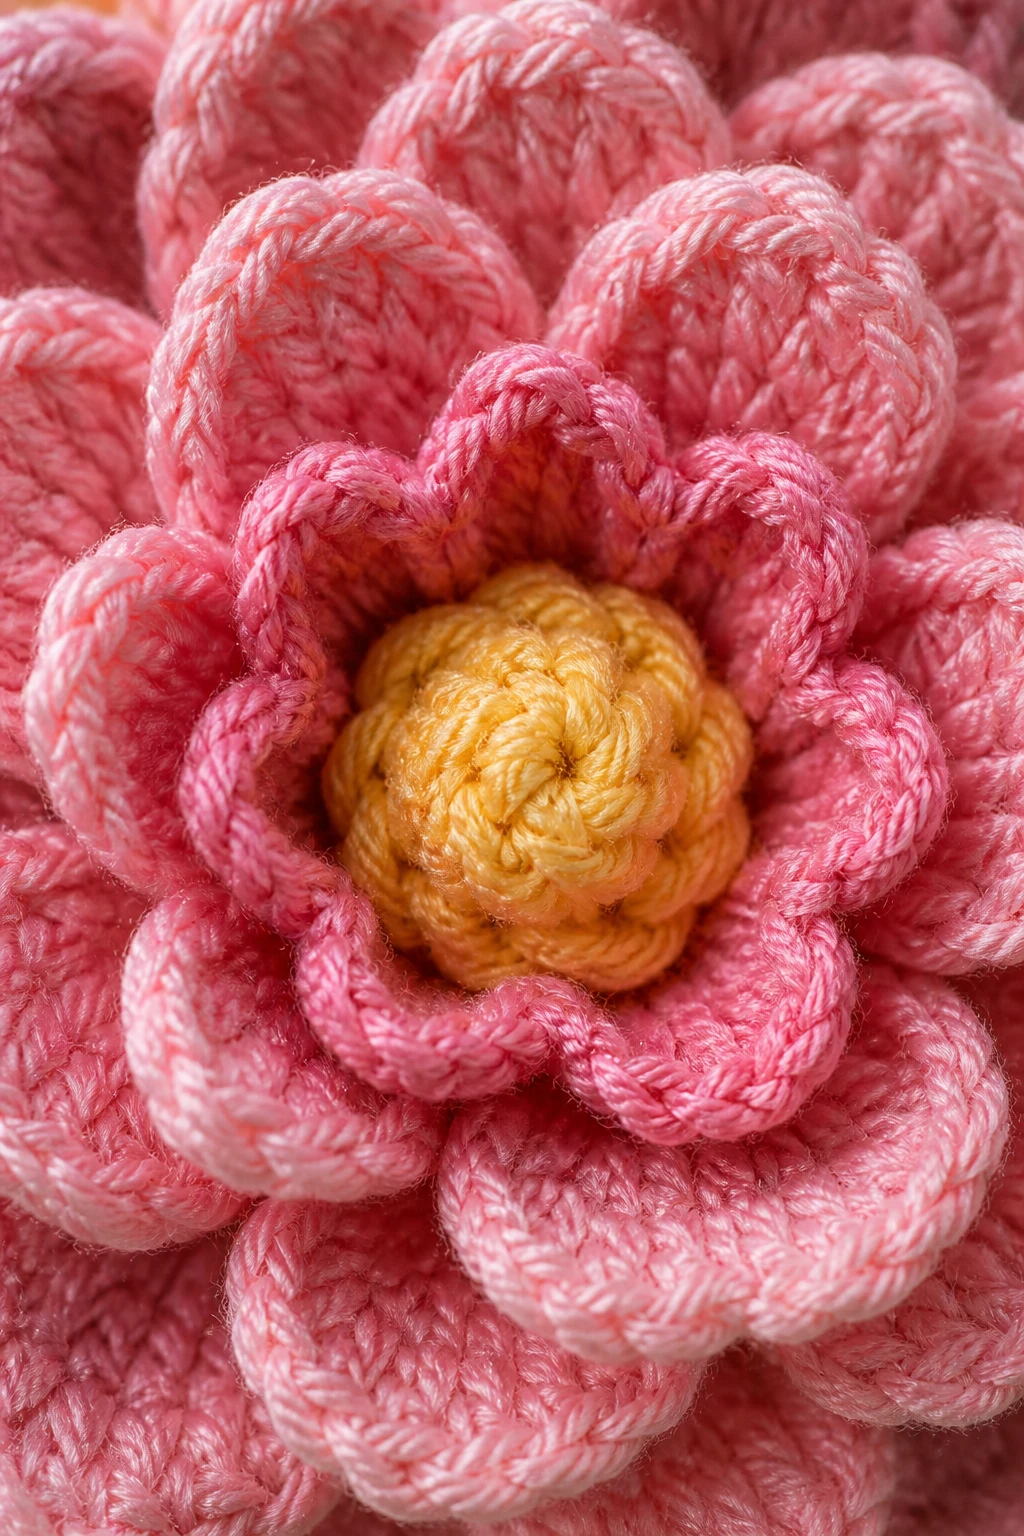
The center is the anchor. A well-done center makes the entire flower feel complete.
Center options
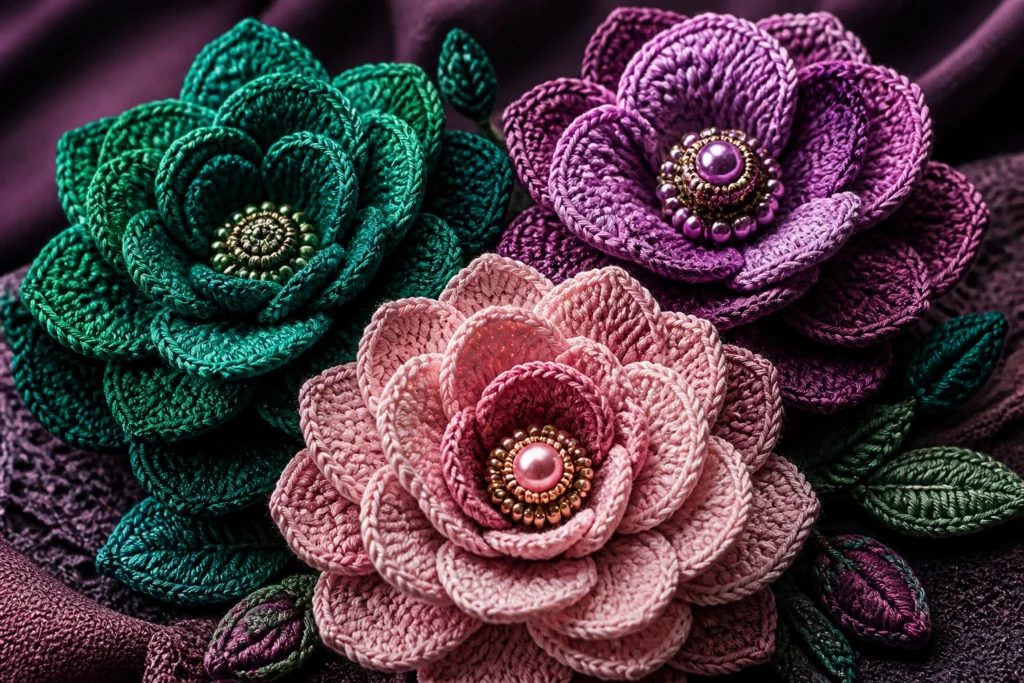
- Flat disk with a bead at the middle for a polished button-like look.
- Loopy puff stitches to simulate a puffy central disc.
- Spiral crochet creating a tiny 3D core that sits snugly in the petal ring.
How to secure the center
– Attach the center before you add outer petals to ensure symmetry.
– Use a scrap of your base yarn to lock it in place with a couple of tight stitches.
– Consider a dab of fabric glue on the back if the piece will take a lot of handling (like hair accessories).
If your center looks a little wonky, don’t panic. A little tease with a yarn needle can fix the alignment in seconds.
Stem, leaves, and stabilizing the bloom
A flower perched on air is cute, but a bloom with a proper stem and leaves feels complete—and durable.
Creating a realistic stem
– Use a thicker anchor like a welded wire or a sturdier yarn to form the stem.
– Crochet around a pipe cleaner or light aluminum wire for rigidity.
– Wrap the stem with green yarn in tight, even spirals so it looks natural and not bulky.
Leaves that don’t flop
– Start with a simple leaf pattern (a pair of quick increases, then a decrease).
– Crochet leaves with a slight rib by alternating front and back post stitches.
– Attach leaves at slight angles rather than perpendicular to the stem for a more organic stance.
Question: Do you absolutely need leaves? Not always, but they give the bloom grounding and a pop of contrast in color.
Color play: shading, highlight, and depth

Color can lift a flower from cute to wow. Here’s how to think about shading without turning into a color chaos.
Strategic color placement
– Use a lighter color for the petal tips to imply light catching the edges.
– Choose a darker shade near the base of petals to create depth.
– Introduce a contrasting center color to draw the eye inward.
- Pick a main color for most petals.
- Choose two accent tones for edges and centers.
- Test a small sample before committing to a full piece.
Two-tone and variegated options
– Two-tone blooms read as more dynamic and playful.
– Variegated yarn can simulate natural color variation, but be careful not to overwhelm the shape.
– If you’re fearing the color chaos, pick a palette you’d wear or display in your space.
FYI, color choices can instantly push a simple bloom into a statement piece. IMO, the right palette makes all the difference.
Putting it all together: assembly and finishing tips
Now that you’ve shaped petals, centers, and stems, how do you assemble them into a cohesive flower?
Assembly order that makes sense
– Start with the center, then add inner petals around it.
– Add outer petals in rounds, offsetting each one so they don’t stack exactly on top.
– Attach leaves after the bloom takes its final shape.
Joining techniques that hold
– Whip stitch with a tight pull ensures petals stay in place.
– Use a needle to tack the base of each petal to the core, avoiding visible knots on the front.
– If you’re mounting on fabric, consider a dab of hot glue or fabric glue along the base for extra security.
How do you know when it’s done? When every element sits where you want it, and the bloom can survive a quick test tug without shedding petals. Simplicity often wins here.
Projects to practice your 3D shaping skills
Practice makes petal-perfect. Here are a few friendly ideas to test your technique without diving straight into complicated patterns.
Beginner friendly: a compact poppy
– 5-6 petals, a small round center, and a short stem.
– Use a semi-stiff yarn so the petals hold their round shape.
– Great for brooches or embellishing a tote.
Intermediate: layered daisies with soft curls
– Build two petal layers with slightly different sizes.
– Curl edges with a gentle pull on the final loops.
– Attach to a hair clip for a cute, summery accessory.
Advanced: realistic peony or rose bloom
– Requires more petals with varied lengths and careful alignment.
– Use multiple yarn layers and subtle color changes to mimic natural shading.
– Mount on a stem that can bend for a florally realistic look.
These projects help you dial in tension, curl, and color flow. Ready to graduate to more dramatic blooms? You’ve got this.
Care and maintenance: keeping your 3D flowers fresh
A little care goes a long way to keep your crochet blooms looking sharp.
- Store in a dry place away from direct sunlight to prevent fading.
- Handle gently to preserve the curled edges and layered petals.
- If petals kink, gently steam with a low-heat iron held at distance or a light spritz of water, then reshape.
Tips: If you plan to wear or handle them a lot, consider backing the petals with interfacing or light stiffening to maintain structure.
FAQ
What yarn weight is best for 3D crochet flowers?
Light to medium weight yarns (DK to worsted) work best for a good balance of stiffness and drape. If you want dramatic curling, try a softer cotton blend; for sturdier blooms, a cotton-acrylic mix does the trick. FYI, test swatches always save you from regretting a full project later.
Which hook size should I use for shaping?
Start with the hook recommended for your yarn, then go up or down by one size to control tension. For crisper edges, use a smaller hook; for softer curves, a larger hook can help. The key is consistency across the whole bloom.
How do I attach flowers to accessories without them wobbling?
Use a thin wire, pipe cleaner, or a robust felt backing. Secure with multiple stitches and a dab of fabric glue if needed. When mounting on headbands or bags, reinforce with a backing circle so the flower sits flat and secure.
Can I machine wash crochet flowers?
Most crochet flowers handle a gentle hand wash better than a machine cycle. If you must, use a delicate cycle with cool water and lay flat to dry. Some stiffened or interfaced blooms may not tolerate washing well, so check your finishing method first.
How do I prevent petals from flattening over time?
Stiffen petals with a light coat of fabric stiffener or dilute PVA glue before shaping. For a natural look, avoid heavy coatings that make petals feel plastic-y. Light shaping and occasional reshaping by hand will help keep them lively.
Conclusion
If you came here hoping for a magic formula, sorry—there isn’t one. There are, however, reliable tactics that turn simple stitches into three-dimensional blossoms. Start with the basics: shape, curl, and layer. Then play with centers, stems, and color. Before you know it, you’ll have a bouquet that’s entirely crochet, totally you, and surprisingly easy to recreate.
Want a quick recap to keep handy? Here it is:
– Nail the curl with tension, fiber choice, and edge control.
– Layer petals with intentional overlaps for depth.
– Anchor a sturdy center and attach stems for stability.
– Experiment with color to add realism and drama.
– Finish with smart assembly and gentle care to preserve shape.
So go on—grab your favorite yarn, pick a project, and start shaping. FYI, your future self will thank you for the practice. Happy crocheting!