I know the feeling: you see a crochet flower and think, “I want that, but will I ever quit poking myself with the hook?” Spoiler: you can. By the end of this, you’ll be stitching pretty petals with confidence and maybe a smug smile.
First things first: why crochet a flower in the first place?
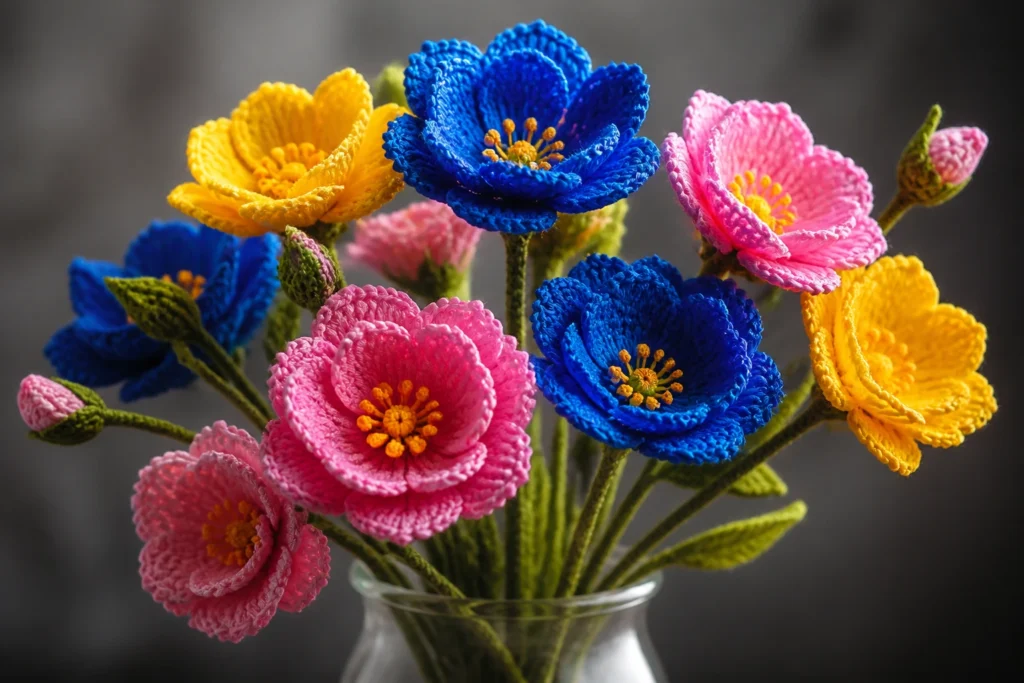
Crochet flowers are tiny, cute, and endlessly useful. They jazz up hats, bags, scarves, and a plain old cardigan. They’re also a great way to learn basic stitches without sinking into a swamp of complicated patterns. If you want instant gratification with a dash of dazzle, this is your gateway flower.
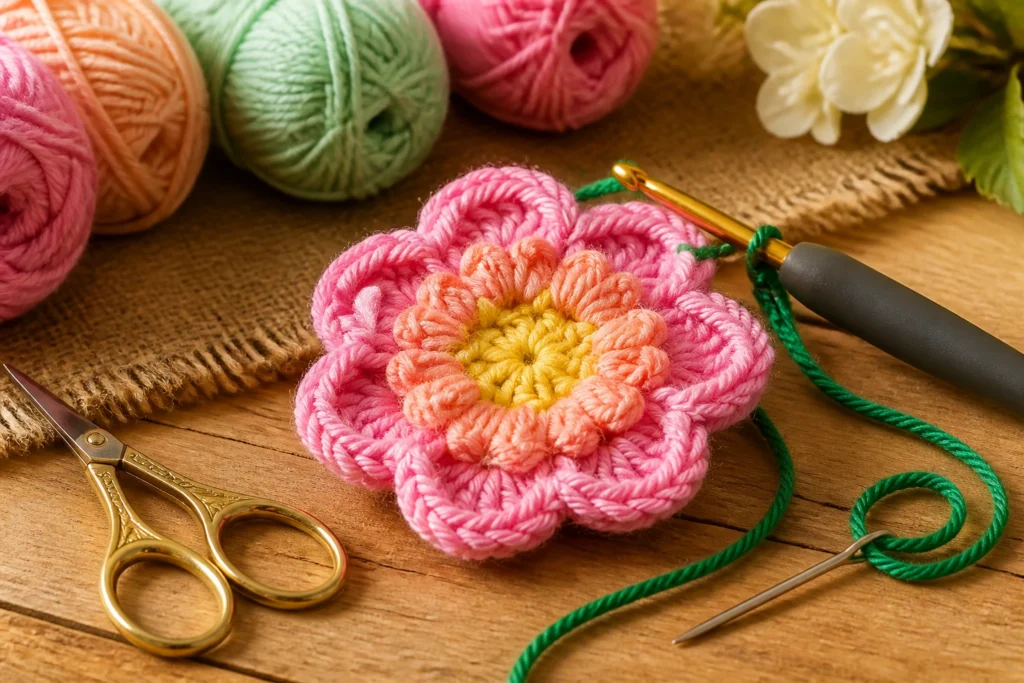
What you’ll need to get started
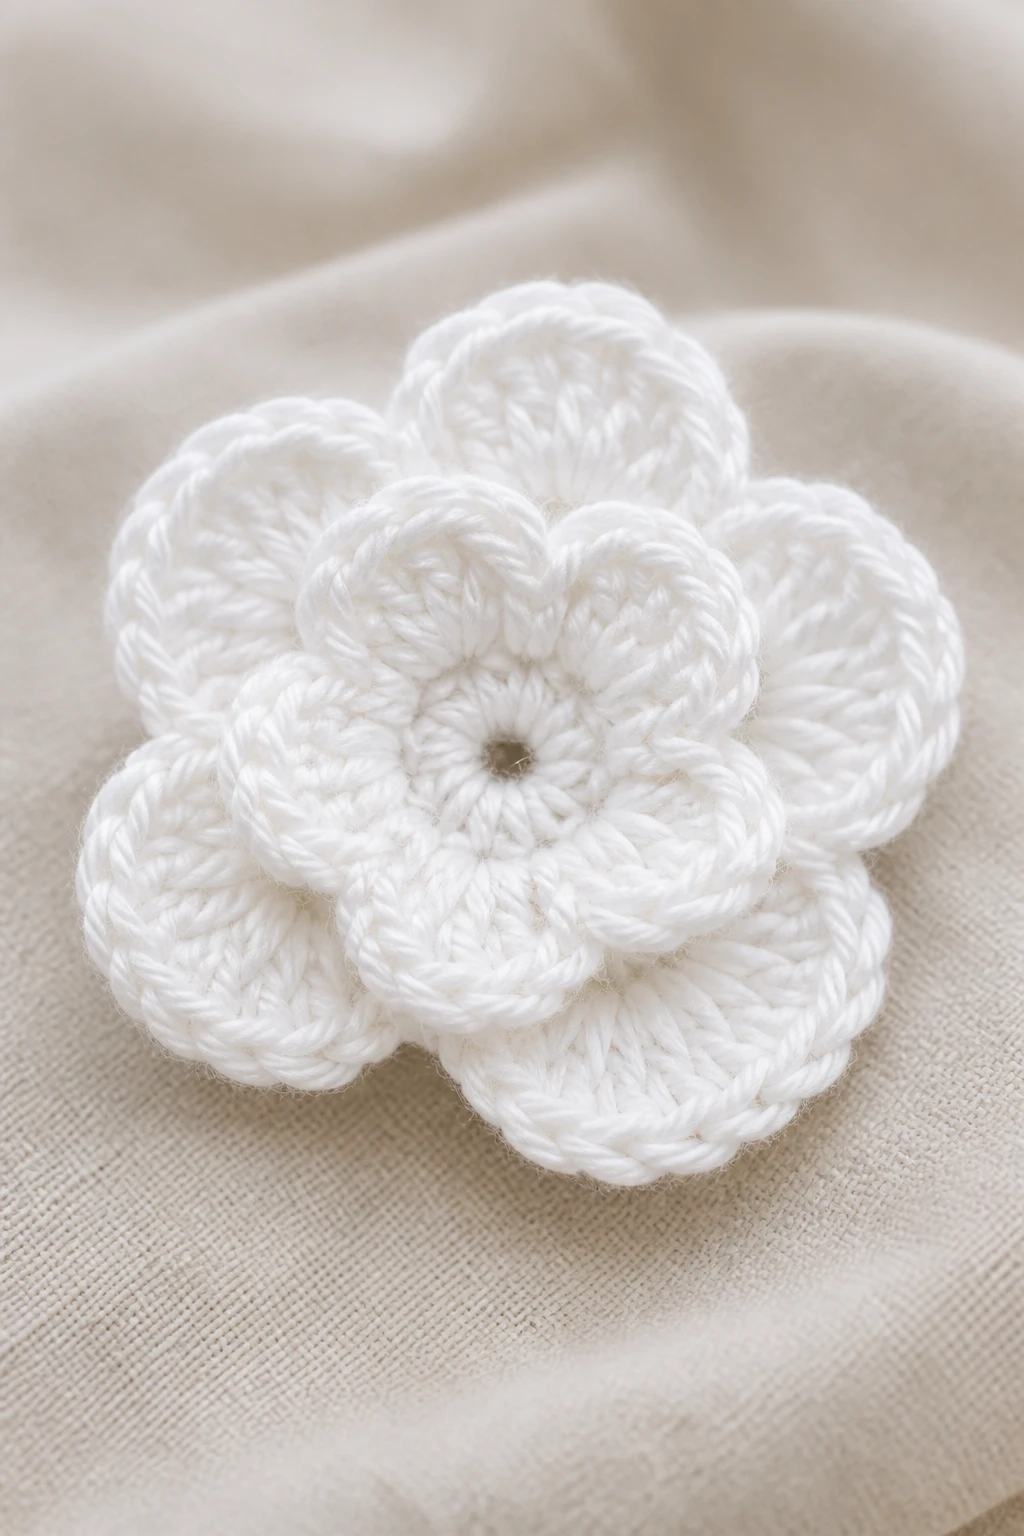
– Yarn: Start with medium-weight (often labeled worsted weight) in any color you love. White isn’t mandatory, but it can look really fresh if you’re aiming for a daisy vibe.
– Hook: A size G/6 (4.0 mm) or H/8 (5.0 mm) is a friendly sweet spot for beginners. If your yarn label recommends a different hook, go with that. Your hook and yarn should get along.
– Scissors: For snipping and for dramatic post-cutting selfies, obviously.
– Yarn needle (aka tapestry needle): To weave in ends so your flower looks polished, not patchy.
– Optional: a stitch marker to keep track of rounds. Spoiler: you’ll thank yourself later.
Ask yourself: do you want a flat flower or a slightly 3D one? Your choice tweaks the pattern a bit, but either path is perfectly doable for a first-timer.
Master the basics: stitches you’ll use
This isn’t a vocab test for crocheters—just the essential moves you’ll see in most beginner flower patterns.
Chain (ch)
– Create your base slipknot, then chain a small number. Chains form the foundation or the “spokes” of the petals.
– Tip: don’t yank the yarn too tight. You want a smooth chain that moves when you pull it, not a cord that resists.
Slip stitch (slst) and slip joining
– Slip stitch helps join rounds and move across gaps without adding bulk.
– You’ll see this a lot when closing petals or attaching a flower to a surface.
Single crochet (sc) and half double crochet (hdc)
– These stitches create the dense petal base. HDC gives a bit more height; SC keeps things compact.
– Alternate between rounds to shape petals without losing control.
Choosing a simple starter pattern
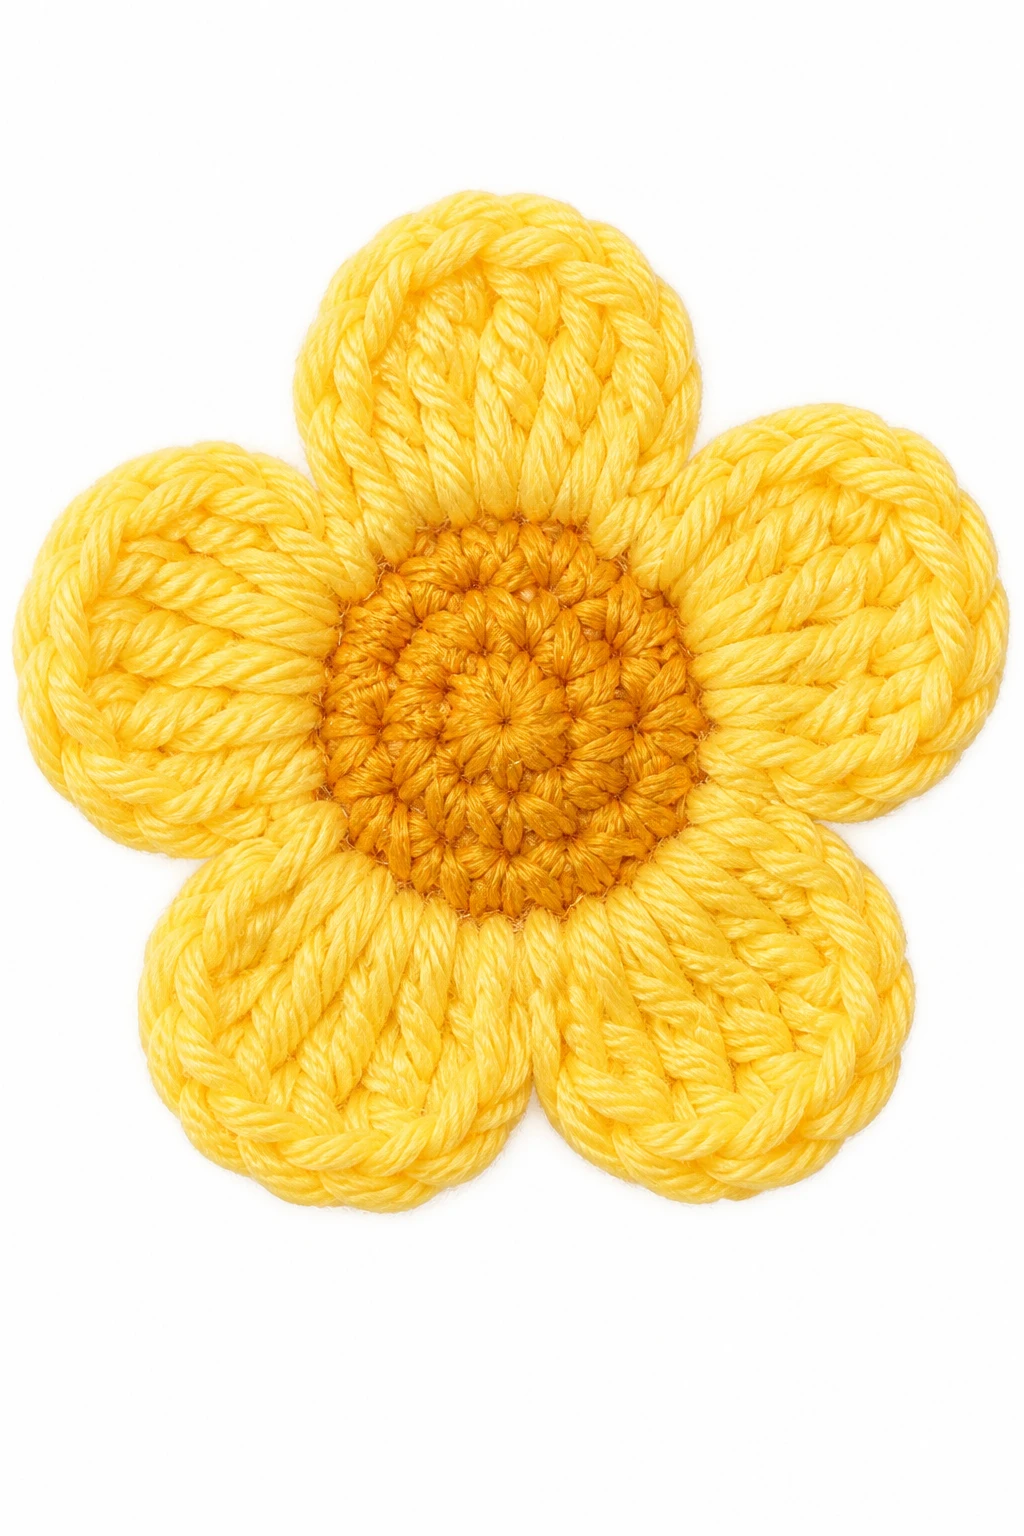
Yes, there are a million flower patterns out there. For your first one, pick something forgiving and with clear rounds. A basic five-petal flower is both doable and adorable.
– Start with a magic ring or a small loop to begin the center. The magic ring is classic, but a slipknot ring works too if you’re feeling stubborn (and brave).
– Build the center with a few rounds of chains and stitches.
– Work five petals around the center, each petal usually formed by a few stitches in a spike-like arc. Don’t worry if your petals aren’t perfectly uniform—perfect symmetry is overrated and absurdly hard for beginners.
Step-by-step: crochet your first flower
Let’s walk it through like a friend teaching you in a cozy cafe.
– Step 1: Make the center
– Create a magic ring.
– Round 1: Crochet 6 single crochet into the ring, then pull tight to close. This is your central dot of color.
– Step 2: Build the stem of petals
– Round 2: Chain 1, crochet around the ring in a way that forms little “petal bases.” You’ll likely make 6-8 stitches into the ring, depending on the pattern.
– Step 3: Form 5 petals
– For each petal, you’ll typically work a sequence like: 5 chains, skip a few stitches, 1 or 2 double crochets into a specific chain, then slip stitch to the center. The exact counts vary by pattern, but the idea is the same: create a curved leaf-like shape outward from the center.
– Place a total of 5 petals evenly around the center. A quick way to keep them spaced: mark each petal’s start with a stitch marker.
– Step 4: Attach and finish
– Once all petals are formed, slip stitch to close the round or continue with a final round to add a border.
– Fasten off, leaving a tail to weave in. Weaving in ends gives your flower a clean, professional look.
– Step 5: Bind and display
– Weave in all tails with a yarn needle.
– If you want your flower to sit fluffy, block it lightly: dampen, shape, and let dry on a towel.
Pro tip: don’t rush the process. If you mess a petal, just frog back a few stitches and redo. FYI, fixing mistakes is part of the art, not the defeat.
Where to use your first flower masterpiece
– Accessories: pin it on hats, headbands, scarves, or cardigan lapels.
– Home decor: attach to a tote bag, a pillow edge, or a cushion cover for a pop of color.
– Gifts: add a handmade touch to a friend’s gift with a tiny bouquet of crocheted flowers.
– Edging and trims: create a row of mini flowers to edge a blanket or curtain.
Tips to keep your confidence high and your yarn sane
– Start with bright, forgiving colors. A high-contrast center makes the flower easier to see and count.
– Use a light touch with your tension. You want stitches that sit flat and neat, not dented and wonky.
– Count, count, count. It’s not cheating; it’s strategy. Count stitches in each round so you don’t end up with an accidental half-petal.
– Practice makes petals. If you don’t like your first flower, make five more. You’ll get a feel for the pattern and the feel for your hook and yarn.
– Clean up as you go. Snip a tail, weave in, trim, repeat. It saves you from a big hairy ending later.
Now, a quick dive into variations: when you want to level up
Here are some friendly tweaks you can try after you’ve got the basic flower.
Changing hook size and yarn weight
– If your petals look too tight, move to a larger hook. If they’re loose, switch to a smaller one.
– Lighter-weight yarns create delicate petals; bulky yarns give bolder, chunkier flowers. Pick what fits your project.
Adding texture with stitches
– Try half-double crochet around the petals to add more height.
– Use a long-color-change yarn for a marbled petal effect. FYI, alignment matters if you’re aiming for a uniform look.
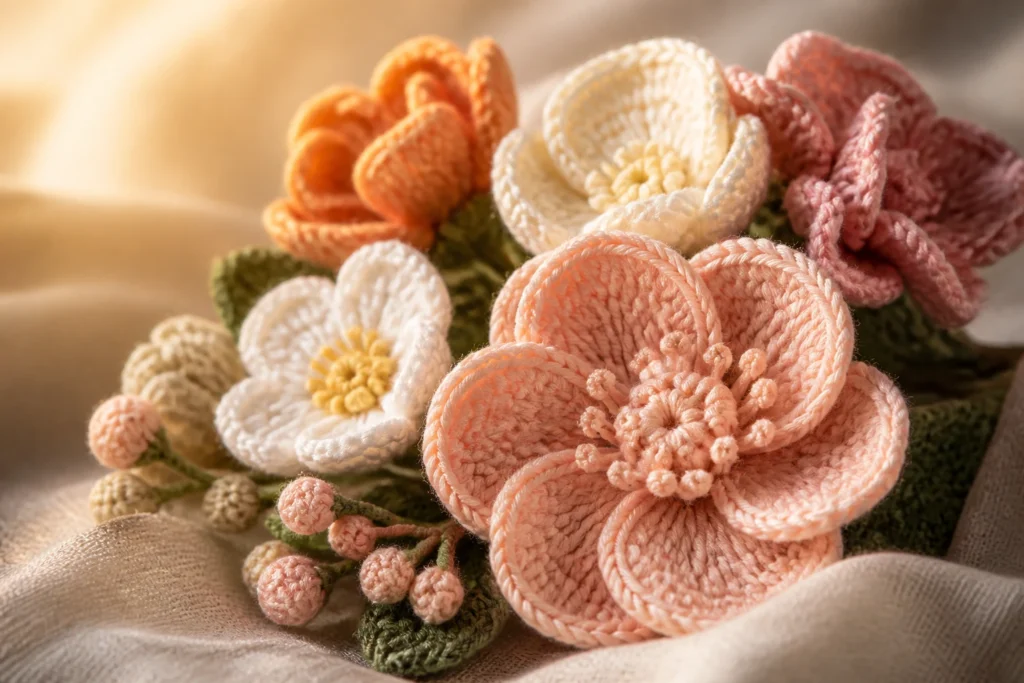
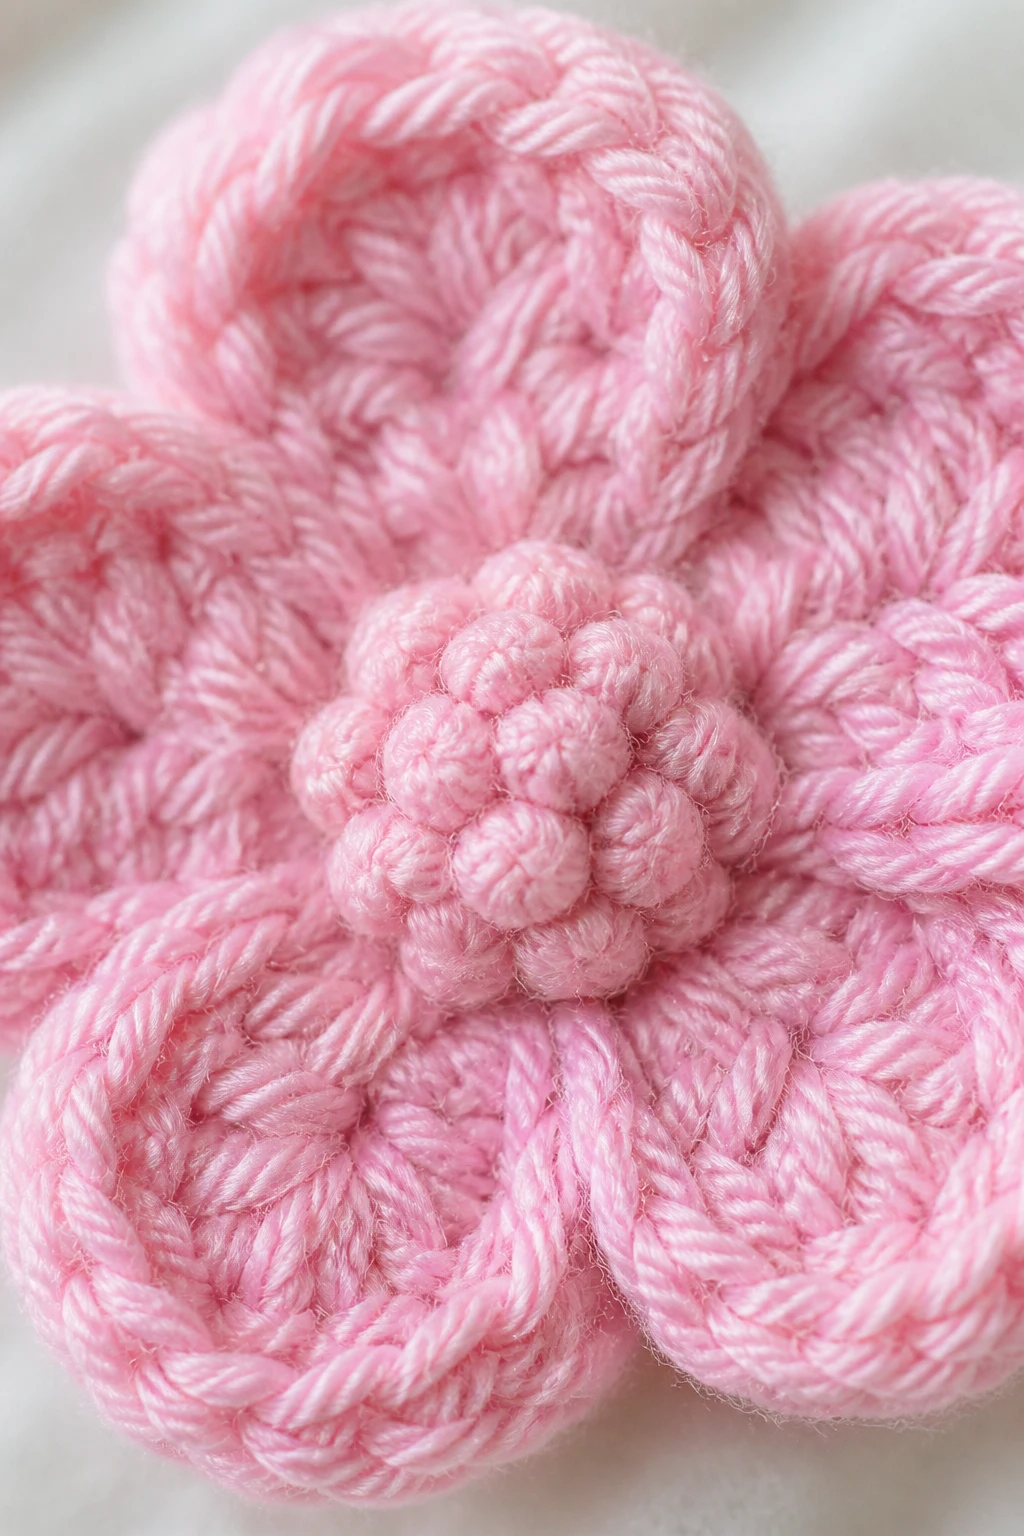
Making a multi-layered flower
– Start with a small center and add two or three rounds of larger petals around it. This creates a layered, more lifelike bloom.
– You’ll need to gently stretch the petals as you go to avoid a flat, squashed look.
FAQ: your pressing questions, answered
Do I need a special pattern to make a flower?
Nope. A simple five-petal flower works beautifully for beginners. Once you’re comfortable, you can explore more complex patterns, but starting simple is the smart move.
Why does my flower look lopsided?
Crooked petals usually come from uneven tension or miscounted stitches. Check your round counts, pause to measure, and adjust your grip. Don’t sweat it—practice fixes the “wonky” look.
How do I sew the flower onto fabric or a bag?
Choose a fastening method that matches your project:
– Use a few tiny stitches with a yarn needle through the back of the petals into the fabric.
– Attach with a pin back if you want to swap flowers later.
– For bags, a neat back layer of fabric helps hide the attachment and makes it sturdier.
Can I wash a crochet flower?
Yes, but be gentle. Hand wash in cold water or use a delicate cycle if your yarn label says so. Lay flat to dry to keep petals from warping.
What if I mess up the center?
Tear back to a safe stopping point or frog a few rounds and start over. You’ll learn quickly where your sweet spot is for loop size and tension.
Common pitfalls and how to dodge them
– Pitfall: Too-tight rings. If your center won’t close, loosen your ring and try again. You want some give so the ring isn’t a stubborn knot.
– Pitfall: Slipping ends. If you leave tails too short, you’ll regret it when you try to weave them in. Leave enough length to secure the tail well.
– Pitfall: Uneven petals. Keep a light, steady grip and count your stitches. Consider marking the first stitch of each petal to maintain symmetry.
Live demonstration vibes: what you’ll actually see when you crochet
– You’ll hear the tiny click of the hook as it moves through loops.
– Your yarn will puff slightly at the center when you tighten, giving you that “flower-y” look.
– The first two petals might look a bit shy—keep going. The third and fourth usually click into place and you’ll find your rhythm.
– By the end, you’ll probably smile at how something so small can feel so satisfying.
Conclusion
Congrats, you’ve just set foot on the first rung of the crocheting ladder. A simple flower isn’t just a pretty accessory; it’s proof you can learn, practice, and improve without needing a degree in art or a lifetime supply of patience. IMO, the joy isn’t in chasing perfection but in appreciating tiny, handmade steps that come together to something delightful.
If you want, I can tailor a beginner-friendly flower pattern based on your favorite yarn weight and colors. FYI, sharing a photo of your first attempt helps me cheer you on and suggest tiny tweaks to help you level up. Happy stitching, friend — your next bloom is waiting.