I’m about to lure you into the wonderful world of crochet roses. If you’ve ever folded a tissue into a makeshift flower and felt a little disappointed by the result, you’re in the right place. Let’s swap the tissue paper for yarn and the wilted vibes for petals that actually look gorgeous.
Picking the right rose patterns for beginners
Starting strong matters. You want patterns that build confidence, not ones that turn you into a knot-tying champion with no petals to show for it. The good news: there are plenty of beginner-friendly rose patterns that teach technique while still looking stunning.
Want a quick cheat sheet before we dive in? Look for patterns with:
- Simple stitches like chains, slip stitches, single crochets and half double crochets
- Clear, photo-rich tutorials or step-by-step diagrams
- A few rounds only, so you finish something tangible fast
- Helpful tips on how to shape petals and avoid stiff petals
If you’re not sure where to start, I’ll guide you through several patterns that fit the bill. FYI, practice makes petals—so don’t rush to finish every pattern in one weekend. Patience makes those rose petals sit just right.
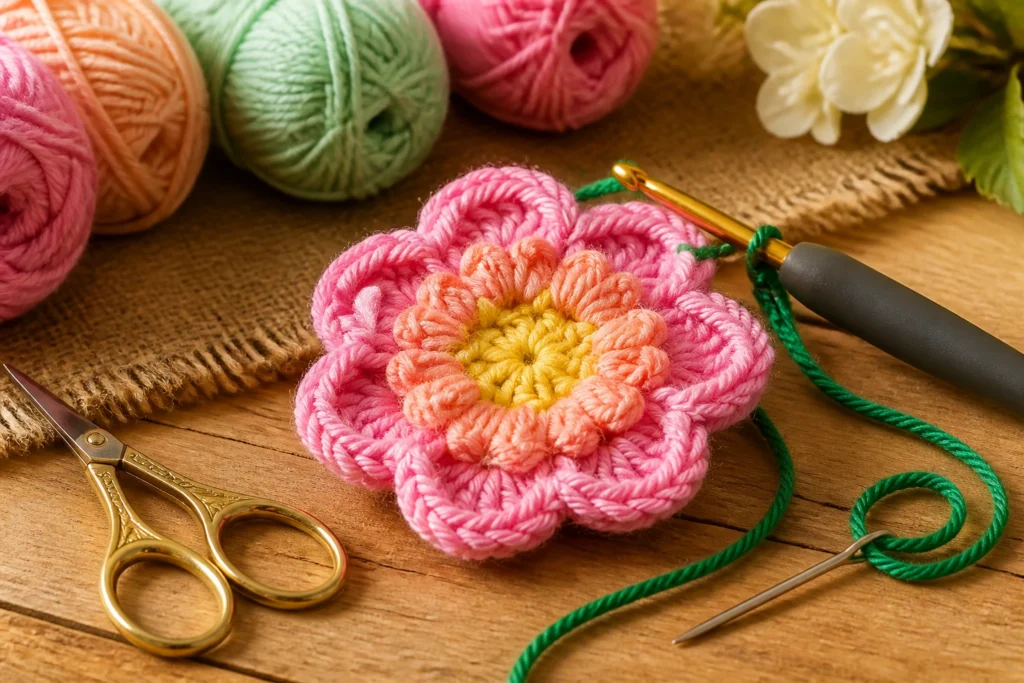
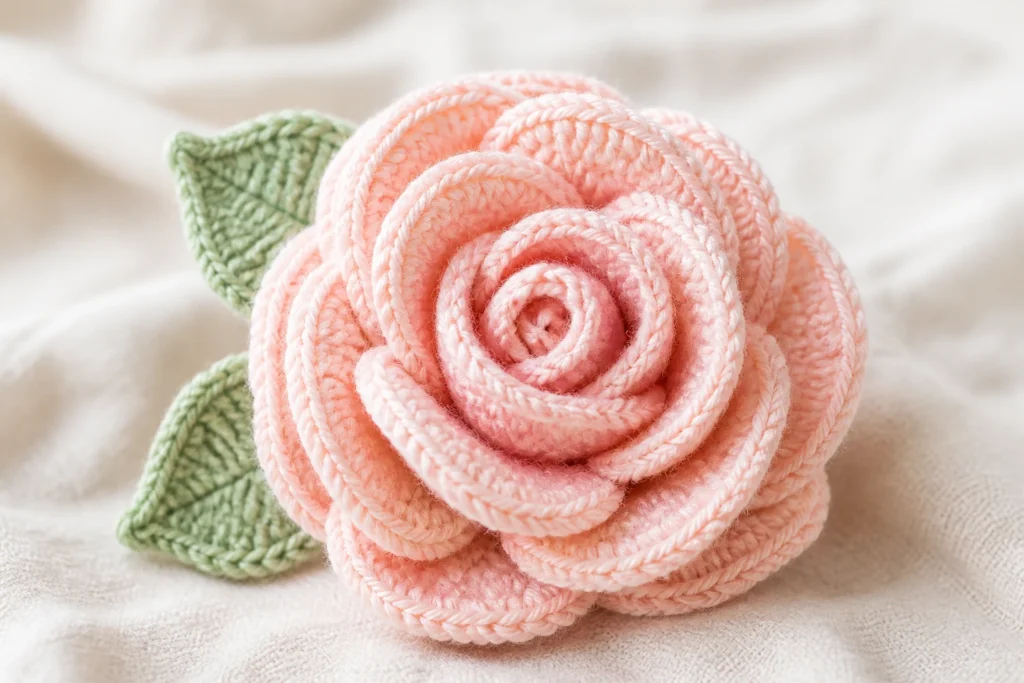
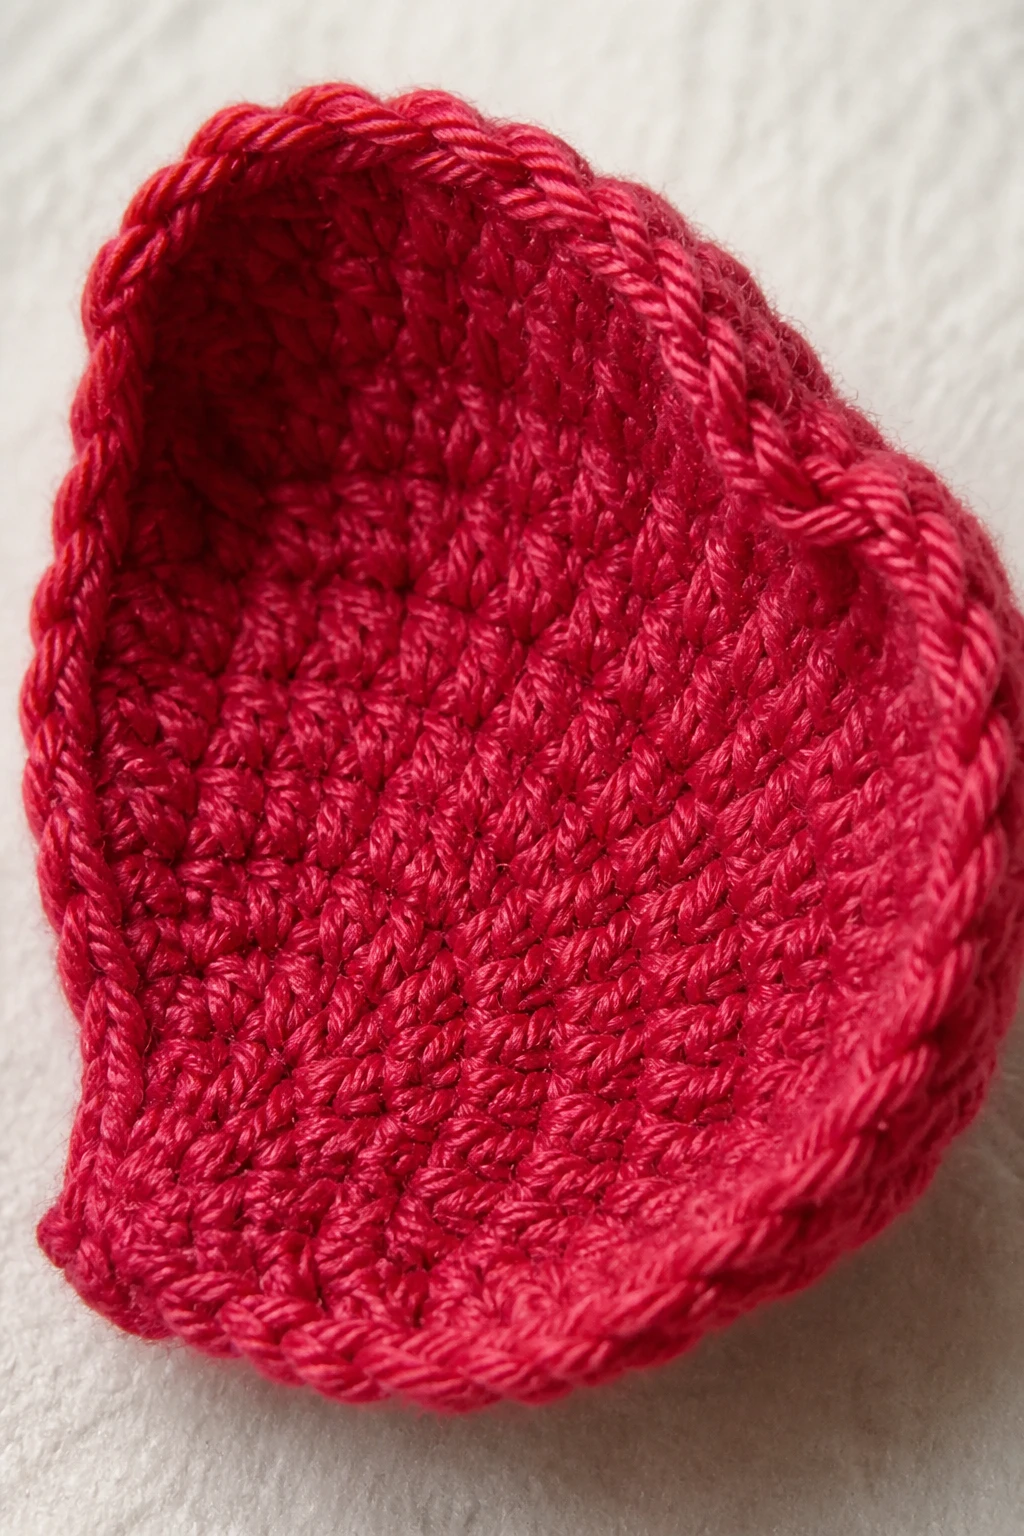
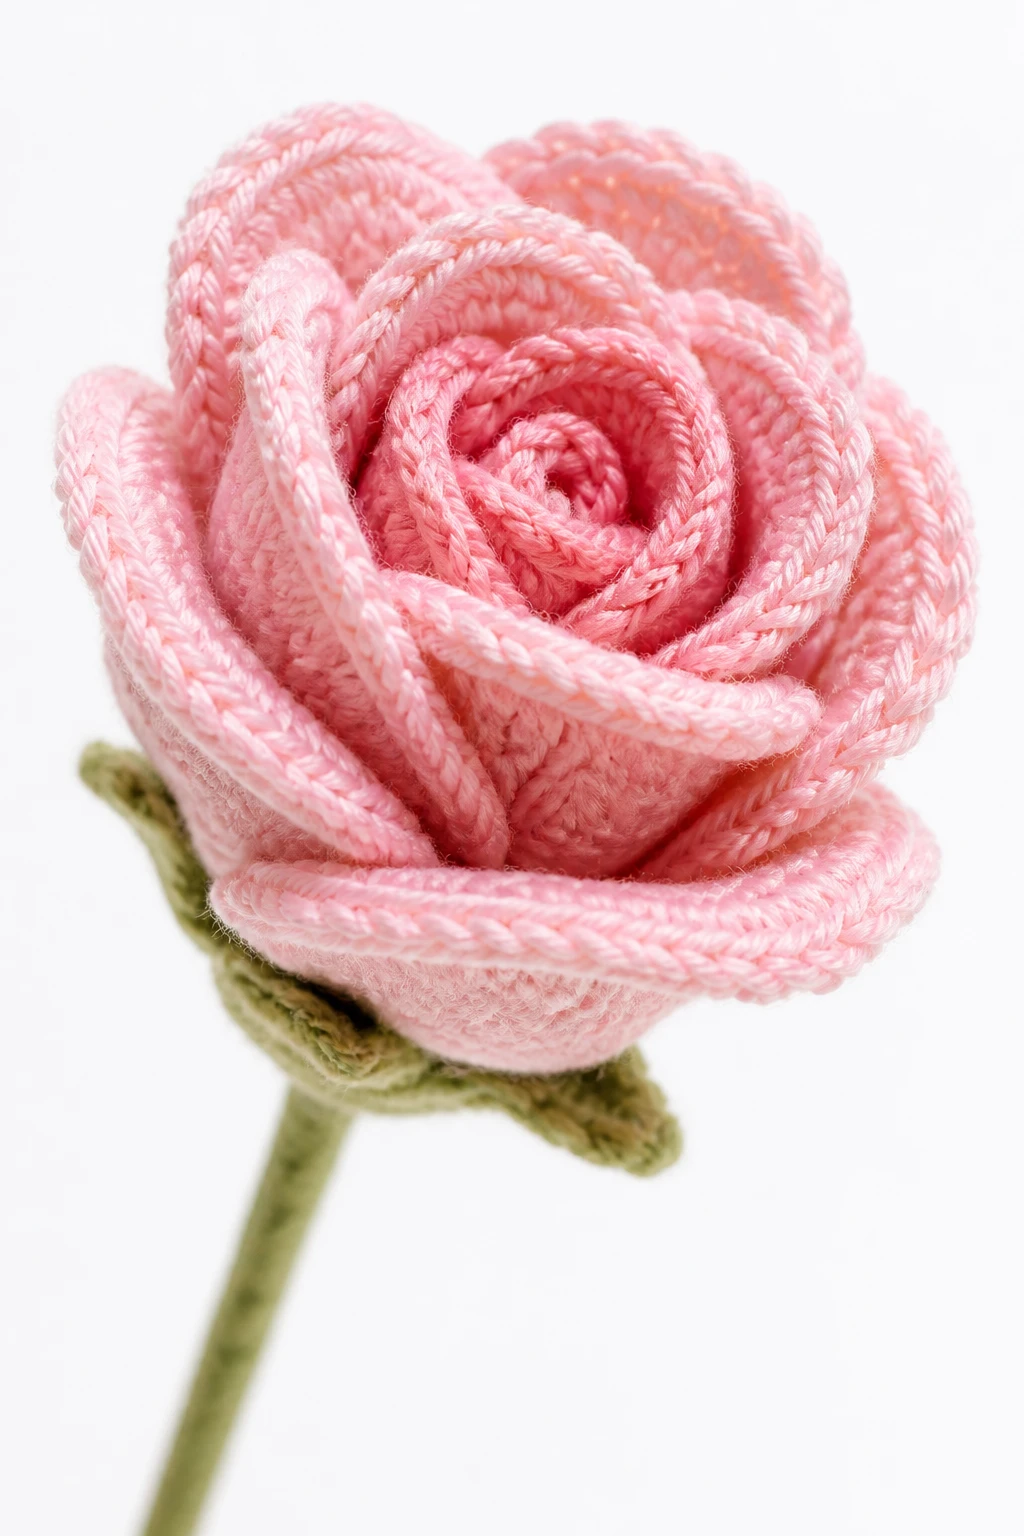
The classic garden rose: simple petals, big payoff
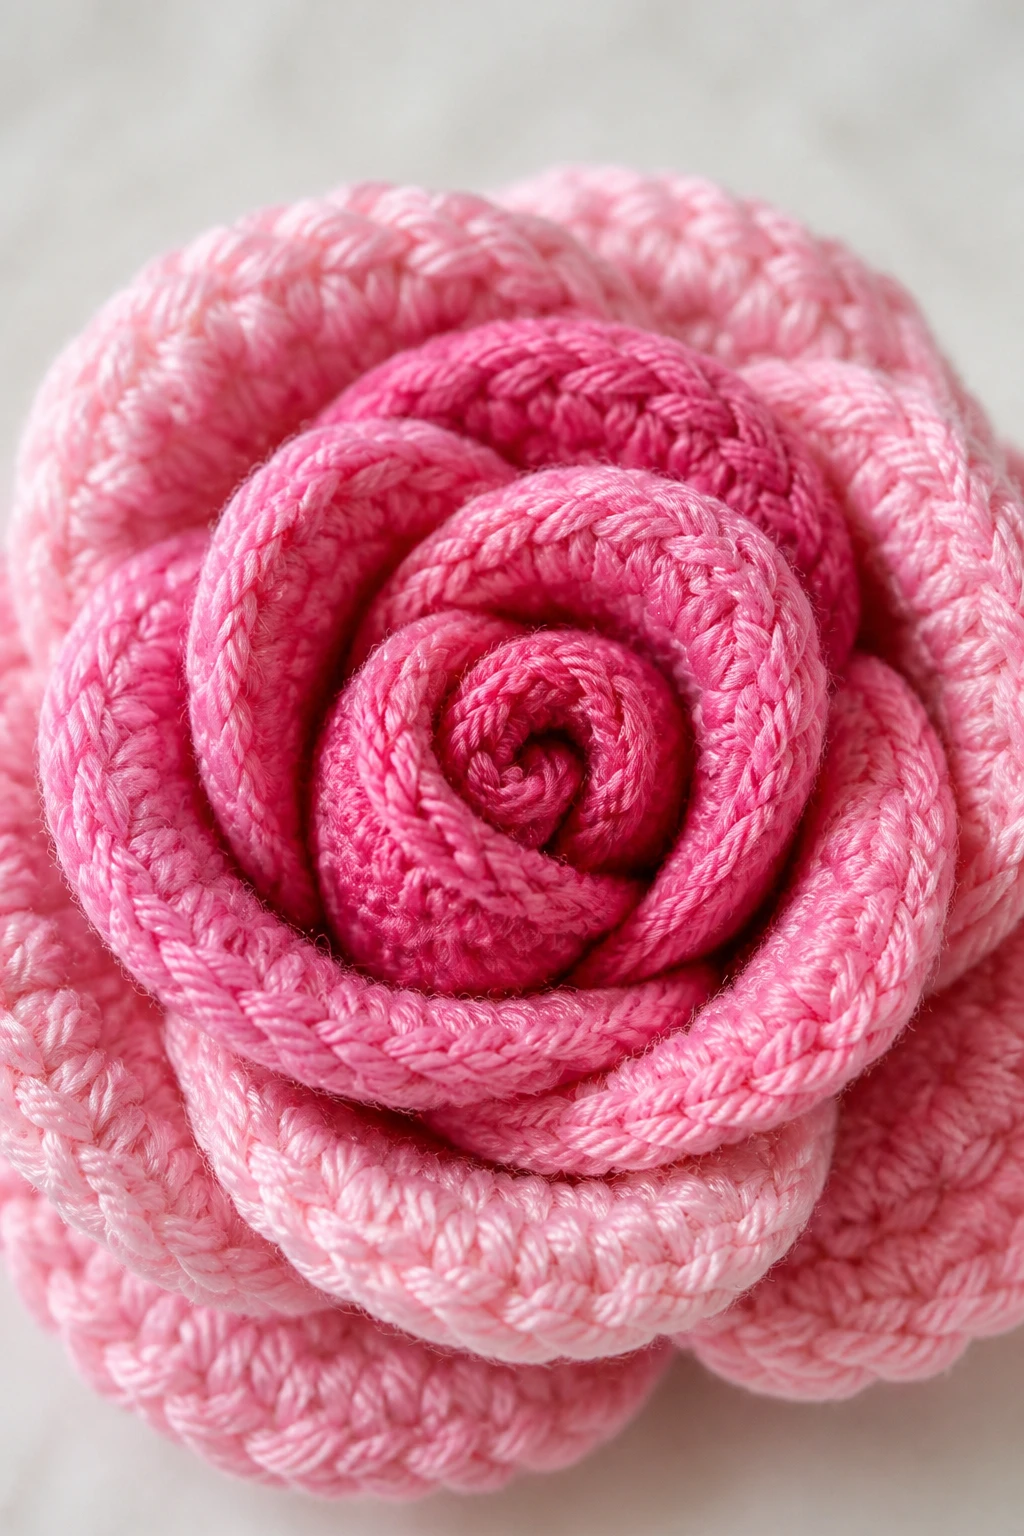
This is the vibe most beginners chase: a classic round rose with soft, layered petals. It’s forgiving, pretty, and shows off your growing skill without demanding micro-adjustments.
What you’ll typically use
- Medium-weight yarn (worsted) in a pretty shade
- Size G or H hook, depending on yarn brand
- Basic stitches: chain, slip stitch, single crochet, half double crochet
Why it’s great for beginners
- Petal shapes are simple ovals or teardrops, easy to replicate
- Let you practice tension control without sacrificing look
- Fast results keep motivation high
Tips to nail it
- Keep your stitches consistent—loose enough to be flexible, tight enough to hold shape
- Work petals in a gentle spiral to mimic a natural bloom
- Use a tiny bit of fabric stiffener or spray to help petals hold their curve once finished
Petal shaping 101
Petals aren’t just random loops. They have a rhythm. If a petal feels flat, try tightening your next stitches a tad and elongating the chain a touch. The curve should look natural, not cookie-cutter.
Textured charm: seed stitch roses for a modern twist
If you love something with a little texture, seed stitch roses add depth without complexity. The seed stitch look comes from alternating single crochets and slip stitches across a round, creating a dotted texture that reads as “fabric” rather than flat yarn.
What you’ll typically use
- Any weight yarn with a suitable hook size (check the pattern)
- A few finishing supplies: a bit of hot glue, a stem if you’re turning this into an ornament
Why it’s great for beginners
- Texture hides minor tension variations beautifully
- Less emphasis on perfect roundness, more on overall appeal
- Works well for small projects like brooches or appliqués
Tips to nail it
- Count as you go—skip counting can make the texture wobble
- Keep your yarn tension consistent, especially when changing colors
- Block lightly to even out the texture without flattening the stitch definition
Color notes for texture
Texture thrives on color play. Try two-toned petals with a lighter outer edge and a deeper center. It adds dimension without extra effort, and you can do it with almost zero extra technique.
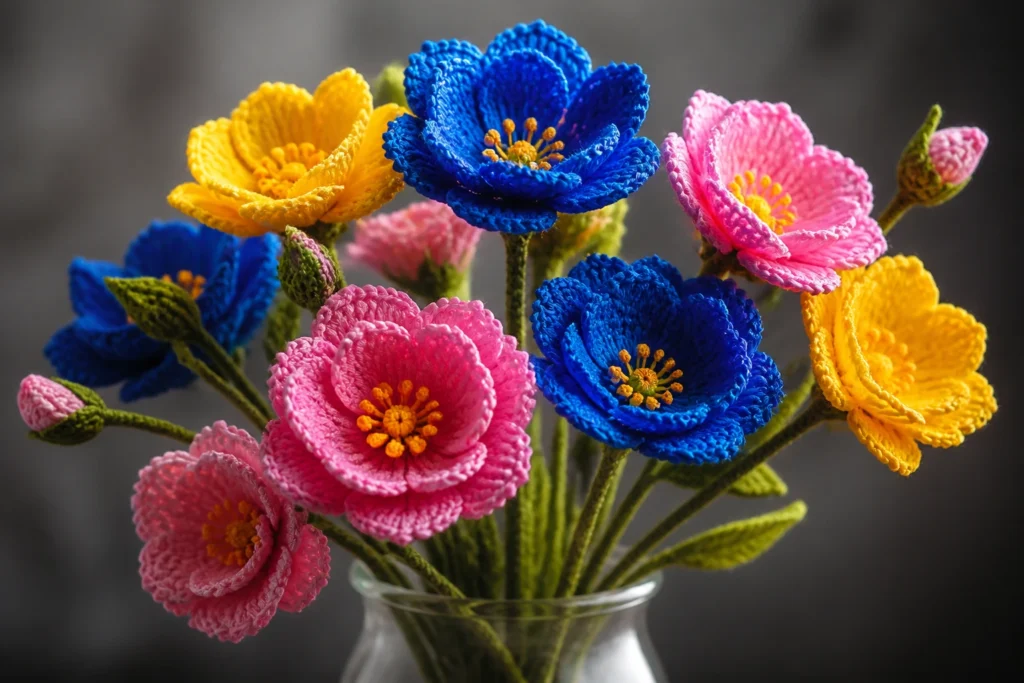
Mini rose bouquets: gifts that feel personal
Who doesn’t love a cute little bouquet? Mini crochet roses are perfect for brooches, hair accessories, or a compact gift. They’re quick, charming, and surprisingly versatile.
What you’ll typically use
- Lightweight yarn or leftover scraps
- Small hooks (size appropriate for the yarn)
- Wire stems or florist wire for structure (optional but fun)
Why it’s great for beginners
- Small size means you can finish several in one sitting
- Great practice for uniform petal shaping
- Ideal for practicing consistent rounds and stitches on a tiny scale
Tips to nail it
- Stabilize with wire if you want bendable stems; wrap with green floral tape for a clean look
- Use a light glue to attach petals if you’re not sewing the bouquet together
- Seal with a light acrylic spray to prevent fraying over time
Granny-style glow: rosettes from a classic technique
If you’ve dabbled in granny squares, you’ll recognize the rhythm in granny-style rose rosettes. This approach uses clusters and chains to create a layered, almost vintage look.
What you’ll typically use
- Medium weight yarns in contrasting colors for petals and centers
- Appropriate hook size to maintain stitch density
Why it’s great for beginners
- Structured rounds give you predictable results
- Excellent for practicing cluster stitches without getting overwhelmed
- Turns into jewelry, appliqués, or embellishments for hats and bags
Tips to nail it
- Mark the center so you can align petals perfectly around it
- Use a light touch when pulling through chains—don’t yank and distort the shape
- Experiment with colored centers for a playful look
Turning roses into wearable art
If you’re a fan of accessories, turn rosettes into pins, bracelets, or headbands. Attach a pin back or a small magnet for cute fridge decor. FYI, hot glue works for quick projects, but a needle and thread gives a more secure finish.
Specific beginner-friendly patterns to try right now
Here are a few pattern ideas that real beginners have used to get delightful results. I’ve kept the stitches simple and the rounds short so you actually finish something you’ll love.
Pattern A: Simple Crochet Rose Flower
– Start with a magic circle or a tight chain loop
– 6 single crochet into the circle
– Increase into 12 stitches for round two
– Crochet 3-4 petals with simple increases and decreases
– Finish with a neat slip stitch and weave in ends
Pattern B: Seed Stitch Rose
– Create a small round base with a few slip stitches
– Work seed stitch across several rounds
– Shape into a rose by increasing at regular intervals
– Wrap with a green stem if you’re feeling fancy
Pattern C: Mini Rose Pin
– Crochet a 6-8 round rose
– Attach to a brooch back and finish with a pin
– Optional: add a small bead in the center for a focal point
Tip: If a pattern feels too slow, switch to a lighter yarn and a smaller hook. You’ll get a delicate look in less time, which is perfect for practicing.
Tools and materials that actually help, not overwhelm
Choosing the right tools can feel like signing a lease for a tiny house. Here’s a pared-down list that keeps things easy and affordable.
What to keep in your crochet rose kit
- Basic yarn: 2-3 colors you love (worsted or DK weight works well)
- One reliable hook size, plus a smaller size for details
- Scissors, yarn needle for weaving ends, and a stitch marker
- Optional: floral wire, green floral tape, hot glue gun for stems
What to skip (for now)
- Lots of specialty yarns that shed or split easily
- Complicated cables or colorwork in early attempts
- Expensive hooks or fancy notions—keep it simple
Maintenance tip
- Wash gently by hand and lay flat to dry to preserve petal shape
- Store in a cool, dry place to prevent mildew and fiber creep
Common beginner mistakes (and how to fix them fast)
We all stumble. Here’s a quick diagnostic so you don’t carry the frustration forward.
– Mistake: Uneven petals due to tension changes
– Fix: Slow down, loosen or tighten your grip, and keep stitches consistently tight. A simple tension check can save you a world of wobbly petals.
– Mistake: Petals collapsing inward
– Fix: Don’t chase perfect shape on every petal. Allow a gentle curve and support from surrounding petals as you go.
– Mistake: Stitches slipping out while shaping
– Fix: Use a stitch marker to keep track of your rounds. It saves you from losing your place mid-petal.
Finishing touches that make a rose look pro
A few finishing touches can turn a decent rose into something you’d actually gift or show off.
– Blocking matters
– Lightly block with steam or shape petals by hand. Don’t flood the petals with water; just dampen and shape.
– Weaving ends neatly
– Weave the yarn tail through a few stitches to secure. Trim close to the fabric, not the yarn end.
– A touch of sheen
– A light spray of fabric starch or a dab of fabric glue (tiny amount) can help petals hold their shape. Be sparing—no stiff, plasticky flowers.
– Stems that actually stay
– If you want stems, reinforce with floral wire and wrap with green tape. It creates a realistic silhouette and doesn’t flop.
FAQ
Are crochet roses beginner-friendly if I’ve never crocheted before?
Yes, you can absolutely start with crochet roses even if you’re new to crochet. Look for patterns with a limited color palette, a handful of simple stitches, and lots of photos or diagrams. Start slow, practice basic stitches first, and the roses will bloom in no time.
Which yarn weight is best for beginner rose patterns?
Worsteds or DK weights are ideal. They’re easy to control, show stitches clearly, and finish quickly. You’ll get a nice balance of visibility and speed, which is exactly what beginners need to stay motivated.
How do I choose the right hook size?
Check the pattern, but a good rule of thumb is to pick a hook that matches the yarn label’s recommended gauge. If you’re between sizes, start with the larger hook for a looser, more forgiving fabric. You can tighten up on your next project once your tension improves.
What if my petals look different from the pattern?
That’s totally fine. Every crocheter’s tension and technique differ a bit. Compare your rose to itself over time, not to the pattern photo. If you want more uniform petals, slow down, measure consistently, and use a stitch marker to keep your place.
Can I turn crochet roses into real-looking bouquets?
Absolutely. Use a thin floral foam or a vase with a gentle fill, attach petals to stems, and maybe add a few leaves. You’ll end up with a bouquet that lasts far longer than real flowers—plus, you’ll get bragging rights at your next craft party.
Any tips for avoiding stiff petals?
Yes—avoid going overboard with stiffeners. Lightly shaping with your fingers and a touch of steam works wonders. If you use stiffeners, test on a scrap first. You want petals to hold curve, not feel like a plastic prop.
Conclusion
Crochet roses are the perfect entry point into a world of flowers that don’t fade. They’re quick to finish, forgiving enough for mistakes, and endlessly adaptable. From classic, soft petals to textured seeds-stitch vibes, you can explore a bouquet-full of styles without getting overwhelmed.
So, which pattern are you itching to try first? A traditional petal stack that oozes romance, a textured seed-stitch rose for modern flair, or mini rosettes you can turn into pins and embellishments? IMO, the best part is you get to decide how green-thumb-y your crochet garden looks. FYI, celebrate every little petal you conquer—you’re building momentum one round at a time.
If you want more tailored ideas, tell me your yarn weight, preferred color palette, and whether you want pins, home decor, or bouquets. I’ll map out a 2-week plan with bite-sized patterns you can actually finish without losing steam. Happy stitching, friend—your crochet garden is about to bloom.