I’ll admit it: real-looking crochet roses are basically tiny miracles you can wear or pin on everything. They bloom from yarn and a few hooked stitches, and suddenly your scarves stop being… well, scarves. They’re bouquets you can carry without muddy shoes. Ready to learn the art without turning into a professional grant writer? Let’s make roses that look almost suspiciously real.
Why crochet roses actually matter
Ever notice how a single rose can elevate a project from meh to “wow, did you buy this or knit it?” Crochet roses do that job for you, minus the thorns. They’re versatile: appliqués on hats, necklaces, bags, or home décor. They’re forgiving too—mistakes become texture, texture becomes charm, and charm sells cute.
– They’re small, portable, and beginner-friendly, but you can push them to look “fancy” with a little elbow grease.
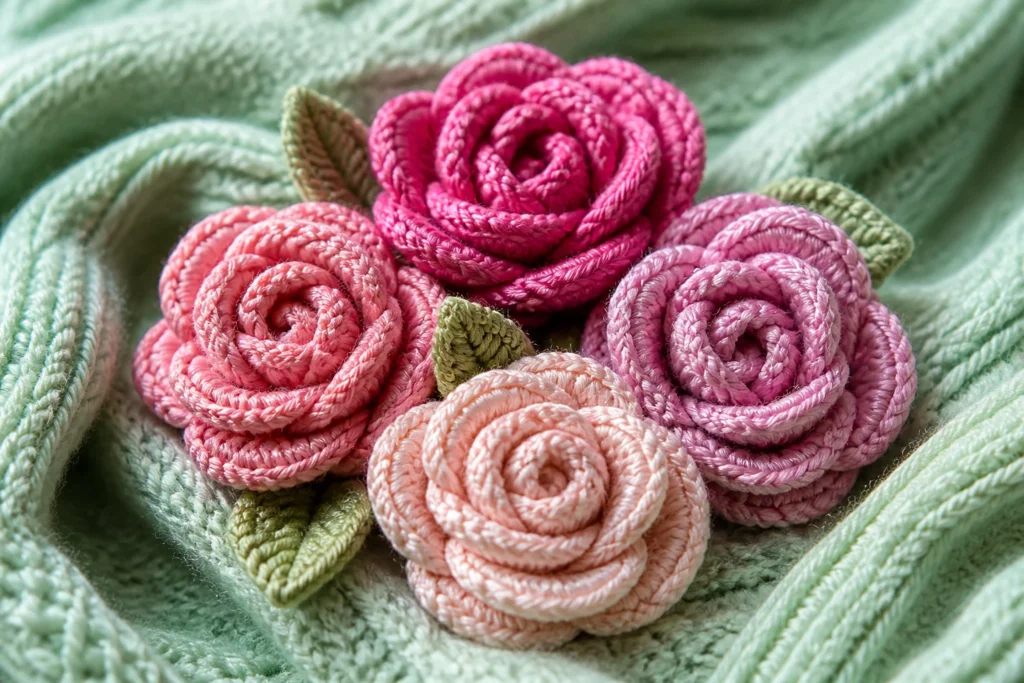
– They photograph well. FYI, a dozen on a leaf-green scarf make the whole thing look designer.
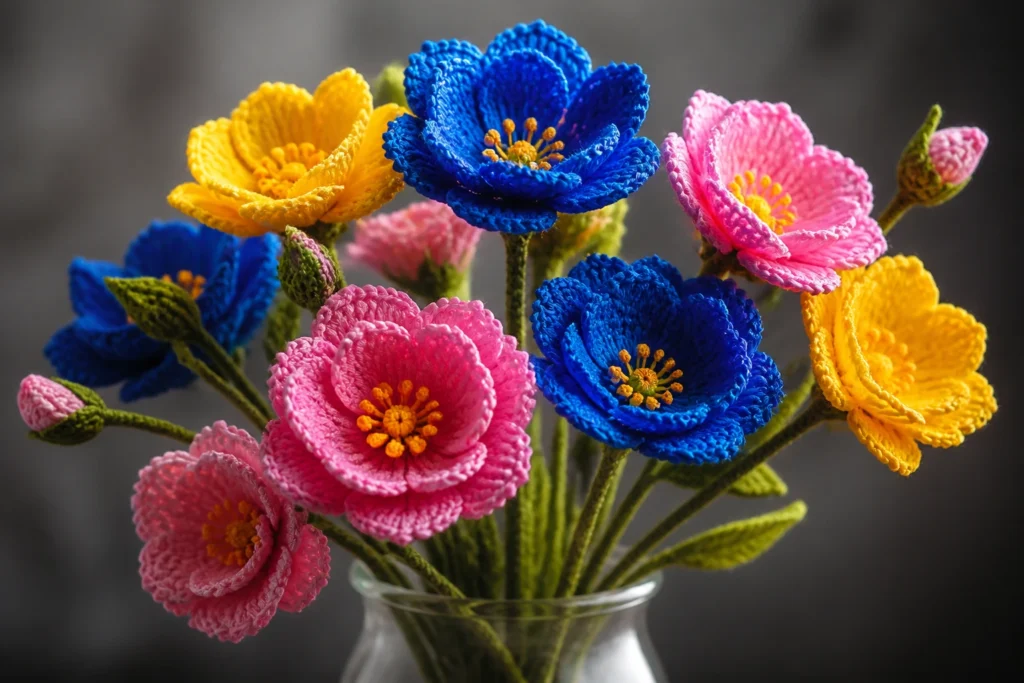
– They’re quick wins. You can make a bouquet in an afternoon and pretend you’re a crochet florist.
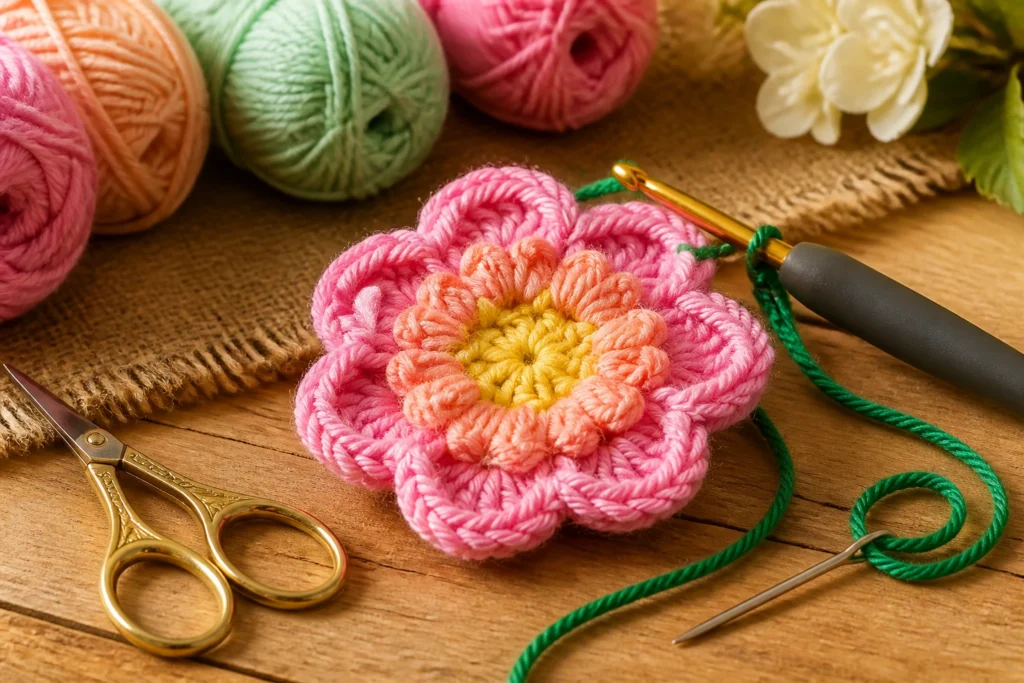
Choosing the right yarn and hook for realism
Reality in crochet roses starts with materials. You want yarn that behaves like a petal: soft, not clingy, and with enough sheen to catch the light.
Yarn picks
– Lightweight to medium weights (F standard DK or sport weight) usually work best.
– Look for yarn with a slight shine or satin-like finish; it helps with that “petal” gleam.
– Choose colors that aren’t too flat. A touch of variegation or a dyed gradient adds depth.
Hooks
– A hook size that matches your yarn’s label is a good starting point. Don’t force a super tight stitch—roses breathe.
– If your stitches feel stiff, switch to a slightly larger hook; if they’re sagging, go smaller.
Color strategy
– Start with 2-3 shades per rose: a base petal color, a mid-tone, and a very light highlight. You’ll see the petals “pop” with subtle shading.
– For more realistic depth, consider a tiny bit of edge shading along the outermost tips.
Foundational stitches that actually matter
You’ll live in the realm of chains, slips, and neat ruffles—nothing too spooky once you get the hang of it. The key is to shape petals rather than just stitch rows.
- Magic ring or adjustable loop: The classic starting point. It keeps the center neat and prevents a gappy blossom.
- Chains and slip stitches: Build the base, anchor petals, and keep things compact.
- Single crochet (SC) and half-double crochet (HDC): These form the petal layers. You’ll be surprised how far a single color variation goes.
- Treble crochet (tr) or double treble for delicate lace edges if you want an ultra-real look.
Petal shaping quick guide
– Start with a tight center: 4-6 stitches around the magic ring.
– Build layers outward with increasing chain counts to mimic curved petals.
– Slightly tug the petals after each round to encourage a natural bend.
– Finish with a tiny satin stitch or a small slip stitch bit to anchor.
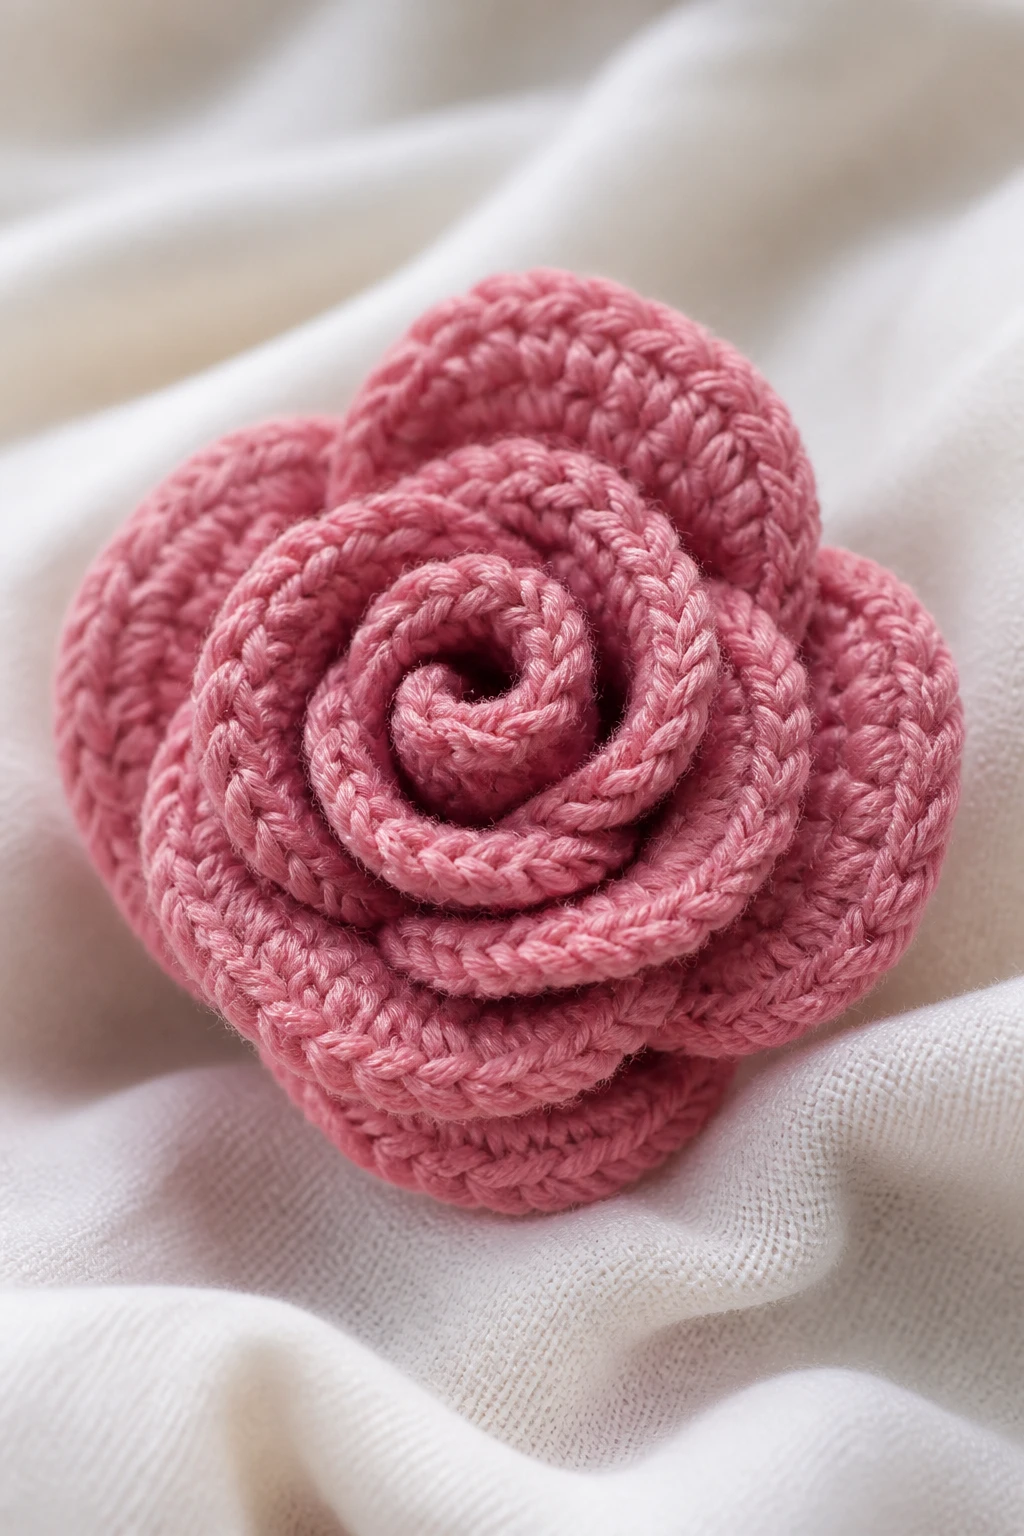
Crafting petals that don’t scream “fake”
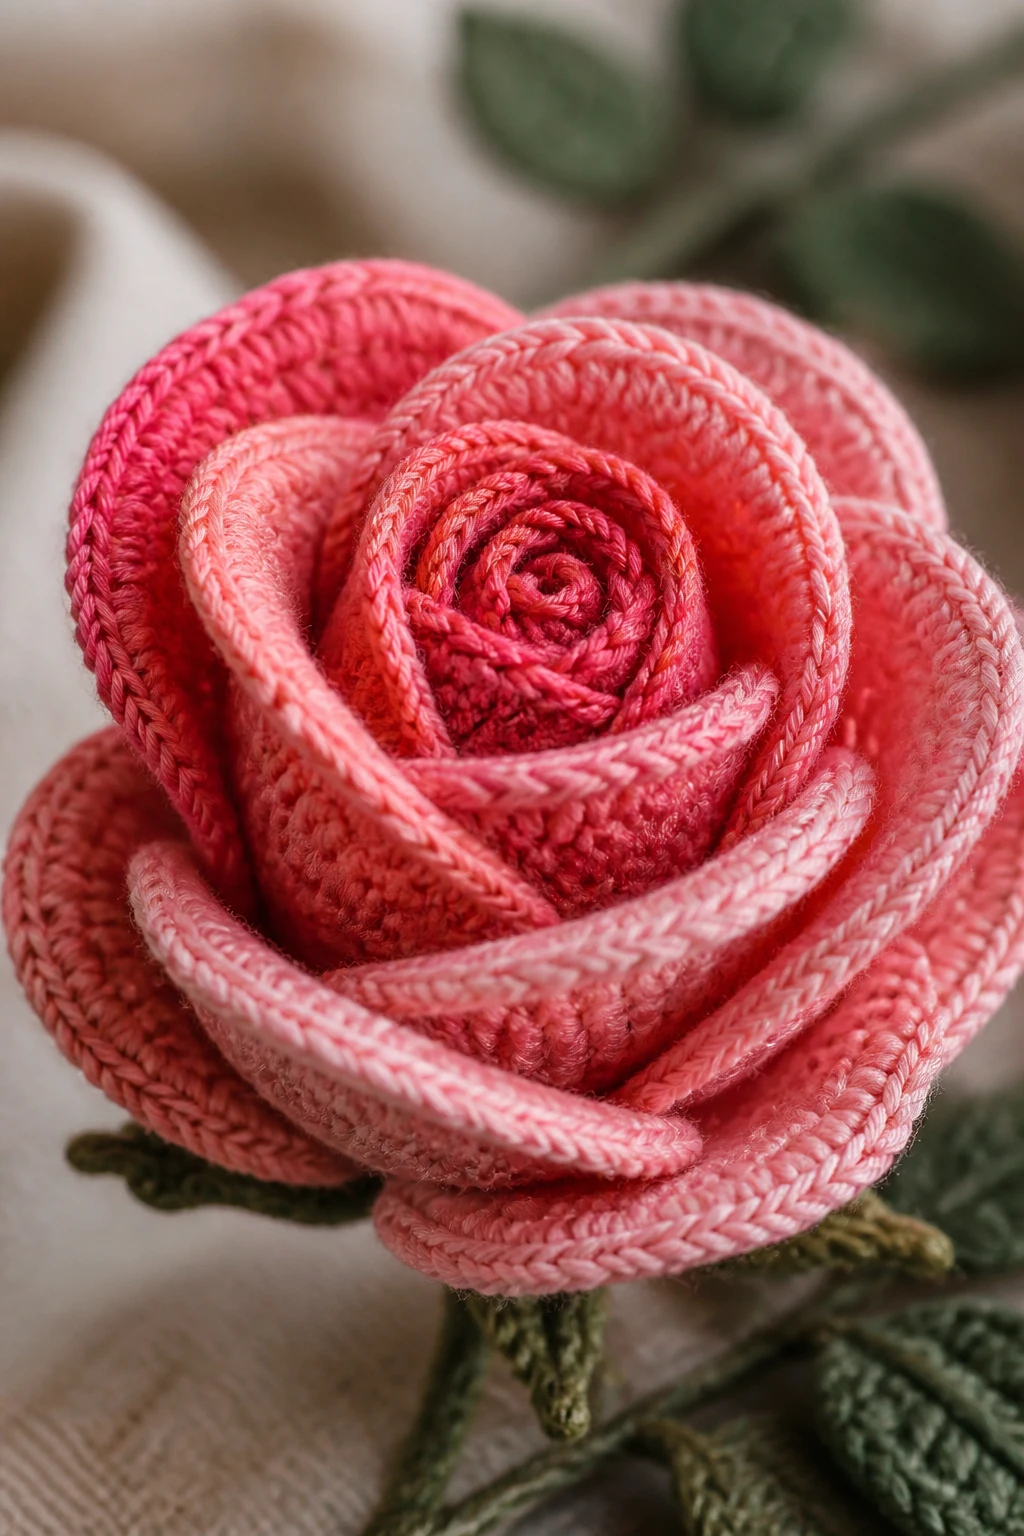
The difference between “roses” and “little yarn blobs” is in how you shape and shade. Real-looking petals curl, pull back, and overlap. Your rose should gradually unfold around a center.
Petal counts
– A simple, classic rose has about 5-7 petals in the outer layer, with a few smaller inner ones.
– Don’t be afraid to repeat petal shapes; variation creates a natural look.
Shaping techniques
– Curl the edges slightly by working with a looser tension on outer petals.
– On some petals, use a tiny extra slip stitch to nudge the tip forward.
– Add a small amount of stealth shading along the inner edges to give depth.
Depth through color
– Alternate the lightest shade at the outermost tips and the darkest shade deeper inside.
– Use a soft transition: don’t jump in color too abruptly.
Putting it all together: creating a bouquet-worthy rose
Now that you’ve got the muscles, assemble a full bloom. The assembly is where the drama happens.
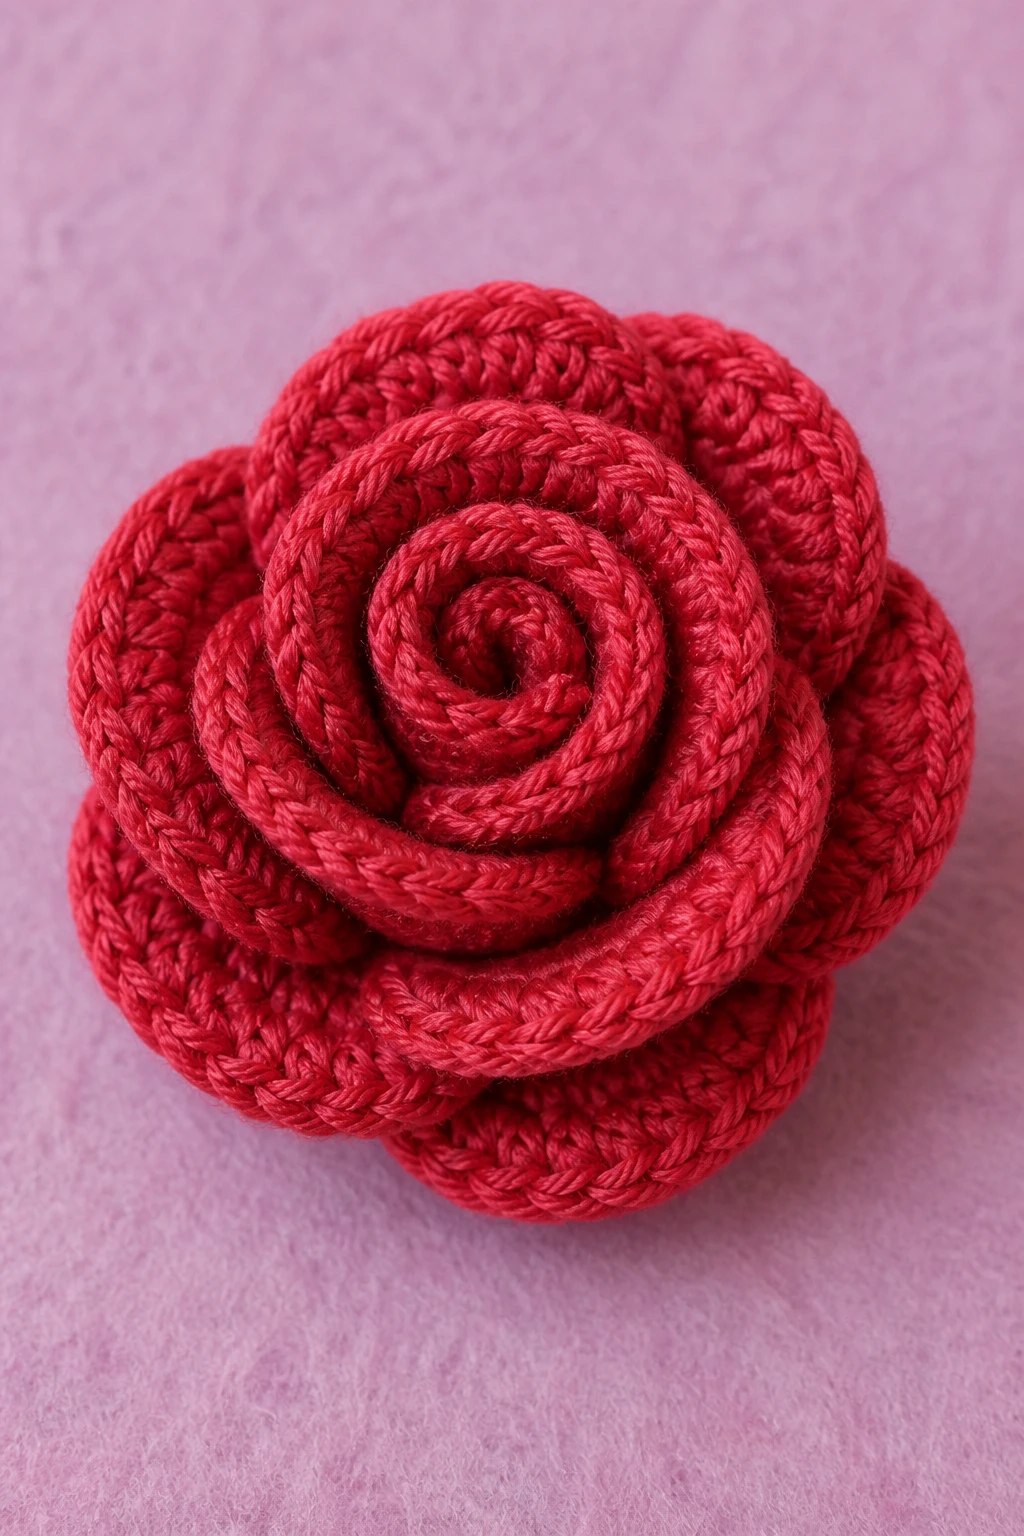
- Create a center: a small gathered circle with several tight loops.
- Attach petals: work around the center, one petal at a time, folding and positioning them to form a curved outer edge.
- Shape the stem: wrap a thin green pipe cleaner or wire with green crochet or floral tape for security.
- Finish with leaves: 2-3 small leaves can frame the rose, anchoring it to whatever you’re attaching it to.
Variations that keep your crochet roses interesting
Roses don’t have to be all identical. A few easy tweaks can create a whole bouquet of styles.
Miniature garden roses
– Use a finer yarn and reduce petal count to 4-5 for a dainty look.
– Curl the outer petals more aggressively for a compact bud.
Ruffled rose
– Use a combination of shorter stitches and longer chain gaps to create a wavy edge.
– Alternate color slightly within the same shade family to mimic rippling petals.
Vintage-inspired rose
– Choose two slightly offset beige or dusty rose shades.
– Use a slightly larger hook and looser tension so petals bloom more widely.
Finishing touches that make it believable
The finishing details can turn a good rose into a showstopper.
- Center detail: A tiny bead or a French knot in the middle can imitate a stamen, adding realism.
- Petal sheen: A light spray of fabric stiffener or a dab of fabric glue on the tip gives a subtle gloss—careful, not sticky.
- Leaf veins: A quick pass with a blunt needle or fine thread to create subtle vein lines on leaves makes the whole piece look curated.
Attachment tips
– If you’re planning a brooch, sew the rose onto a sturdy pin backing before finishing leaves.
– For clothing, stitch through the center after you’ve wrapped the stem to anchor it well.
– If you want a faux “fresh-cut” look, trim the stem to a pointed end and insert into a fabric flower corsage.
Common pitfalls and how to dodge them
No rose is perfect on the first try. Here are quick fixes for the usual suspects.
- Stiff petals: Loosen your tension a notch and avoid over-stretching as you shape edges.
- Gappy centers: Use the magic ring and tighten the first round. You want a tight, closed center.
- Flat petals: Curl the outermost stitches; add a tiny amount of tugging along the edge to coax a curve.
Inspiration points: where to see what others are doing
Want a little nudge? Check out these ideas to fuel your next rose project.
- Follow crochet artists who specialize in florals. Their color palettes can be surprisingly inventive.
- Look at dried-rose textures for color inspiration—think muted pinks with a hint of ochre.
- Experiment with variegated yarns for a “natural” color shift across the petals.
FAQ
Can I crochet roses with only basic stitches?
Yes. You can start with a magic ring, a handful of chains, single crochets, and a few increases. As you grow comfortable, you’ll be amazed at how much personality you can build with those basics.
What’s the easiest way to make the center look natural?
Begin with a tight center using a small ring or compact tight stitches. A few rounds of 4-6 stitches around the ring work wonders. If you want extra realism, add a tiny bead or knot in the middle.
How do I keep the petals from unraveling?
Secure every new layer with a slip stitch or a tiny dab of fabric glue on the joint. Then gently shape and position the petals so they stay put.
What if my colors look odd together?
Experiment. Sometimes a slight color tweak helps: add a third shade for depth, or choose colors closer on the color wheel. FYI, contrast is your friend if you want a pop, but keep a coherent palette.
What are practical uses for crocheted roses?
– Hair accessories: clips, headbands, or pins.
– Gift toppers: a rose bouquet accent on wrapped presents.
– Home décor: pillow accents, wall hangings, or decorative garlands.
– Fashion: brooches, bag charms, or necklace pendants.
Conclusion
Crochet roses aren’t just pretty stitches; they’re tiny, hand-made statements. They invite you to play with texture, shade, and shape without needing a studio full of gear. If you’re ever doubtful, remember: even a single rose can brighten a plain project and a dull afternoon. IMO, the best part is that you can make something beautiful that’s totally unique to you—the little joy of “I made this” in yarn form.
If you want, I can tailor a rose pattern to your yarn, color preferences, or project—just tell me your weight, color family, and whether you want a compact bud or a fully open bloom. Happy stitching!