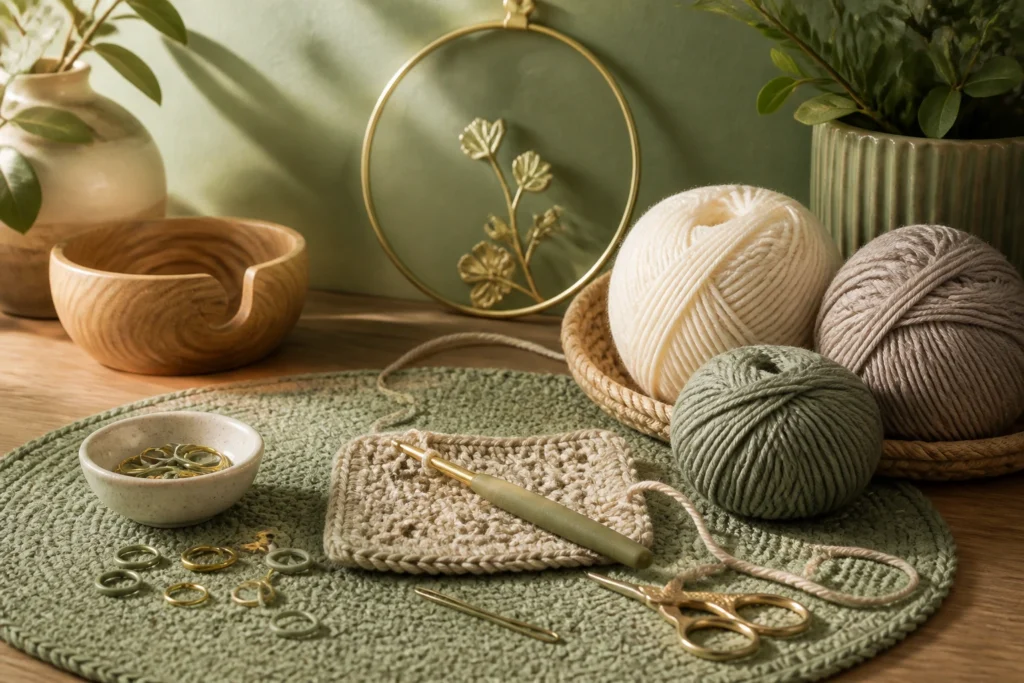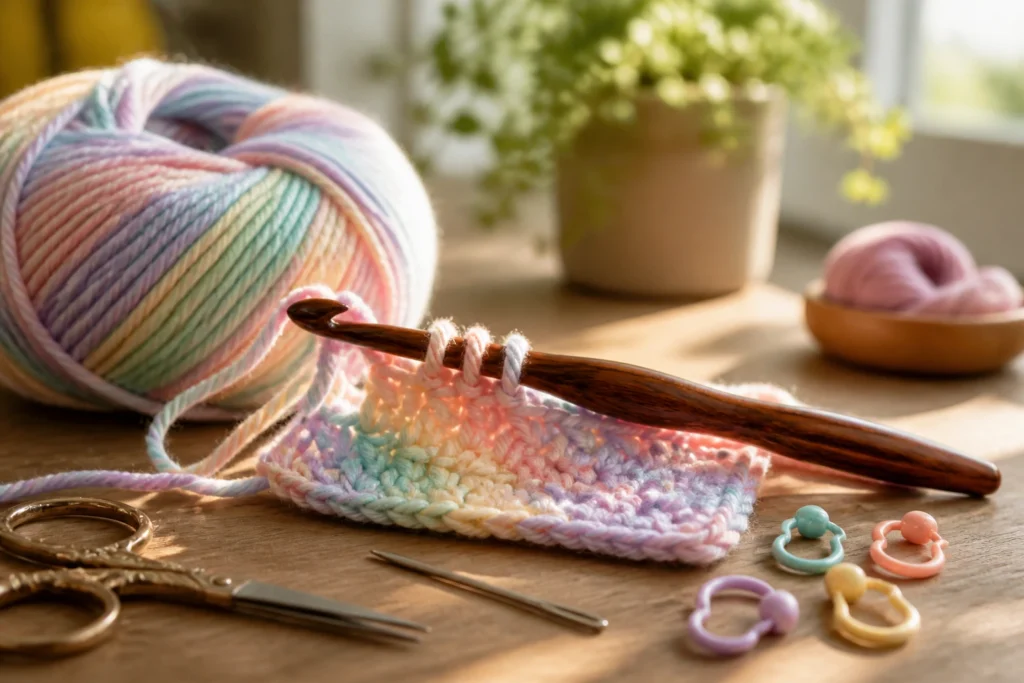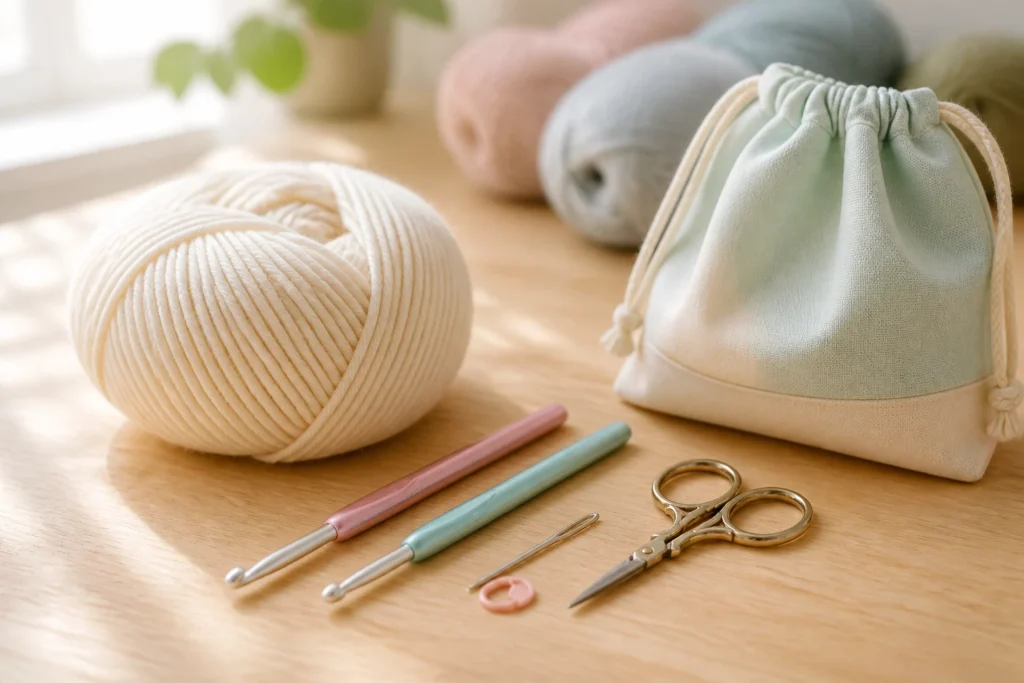
Crochet momentum is real, and you’re about to ride it with a trusty set of tools in hand. You don’t need every gadget under the sun to start strong, but a few well-chosen basics will save you time, frustration, and unnecessary yarn tangles. Let’s build your starter toolkit like a pro and actually enjoy the process.
The Absolute Essentials: Tools You’ll Reach For First

– Happiness in a hook isn’t a myth. Start with a comfortable hook size for beginners—usually a 4.0mm to 5.5mm (G to I) works for most beginner yarns.
– Quality yarn that doesn’t hate you matters. Choose a smooth, medium-weight yarn (industry label: worsted/Category 4) in a light color. Lighter shades let you see stitches clearly, and you’ll avoid sudden color shifts that hide mistakes.
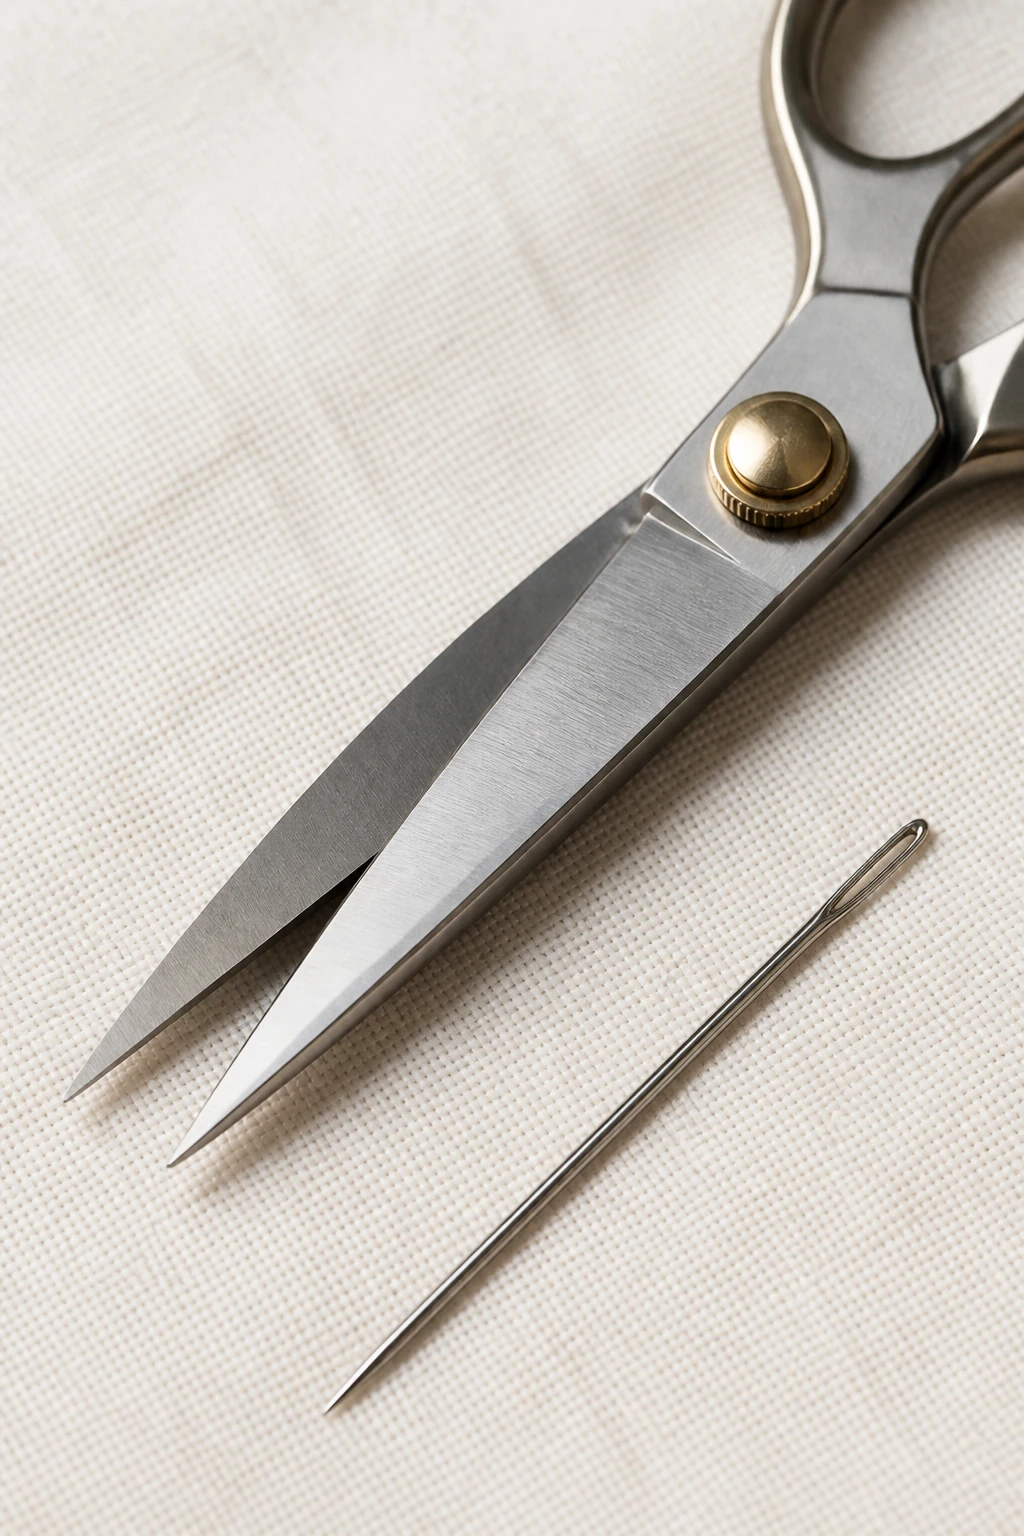
– A sturdy pair of scissors and a tapestry needle for weaving in ends. Simple, reliable, and essential, even for quick projects.
– A comfortable stitch marker (or even a scrap of leftover yarn) to keep track of your starting chains. Trust me, you’ll thank yourself when you don’t lose your place mid-row.
– A reliable project bag or container to corral hooks, yarn, and patterns. Messy craft space is a motivation killer.
The Right Hooks: How to Pick Your Tools

– Material matters: Aluminum hooks glide smoothly and are affordable, perfect for beginners. Steel hooks are tiny and precise (great for thread work), but a little slippery if you’re just learning. Plastic hooks tend to be grippy and easy on the hands but can wear quickly with tougher yarns.
– Ergonomics aren’t optional once you start typing your fingers into a crocheting marathon. Look for padded handles or soft grips if your hands cramp easily. You’ll thank yourself after a long session.
– Size matters twice: The hook size you choose affects gauge and tension. If you’re using a standard worsted-weight yarn, start around 4.5mm to 5.5mm and adjust if your stitches look tight or loose.
Yarn: The Right Stuff for a Calm Beginning
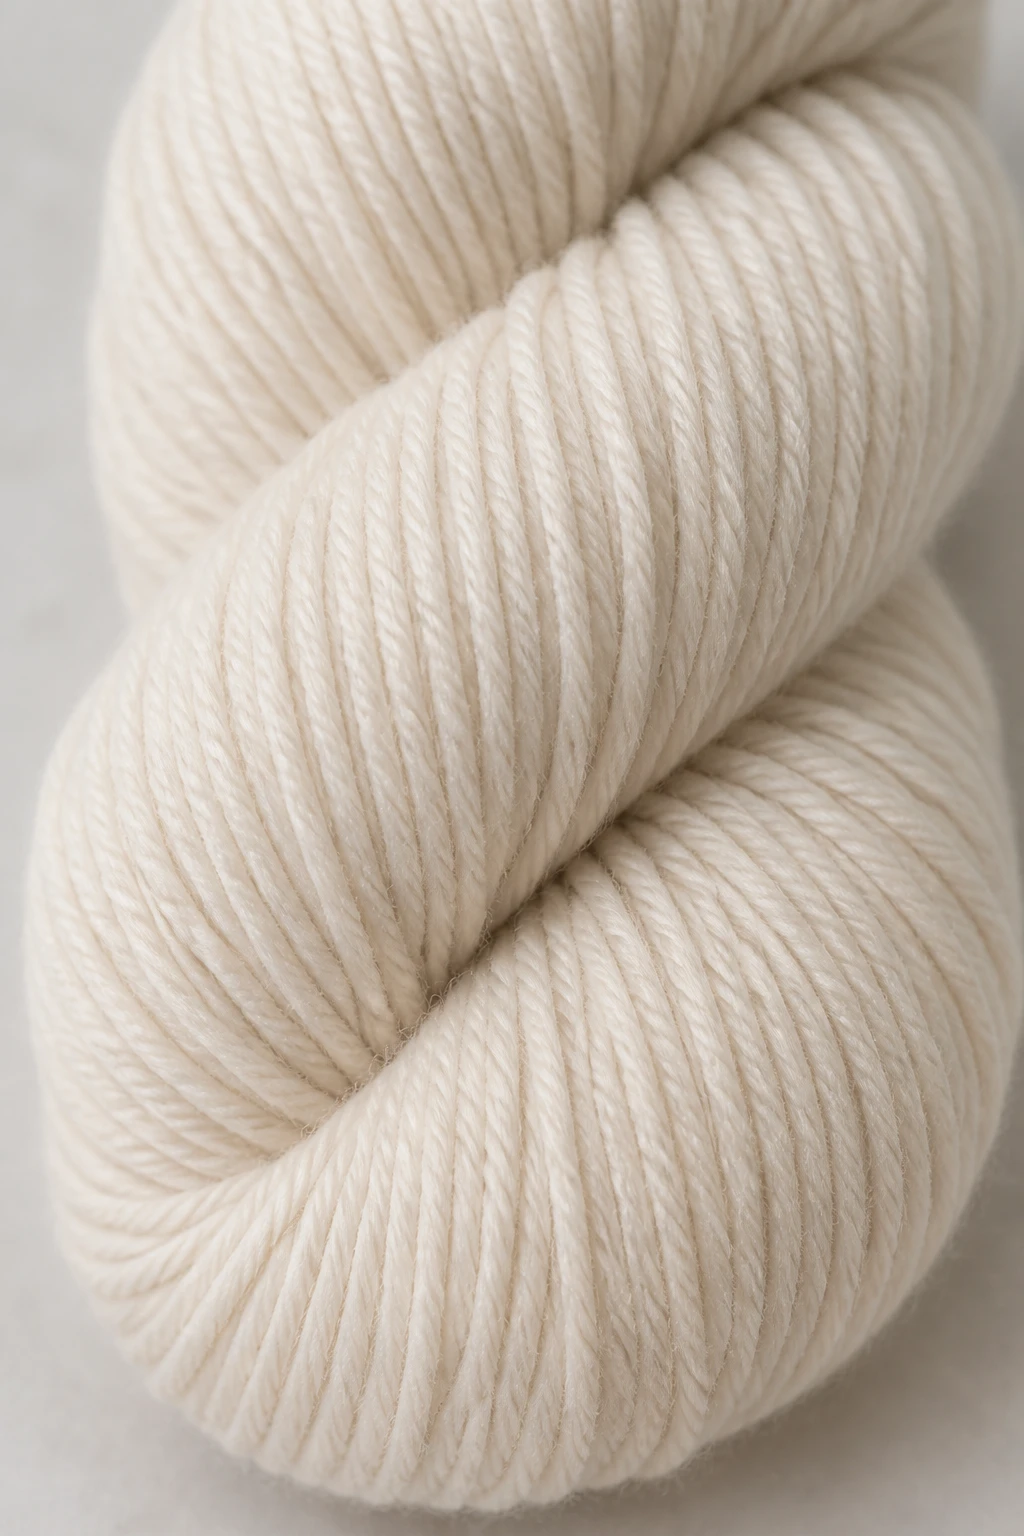
– Go for something forgiving like acrylic blends. They rinse clean, don’t split too badly, and are budget-friendly for practice work.
– Pick a comfortable color that you won’t hate after three rows. You’ll be staring at this yarn a lot; better to enjoy the process.
– Before you commit to a project, grab a small skein and test tension. If your stitches look like a braid, you’re probably too tight. If they look floppy, you’re too loose. You’re aiming for consistently even stitches.
Storage and Organization: Save Your Sanity
– A simple storage solution beats a roving cat hair party around your craft area. A small tote or box with separate compartments for hooks, scissors, markers, and yarn keeps everything accessible.
– Use clear containers for yarn. You can see what you have without tearing the place apart at 2 AM—trust me, I’ve been there.
– Label your supplies if you’re building a collection. A tiny sticker with the hook size or yarn weight saves a lot of confusion later.
Helpful Accessories That Actually Make Life Easier
– Stitch markers are your best friends in the beginning. They mark your beginning chain or a pattern repeat so you don’t lose track.
– Tape measure for gauging gauge swatches. Gauge matters for garments, but even for simple scarves, it helps you get the fabric density you want.
– Row counters can feel fancy, but they save you from counting in your head after a long, relaxing movie night. If you don’t have one, a tiny piece of scrap paper works too.
– A stuffed sample swatch helps you see how different yarns behave with your chosen hook. It’s the “test drive” before you commit to a big project.
What to Do First: Simple Projects That Build Confidence
– Start with a basic scarf or washcloth. Keep it square and consistent. You’ll practice establishing your gauge, turning chains properly, and finishing ends cleanly.
– Try one easy pattern repeat—a simple shell stitch, granny square, or a basic ripple. Repetition helps your brain lock in muscle memory.
– Choose a low-stress project for your first big win. A wrap or a baby blanket might be tempting, but something quick and visible keeps motivation high.
Deeper Dives: Tackling Common Beginner Hurdles
Why My Tension Is All Over the Place
– Your hands aren’t used to a constant grip yet. Use lighter yarn, practice consistent wrap around the hook, and measure your gauge with a swatch. Don’t sweat it—adjust as you go and your tension will normalize.
How to Fix Common Mistakes Without Tears
– If you skip a stitch, don’t pull the whole thing apart. Use a crochet hook to pick up the missed stitch and continue. If you’ve dropped several stitches, come back with a crochet lifeline—insert a contrasting thread along the row and work back up to the mistake.
– For messy ends, weave them in as you finish a project instead of leaving long tails. It saves you time and reduces itchiness from loose ends poking out.
Choosing Between Acrylic, Cotton, and Blends
– Acrylic is forgiving and affordable—great for beginners.
– Cotton has great stitch definition but can be stiff when you’re learning. A blend often offers the best of both worlds.
– Wool blends can feel luxurious, but they might be a tad warmer to work with and may shed a bit.
FAQ: Quick Answers to Your Burning Crochet Questions
What hook size should I start with for worsted weight yarn?
Start with a size around 4.5mm to 5.5mm. If you’re making tight stitches, go up a half size. If your stitches look loose, go down a half size. It’s all about finding your personal rhythm.
Do I need fancy tools to begin, or can I DIY my way through?
You can absolutely start with a basic kit. A couple of aluminum hooks, a ball of beginner-friendly yarn, scissors, and a tapestry needle will carry you a long way. Upgrades are nice, but not required to learn the craft.
How many skeins do I need for a beginner project?
That depends on the project. A simple scarf might use 1–2 skeins of worsted weight, while a blanket could require several. Always buy a little extra for swatching and mistakes, because you’ll be learning consistency and gauge—this is where the extra yarn saves you a headache.
Is it normal to feel overwhelmed by tools and patterns?
Totally normal. Start with the basics, keep patterns simple, and gradually add tools as you feel comfortable. IMO, a calm workspace and a simple goal help a lot more than chasing the perfect gadget right away.
How do I choose colors that won’t drive me crazy?
Begin with light or medium tones that show stitches clearly. Bright colors can hide mistakes, while neutrals show them more obviously. Pick a color you’re excited about, but don’t overthink it—you can always redo with a new shade later.
Conclusion: Gear Up, Get Hooking, Enjoy the Process
Starting crochet isn’t about collecting gear; it’s about setting yourself up for consistent, joyful practice. With a solid starter toolkit, you’ll glide through pattern repeats, fix mistakes faster, and actually finish projects without turning into a frustrated yarn mummy. FYI, your future self will thank you for not giving up in row three.
So grab a comfy hook, a forgiving yarn, and a tidy workspace. Practice a little each day, celebrate small wins, and don’t be afraid to laugh at a dropped stitch or two. You’ve got this—one stitch at a time.