I get it. You pick up a skein, you chain a few stitches, and suddenly your scarf looks like a doodle in a wind tunnel. Yarn doesn’t discriminate, but beginners often do the same funny mistakes. Let’s cut to the chase and fix them fast so you actually enjoy the process.
Common Yarn Mistakes Beginners Make and How to Avoid Them
You’re not alone if your first project turned into a tangled hero’s journey. Here, we’ll spotlight the rookie slip-ups and give you quick fixes. FYI, most of these are tiny habit changes, not magic spells.
Choosing the Wrong Yarn for the Project
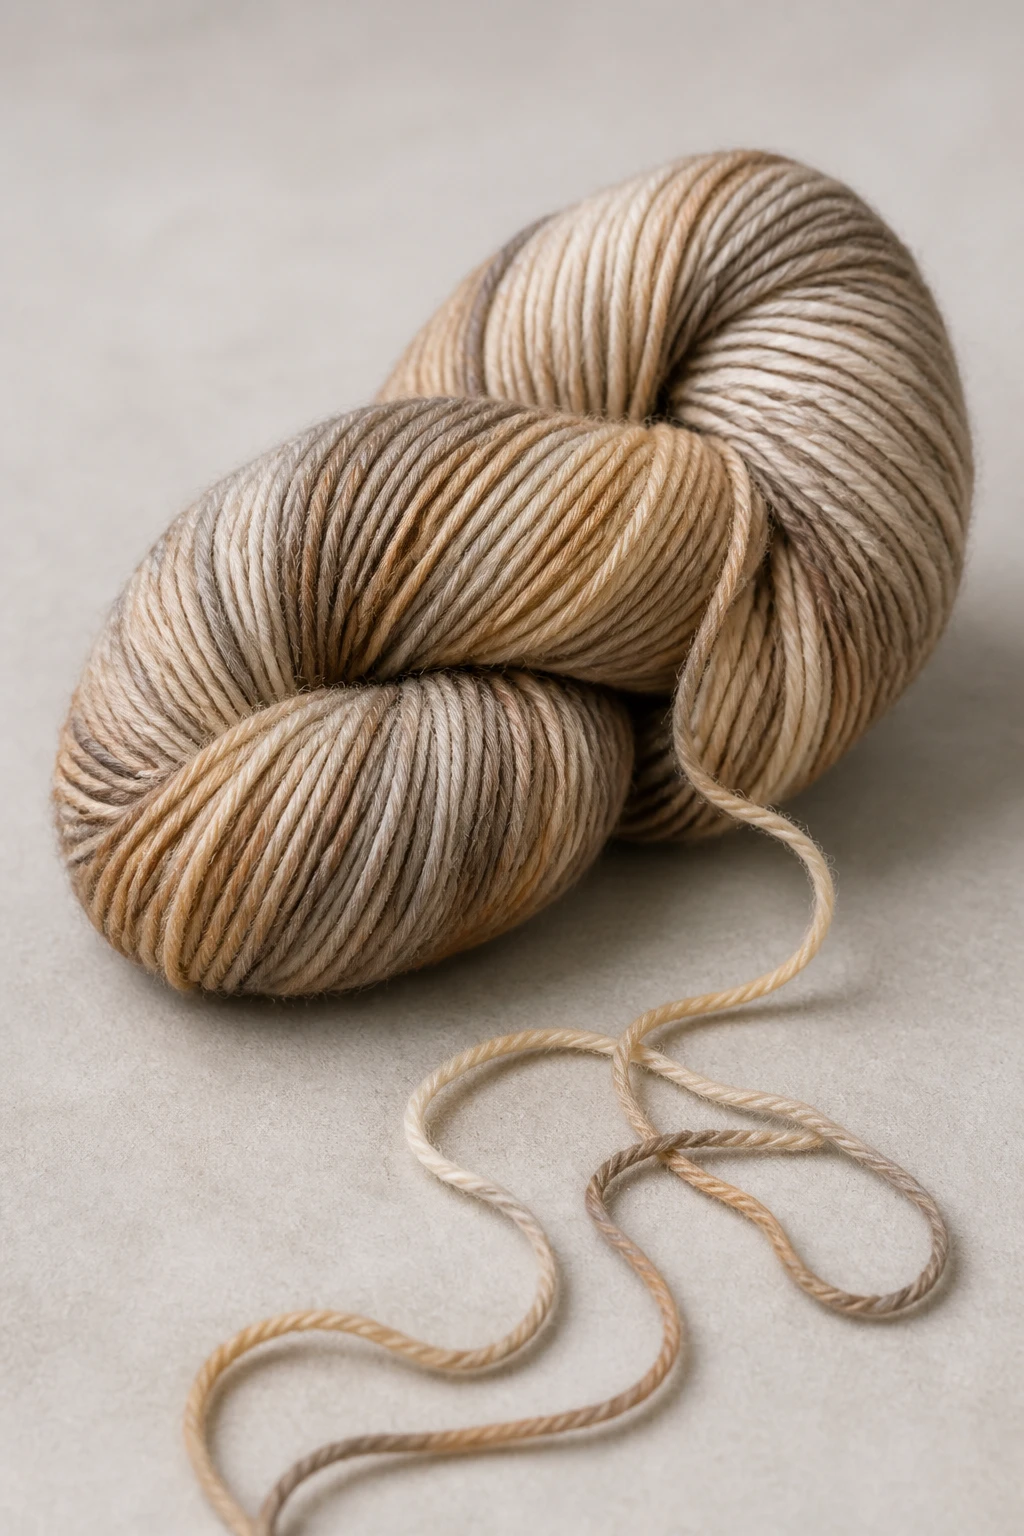
– Feels vs. function matters. A super soft alpaca is gorgeous, but it loves to shed and slip out of your hook or needles if you aren’t careful.
– Weight matters. If your pattern calls for DK, don’t grab bulky just because you like the texture. The look may be cozy, but the gauge will betray you.
– Fiber behavior. Cotton is stiff when it’s new, wool relaxes as you work. Acrylic is forgiving but can split.
Deeper dive: How to pick cleanly
– Check the gauge swatch first. It’s your crystal ball for drape and size.
– Read the pattern’s yarn recommendations, then assess your stash. If you’re down to scraps, pick a simple stitch, not a chaotic blend.
– Do a quick pull test. If the yarn frays or sheds in your fingers, you’ll fight it in row 3.
Not Swatching Before You Commit
Swatching sounds like a fun-killer, but it saves you from sweat-shortage panic in the final size department.
– Save time later by testing gauge on actual pattern stitches.
– If your swatch pings, your whole project might ping too. Better to know now than after you’ve invested hours.
How to swatch without drama
– Make a 4×4 inch square (or the size your pattern suggests).
– Use the same needle size you’ll use for the project.
– Block or don’t block the swatch exactly how you’d finish the real thing, so your gauge isn’t lying.
Tension Is Everything: Too Tight, Too Loose
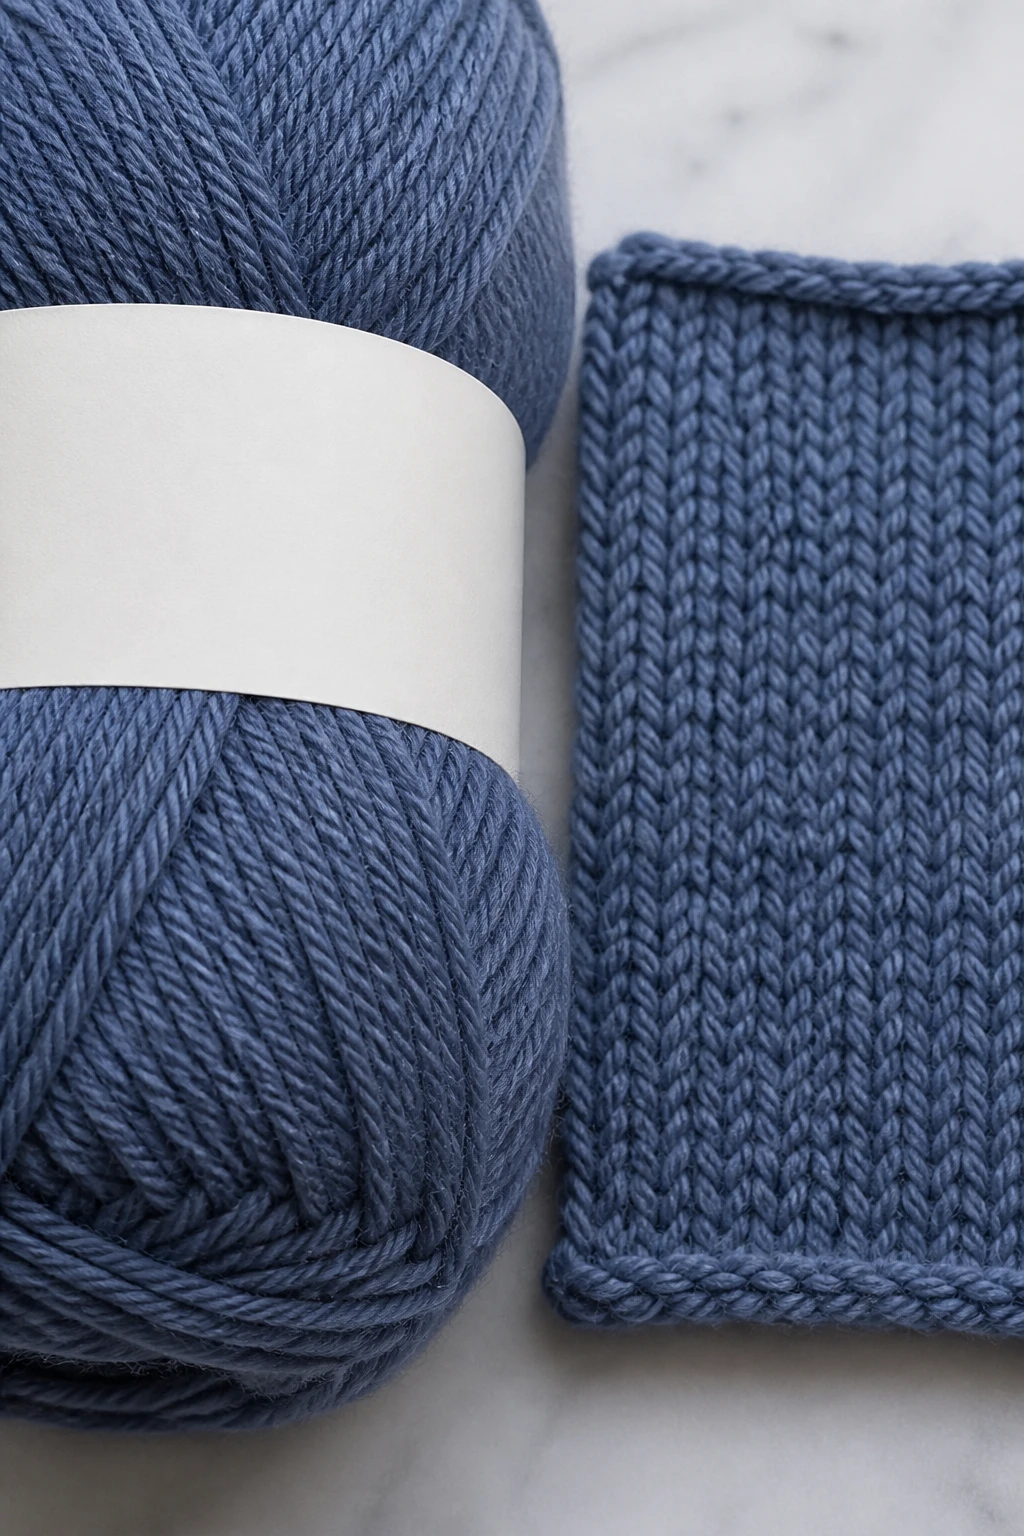
If your fabric feels like it’s auditioning to be a belt, you’re probably too tight. If it’s droopy like a napkin, you’re too loose.
– Too tight = stiff fabric, painful wrists, and wonky stitch definition.
– Too loose = holes, sag, and that “driftwood scarf” vibe that makes you want to start over.
Tips to dial it in
– Practice a light touch. Imagine you’re petting a kitten, not strangling a rubber chicken.
– Switch hooks/needles gradually. Small changes equal big differences.
– Use stitch markers. They’re like road signs for your tension.
Skipping the Stitch Pattern Mindset
Rookies often freestyling with half-charts and guesswork. It shows up as uneven rows, misprints, and a project that wanders off the rails.
– Keep track of which row you’re on, especially in complex patterns.
– Read the chart row by row, not in a dream sequence where you “kinda remember” what you did last row.
– Mark mistakes early. A small error often leads to a big headache when you reach the end.
Subtle but powerful: the pattern notebook
– Jot down notes: sleeve length, row counts, where increases happen.
– Use a separate color or bookmark for tricky sections.
– Copy-paste a simple pattern into your notes and cross off completed steps.
Joining Pieces and Finishing: The Fine Print
Beginners often rush to finish the project and skip the boring-but-crucial steps.
– Weave in ends properly. Loose ends are the tiny gremlins that unravel your work at the most inconvenient moments.
– Blocking matters. It can transform a ragged edge into a smooth silhouette.
– Seaming can make or break a garment. A sloppy seam sticks out more than you’d expect.
Blocking: yes or no?
– Light blocking can tighten stitches and even out bulk.
– Don’t soak in hot water or overstretch delicate yarns. Follow yarn care instructions.
– Let the piece dry flat for best results.
Common Tools and Their (Sometimes) Sneaky Pitfalls
Your toolkit can sabotage you if you’re not paying attention.
– Needles and hooks that don’t match your yarn can wreck tension. If you’re using a too-big hook with a bulky yarn, your stitches may be sloppy.
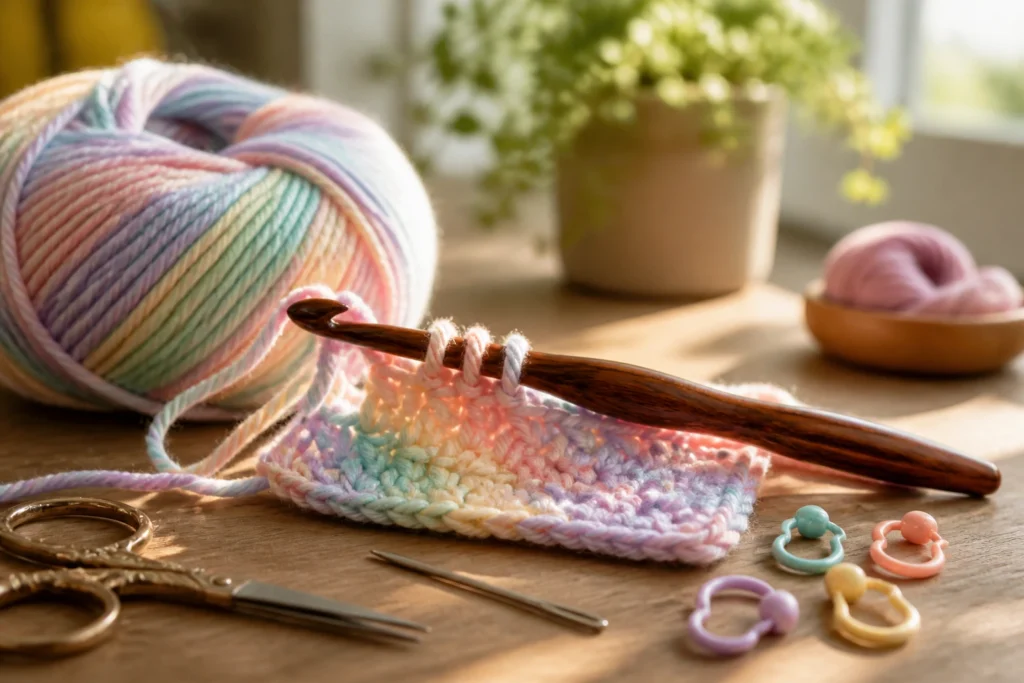
– Stitch markers are your best friends. They help you count stitches and find where you left off.
– Scissors with sharp blades save you from ragged ends and frayed yarn.
Smart tool habits
– Keep a dedicated pair of scissors for yarn to avoid blunt cuts.
– Toss a small tape measure in your project bag for quick gauge checks.
– Use a yarn needle with a blunt tip to hide your ends neatly.
Overcoming Frustration: When Projects Don’t Go to Plan
Let’s be real: sometimes the yarn just does you dirty. Projects derail, moods dip, and you question your entire existence as an aspiring crafter.
– Take a breath. Step away for a few minutes. Your brain needs a reset, not a meltdown.
– Switch it up. If a scarf is turning into a tangle, try a simple blanket square or a quick dishcloth.
– Celebrate small wins. You mastered one technique today, and that’s a win.
FAQ
Why does my yarn keep splitting while I crochet or knit?
When yarn splits, it’s usually because you’re catching the plies in your hook or needle. Try a different needle size, slow your pace a little, and make sure you’re not snagging the yarn on something rough. A smoother motion and the right tool make a big difference.
How tight should my gauge be?
Aim for a gauge close to the pattern’s measurement, not a perfect match. Small deviations won’t ruin most projects, but large differences can throw off size and drape. Swatch first, adjust as needed, and don’t panic if your swatch isn’t perfect.
Is it okay to pull out stitches and start over?
Absolutely. It happens to everyone. If you’re in the middle of a row, frog slowly to avoid snagging. If you’re near the end, you might consider tucking the old section away and reworking the last few rows. Practicing makes the process smoother each time.
What’s the easiest way to weave in ends neatly?
Thread the yarn tail with a blunt tapestry needle, weave through a few stitches in the wrong direction, then backtrack along the same path. Clip close, but not too close. A little friction with the yarn helps secure it so it won’t pop out during wear or washing.
How do I know when to block my finished piece?
Blocking is mostly about the fabric’s final look. If you want better drape, smoother edges, or a more uniform gauge, block it. If you’re working with delicate fibers, follow the yarn’s care instructions to avoid damage.
Conclusion: You’ve Got This
Yarn is a language, and every project helps you learn the dialect a little better. You’ll miscount rows, mistype abbreviations in your notes, and probably drop a stitch in the most dramatic way possible. But you’ll also pick up tricks that make your next piece faster, smoother, and way more satisfying.
So what’s the single best improvement you can make right now? Swatch, treat tension like a precious ritual, and give yourself permission to frog without guilt. IMO, that simple trio changes more projects than heroic, grand gestures ever will.
If you’re feeling stuck, grab a skein you adore, a simple pattern, and a friend to chat with while you work. The community is kind, and the learning curve is kinder than it looks. FYI, your future self will thank you for carving out this time for yarn therapy.