There’s something instantly satisfying about shell stitch. It’s like the crochet equivalent of a cozy cardigan you throw on when you need a little comfort. If you’ve been eyeing that big, fluffy texture but aren’t sure how to actually make it happen, you’re in luck. This shell stitch crochet tutorial breaks it down so you can start stitching with confidence and maybe even have a little fun along the way.
What shell stitch even is and why you’ll love it
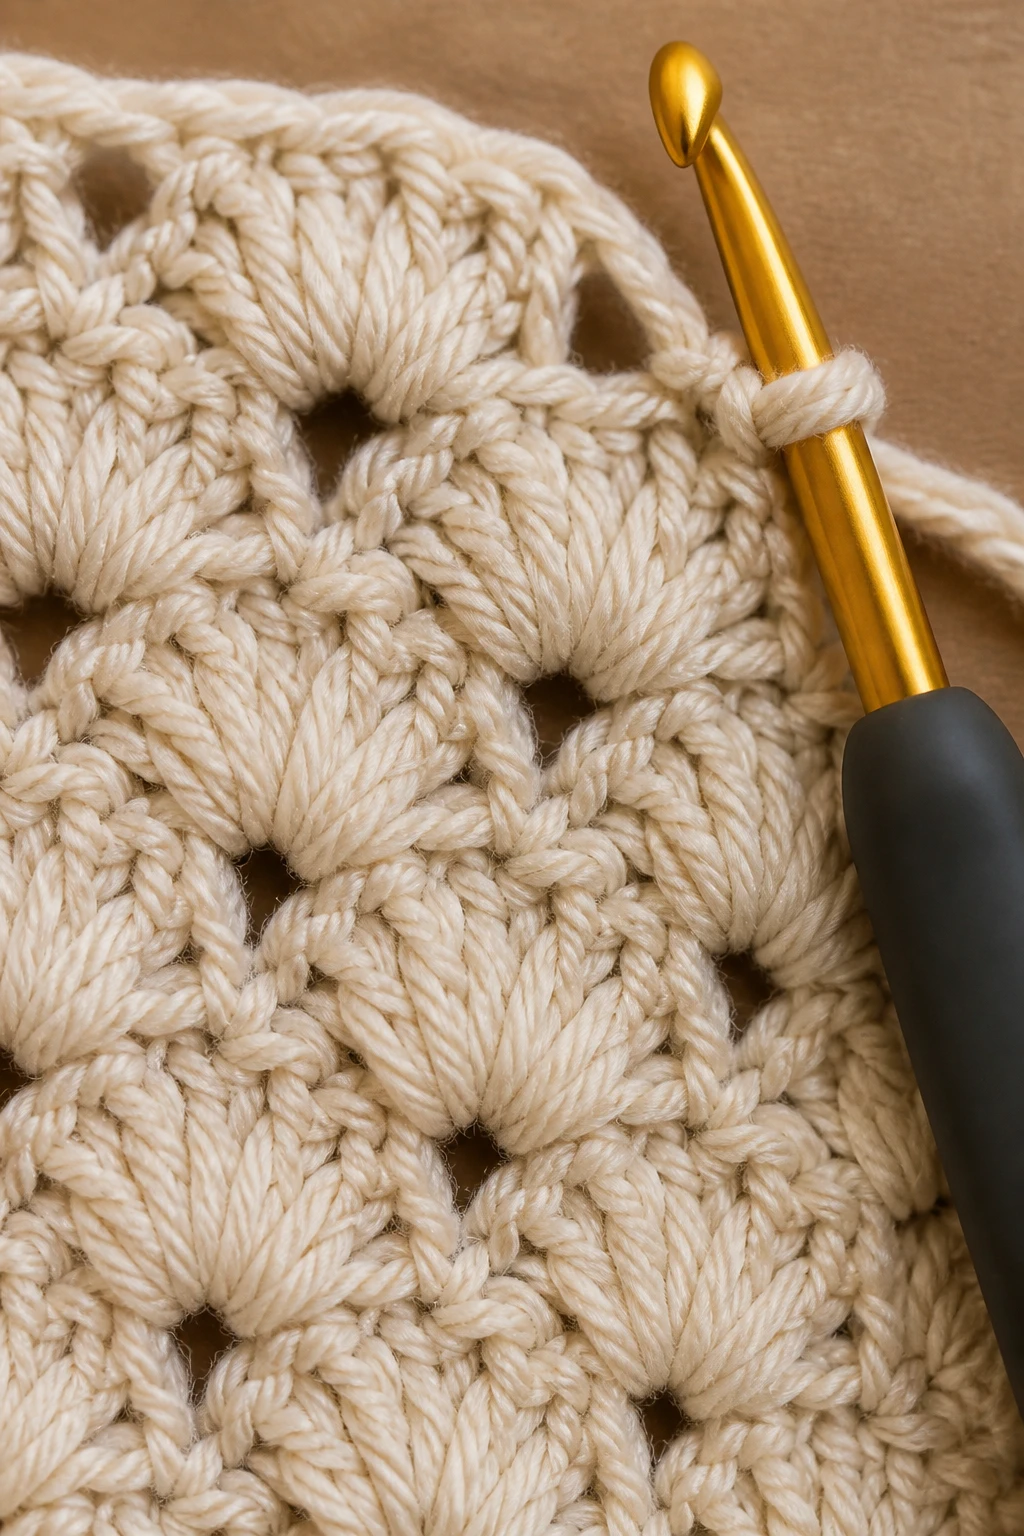
Shell stitch is basically a cluster of stitches worked into the same base stitch, then repeated across the row. The result is a scalloped, wavey pattern that’s dense enough to keep warmth in but open enough to show off pretty yarn colorways. It’s versatile for scarves, blankets, baby items, and lightweight shawls.
– It looks impressive without being rocket science to execute.
– It creates a textured fabric that hides minor mistakes better than plain stitches.
– It plays nicely with a lot of yarns—from worsted to DK to super bulky—depending on your hook size.
If you’re a visual learner, think of it as little seashells popping along your fabric. FYI, the shell shape isn’t a hard rule—it’s a vibe you can lean into or bend to your project’s needs.
Getting set up: tools, yarn, and swatching

Before you dive into the shell-y goodness, here’s what you’ll want at the ready.
– Yarn: Start with a medium-weight or DK yarn. It shows off the stitch best without making you want to cry into a cup of coffee.
– Hook: Use a size that matches your yarn label’s recommendation. If you’re unsure, a slightly smaller hook can tighten up gaps, while a slightly larger one loosens the fabric.
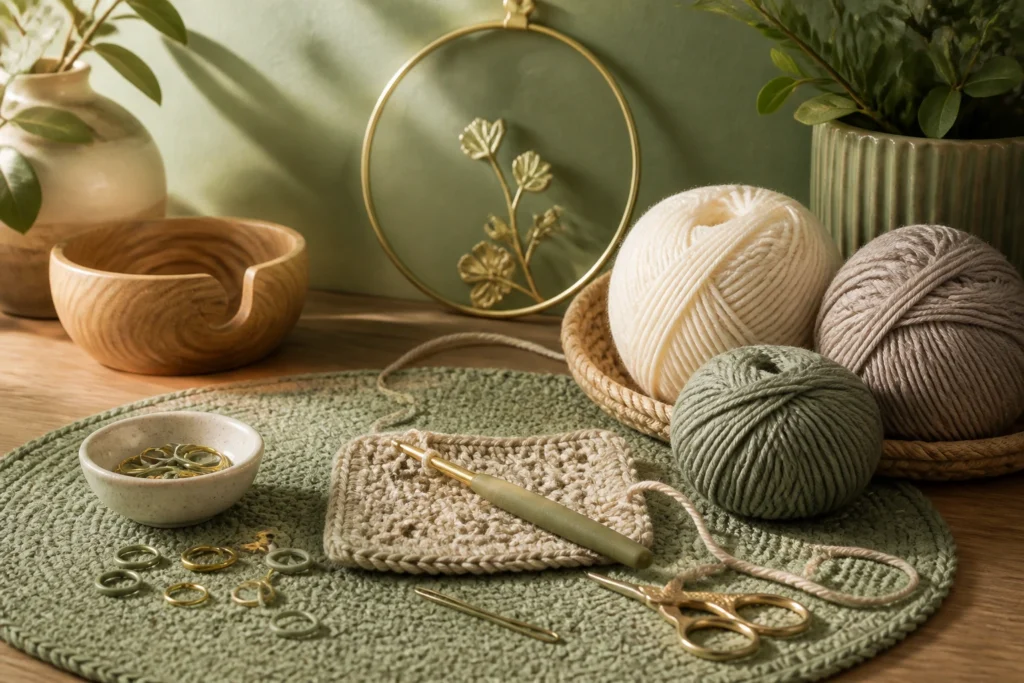
– Scissors, tape measure, and a yarn needle for finishing. The trifecta of finishing is real, people.
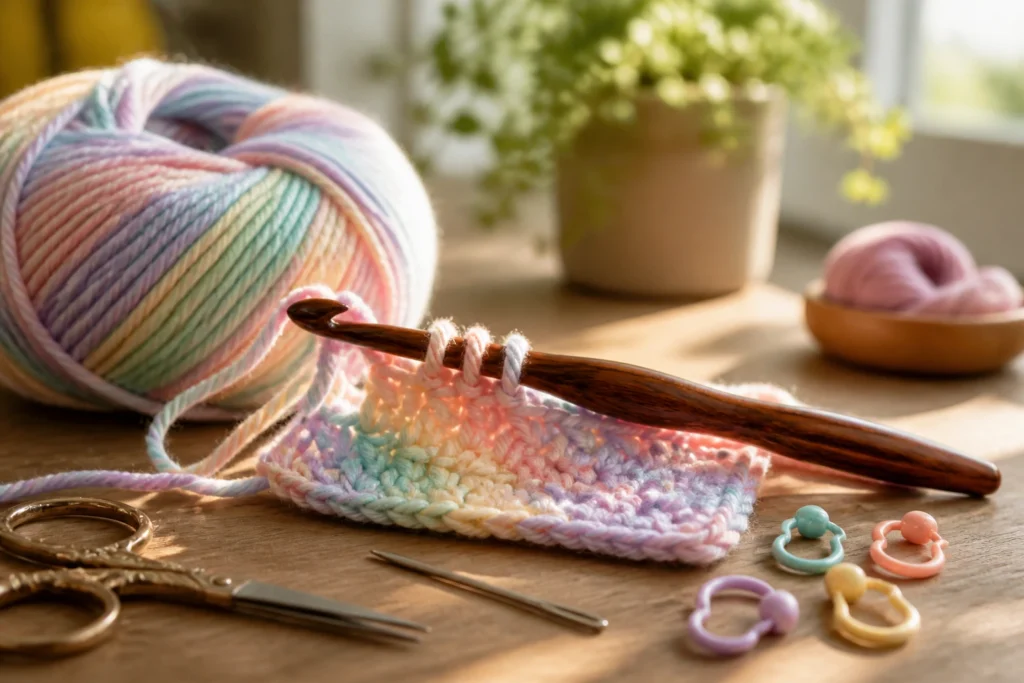
– Small swatch: Yes, swatching sounds boring, but it’s your best friend. It tells you if the shell height and fabric density feel right for your project.
Now, let’s talk yarn choices for the look you want:
– Soft drape: Go for a lighter-weight yarn with a bit of sheen.
– Warm and chunky: A bulky yarn will give you bold, chunky shells that scream texture.
– Colorwork: If you’re mixing colors, make sure your yarns have similar fiber content and laundering methods so they wear evenly.
- Practice swatch: Work a tiny 4×4 inch swatch in the basic shell stitch to feel the rhythm.
- Tension check: If your swatch is stiff, go up a hook size; if it’s loose, go down.
- Measure gauge: Not a sin; just helpful for blankets or garments that need to be the right size.
The basic shell stitch pattern you’ll actually use
Here’s the simple, reliable version you’ll reach for again and again. I’ll spell out both US terms (what most people use) and quick tips to avoid common mistakes.
– Foundation: chain a multiple of 6 plus 2 sits well for a standard shell row.
– Row 1: Starting in the second chain from the hook, dc (double crochet) across, turning at the end.
– Row 2: Chain 3 for the height, then in the first stitch, make 5 dc cluster (this is your “shell”). Skip the next 2 stitches, place a shell in the next stitch, and continue across.
– Row 3 and beyond: Repeat the shell, skip pattern across. Adjust as needed if your foundation isn’t exact.
If you haven’t crocheted shells before, this can feel a little like learning to ride a bike with training wheels that are also on fire. Take a breath—practice a few rows, compare, and you’ll find your rhythm.
Common mistakes and quick fixes

We’ve all been there: you think you’ve got it, then your shells look like surprised clams. Here are the classic missteps and how to bounce back fast.
– Mistake: Gaps between shells are making the fabric look loose.
– Fix: Double-check your tension and consider using a slightly smaller hook or a tighter wrap when you yarn over. Don’t yank—the goal is consistent tension.
– Mistake: The shells aren’t aligning.
– Fix: Count stitches carefully. Mark the start of each row with a stitch marker so you don’t drift into a miscount.
– Mistake: Shells are too tight, and the fabric is stiff.
– Fix: Relax your grip and try a larger hook. Swapping yarn for a softer fiber can also help.
Pro tip: if you’re altering the number of stitches in your row, keep the multiples consistent. Otherwise the pattern will wander off like a tourist in a new city.
Play with variations: making shells your own
Shell stitch isn’t one-size-fits-all. You can tweak it to get different textures and uses. Here are a few fun variations to try.
Single-color classic shell
– Works up quickly and shows off the texture in high contrast.
– Great for blankets, scarves, and garlands.
– Pro tip: Use a smooth yarn with good stitch definition so the shells pop.
Two-color or gradient shells
– Alternate colors every row or every shell for a stripey or gradient effect.
– Be mindful of color changes: weave in ends as you go to avoid a rainbow of tails at the end.
– This one is perfect for cozy throws that look fancy but feel casual.
Textured shell with post stitches
– If you’ve played with post stitches, you can create a ribbed effect around the shells.
– Adds depth and structure, especially in larger projects like blankets.
Shells on the bias
– Start with a multiple of 4 or 6 and angle your rows to create a diagonal shell pattern.
– It’s a bold look for throws and shawls—great for unique wall hangings too.
Projects you can actually finish this month
Let’s be honest: the best shell stitch projects are the ones you can imagine finishing and actually finishing. Here are a few approachable ideas with approximate yarn and hook suggestions.
– Baby blanket: DK yarn, 4.0 mm hook. A generous baby blanket is a satisfying, quick-ish project with lots of soothing repetition.
– Lightweight shawl: Worsted weight yarn, 5.0 mm hook. Add a simple picot edge for flair.
– Textured scarf: Aran weight yarn, 6.0 mm hook. Double-duty accessory that keeps you warm and stylish.
– Cushion cover: A compact project that’s perfect for practicing color changes; use left-over yarn to keep it budget-friendly.
If you’re working on a blanket, plan your color-block layout before you begin. Map out the shells on a quick sketch so you know how the colors will line up across the entire piece.
Finishing touches that take your shell stitch from pretty to polished
Finishing matters. Here are the steps that make a big difference.
– Weaving in ends: Do it as you go if possible, but don’t save all ends for the finish. A quick whip stitch under a few rows will keep everything tidy.
– Blocking: Shells often look better after a gentle wash and shape-set. Use a light spray and pin to a flat surface, then let dry. This helps even out tension and opens up the shells just enough.
– Edges: If your project needs a clean edge, add a simple single crochet border or a picot edge to frame the shells nicely.
A little FYI: blocking can transform a soft, squishy blanket into something that lies perfectly flat. It’s not cheating; it’s finishing like a pro.
Maintenance and care tips for shell stitch fabrics
Your pretty shell fabric deserves pampering. Here’s how to keep it looking good.
– Read the yarn label: Some fibers love cold water, some hate it. Dye lots can bleed, so wash colors separately if you’re mixing tones.
– Gentle wash: Prefer hand-wash or delicate cycle. Skip harsh agitation that can loosen shells.
– Dry flat: Avoid hanging; it can stretch. Lay flat on a clean towel and reshape as it dries.
– Storage: Keep away from moths and sunlight. A breathable bag or box works wonders.
IMO, a well-cared-for shell blanket becomes a family heirloom rather than just another throw.
FAQ: quick answers to your shell-stitch questions
How many stitches do I need to start a shell row?
A common starting point is a multiple of 6 plus 2 stitches for a standard shell row. If you want a wider or narrower piece, adjust the multiple accordingly but keep the count consistent within the row.
Why do my shells look uneven?
Uneven shells usually mean inconsistent tension or groupings. Check your stitch count, ensure you’re not accidentally skipping stitches, and mark the beginning of each row to avoid slipping into a different spot.
Can I use chain stitches instead of double crochets in the shell?
Shells rely on a cluster of stitches, typically multiple dc, to form the shell shape. Replacing them with chains would lose the shell’s texture. If you want a decorative edge, you can add a row of chain loops separately, but in the main shell, stay with the planned stitches.
What’s the best yarn for beginners in shell stitch?
A smooth, medium-weight yarn (DK or worsted) in a solid color works best for learning. It clearly shows the shell shapes and makes counting easier. Once you’re comfortable, you can experiment with textures and colorways.
How do I fix a dropped stitch in the middle of a shell row?
Don’t panic. If you catch it quickly, you can pick up the dropped loop with a hook and redraw it into place. If the row is already completed, you might need to undo back to the last correct shell and redo that portion. It’s a tiny setback, not a catastrophe.
Conclusion: you’ve got this, shell-stitch superstar
You’re not just learning a stitch; you’re unlocking a texture that elevates any project. Shell stitch brings warmth, rhythm, and a little drama to your crochet, without demanding a degree in mathematics. With practice, you’ll ride the shell wave like a pro—confident, cool, and smiling at how something so cozy came from a few yarns and a hook.
If you want a quick recap: pick the yarn you love, swatch to find your perfect tension, learn the basic shell sequence, and then have fun tweaking it with color and texture. And if a row goes sideways, laugh it off and fix it on the next pass. IMO, that’s all part of the craft’s charm.
Want to share your progress or ask a question? Drop a comment and tell me what project you’re dreaming up with shell stitch. FYI, I’m always here for a critique, a tip, or a silly crochet pun. Happy stitching!