I know the feeling: you spot a tiny crochet project and think, “How much yarn do I even need for this?” Then you spend half your afternoon chasing yarn leftovers and calculating gauge like a detective. Let’s cut to the chase and map out practical ways to estimate yarn for small crochet projects without chaos.
Why estimating yarn matters (even for tiny projects)
Yarn estimation saves you money, space, and stress. You’ll avoid those “uh-oh, I’m two rounds short” moments and actually finish things on time. Plus, it helps you decide if you should grab an extra skein or two while you’re out. FYI, a little planning goes a long way.
Know your project inside out: plan before hook meets yarn
Before you even pull the yarn from the shelf, ask yourself a few questions:
- What am I making? A dishcloth? A granny square? A tiny amigurumi?
- What size do I want it to be? Rough dimensions help.
- What yarn weight and hook size will I use?
- Will I add a border, edging, or applique that uses extra yarn?
Write down a quick plan. It doesn’t have to be a novel—just a snapshot of the end goal. This is your compass when you start calculating.
Estimating by pattern yardage: the easy path
Many patterns include yardage notes per project. If you’re following one, great — you have a target. If not, you can still use pattern yardage as a baseline.
Step-by-step yardage estimation
- Find a similar project: match weight, hook size, and stitches.
- Note the total yardage or meters called for.
- Scale to your project size: if yours is half the size, estimate roughly half the yarn.
- Add a cushion: 10–20% extra to account for tension and mistakes.
Most people underestimate how much a few extra yards can matter, especially for tight gauge or unusual shapes. So err on the safe side with a small buffer, not a full entire skein you’ll never use again.
Weighing yarn: the precise-but-not-scary method
If you want something more tactile, weighing yarn is your friend. It’s surprisingly straightforward.
When to weigh
Use this when you’re adapting a pattern or using scraps. It helps you know exactly how much you have left in a skein and how much you’ll need for the project.
How to weigh for estimation
- Weigh the full skein or ball before you start. Record the weight.
- After you finish your project, weigh the leftover yarn and subtract. The difference is how much you used.
- Convert weight to yardage if you know the yarn’s yardage per weight (most labels list this).
Two quick tips: use a kitchen scale for accuracy and don’t forget to subtract the container weight if you’re weighing leftovers in a bag or baggie.
Gauge matters more than you think
Gauge is the secret boss of yarn estimation. If your gauge doesn’t match the pattern or you’re improvising, your yarn usage can go haywire. Don’t skip this step, even for small swatches.
Dialing in gauge quickly
- Make a tiny swatch in your chosen stitch and measure stitches per inch and rows per inch.
- Compare to pattern gauge. If you’re off, you’ll know whether to adjust hook size or expect more or less yarn usage.
- Use the gauge to recalculate yardage with a simple proportion: adjusted yardage = (pattern yardage) × (your gauge factor).
IMO, a 4×4 inch swatch is worth a dozen frogged sections later. It’s boring but saves you from a yarn debt you’ll never repay.
Project shapes and their impact on yarn use
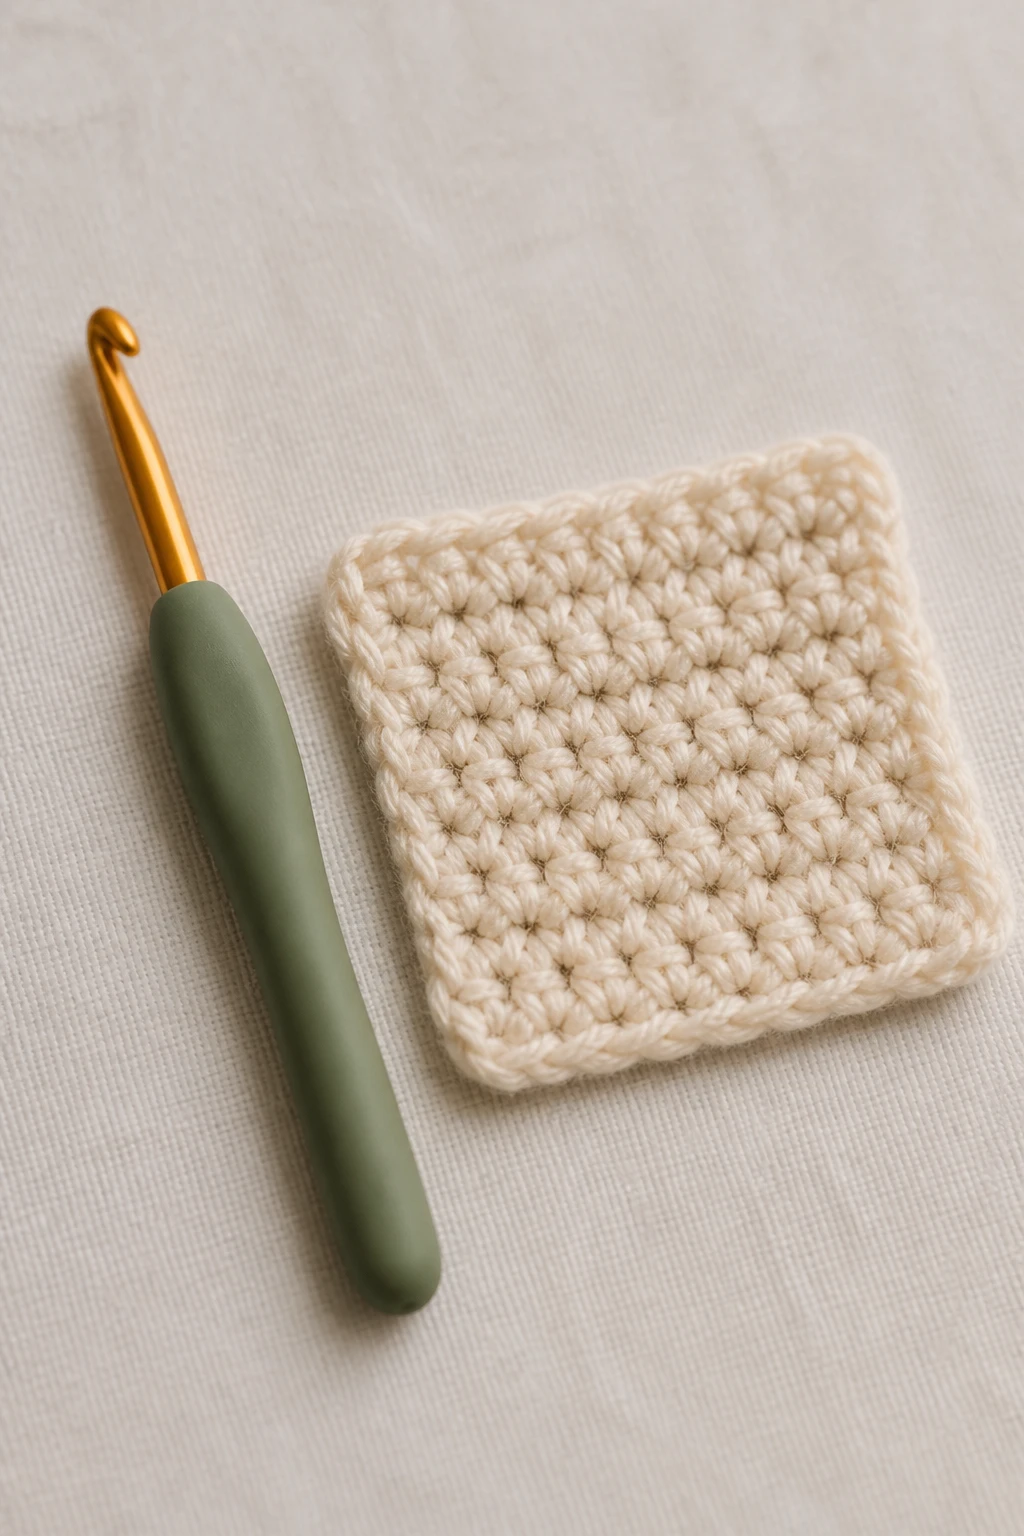
Small projects come in all shapes, and shapes love to surprise you with yarn needs. A flat washcloth vs a 3D stuffed critter uses yarn differently.
Flat vs. 3D: what changes the numbers
- Flat items (dishcloths, granny squares) tend to use yarn in a predictable way per area.
- 3D items (amigurumi, hats with shaping) may require extra yarn for stuffing, seams, and increases/decreases.
- Decorative edges and borders can dramatically add to total yardage, even if the main body is small.
Plan a little extra for seams, finishing, and any internal stuffing. It’s the boring part of the fun that keeps you from running dry mid-project.
How to estimate yarn for common small projects
Let’s break down some typical small projects and ballpark yardage so you have a quick-reference cheat sheet.
Dishcloths and washcloths
- Yarn weight: worsted or cotton is common.
- Stitch: usually basic single crochet or cotton granny-like patterns.
- Rough yardage: 120–180 yards (110–165 meters) for a standard 7–8 inch square, but always check your pattern.
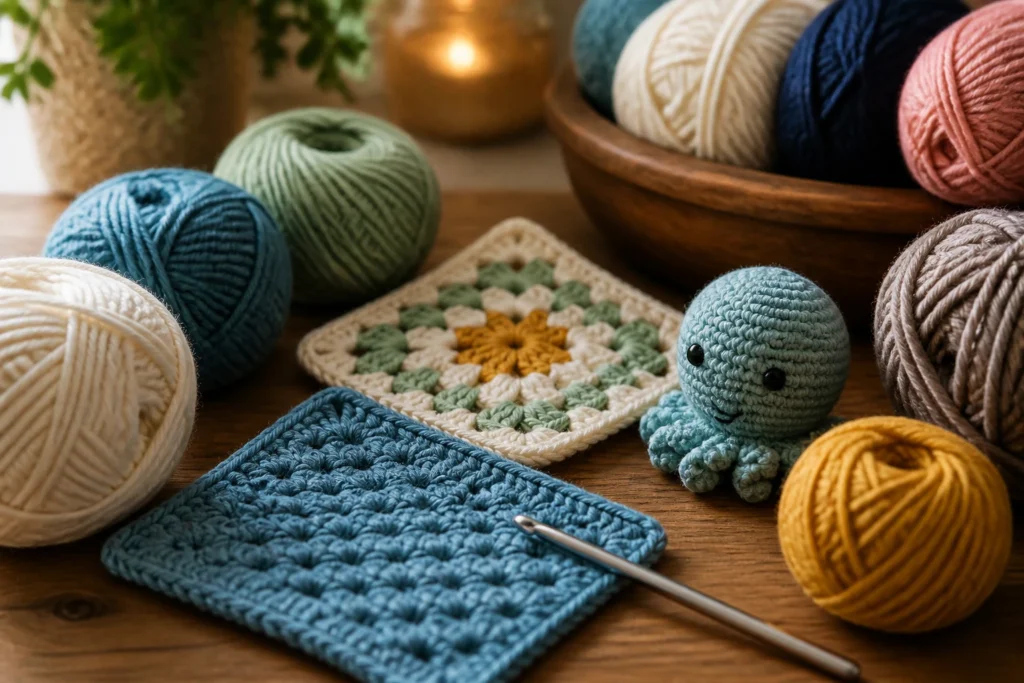
Granny squares
- Yarn weight: varies, but cotton is popular.
- Rough yardage per square: 20–30 yards (18–27 meters) for worsted cotton, depending on size.
- If you’re joining multiple squares, multiply by number of squares and add a 10–20% buffer for joining and edging.
Amigurumi (tiny stuffed figures)
- Yarn weight: DK or worsted are common; many people use cotton for a tight fabric.
- Yardage per figure: 40–150 yards (36–137 meters) depending on size and detailing.
- Buffer: add 20–30 yards (18–27 meters) if you’re new to shaping and stuffing.
Hats or headbands (small accessories)
- Yarn weight: depends on pattern; cotton or wool blends are typical.
- Rough yardage: 120–300 yards (110–275 meters) for a basic hat, more if there’s a brim or cables.
These are rough guides to get you started. If you’re chasing a super-tight deadline or a micro-project, use a gauge swatch and pattern yardage as your north star.
Saving yarn: practical habits that stretch a skein
If you’re chasing every last inch of yarn, these small habits help.
Share the love with practical changes
- Use a larger hook only if the pattern allows without changing the fabric too much. It can save yarn by reducing the number of stitches overall.
- Choose stitches that use yarn efficiently. For example, certain textured stitches create more surface area and waste more yarn than simple stitches.
- Finish rows with consistent tension to avoid rip-and-restart waste.
Smart shopping: when to grab an extra skein
Always have a tiny buffer. If you’re halfway through a project and the color is discontinued or you’re unsure about dye lots, buy a little extra. FYI, dye lots can differ slightly in shade, which matters if you’re working multiple pieces.
Color, dye lots, and how they affect your yardage math

Yarn colorways can complicate planning. Dye lots aren’t identical between skeins, and certain colors may behave differently under certain stitches.
Tips to avoid color-and-yardage drama
- Buy an extra skein from the same dyelot if you can, especially for larger panels.
- Account for color changes in your pattern; some stripes require planning for additional yardage to maintain even color transitions.
- When in doubt, overestimate by 10–20% to cover any color-match issues or dye lot quirks.
IMO, a little extra can save you a lot of headaches. The internet is full of “I ran out of yarn mid-row” stories—don’t be that person.
Common pitfalls and how to dodge them
We all mess up, but we can limit the pain.
- Underestimating gauge variance — swatch, swatch, swatch.
- Forgetting edging and finishing — borders aren’t free; add extra yarn.
- Ignoring project shaping — hats, amigurumi, and pleats can eat yarn fast.
- Assuming all skeins are identical — dye lots matter.
Stay curious, check your pattern twice, and don’t be afraid to frog a bit if you’re not quite there yet. It’s part of the craft, not a personal attack from the yarn gods.
FAQ
How do I estimate yardage if I’m making a custom size?
Start with a rough target based on similar patterns, then scale. Use the yarn weight and gauge to calculate a more precise yardage: adjusted yardage = pattern yardage × (your stitches per inch / pattern stitches per inch) × (your rows per inch / pattern rows per inch). Always add a 10–20% buffer for safety.
What if I’m using multiple colors?
Multiply the yardage for each color by how many separate sections you’ll need, and include a buffer for each color. If you’re joining ends neatly, plan for a little extra to weave in ends too, which can eat into your total yardage more than you expect.
Is it better to buy extra yarn upfront or as I go?
Upfront is safer for color-matching and dye lots. If you’re shopping from a clearance bin or using scraps, you’ll want to weigh your options and know the yardage left in your stash. FYI, scraps can be great for small parts, but keep the color and weight consistent.
How do I adjust yardage for a gauge that’s a bit looser or tighter than the pattern?
Use a gauge adjustment formula: adjust yardage by your gauge factor. If your gauge is looser than the pattern, you’ll use less fabric per inch and need less yarn; if tighter, you’ll need more. The quick rule: yardage × (your rows per inch / pattern rows per inch) × (your stitches per inch / pattern stitches per inch) plus a buffer.
What about microfiber or novelty yarns?
These behave differently in terms of stretch and coverage. They often require more yardage than a standard smooth yarn for the same project because they don’t fill space as densely. Plan extra and test a small swatch first to see how much yarn you’ll actually use.
Any quick tips for micro projects?
Yes! For tiny items, measure a small sample and scale up. If you’re making something really small, a single skein might cover several pieces. But don’t count on it—tiny projects still deserve a margin for seam allowances and finishing touches.
Conclusion
Estimating yarn for small crochet projects doesn’t have to be a mystifying ritual. With a little planning, gauge checks, and a sensible buffer, you’ll know exactly how much yarn to grab and when to abandon the “just wing it” approach. It’s all about treating your stash like a resource you actually want to use, not a mystery you hope to solve later. IMO, the more you practice estimating, the less drama you’ll have at the finish line. So grab a cup of tea, grab your hook, and start mapping your next tiny masterpiece with confidence. Happy crocheting, friend!