Introduction
Crocheting opens a world of cozy projects and tiny yarn victories. But if you’re just starting out, a handful of terms can feel like a secret handshake. Don’t worry—by the end, you’ll be tossing abbreviations around the way you do your favorite hobby, with confidence and a little flair.
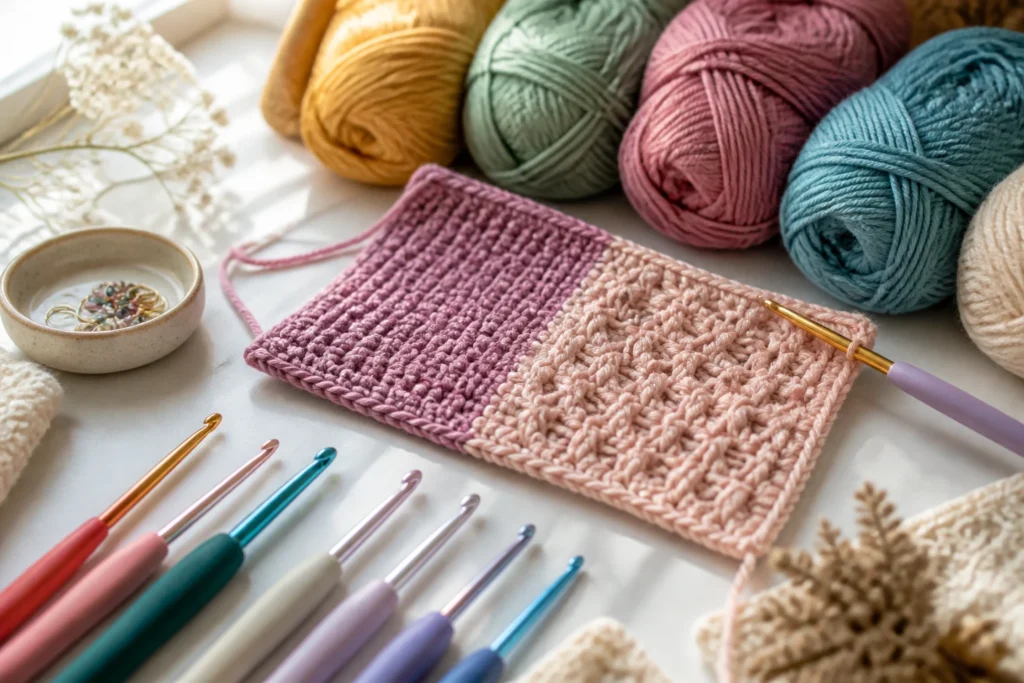
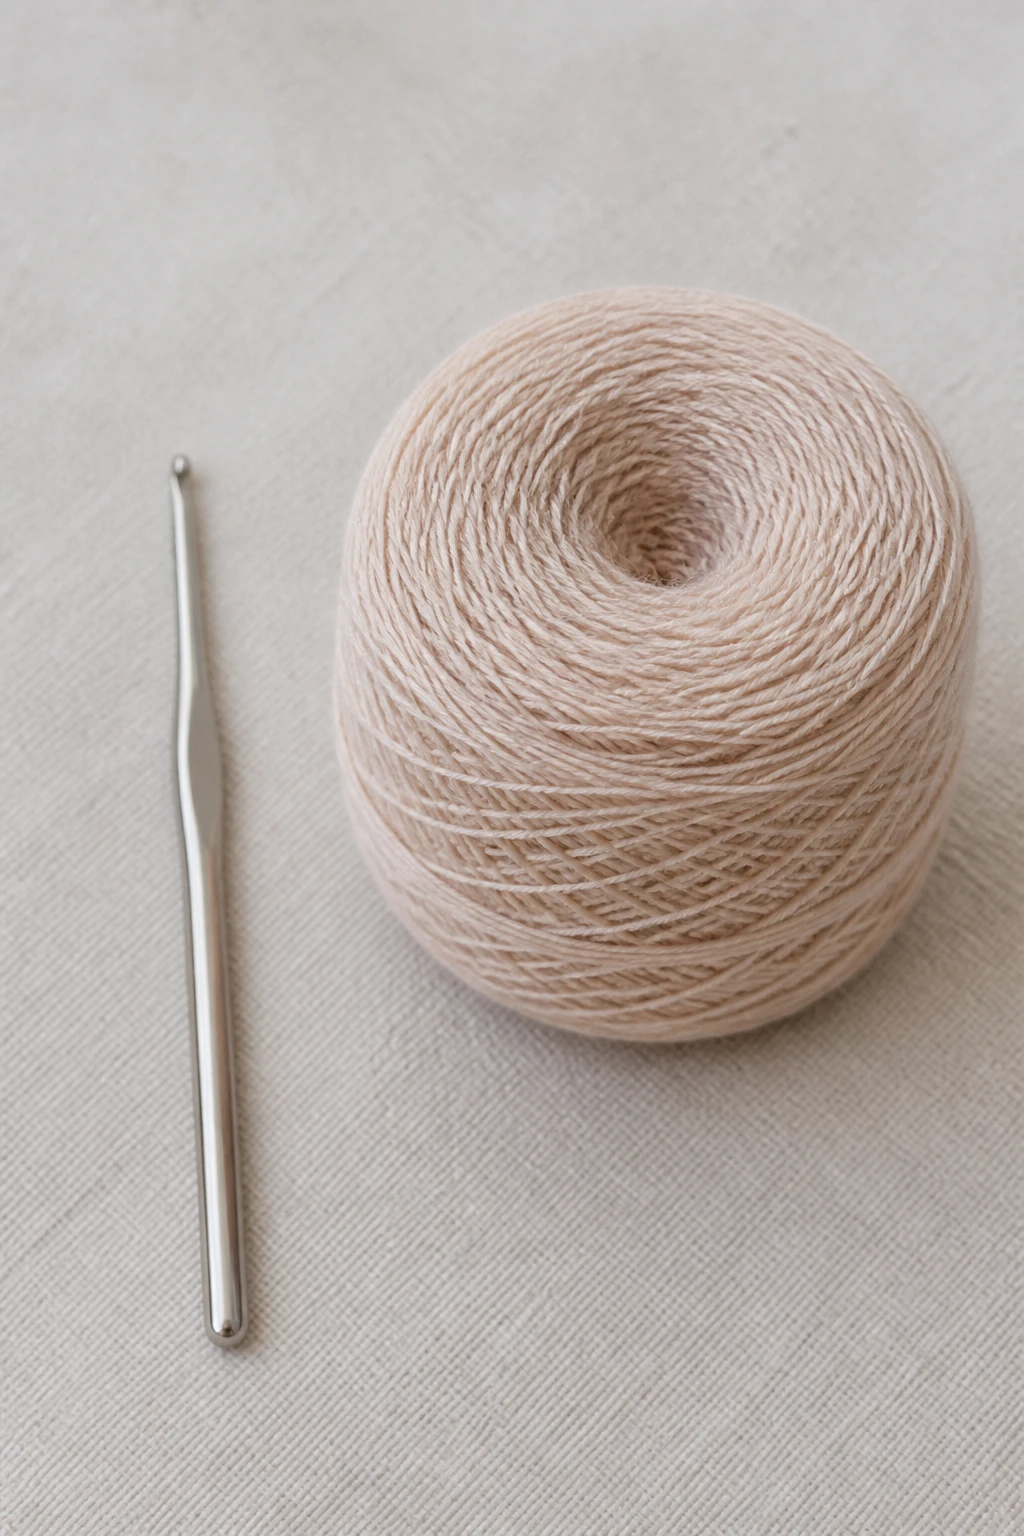
What the heck is a crochet hook size, anyway?
– Crochet hooks come in different sizes, and the size matters. It’s not just a bragging right for yarn nerds.
– Hook sizes run from tiny (like a 2.0 mm) to chunky (like a 15 mm). The right size depends on your yarn weight and the stitch you’re aiming for.
– If you pick the wrong hook, your stitches look wonky and your project might turn into a limp scarf instead of a plush blanket.
Why hook size actually matters
– The hook size affects stitch height and fabric density. Bigger hook = looser fabric; smaller hook = tighter fabric.
– Most patterns list recommended hook sizes. If you’re improvising, test a small swatch before you commit.
– FYI: a gauge swatch saves romance with your future blanket. It saves you from crying into your yarn later.
Yarn basics: weight, wraps, and why it all matters
– Yarn weight tells you how thick the yarn is. It ranges from “lace” to “super bulky.”
– The label usually shows a recommended hook size and a gauge. Follow it, or be prepared for a project that looks nothing like the picture.
– Wrapping methods (like wpi) aren’t as scary as they sound. They just help you compare yarns when you shop.
Labeled vs. actual weight
– Some skeins aren’t exact on weight, which can derail your gauge. If you’re switching brands, swatch anyway.
– Keep a small notebook: yarn name, weight category, hook used, gauge results. Your future self will thank you.
– If your gauge is off, you can adjust by loosening or tightening your grip, changing hook size, or using a different stitch.
Stitches, stitches, and more stitches

– The basic stitches are chain (ch), slip stitch (sl st), single crochet (sc), half-double crochet (hdc), double crochet (dc), and treble crochet (tr).
– Each stitch creates a different fabric look and feel. Your project’s vibe comes from your stitch choice as much as from yarn.
– Don’t memorize forever—practice makes familiarity. You’ll start recognizing patterns in your sleep (okay, maybe not, but almost).
Read a pattern like a pro
– Patterns break down into steps, with abbreviations. If you see “ch 4, sl st into 2nd ch from hook,” you’re not being cursed—you’re being efficient.
– Abbreviations keep patterns compact. Create a cheat sheet for yourself until you’re comfortable reading them in your sleep.
– When you hit a term you don’t know, stop and look it up. Better to pause than to YOLO your way into a tangled mess.
<h2 abbreviations and what they really mean
– Abbreviations shorten a sentence into something you can memorize in minutes. You’ll soon speak fluent crochet-sesh.
– Common ones you’ll see: ch, sl st, sc, hdc, dc, tr, inc (increase), dec (decrease), patt (pattern), rnd (round), rep (repeat).
Common abbreviations explained in plain English
– ch = chain stitch. It forms the base of most fabrics.
– sl st = slip stitch. Moves you around quickly with minimal fabric.
– sc = single crochet. A tight, dense stitch.
– hdc = half-double crochet. A middle-ground stitch.
– dc = double crochet. Creates a taller stitch for quicker fabric growth.
– inc = increase. Adds stitches to widen your piece.
– dec = decrease. Narrows your piece or shapes a curve.
– patt = pattern. The secret sauce you’re following.
– rnd = round. When you’re working in circles or spirals.
– rep = repeat. Do this a bunch of times and call it a day.
<h2 Reading patterns vs. improvising on the fly
– Patterns are your GPS. They tell you when to increase, when to crochet in the front loop only, and other small details.
– Improvising is where creativity happens. You’ll learn to trust your instincts after you’ve logged a few successful projects.
– The key: swatch, swatch, swatch. If you don’t like the result, you haven’t wasted much yarn.
What to do when a pattern confuses you
– Break it into chunks: gauge, stitch counts, and instructions per round or row.
– Write it out in your own words. Sometimes your brain just needs a different phrasing.
– Don’t be afraid to reach out. Crochet communities online are filled with people who love explaining things.
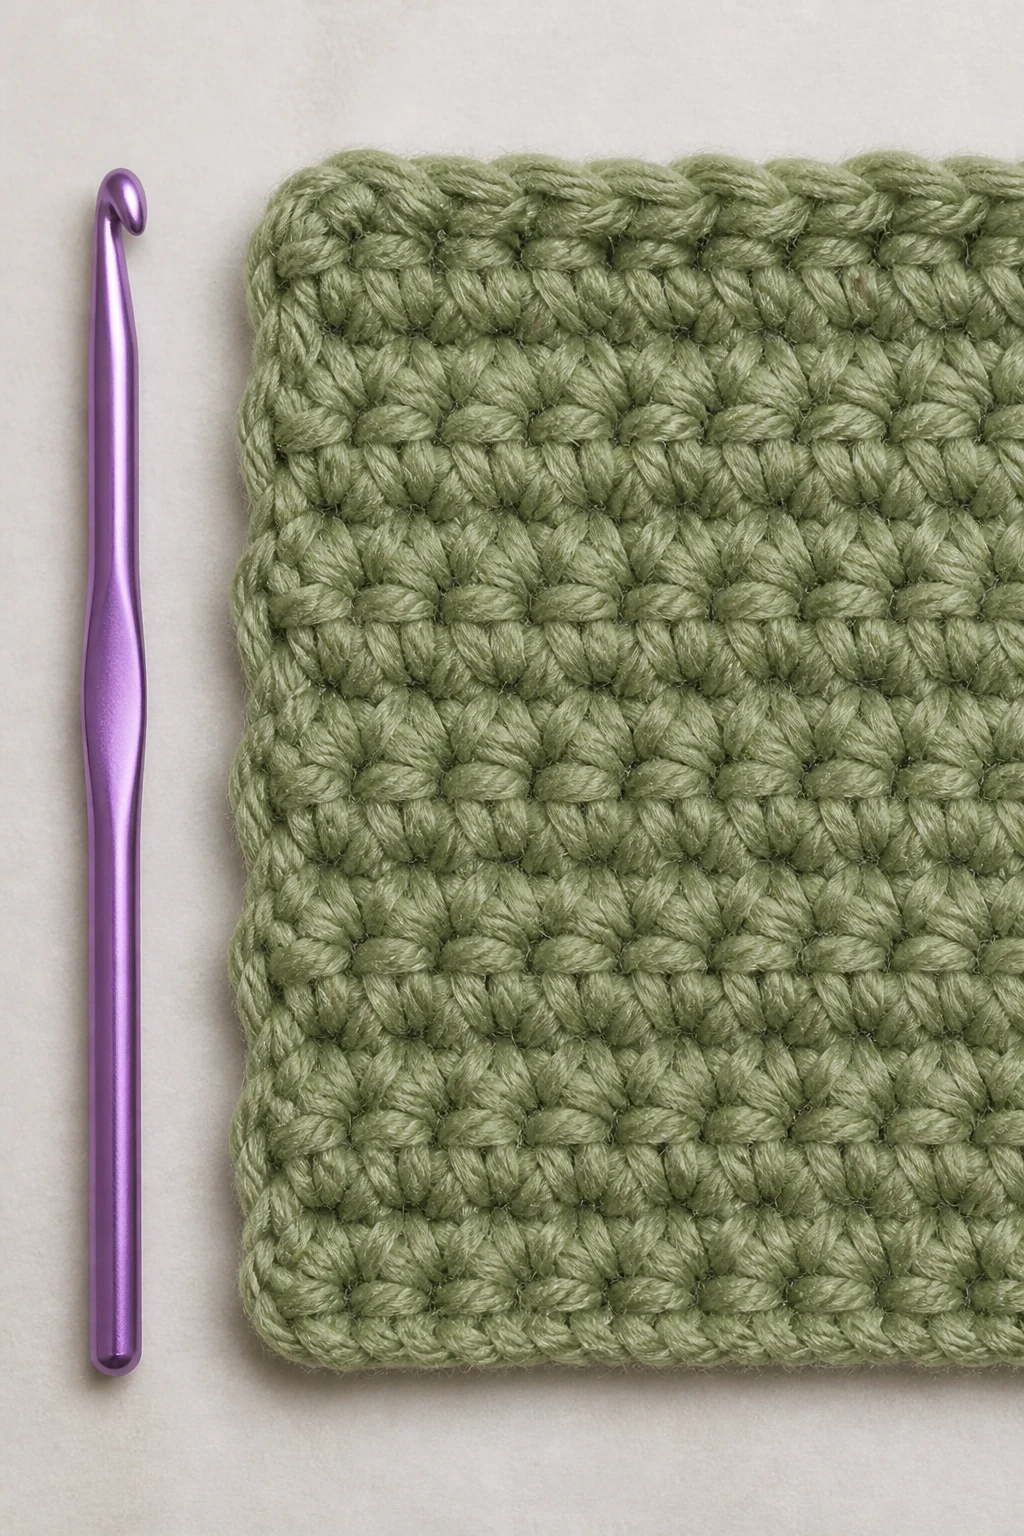
<h2 Tension, gauge, and keeping things tidy
– Tension is how tightly you pull your yarn. It affects the final size and texture.
– Gauge is the number of stitches and rows per inch. Your gauge will decide whether your blanket becomes a lap throw or a cozy bedspread.
– If your gauge is off, adjust by changing hook size, or relax your grip a bit. Yes, you can relax. Your hands deserve it.
Tips for consistent tension
– Sit with good posture, keep wrists flexible, and don’t grip the hook like you’re wrestling a dragon.
– Use swatches to test tension before you dive into a big project.
– If you need to, switch to a lighter or heavier yarn to match your preferred fabric density.
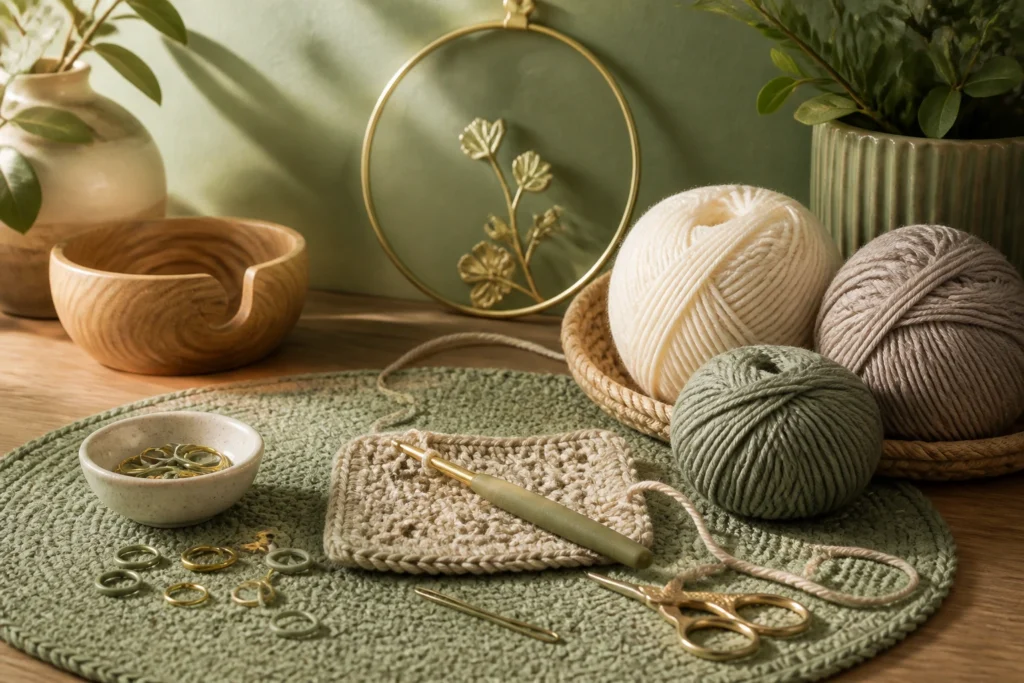
<h2 Common tools and why you might actually need them
– Beyond the hook and yarn, handy tools include stitch markers, tapestry needles, scissors, row counters, and a ruler.
– Stitch markers help you find your start and keep track of increases or pattern repeats.
– Tapestry needles let you weave in ends neatly, so your project stays tidy and wearable.
Stitch markers: the tiny lifesavers
– Use one marker for your starting chain or ring. Move the marker as you complete rounds or keep it in place if you’re working in the round.
– They come in rings, clamps, or magnetic varieties. Pick whichever makes you smile.
– If you don’t have markers, a piece of spare yarn or a paperclip can work in a pinch.
<h2 Finishing touches: ends, borders, and blocking
– Weaving in ends is the boring-but-essential part. Do it early so you don’t end up with a gravity-defying knot disaster.
– Borders add a polished edge and can be decorative. You’ll learn simple borders pretty fast.
– Blocking helps shape your project and even out stitches. It’s like a spa day for yarn.
Blocking made simple
– For most acrylics and wools, a gentle soak and pin-out to shape works wonders.
– Lightly steam blocking is safer for delicate fibers. Avoid soaking if you’re unsure about your yarn.
– Always check the yarn label for blocking recommendations.
<h2 A little language lesson: glossaries you’ll actually use
– Reading back through this list will help you Future You remember what you learned today.
– Quick glossary recap:
– hook size, yarn weight, gauge, swatch
– stitches: ch, sl st, sc, hdc, dc, tr
– patterns: patt, rnd, rep, inc, dec
– tools: stitch markers, tapestry needle, blocker
Putting it all together: a tiny starter project
– Try a simple dishcloth or a small scarf using double crochet and a basic color pattern.
– Keep the yarn simple, so you can focus on technique, not color changes.
– Celebrate your progress with a mug of something warm—because you earned it.
FAQ section
What’s the difference between worsted weight and DK yarn?
– Worsted weight is a medium thickness that’s beginner-friendly and forgiving. DK is lighter and drapes more softly. If you’re just starting, worsted weight is a safer first pick.
How do I know what hook to use with a yarn?
– Check the yarn label for a recommended hook size. If you’re improvising, start with the mid-point of the recommended range and swatch. Adjust based on how your fabric feels.
What if my stitches aren’t even?
– Don’t panic. Even tension develops with practice. Double-check your hook size, yarn weight, and gauge. A quick swatch test can save hours of frustration.
Is blocking really necessary?
– For many projects, yes. Blocking helps even out stitches and shapes. Some fibers block better than others, so follow the yarn label guidance.
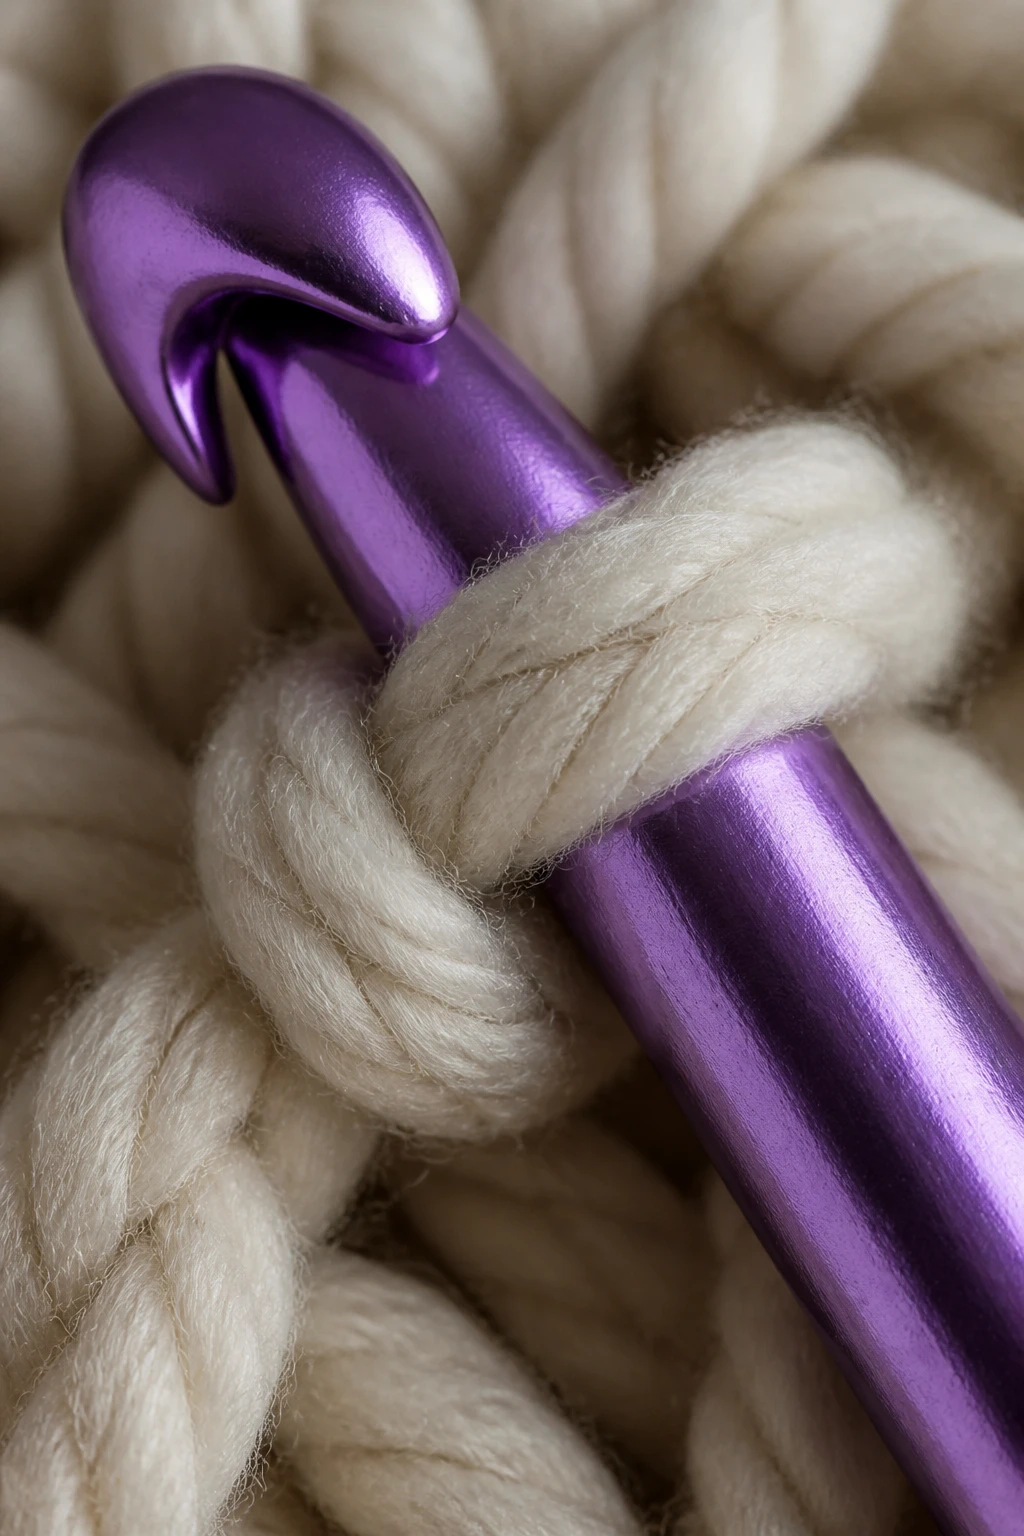
Can I crochet with metal or plastic hooks, or should I pick one?
– Both work. It’s mostly about comfort. Metal hooks glide smoothly, while plastic hooks can be warmer to hold. Try a couple and see what feels best.
Conclusion
Crochet terms aren’t a maze; they’re a toolkit. With a little practice, you’ll be fluent in stitches, gauges, and patterns, and your projects will start looking less “meh” and more “wow.” So grab your hook, pick a soft yarn, and dive in—your future self is already bragging about the cozy things you’ll create.