I’m willing to bet you’ve seen a crochet hook and wondered, “Can I actually knit with a bunny?” Spoiler: yes, you can. Crochet is playful, forgiving, and oddly addictive once you get the hang of it. Welcome to Crochet 101—the friendly, no-judgment guide for absolute beginners who want to make something that doesn’t resemble a tumbleweed.
What crochet actually is (and why it’s worth starting now)
Crochet is a loop-based craft that uses a single hook to pull yarn through loops. It’s less fiddly than knitting and way faster for small projects. Think scarves, cozies, granny squares, and handbags that don’t look like they were made by a machine in a parallel universe.
– It’s portable: a ball of yarn, a hook, and you’re good to go.
– It’s forgiving: mistakes are easy to fix with a little unpicking.
– It’s incredibly satisfying: you’ll finish things before you know it.
If you’ve ever looked at a crochet project and thought, “That looks complicated,” you’re not alone. The truth is, most beginner projects are surprisingly simple with the right foundation. FYI, the feeling of finally finishing a square or a hat is addicting.
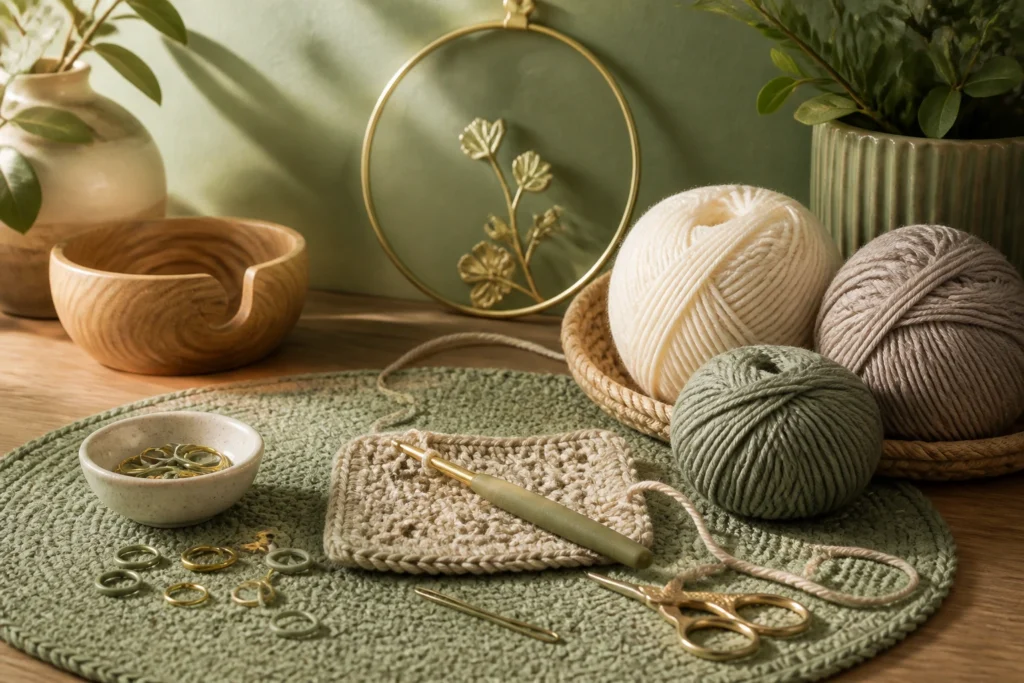
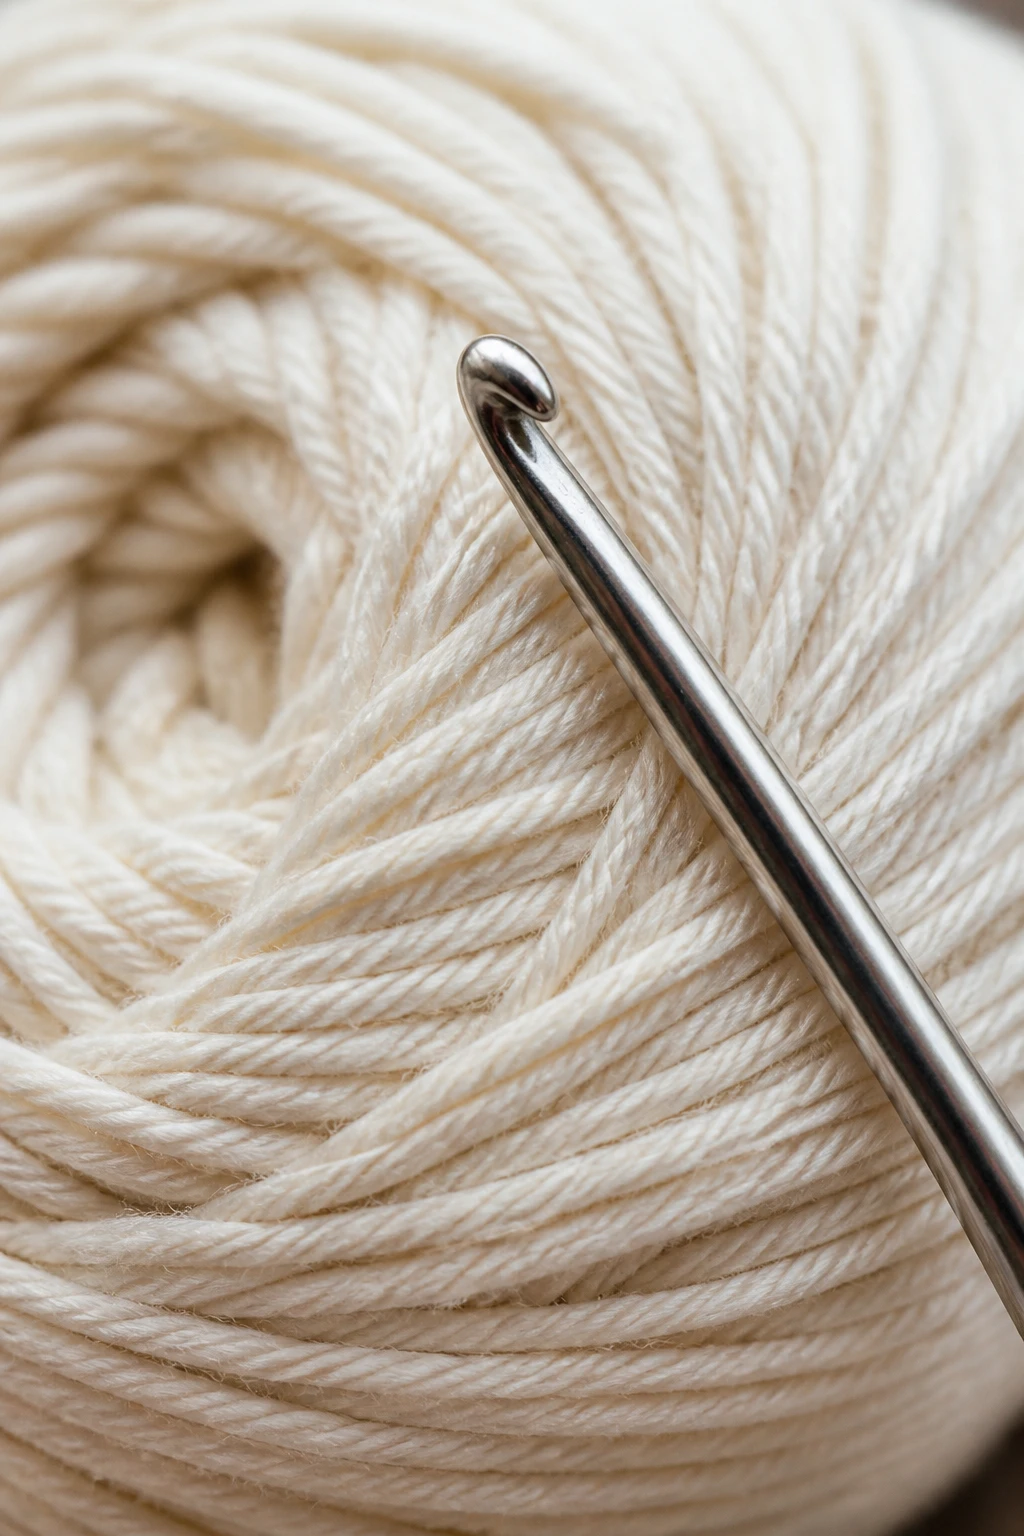
Tools you actually need (and what you can skip)
Let’s get you a starter toolkit that won’t break the bank or your sanity.
Must-have basics
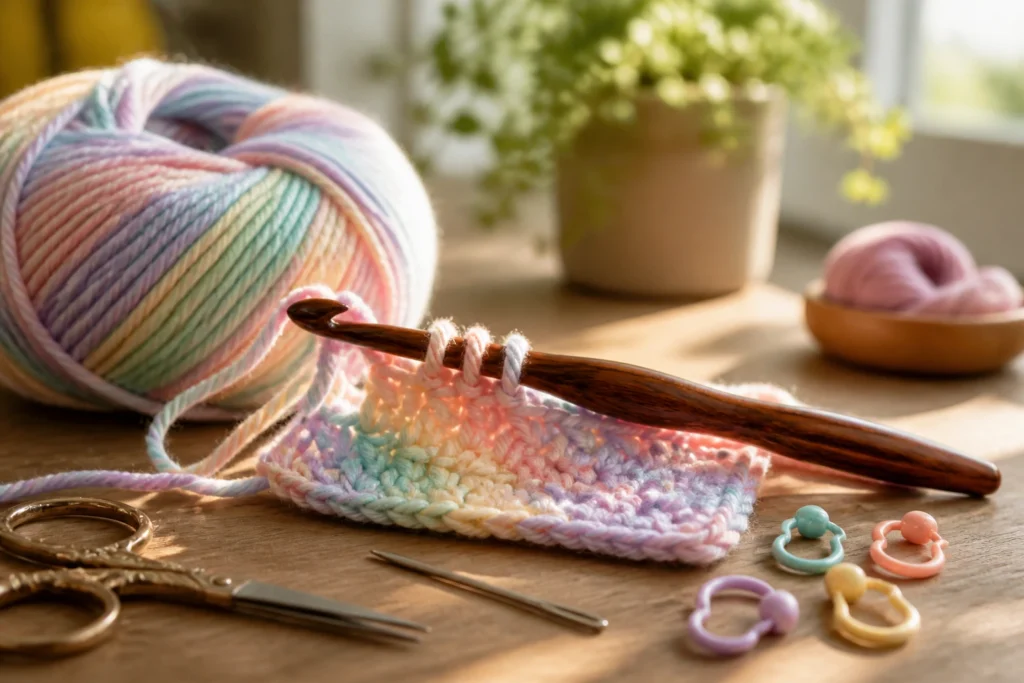
- Yarn: start with a medium weight (#4, worsted). It’s easy to see stitches and forgiving if you drop a loop.
- Crochet hook: size H-8 (5.0 mm) is a solid default for most worsted yarns. If your yarn label says a different size, go with that. Mostly it’s not rocket science.
- Scissors and a yarn needle for weaving in ends
- stitch marker: not absolutely required, but it helps keep track of rows
Nice-to-haves (optional, but handy)
- Row counter
- Multiple hook sizes for different projects
- Blocking mats or a simple way to shape projects
Skippable-but-fun
- Premium yarns or boutique hooks when you’re still learning
- Gorgeous stitch markers that look like tiny teaspoons (unless they spark joy)
Question everyone asks: “Do I need fancy hooks?” No. A basic aluminum hook gets you there. Leather or ergonomic grips feel nicer in the hand, but they won’t magically improve your tension. Practice, not gear, makes perfect.
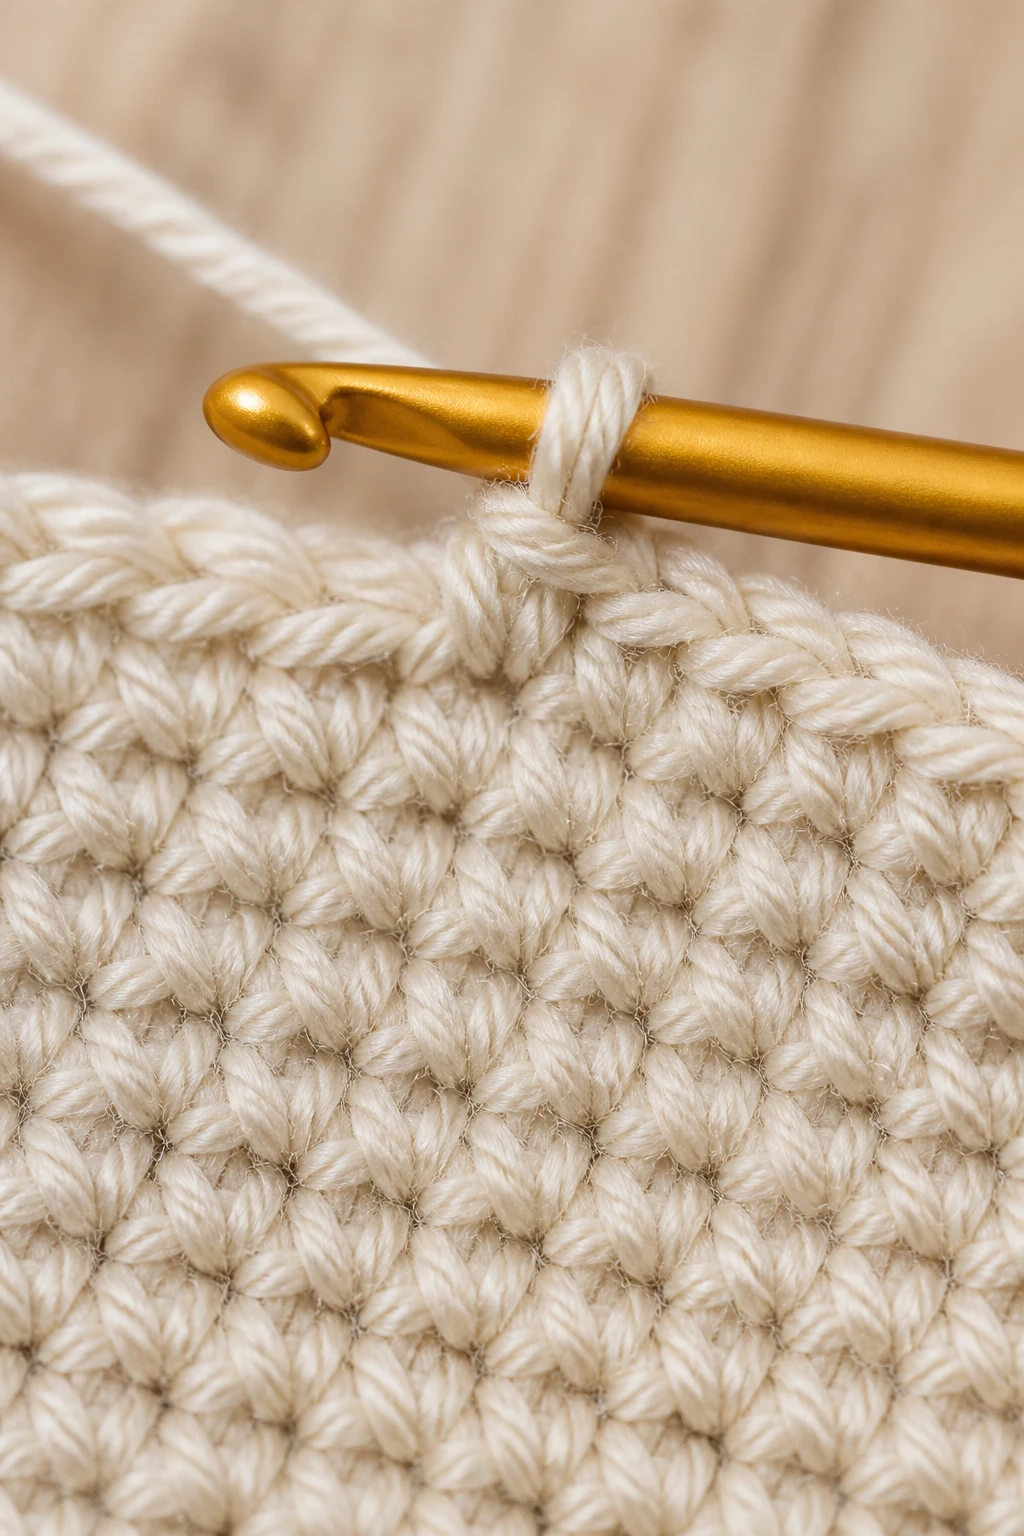
Basic stitches you’ll actually use
Master these and you’re ready to tackle small projects. Don’t worry about perfection; consistency comes with practice.
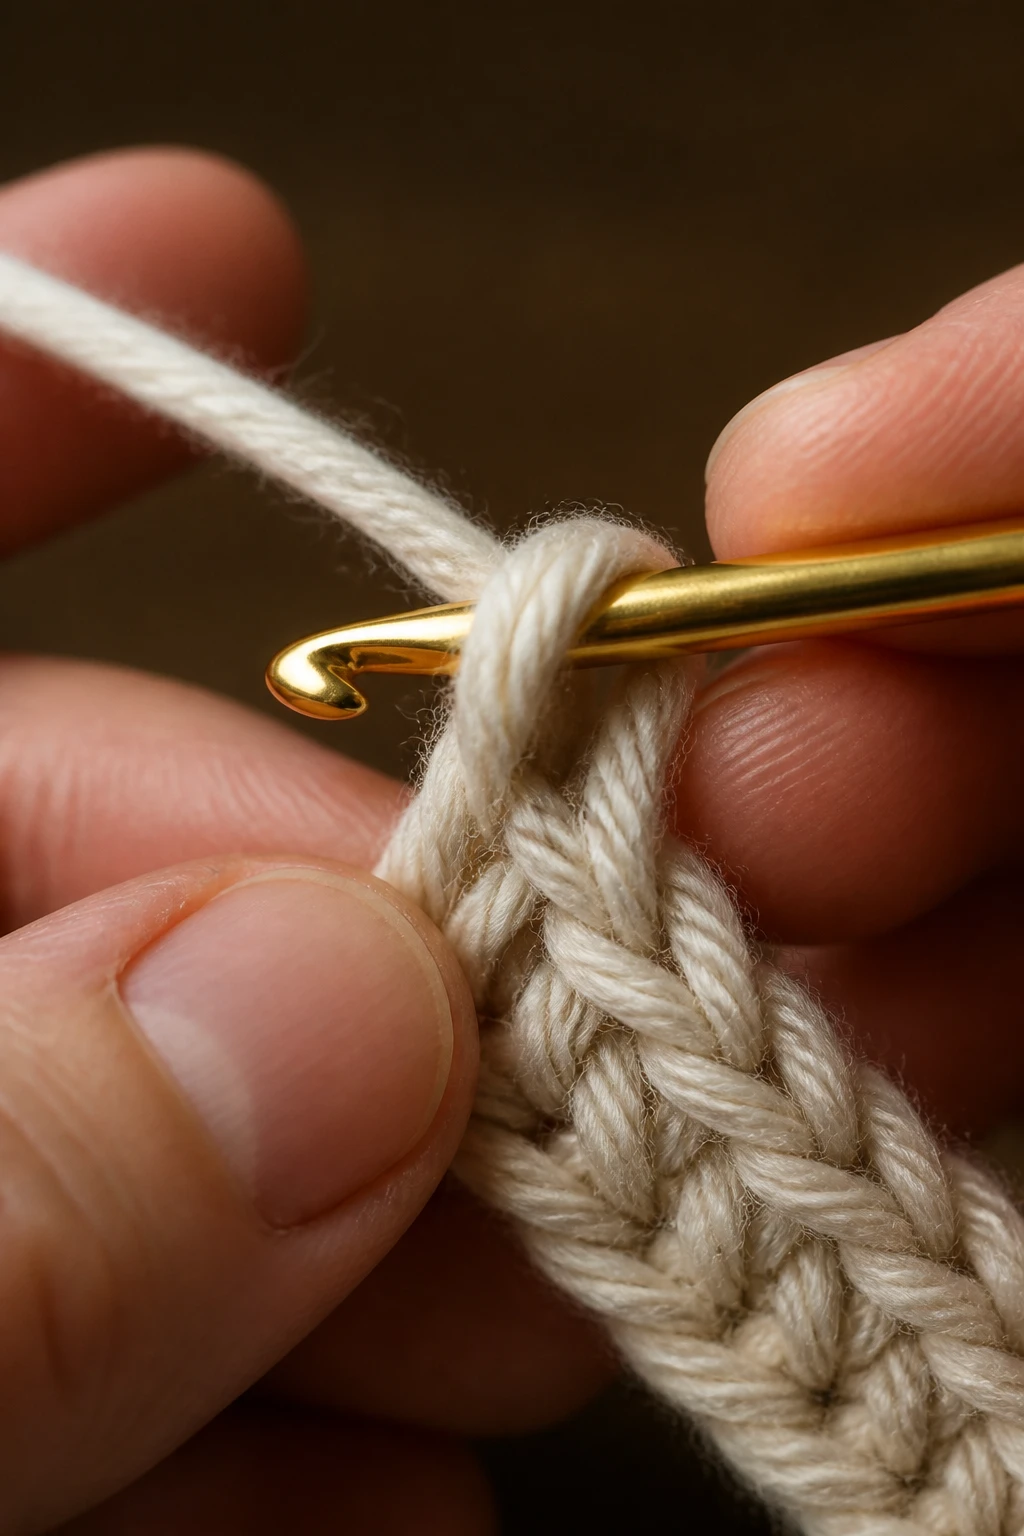
Single crochet (SC)
- Insert hook into the stitch, yarn over, pull up a loop.
- Yarn over and pull through both loops on the hook.
Slip stitch (SLST)
- Minimal movement stitch for joining rounds or moving across stitches.
- Often used to join a round to itself with a neat seam.
Half double crochet (HDC)
- Yarn over, insert into stitch, pull up a loop, yarn over, pull through all three loops.
Double crochet (DC)
- Yarn over, insert into stitch, pull up a loop, yarn over, pull through two, yarn over, pull through two again.
Tip: Keep your tension consistent. Not too tight, not too loose. If your stitches feel like bricks, you’re overdoing it. If they look loose, you might be too relaxed. Practice makes perfect—your hands will figure out the rhythm.
Starting your first project: a simple scarf or a granny square
Starting with something quick gives you a win fast. A scarf teaches you foundation stitches and turning at the end of a row. A granny square is tiny, portable, and highly satisfying.
Option A: Simple scarf
- Choose a soft, medium-weight yarn.
- Chain a length that feels comfortable around your neck (a few dozen stitches for a short scarf).
- Work rows of single crochet or half double crochet until it’s as long as you want.
- Finish off, weave in ends, block if you want a neat edge.
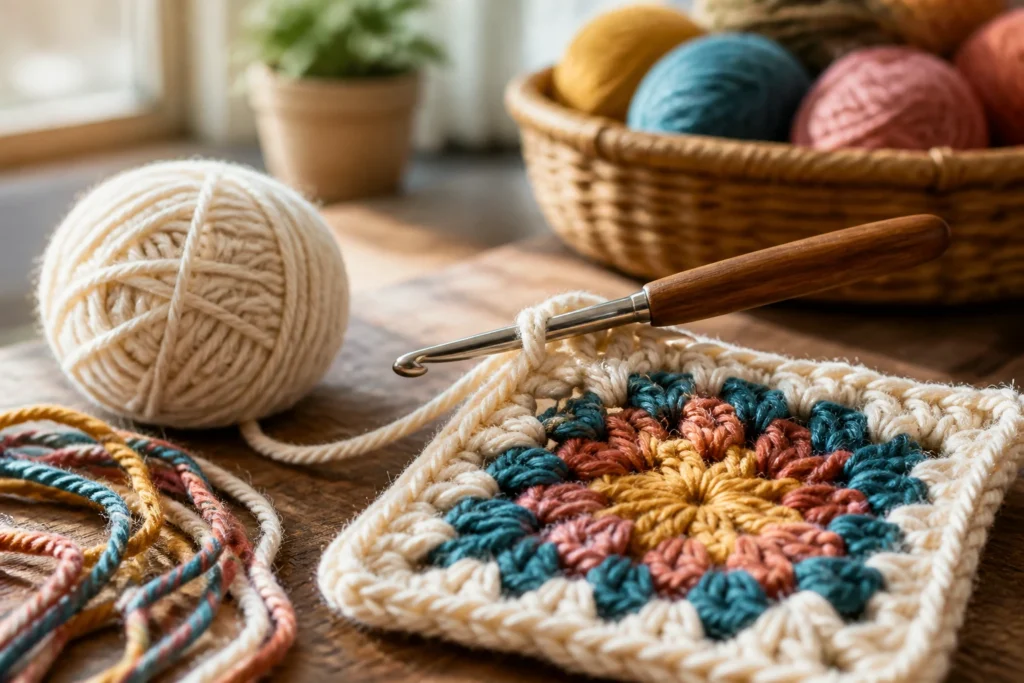
Option B: Basic granny square
- Make a ring with a slip knot or chain 4 and join with a slip stitch.
- Work 3 chain to count as first double crochet, then 11 more double crochets into the center.
- Join rounds with a slip stitch and continue outward in rounds, adjusting color as you go if you’re feeling fancy.
- Weave in ends and block to square it up.
Either project works as long as you finish something in the first week. Bonus points if you actually wear or show it off.
Common mistakes new crocheters make (and how to fix them)
Let’s debunk the typical hiccups. You’ll thank me later.
Stitches that look wavy or ragged
– Fix your tension. Not too tight, not too loose. If your fabric is curling, check stitch count and row height. Try relaxing your grip for a few stitches and see if it helps.
Hooks hurting your hand
– Switch to a lighter grip or an ergonomic handle. Take breaks. Your wrists will thank you.
Dropping loops mid-row
– Use a stitch marker to mark the first stitch of each row. It helps you know where you started and avoid losing your place.
Ends not weaving in neatly
– Take your time. Use a yarn needle, weave in at least two directions, and trim close to the fabric. A little tap with the needle can hide many sins.
Finishing touches that actually elevate your work
Projects aren’t “done” until you make them look neat and tidy.
Weaving in ends
- Thread your yarn tail onto a yarn needle
- Weave along the inside of your stitches to disguise the end
- Trim close, but not so close you cut your stitches
Blocking basics
- Lightly dampen or steam your project to set stitches
- Lay flat to dry for a cleaner shape
- Blocking is especially helpful for squares and shawls
Care tips
- Check yarn label for washing instructions
- Most worsted-weight yarns handle gentle washing and air-drying
How to learn efficiently (without spreadsheet-level commitment)
Learning crochet is a live performance, not a lecture. Here’s how to keep it fun and effective.
– Short practice sessions beat long, frustrated marathons. 15–20 minutes, 3–4 times a week, is a sweet spot.
– Mix theory with play. Try a new stitch for 10 minutes, then finish a tiny project.
– Watch, don’t just read. Visuals help your brain lock in muscle memory.
– Create a mini library. Save a few go-to stitches with quick-reference notes.
Practice plan for a month
- Week 1: Master SC and HDC. Build a small scarf or swatch.
- Week 2: Add DC and basic increases. Try a simple baby blanket motif or a bigger swatch.
- Week 3: Learn grannies or clusters. Start a small project with color changes.
- Week 4: Finish a project and block it. Reflect on what you liked or disliked.
Decoding myths and staying inspired
Every hobby has myths. Crochet myths include “you need perfect tension to start” or “you must crochet constantly to get better.” Not true. You only need commitment and curiosity.
– It’s not “Only for grandmas.” Plenty of young creators are crocheting up a storm.
– You don’t need to memorize every stitch forever. Save the basics and keep a reference handy.
– You can color outside the lines. Don’t be afraid to mix textures, colors, and yarn weights for fun effects.
Inspo, quick-fire
- Try a color-block scarf with two yarns
- Make a beanie with a ribbed edge for texture
- Experiment with granny squares in a modern colorway
FAQ
Is crochet hard to pick up if I’ve never knitted before?
Crochet tends to be more intuitive for beginners because each stitch is built with one hook and one hand. The tutorials you’ll find are designed to show the rhythm quickly. If you’ve knitted before, you’ll still benefit from the straightforward mechanics and speed of crochet.
What if I don’t have a local knitting group—can I learn online?
Absolutely. There are countless beginner-friendly channels, forums, and short-form tutorials. Look for step-by-step videos, slow-motion stitches, and printable cheat sheets. FYI, find a creator with a teaching style that matches your pace.
How do I choose the right yarn for my first project?
Start with a medium weight yarn labeled “worsted” or #4. It’s forgiving and easy to see stitches. Acrylic blends are affordable and easy to care for. If you’re aiming for a specific texture, consider cotton or a wool blend once you’re comfortable.
What’s the best way to fix a mistake?
Most fixes are reversible. If you notice a dropped stitch, simply frog back to the last correct row and rework. Use a crochet hook to pick up the missed loop, then continue. For bigger mistakes, you can unravel a few rows and redo. Don’t panic—you’ll get quicker at this with practice.
How long does it take to finish a beginner project?
Depends on the project and your pace. A scarf might take a few evenings; a small beanie or granny square blanket could stretch into a weekend. Celebrate every finished piece, even if you had to frog it once or twice.
Finding your crochet voice (and sticking with it)
As you gain confidence, you’ll notice your personal style emerging. Here’s how to keep that momentum.
– Keep a little “ideas notebook” or a notes app entry for projects you want to try. Pin or bookmark tutorials you love.
– Allow yourself to be imperfect. The charm of beginner work often lies in its character.
– Share your progress. A photo to a friend or online group can boost your motivation and invite helpful feedback.
Strongly consider building a small portfolio of your early works. Not only does it show growth, but it also becomes a personal README for future projects or gift ideas.
Conclusion
Crochet isn’t a wall of mystery carved in yarn. It’s a friendly craft you can pick up, tinker with, and actually finish. Start with the basics, embrace the little mistakes, and celebrate the tiny wins. Before you know it, you’ll be cruising through scarves, blankets, and even complex granny squares with a grin.
If you’re still unsure, remember this: you learn by doing. Grab your worsted yarn, pick up that H-8 hook, and give it a go. FYI, you’ll probably laugh at your first few stitches, and that’s perfectly okay. Welcome to the crochet club—your future self will thank you for starting today.