Crochet FAQs Every Beginner Asks
Welcome to the world of crochet, where yarn becomes art and your first chain is basically a handshake with your future cozy, blanket, or granny square obsession. If you’re staring at a skein and thinking, “What did I just get myself into?” you’re not alone. Let’s break down the most common beginner questions, grab a few pro tips, and keep the vibes fun.
What do I actually need to start crocheting?
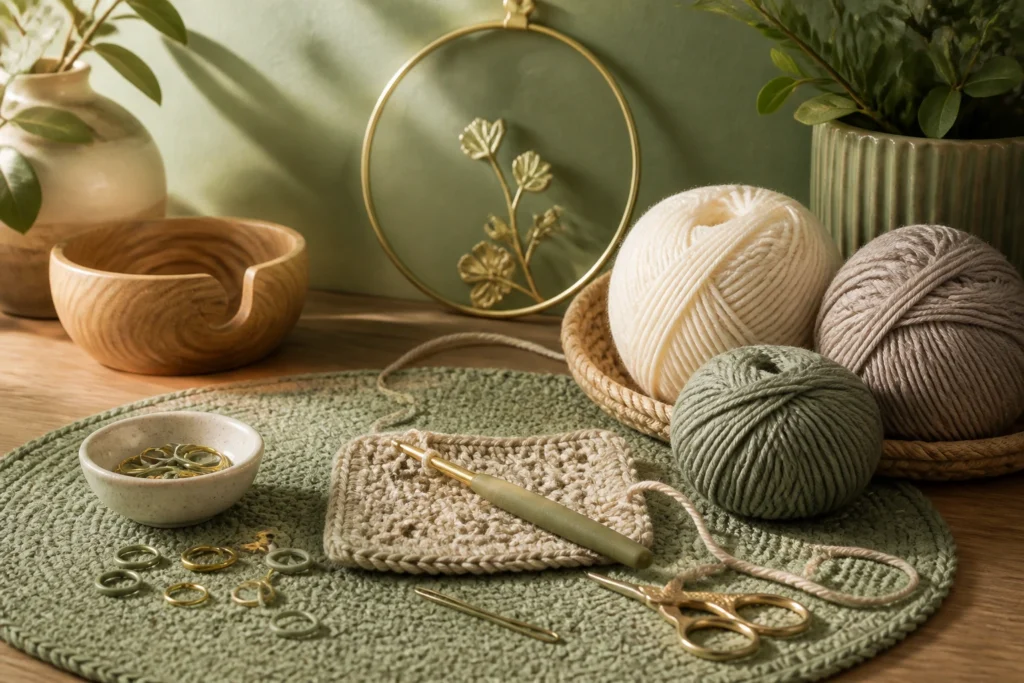
Starting is cheaper than you think, and totally worth it. Here’s the essentials list to get you stitching without a budget-splurge.
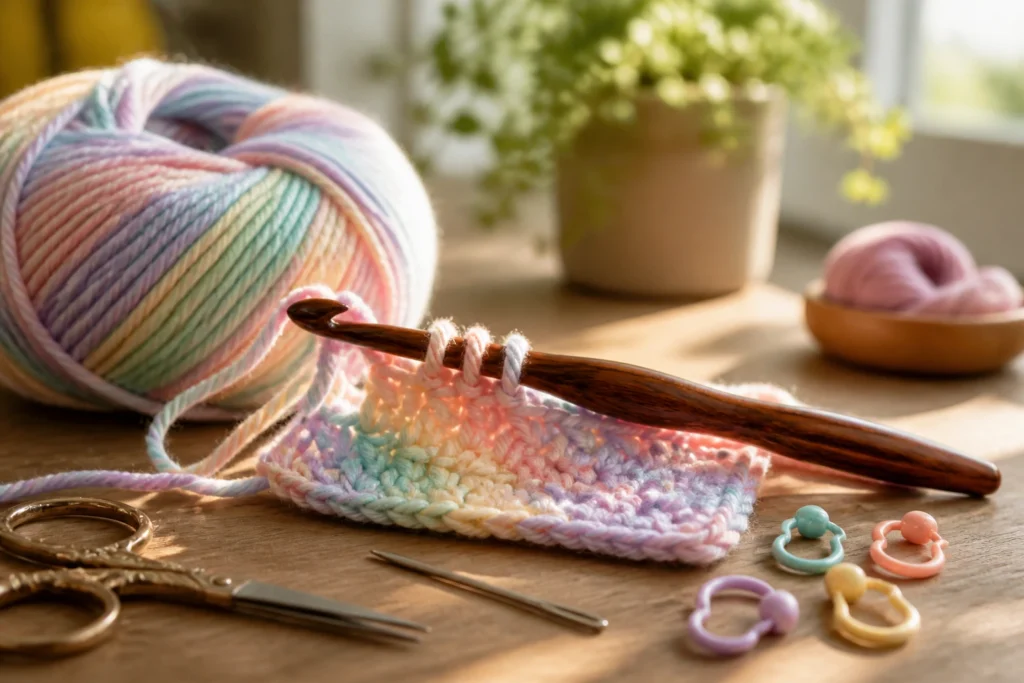
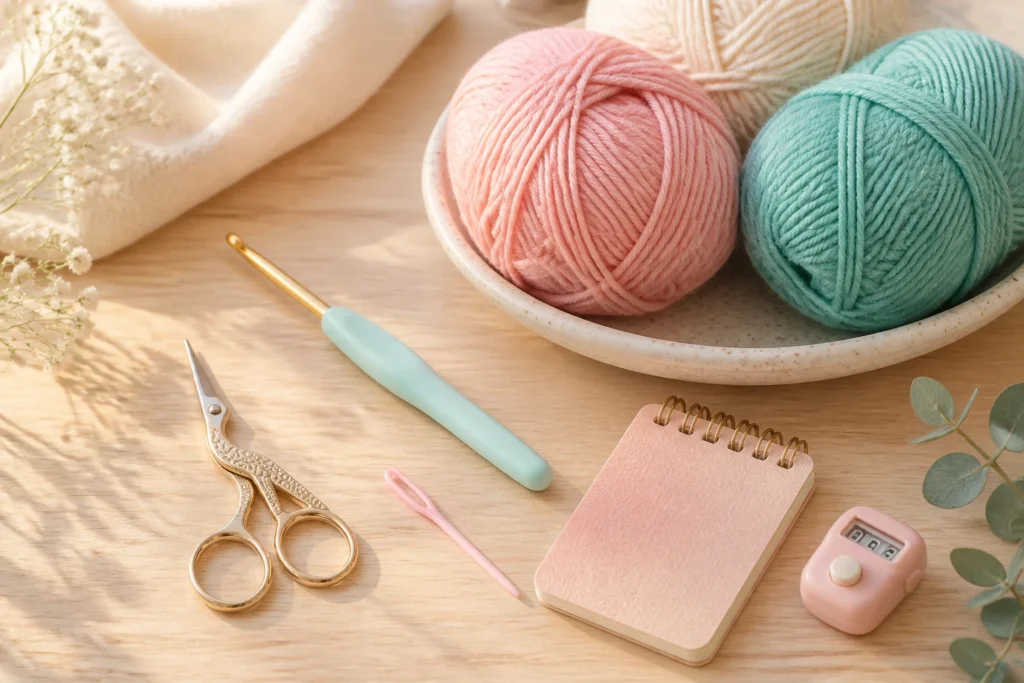
- Hook set — a light, comfortable aluminum or plastic hook in a size that matches your yarn. Most beginners start with a G/6 or H/8 (4.0-5.0 mm).
- Yarn — a medium weight, often labeled 4 or DK. Lighter colors show stitches clearly, and a smooth texture makes learning nicer.
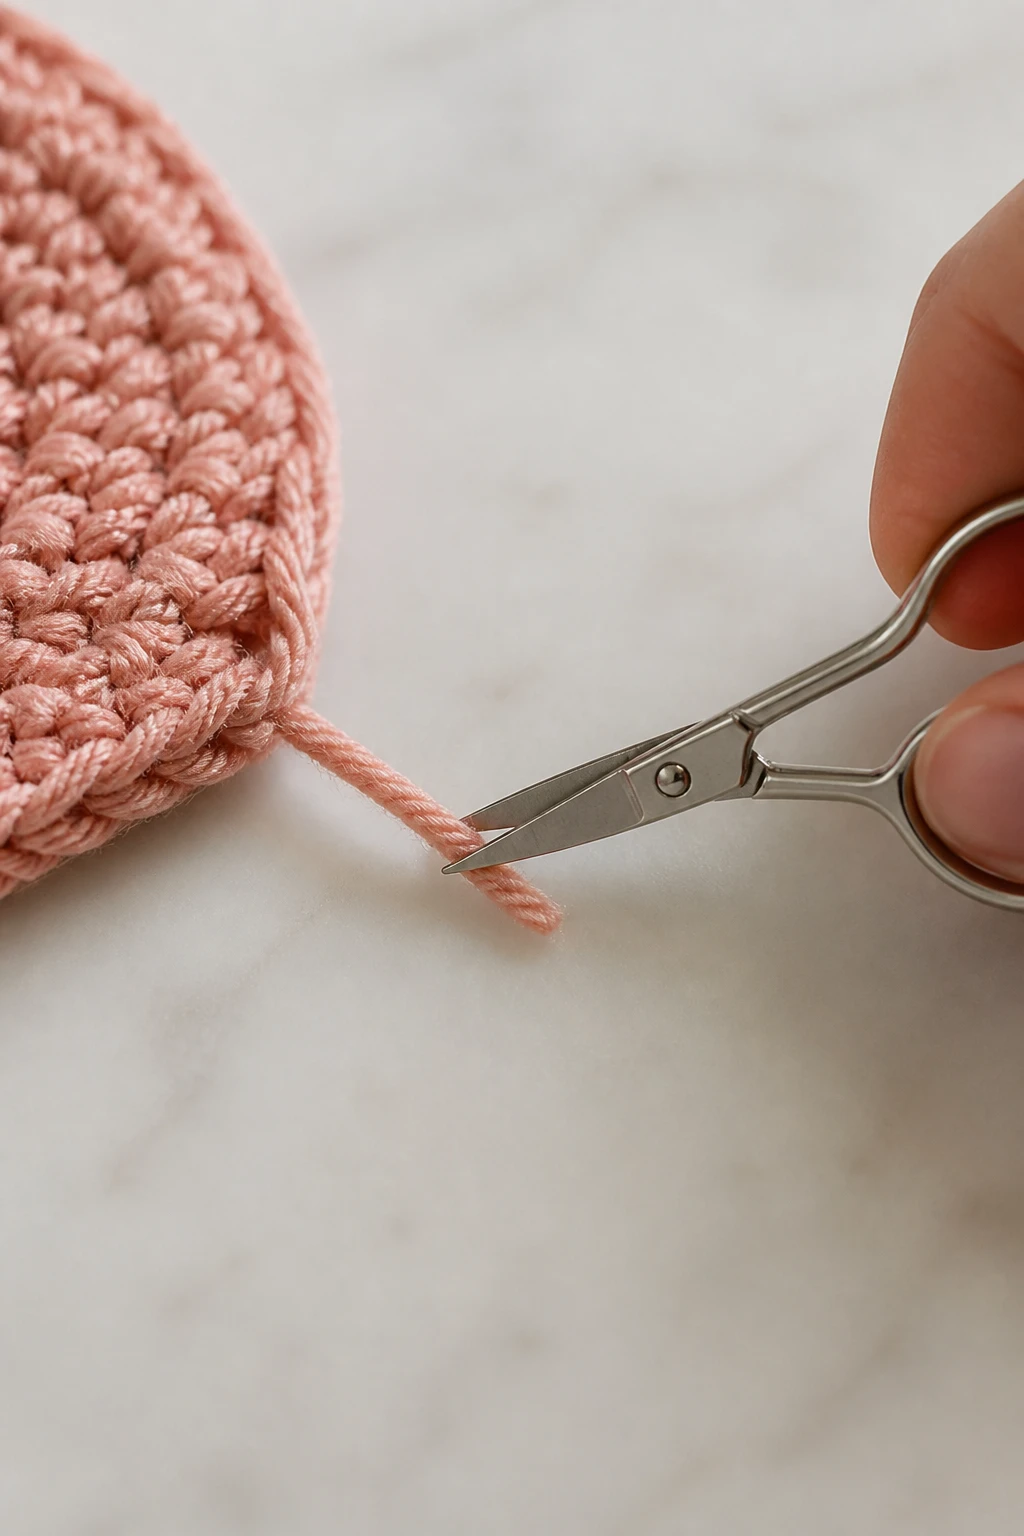
- Scissors — tiny but mighty, for snipping tails and trimming fringe later.
- Tapestry needle — the big plastic-eyed needle to weave in ends like a boss.
- Row counter or notebook — handy for keeping track of rows when your pattern gets fancy.
Optional but sweet add-ons:
- Stitch markers to keep your place in a row
- Crochet stitch glossary or app for quick reference
- Ergonomic hook handles if you’ve got cranky wrists
If you’re picking a project to start, go for a simple scarf, dishcloth, or a soft baby blanket. Yes, you’ll mess up a few times, and yes, it’s still thrilling when you finally see a neat row.
What does crochet actually mean for a beginner in practice?
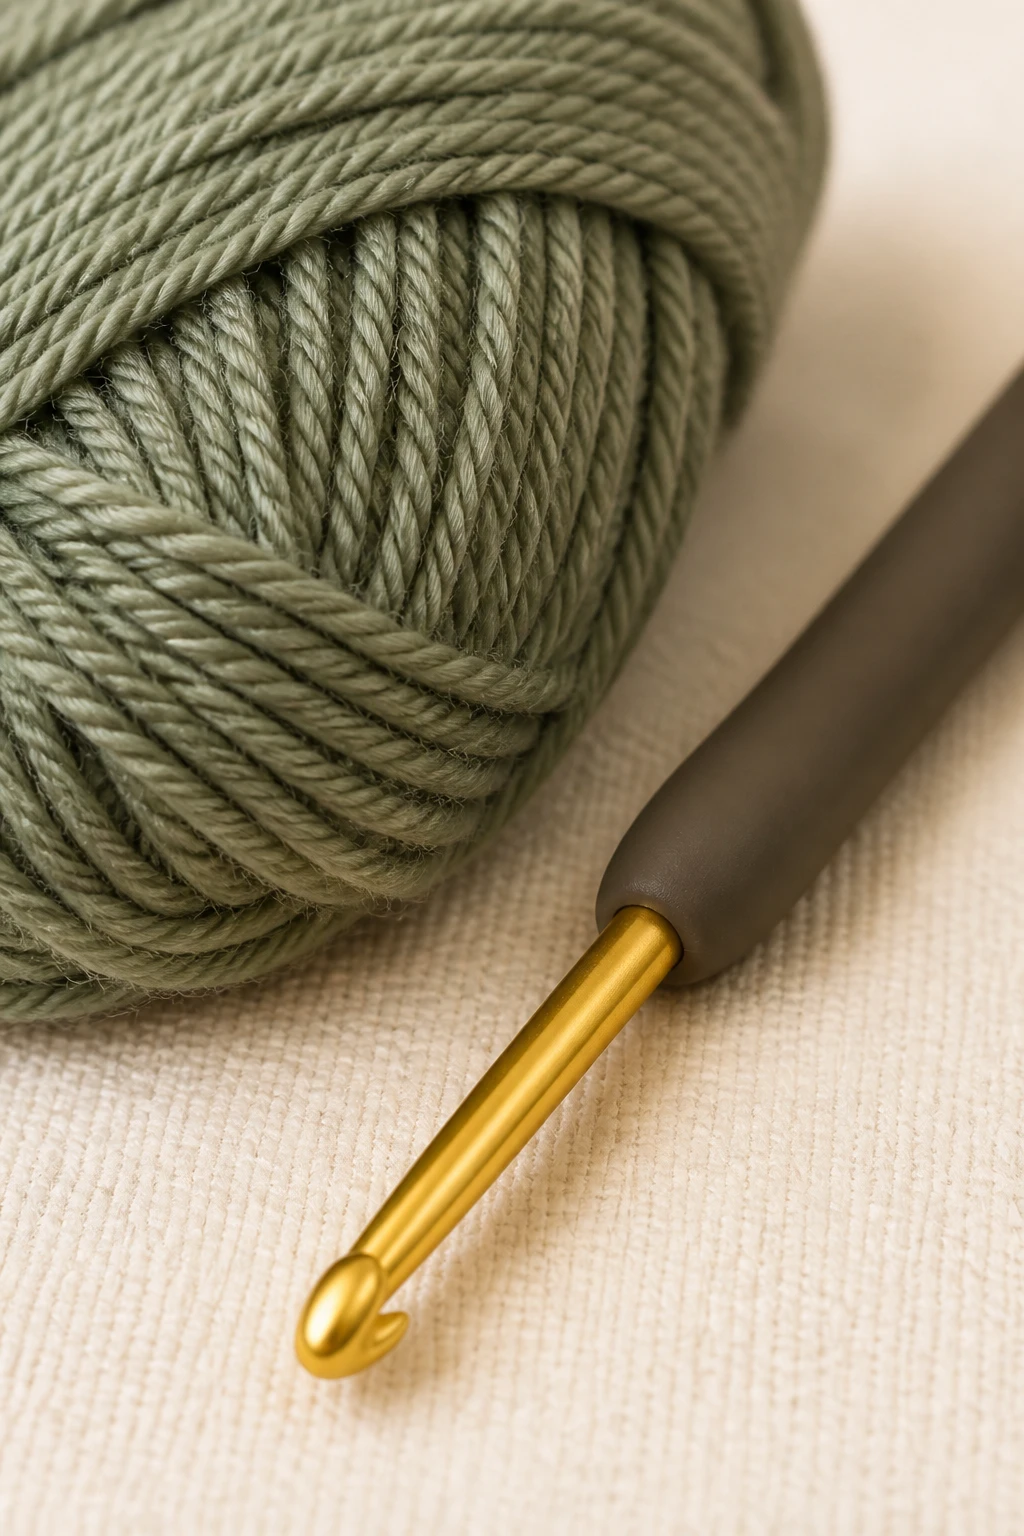
Crochet is basically controlled knitting with one hook. You’ll learn a few core stitches, and after that, you can mix and match to make bigger things. The basic stitches set the rhythm of your day, and the rest of the project falls into place like a well-timed dance.
The big three basics
- Chains (ch) — the foundation. If your foundation row looks wobbly, your entire project will look wobbly. Practice chaining a few rows until you’re comfortable.
- Slip stitch (sl st) — used for joining rounds or moving across spaces without adding height.
- Single crochet (sc) — the workhorse stitch. It creates a tight fabric and is forgiving for beginners.
Row versus round notes
Everyone gets tripped up on this. Rows go back and forth in straight lines; rounds go in circles or spirals. If a pattern says “knit in the round,” you’ll be working in a continuous circle. If it says “work back and forth,” you’re in row land. Pro tip: keep a small notebook to mark which method your pattern uses—it saves headaches later.
Why do my stitches look uneven, and how do I fix it?
Uneven stitches are the bane of new crocheters, but they’re totally fixable. Mostly, it comes down to tension and consistency.
- Consistent tension — pretend you’re petting a tiny kitten while you work. Not too tight, not too loose. If your stitches pull, loosen up a touch; if they flop, tighten a touch.
- Hook height and grip — hold the hook like you would a pencil, with a relaxed grip. If your wrist starts to ache, take a quick break and shake it out.
- Stitch length — count your chain to keep rows even, and count your stitches per row to avoid accidental increases or decreases.
How to practice tension without drama
- Chase a simple swatch of 20 stitches across 20 rows.
- Measure your swatch; aim for a consistent gauge. If you’re off, your project might end up smaller or larger than you expect.
- Compare a few rows side by side. If one row looks noticeably tighter or looser, adjust your grip and try again.
What are gauge and tension, and should I worry about them?

Gauge is like your project’s personal size profile. If you’re making a blanket for someone specific, gauge almost matters; for a quick dishcloth, not so much. Tension is how tightly you work and it directly affects gauge.
Gauge explained
- Why it matters — patterns often specify a gauge to ensure the finished item fits. A sweater that’s two sizes too small is no fun.
- How to check — crochet a swatch that the pattern instructs you to, then measure how many stitches and rows fit in a 4-inch square. Compare to the pattern’s gauge.
- What if I don’t match? — adjust your hook size or tension, or look for a pattern with a more forgiving gauge. FYI, many beginners skip exact gauge and still end up with something adorable; just be prepared for tiny deviations.
When should you swap hooks?
If your stitches feel stiff or your yarn won’t move at all, your hook might be too small. If you’re pushing yarn and stitches, it might be too big. A half-step adjustment can save you a lot of frustration.
How do I pick the right yarn and hook combo?
You don’t need a huge stash to begin, but you do want something pleasant to work with. The goal is clear stitches and comfortable handling.
- Yarn weight — start with a medium (4) weight. It shows stitches clearly and moves nicely on the hook.
- Fiber — cotton is forgiving and sturdy, acrylic is friendly on the wallet and easy to care for, wool is warm but can be itchier or prone to shrinking if you wash carelessly.
- Color — lighter colors show mistakes, darker colors hide them. Pick whatever keeps you motivated.
Hook size quick guide
- 4.0 mm to 5.0 mm for most worsted weight (4) yarns
- 3.5 mm to 4.0 mm for DK weights
- H/8 (5.0 mm) or larger for chunky yarns
What should I crochet first? The classic starter projects
Starting with something doable will boost your confidence and keep you hooked (pun intended).
- Dishcloth or washcloth — quick, practical, and you’ll finish it in a few evenings.
- Scarf — a longer project that teaches you how to keep tension consistent across many stitches.
- Granny square — the building block for blankets, and you’ll finish one square in a snap.
- Beanie or simple hat — more challenging, but once you nail a basic brim, you’re in the groove for bigger caps.
Pattern reading for absolute beginners
– Start with a photo and a short list of stitches.
– Learn common abbreviations: ch, sc, dc, sl st.
– If a pattern uses special stitches, search for a quick tutorial first. IMO, patterns with minimal abbreviations are your friend at first.
What if I get stuck mid-project?” Help, I’m stuck!
Stalling happens to everyone. The trick is to identify the snag and address it in a few quick steps.
- Check your tension and stitch count — count stitches in a row; if you’ve accidentally added or missed a stitch, your edge will start to curl or bunch.
- Watch for dropped stitches — a single skipped stitch can throw off the whole row. Pick it up gently with a hook or needle.
- Look for pattern errors or misread terms — if a pattern seems off, re-check instructions and stitch counts.
- Take a break — a short walk or coffee break can reset your brain and save your progress.
When to frog it?
Frogging means ripping back your work. If you’re truly frustrated and the piece will be under your current skill ceiling, frog it, re-work the stitches, and try a shorter, simpler row. It’s not failure; it’s a smart shortcut to a cleaner finish.
How do I weave in ends without turning my project into a porcupine?
Weaving in ends is the quiet workhorse of crochet; it’s not glamorous, but it matters. A neat finish looks pro and stops most of your yarn’s great escape attempts.
- Trim short tails — leave about 2-3 inches for weaving in; longer tails can snag later.
- Use a tapestry needle — thread the end, then weave back and forth across a few stitches to “anchor” it.
- Weave in different directions — crisscrossing the tail helps prevent snagging and keeps ends secure.
- Block or wash if needed — a gentle wash can help set stitches and flatten uneven ends.
End-weaving checklist
- Weave tail through at least 4-6 stitches in several directions.
- Snip close to the fabric, but don’t cut the ends too close—leave a tiny bit of tail to prevent loosening.
- Throw the project in a gentle wash if the yarn label suggests so; many fibers behave better after a little wash.
How do I build momentum and avoid burnout?
Crochet joy should outweigh the frustration. Here’s how to stay excited without burning out.
- Set tiny goals — “I’ll finish two rows tonight” beats “I’ll finish the whole blanket.”
- Mix up projects — alternate between a quick dishcloth and a bigger blanket. Change pace to keep it fresh.
- Share progress — post a pic or show a friend. Positive reinforcement is a real motivator.
FAQ
Is crochet harder than knitting?
Crochet and knitting are different beasts. Crochet uses one hook and tends to grow stitches faster, so you’ll see progress sooner. Knitting can create finer fabrics, but it often requires two needles and more precision to avoid dropped stitches. IMO, try both if you’re curious, but don’t stress about choosing forever—you can enjoy both over time.
Can I crochet with any yarn and still get a good result?
Yes, you can crochet with nearly any yarn, but results vary. Softer, smoother yarns show stitches clearly, while fluffy or textured yarns hide detail but create cozy textures. Start simple with a smooth acrylic or cotton blend before tackling novelty fibers.
How long does it take to get good at crochet?
Depends on how often you practice and your definition of “good.” Most beginners feel a noticeable improvement after a few weeks of steady practice. Expect a learning curve, celebrations of tiny wins, and a lot of “okay, I’m getting this” moments.
What’s the best way to store yarn and hooks?
Keep yarn in breathable bags or bins away from direct sunlight to prevent color fading. Keep hooks organized in a rack or a small jar so you don’t lose them to the mysterious couch cushions. A dedicated crochet corner helps you stay in the zone.
How do I find beginner-friendly patterns?
Look for patterns labeled “beginner,” “easy,” or “level 1.” Check that the stitches used match your comfort level. Short, clear patterns with photos or step-by-step guidance work best for learners. FYI, pattern authors often include a glossary of stitches—use it.
Conclusion
Crochet is a cozy conversation you start with a hook, a skein, and a pinch of patience. You’ll stumble, you’ll laugh at your own errs, and you’ll finish something that makes you smile. Start simple, stay curious, and don’t be afraid to frog when needed. Before you know it, you’ll be whipping up plush blankets, charming little coasters, and maybe even your own original patterns.
If you want, I can tailor a beginner-friendly plan for you—pick a project type you’re excited about (dishcloths, hats, blankets) and I’ll map out a 2-week, bite-sized practice path with daily mini-goals. Happy crocheting, friend!