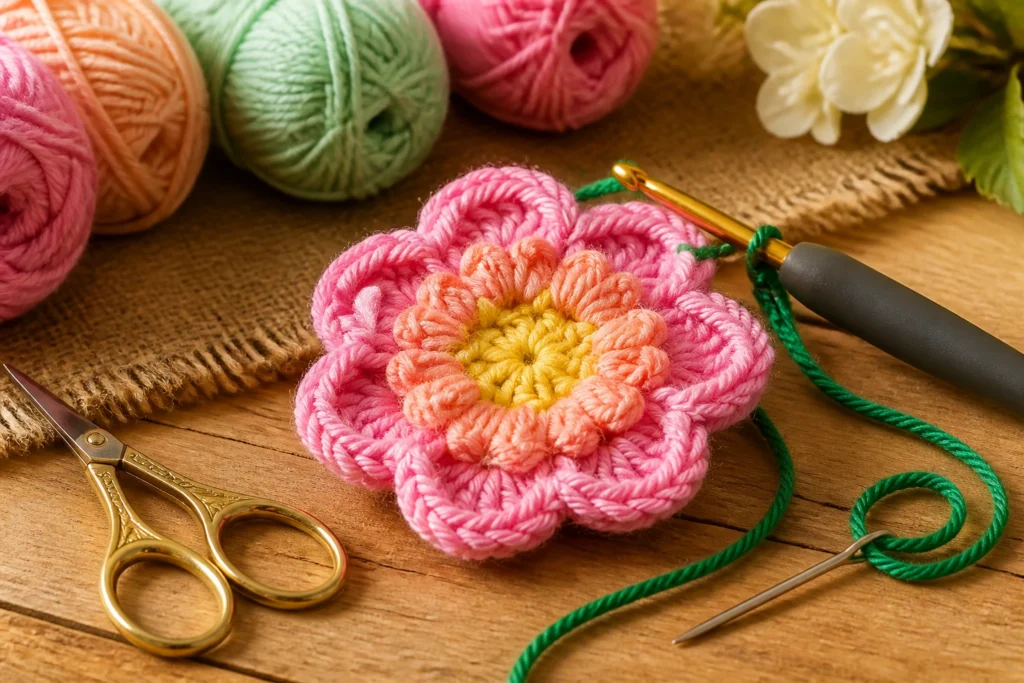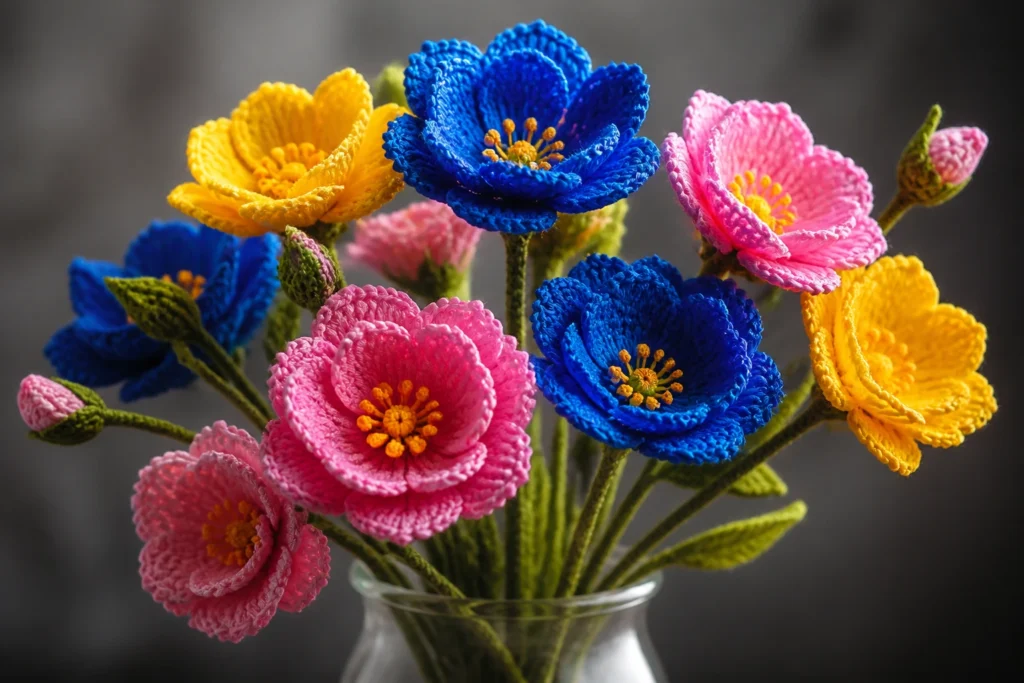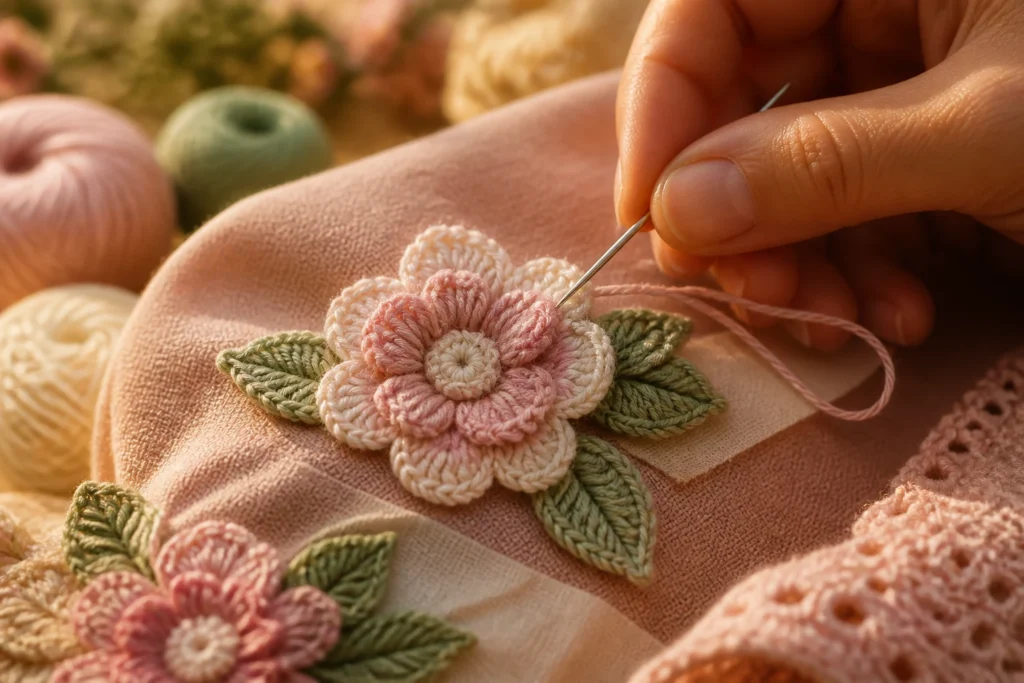
It’s amazing how a tiny crochet flower can transform a plain project into something you actually want to wear or show off. You don’t need to be a crochet wizard to attach them—just a few trusty tips and a little patience. FYI, once you nail the method, you’ll be layering these daisies on everything.
Why attach crochet flower appliques at all?
You’re probably itching to know the point beyond “cute, obviously.” Flower appliques can revive worn fabric, add a pop of color, or cover small boo-boos in garments and accessories. They’re also a fantastic way to reuse scraps and experiment with textures without committing to an entire new piece.
– They’re inexpensive embellishments that look professional with minimal effort.
– You can mix sizes, colors, and stitches for a truly unique look.
– They’re perfect for gifts—or for making your everyday items feel like a boutique find.
Choosing the right flower for your project
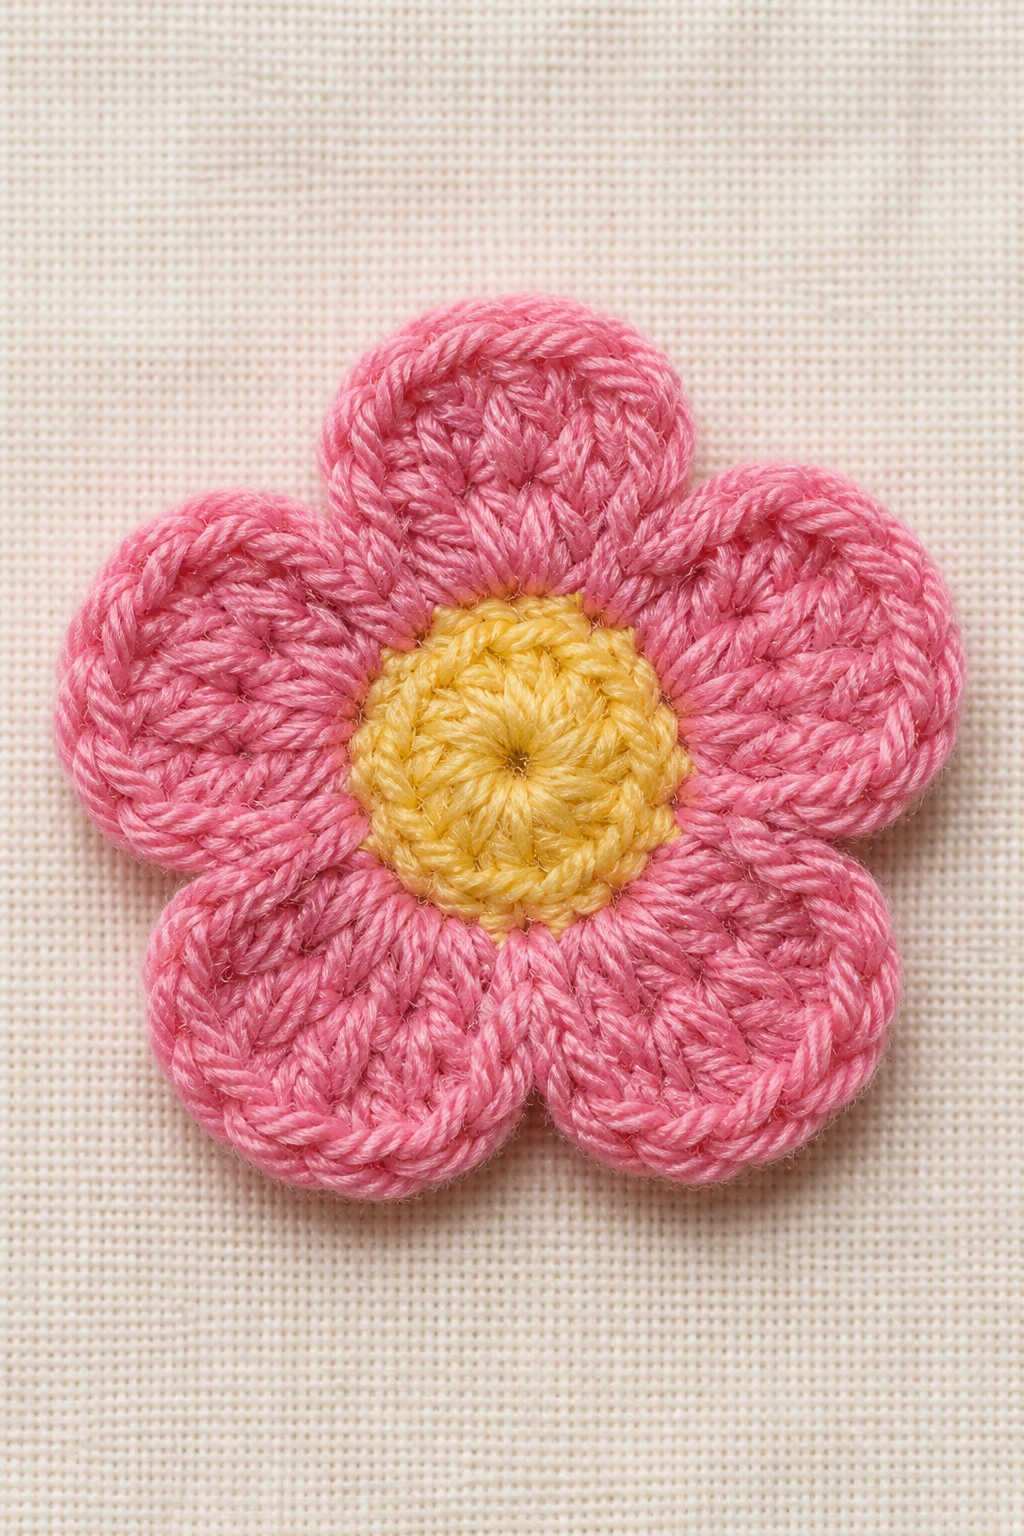
Not all flowers are created equal when it comes to attachment. Some need a sturdier base, others nestle nicely into a seam, and a few are better suited for delicate knits.
- Size matters: Pick a flower that’s proportional to the item. A tiny blouse button may drowned by a huge bloom.
- Weight and material: Heavier blooms demand stronger stitching or a backing; lighter ones tolerate slip-stitching and small backings.
- Backing options: Felt, sturdy interfacing, or a simple crochet base can make attachment easier and more durable.
- Stitch variety: Simple petals are easier to attach; intricate loops look gorgeous but take more time to secure.
Attachment methods at a glance
There isn’t just one magic trick. You’ll likely mix and match depending on the fabric and the look you want. Here are the main routes, from easiest to most secure.
Temporary vs. permanent solutions
– Temporary: Pin or fusible glue to test placement before committing. This saves you from sewing where you don’t want to.
– Permanent: Sewing with a running stitch, blanket stitch, or a hidden backstitch keeps the applique in place for the long haul. FYI, a good knot on the end is your friend.
Basic hand-sewn attachment
– Place the flower on the fabric and pin it.
– Thread a sharp needle with a length of polyester embroidery floss or sturdy cotton thread.
– Use a neat, small running stitch or a series of small, close stitches around the edge.
– When you circle the petals, avoid catching too much fabric—you want the flower to sit flat.
– Tie off securely with a double knot and snip the ends.
Using a backing for extra security
– Cut a felt or fabric backing slightly smaller than the flower.
– Stitch the backing to the flower first, then attach the whole thing to the garment with a hidden stitch.
– This is especially helpful for knits or delicate fabrics that don’t hold a tight bite from the stitches alone.
Fabric glue and iron-on options
– Fabric glue can be a handy quick fix for non-washable things or for quick prototypes.
– If you go glue-happy, make sure you test washability and fabric safety.
– For heat-activated options, use a thin cloth between the iron and the applique, and set the heat according to the fabric’s guidelines. Don’t scorch your beautiful work.
Step-by-step: attaching a crochet flower to fabric

Ready for a practical, straightforward walkthrough. Grab a needle, thread, and a flower that’s looking for a home.
- Decide where the flower belongs. Use pins or a fabric marker to map the spot.
- Secure the bloom with a few practice stitches to check alignment.
- Switch to a durable thread and begin stitching around the edge of the flower.
- Keep stitches small and evenly spaced to avoid bulk at the petals’ base.
- Stitch all the way around, then weave the thread tail through a few nearby stitches to lock it in.
- Trim excess thread and give the piece a gentle press (if appropriate) to settle the stitches.
Tips for tricky fabrics
Some fabrics are more forgiving than others. Here’s how to tackle the common troublemakers.
Sweater knits and stretchy fabrics
– Use a backing or a small zigzag stitch to help anchor the flower without distorting the knit.
– Consider a glue-and-stitch hybrid for extra security, then finish with a neat seam.
Delicate chiffons and silks
– Go with a fine thread and tiny stitches. Backing is your friend here— soft interfacing can provide a gentler anchor.
– Place a tissue behind the fabric while stitching to prevent puckering.
Denim and sturdy cottons
– You can go a bit bolder with stitches. A tight blanket stitch around the edge helps in withstanding wear and washing.
– A felt backing underneath makes the whole thing feel more substantial.
Creative ideas: where to put those crochet flower appliques

If you’ve got a pile of blooms and a blank canvas, here are some playful ideas to spark your creativity.
- Denim jackets: cluster multiple flowers for a boho vibe or line up one big bloom as a statement on the back pocket.
- Hats and headbands: tiny blossoms add whimsy and color without weighing things down.
- Handbags and totes: create a bouquet motif across the front for a crafted boutique look.
- Home textiles: throw pillow covers; a few appliques can transform plain cushions into cozy, personalized décor.
Care and maintenance so your blooms stay bright
You want these little guys to last, right? A few simple habits keep them looking fresh.
- Wash with gentle cycles and cold water if possible.
- Avoid high heat in dryers; air-dry whenever you can.
- Inspect seams after washing and re-stitch any loose edges.
- Store items flat to prevent bending the embellishments.
Common mistakes and how to avoid them
We’ve all been there: rushed stitching, puckers, or a bloated seam. Let’s check off the usual suspects and fix them.
- Stitches too long or uneven: switch to smaller, more even stitches near the edge.
- Using the wrong thread weight: heavy thread on delicate fabric makes it stiff; match thread to fabric.
- Not securing the thread tails: always weave in and clip. Loose tails are the number one way to lose an applique mid-wash.
- Ignoring the wrong backing: choose a backing that can actually anchor the design without creating bulk.
Experimentation corner
– Try a radial, wreath-style setup with several small flowers around a central focal bloom.
– Mix stitches: combine running stitch with a few small backstitches for texture.
– Play with color blocking: two-toned petals can add depth without complicating attachment.
FAQ
Can I attach crochet flowers without sewing?
Yes, but it depends on the fabric and the look you want. Temporary methods like pins or fabric glue let you test placement. For a durable finish, sewing with a neat, secure stitch nearby is best. If you’re using glue, pick a fabric-safe product and test on a scrap first.
What’s the best thread to use for attaching flowers?
Polyester embroidery floss or a sturdy cotton thread works well for most fabrics. They’re strong, grip well, and don’t bulk up too much at the base. If you’re on a delicate knit, go with a thinner thread and backing to avoid stiffness.
How do I know which backing to choose?
Your choice depends on fabric weight and the wear you expect. Felt provides a solid, easy anchor for heavy fabrics. Interfacing or a light fabric backing helps on delicate materials to prevent stretching. For garments that will be laundered often, test wash resistance first.
How many stitches should I use around the edge?
Aim for 8–12 stitches around the edge for small flowers and 12–20 for larger blooms. Space them evenly and keep tension consistent so the flower sits flat.
Will crocheted blooms fray with use?
If you crochet tightly and finish the edges well, they won’t fray. Backing can also help seal the ends and prevent fraying at the edges. If you continuously wash on hot cycles or roughen the fabric, inspect seams regularly and resew when needed.
Conclusion
Crochet flower appliques are a tiny detail with a big impact. They let you customize, upcycle, and express your crafty personality without reinventing the wheel every time. So grab a flower, pick a project, and start attaching. You’ll be surprised at how fast a simple bloom can turn a plain piece into something you’ll actually love to wear or show off. IMO, the best part is how forgiving the process is—perfect for a weekend project that still feels thoughtfully handmade. Happy stitching!