I know the feeling: you bought a crochet hook, you bought some yarn, and now you’re staring at a needle with no idea what to do. Let me spare you the confusion. Here’s the straight-up, friendly guide to making your first crochet stitch and actually enjoying the process.
First things first: what you’ll actually learn
We’re not here to reinvent the wheel. You’ll learn how to hold a hook, how to make a simple chain, and how to turn that chain into a real stitch you can brag about on social media. FYI, you’ll also pick up a few tiny tricks that keep your yarn from turning into a blob of frustration. Ready to get your hands into it? Let’s do this.
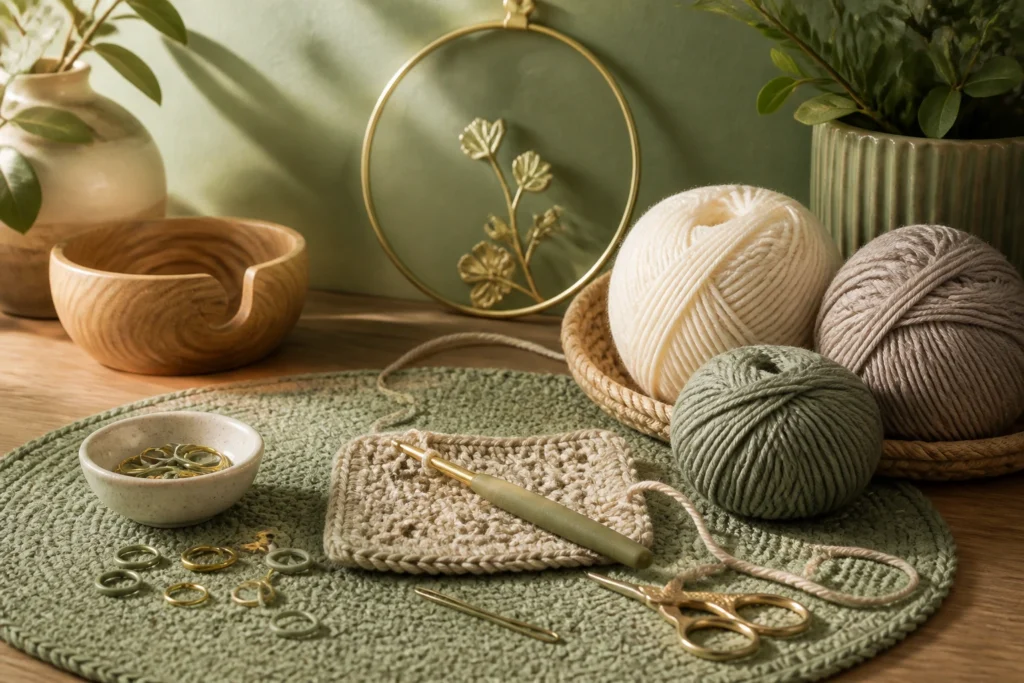
Choosing your gear (without overthinking it)
Choosing the right hook and yarn for beginners is less about a perfect setup and more about a forgiving one.
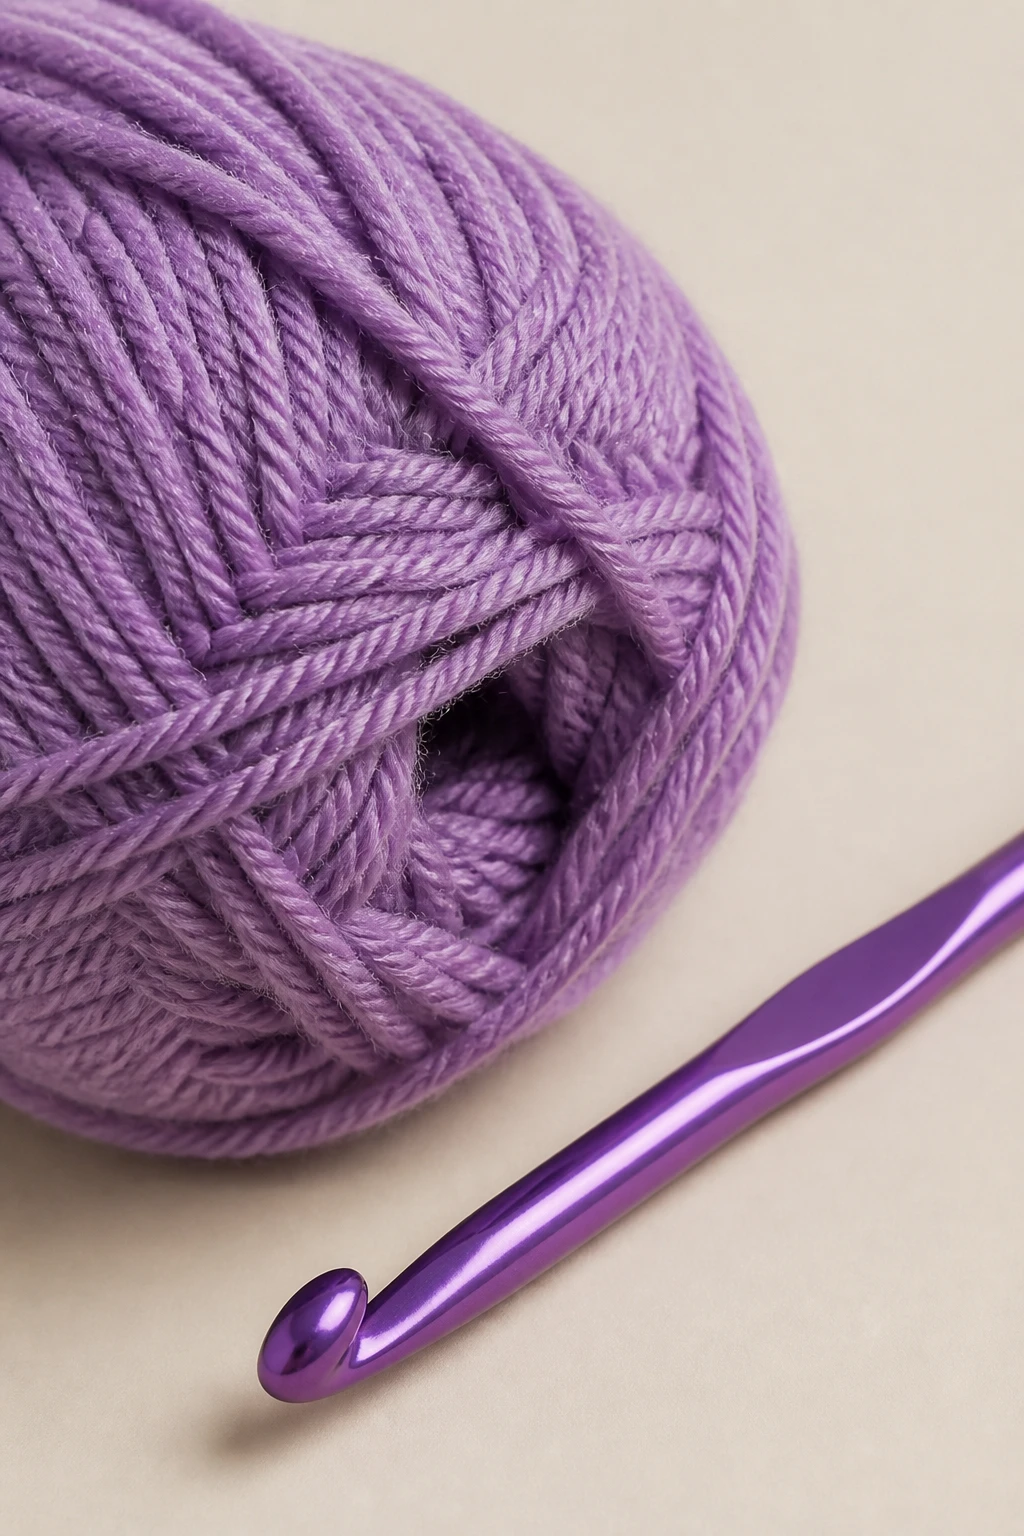
– Yarn: Start with a medium weight, often labeled as worsted weight or category 4. It’s thick enough to see your stitches, but not so bulky you’ll slow down to a crawl.
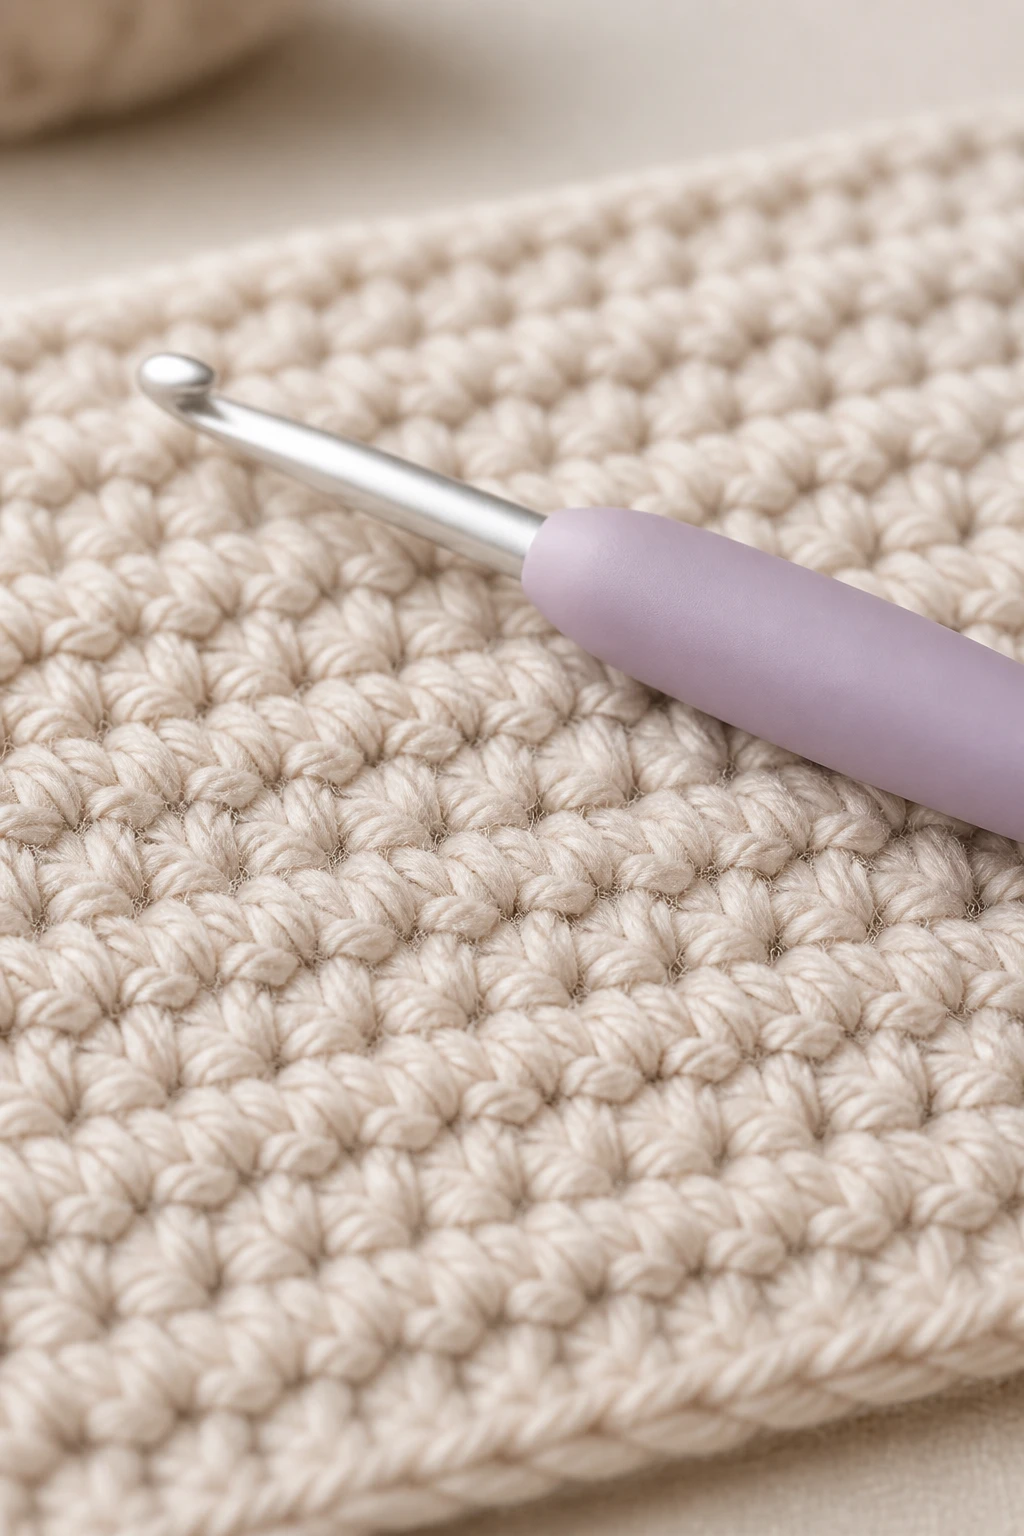
– Hook size: A size that feels comfortable in your hand. Most beginners start with a G/6 (4.0 mm) or H/8 (5.0 mm). If your yarn label suggests something bigger, try that. If it feels slippery in your grip, go up a size.
– Tension: Don’t chase even tension on day one. Your fingers will figure it out with time. The goal is to make stitches that don’t pirouette themselves into a knot.
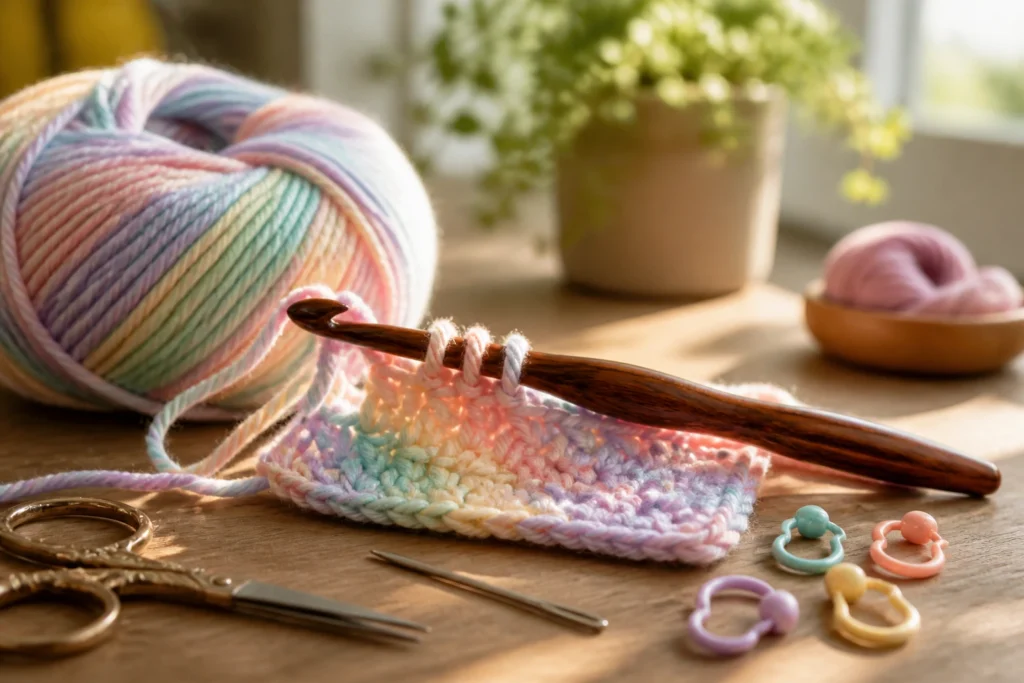
Tip: keep a small pair of scissors and a yarn needle nearby. You’ll thank yourself later when you need to weave in ends or cut yarn quickly.
How to hold your hook and yarn (and not feel like a pretzel)
There are two popular grips: the pencil grip and the knife grip. Both work. Pick the one that doesn’t make you want to throw the project across the room.
– Pencil grip: Hold the hook between your thumb and index finger, like you’re holding a pencil. Your ring and pinky rest on the table for steadiness.
– Knife grip: Hold the hook similar to how you’d hold a knife and fork. It feels more relaxed for some people.
Yarn positioning matters more than you think. Wrap the yarn around your finger in a way that lets you release yarn smoothly as you stitch. Don’t grip so hard you feel your knuckles turning into a sculpture.
– The motion: feed yarn from the back to the front, letting it flow as you wrap it around the hook.
– Tension check: if your stitches look bumpy or your hook squeaks, you’re likely pulling too tight. If your stitches are saggy, you’re not pulling enough. Find that sweet spot.
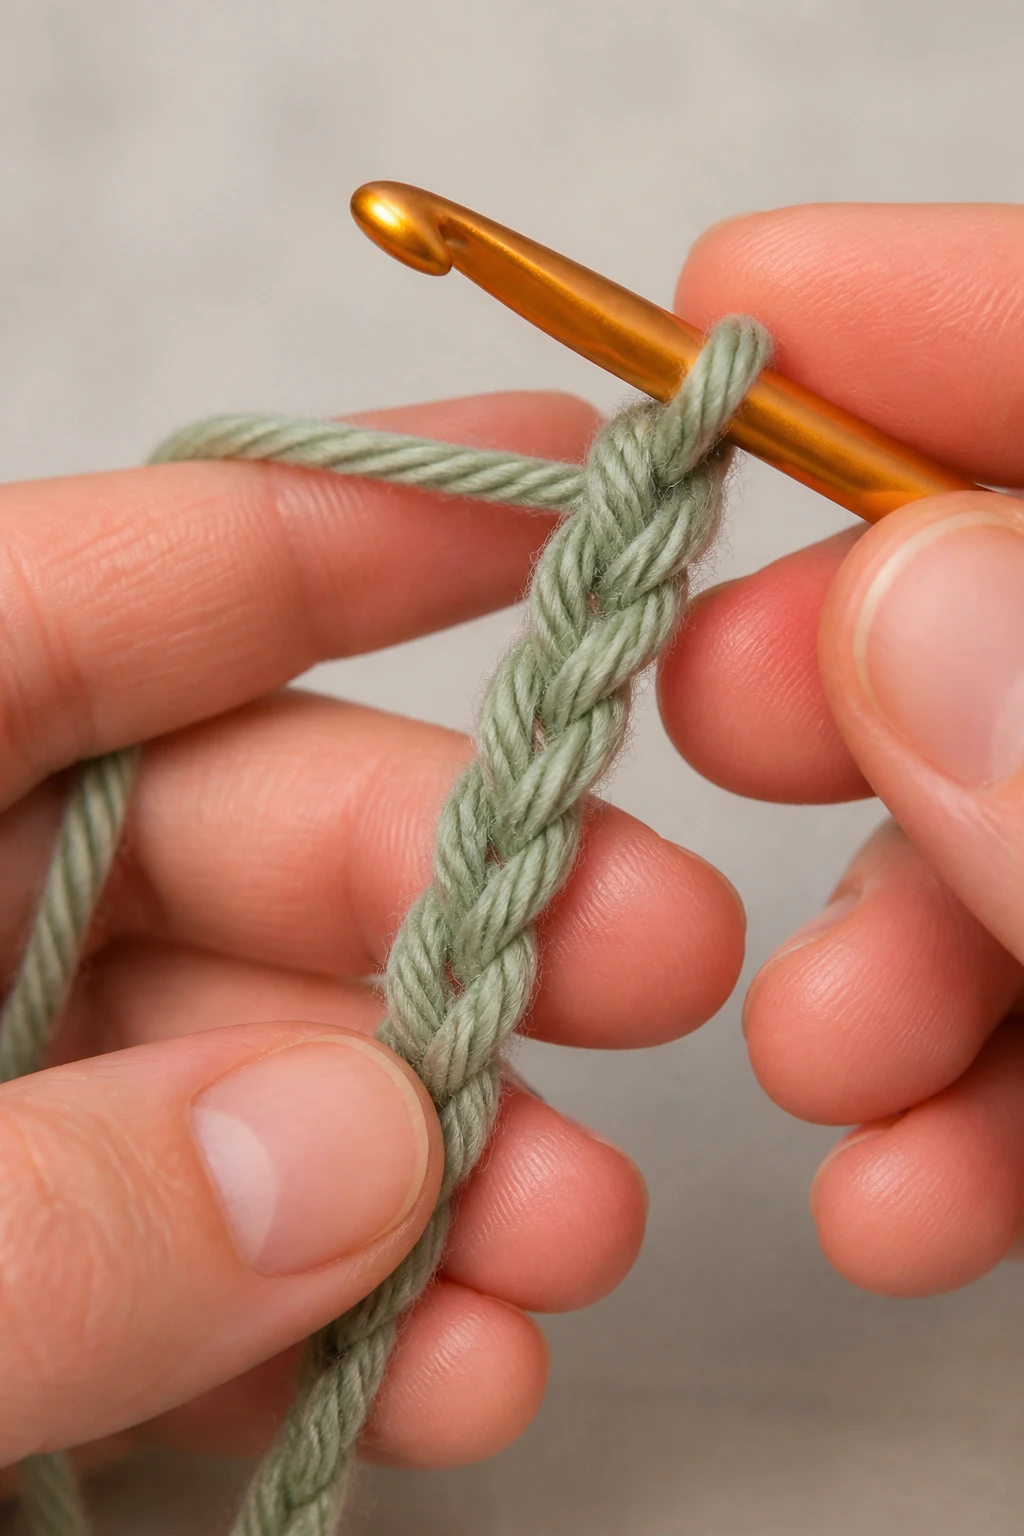
Your first real stitch: the chain and the single crochet
This is the moment of truth. We’re starting simple to build confidence.
– The chain (foundation): Start with a slipknot and a loose tail. Wrap the yarn over the hook, pull through the loop, repeat. The goal is a neat row of loops that sits flat.
– Turning: When you finish a row, you’ll turn your work so you can start the next row.
– The single crochet: Insert your hook into the next chain or stitch, yarn over, pull through the stitch (two loops on the hook), yarn over again, pull through both loops. Boom, one single crochet.
Common hiccups:
– Tension tug-of-war: Keep it steady. If your chain sits tight, you’re going to hate the next row. If it’s floppy, your stitches will look loose.
– Skipping stitches: It’s common for beginners to miss a stitch when turning. Count your chains to know where the next stitch starts.
– Loose ends: Your tail fringe will confuse you at first. Don’t stress—these tails will be woven in later.
- Make a slipknot.
- Ch 12 to practice (or any number you prefer).
- HDC, no—start with single crochet (sc) stitches across the row.
- Turn, chain 1, and continue with sc across the row.
Subsection: Troubleshooting your first row
If your first row looks wobbly, you’re not alone. Slightly loosen your grip, check the yarn tension, and rework the last few stitches. It’s normal to redo a few stitches as you learn. The important part is that you’re practicing the motion and building muscle memory.
From practice swatch to a real project idea
Let’s take a tiny leap from “stitching in a vacuum” to something you can show off.
– Mini scarf or coaster: Both are excellent warm-up projects. You’ll practice stitches, patterns, and weaving in ends.
– Keychain or bookmark: Small, quick, and satisfying. It gives you a tangible item that’s easy to gift.
If you need a quick pattern, try:
– Foundation row: chain 16, skip the first chain, single crochet into each chain across.
– Second row: chain 1, turn, single crochet into each stitch across.
Reasonable expectations: your first project won’t be perfect, and that’s okay. Perfection is overrated; progress is what matters.
Reading patterns like a pro (even when you’re still learning)
Patterns are a lot less scary once you know a few shorthand terms.
– Abbreviations you’ll see often: sc (single crochet), hdc (half double crochet), dc (double crochet), ch (chain), sl st (slip stitch).
– Pattern flow: most beginner patterns tell you to chain a base, then start your first row with a specific stitch. They’ll tell you when to turn and how many rows to complete.
Pro tip: print the simple pattern you’re following and highlight each step as you complete it. It helps you stay organized and feel like you’re actually making headway.
Keeping your hands happy: common aches and how to fix them
Crochet should feel enjoyable, not a workout for your joints.
– Warm-up: stretch your fingers, wrists, and forearms before you start.
– Posture: sit with your back straight and shoulders relaxed. If you’re hunched over, you’ll get tension quickly.
– Breaks: take short breaks every 20-30 minutes. Your future self will thank you.
– Tools: ergonomic hooks exist and can really help if you have a grip problem or carpal tunnel symptoms. It’s not cheating—it’s smart.
If you feel a sharp pain while stitching, stop and consult a professional. You shouldn’t ignore pain, even if it’s “just crochet.”
Finishing touches: weaving in ends and keeping your stitches consistent
Two tiny steps, massive impact.
– Weaving in ends: thread the yarn tail onto a yarn needle and weave it back and forth through the stitches. Then weave it back through the back of your work to anchor it. Trim the tail close to the fabric without cutting the stitches.
– Blocking (optional for beginners): wet the piece and pin it into shape to set stitches more evenly. This step helps with neat edges but isn’t required for basic stitches.
Hot tip: don’t bury your ends forever. You’ll want to trim after weaving in, but leave a small tail to endure the wash cycle. It’s not a big deal, but it helps prevent pull-out.
Frequently asked questions
What if my yarn keeps snagging on the hook?
That happens when tension is too tight or the yarn isn’t moving smoothly. Loosen your grip a bit, let the yarn glide more easily, and rotate the hook as you insert it. If you’re using a slippery yarn, consider a slightly smaller hook or a yarn conditioner to help it grab the hook better.
How long should I practice before I see progress?
Progress shows up almost immediately. You’ll notice smoother chain tension, fewer skipped stitches, and quicker movements after a few short sessions. Some folks start to enjoy a simple scarf after a weekend of steady practice; others take a couple of weeks. Either way, consistency beats intensity.
Is it okay to skip the slipknot step?
You can skip if you’re doing a quick practice, but the slipknot helps your project stay secure and gives you a clean starting point. It’s worth doing correctly from the start so you don’t have to redo later.
What is the easiest first project besides a swatch?
A small coaster or a simple scarflet works wonders. They’re fast, give you a sense of accomplishment, and you’ll learn how to manage ends and gauge your tension on something usable.
How do I choose my first pattern?
Pick something extremely beginner-friendly—lots of photos, simple stitches (mostly single crochet), and a short row count. Look for patterns labeled “beginner” or “easy,” and don’t be afraid to skip ahead if a step isn’t clear. The goal is to finish a tiny, tangible object while learning.
Common mistakes to avoid (so you don’t waste hours)
– Chaining too tight at the start of a row: it makes every stitch pull tight and your edges won’t lie flat.
– Not counting stitches: it’s tempting to wing it, but patterns rely on counts. If you miss a stitch, you’ll see it later in the row.
– Sticking to one yarn needle size: if you change hooks mid-project, you’ll get a lopsided result. Pick a size and stick with it until you finish.
Maintaining motivation: how to keep going when it gets tough
– Celebrate tiny wins: finishing a row, creating a neat edge, weaving in a tail—these are all wins.
– Set micro-goals: “Today I’ll finish three rows,” or “I’ll weave in the ends on this coaster.”
– Share your progress: post a photo to a friend or a yarn community. Positive vibes are contagious.
Conclusion: you’ve earned a stitchy victory
So there you have it: a practical, friendly guide to making your first crochet stitch and moving beyond the “what now?” phase. You’ve got the basics—holding the hook, making a chain, stitching, weaving in ends, and leveling up to your first tiny project. It’s not magic; it’s practice, patience, and a little bit of stubborn charm. IMO, you’ll be amazed at what you can create with a few simple stitches and a lot of curiosity. FYI, the journey gets genuinely addictive once you start seeing what you can make.
If you want, I can tailor a tiny, step-by-step starter plan for you—one that matches your preferred yarn weight and a project you’re excited about. Let me know what you’re itching to crochet next, and we’ll map out a simple progression from your first stitch to a cute finished piece.