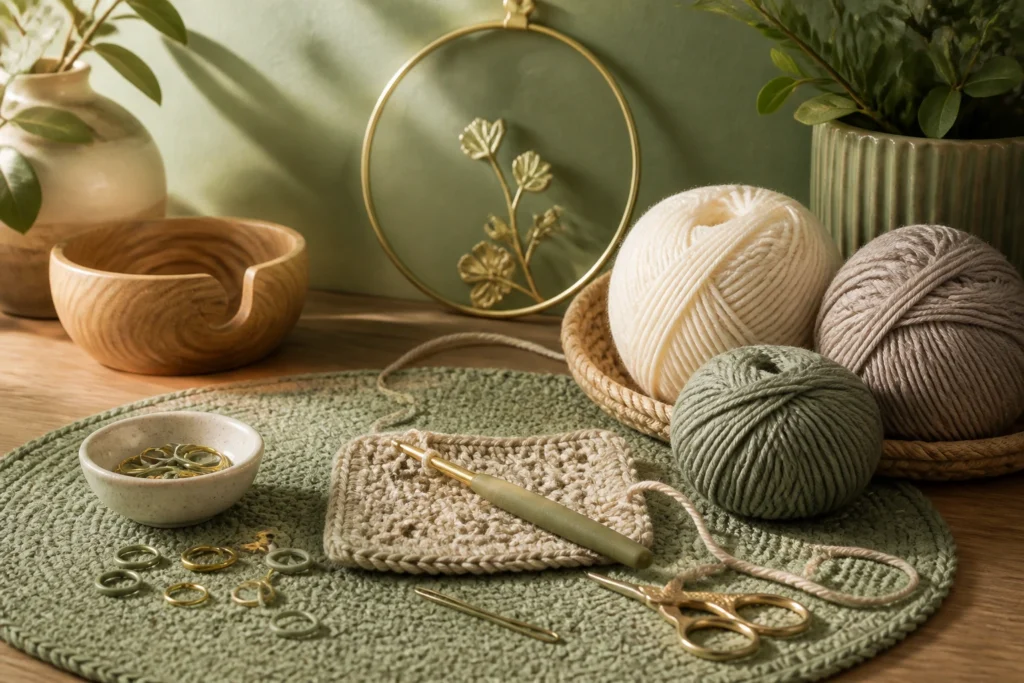
The magic happens stitch by stitch, and the names you see in crochet patterns aren’t there to confuse you—they’re there to help you cut straight to the good part: finishing something you’re actually proud of. If abbreviations feel like a secret code, relax. I’m about to translate them into plain language, with tips, tricks, and a wink of sarcasm to keep things fun.
Why abbreviations exist in crochet—and why you’ll actually want to learn them
Crochet patterns use abbreviations to save space and speed things up. Think of it as shorthand for “do this stitch in this many times, in this round, plus a few extras.” It’s not a secret handshake; it’s just a compact way to write instructions so patterns aren’t a mile long.
– You’ll decode a pattern faster
– You’ll avoid guesswork and mistakes
– You’ll be able to follow repeat sections with ease
If you’ve ever looked at a pattern and thought, “What even is a v-stitch?” you’re in the right place. We’ll break it all down, one abbreviation at a time.
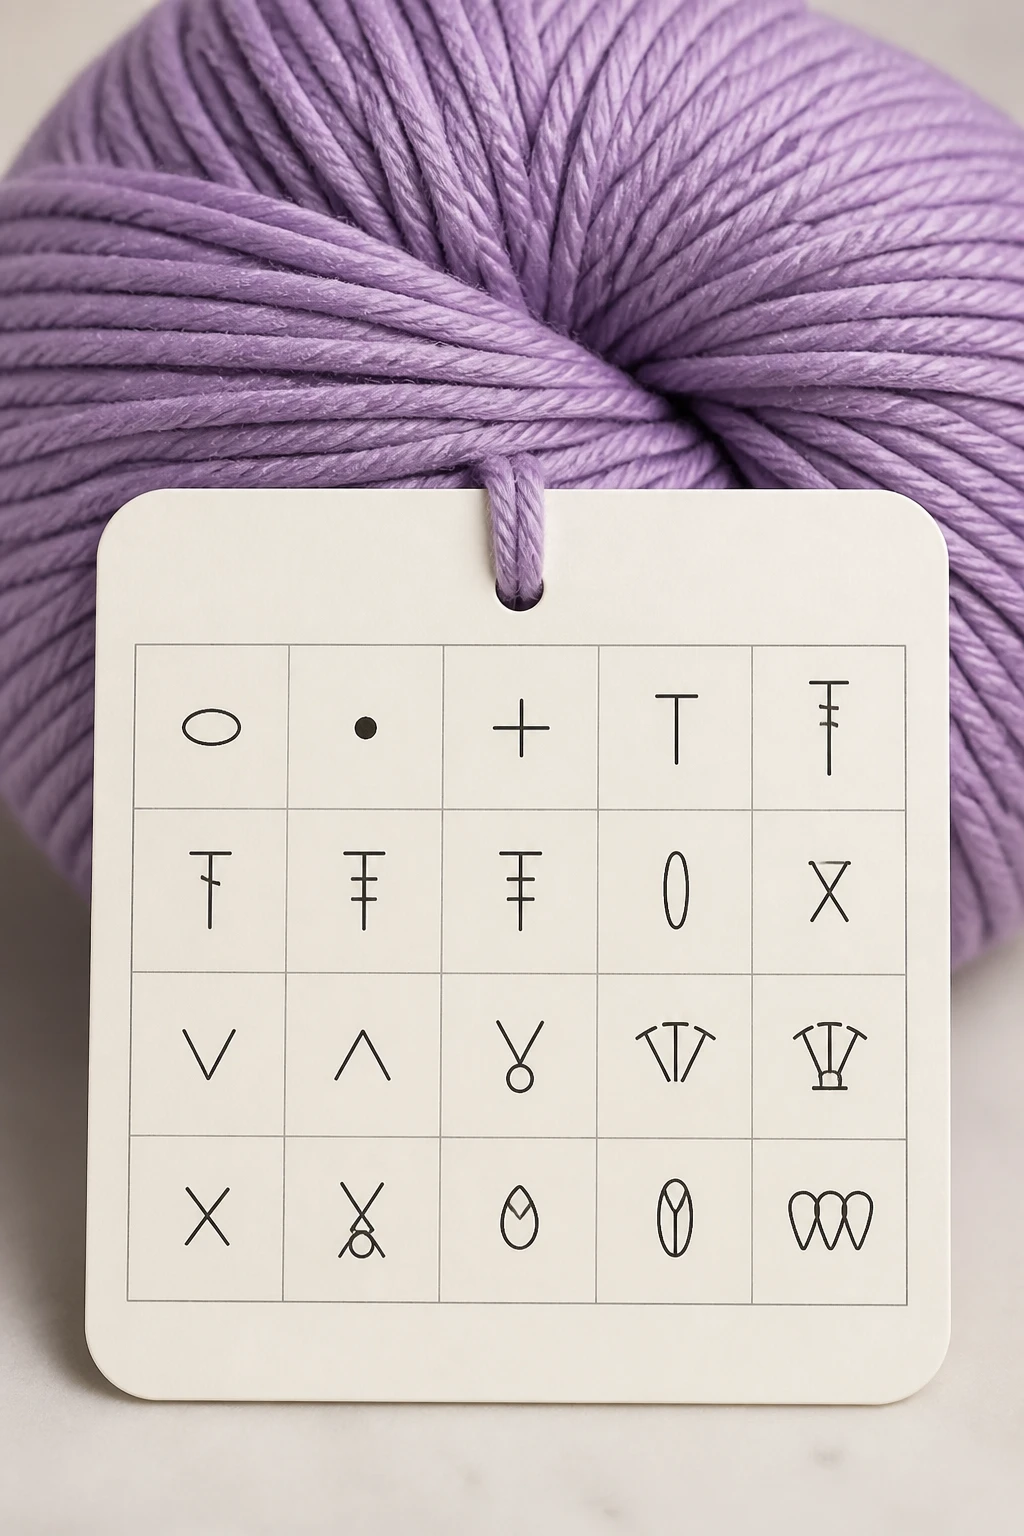
Common abbreviations you’ll see in every crochet pattern
This is your starter pack. Keep this list handy as you browse patterns, magazines, and pattern PDFs.
- ch = chain
- sl st = slip stitch
- sc = single crochet
- dc = double crochet
- tr = treble crochet (also called triple crochet in some patterns)
- hdc = half double crochet
- inc = increase
- dec = decrease
- blo = back loop only
- f.o. = finish off (cut the yarn and weave in ends)
- to = turn, as in “turn your work”
FYI, some patterns use American terms (sc, dc) and others use UK terms (st for stitch, tr for treble). You’ll see both in the wild. If you’re switching between patterns, a quick reference chart will save you from inconsistency headaches.
How to read a crochet row or round shorthand
Rows and rounds are the backbone of most patterns. The shorthand is your map, but you’ve got to know how to read it.
- Look for the starting chain. A pattern might say “ch 4” or “ch 3, join with sl st.” The number is how many chains to make to reach the height of your first stitch.
- Indentation and punctuation matter. Abbreviations are often grouped with parentheses or brackets to show what to do in a repeat, like (dc, ch 1) repeated 6 times.
- Understand what’s being chained and then what type of stitch goes into what. If you see “4 dc in next st,” you’re making four double crochets in the next stitch.
Reps and repeats: the bread and butter
– Patterns often use parentheses for a single repeat: (dc, ch 1) x 6 means you do that pair six times.
– A number after the parentheses tells you how many times to repeat. If it says (sc, hdc) 3 times, you’re doing sc, then hdc, three times total.
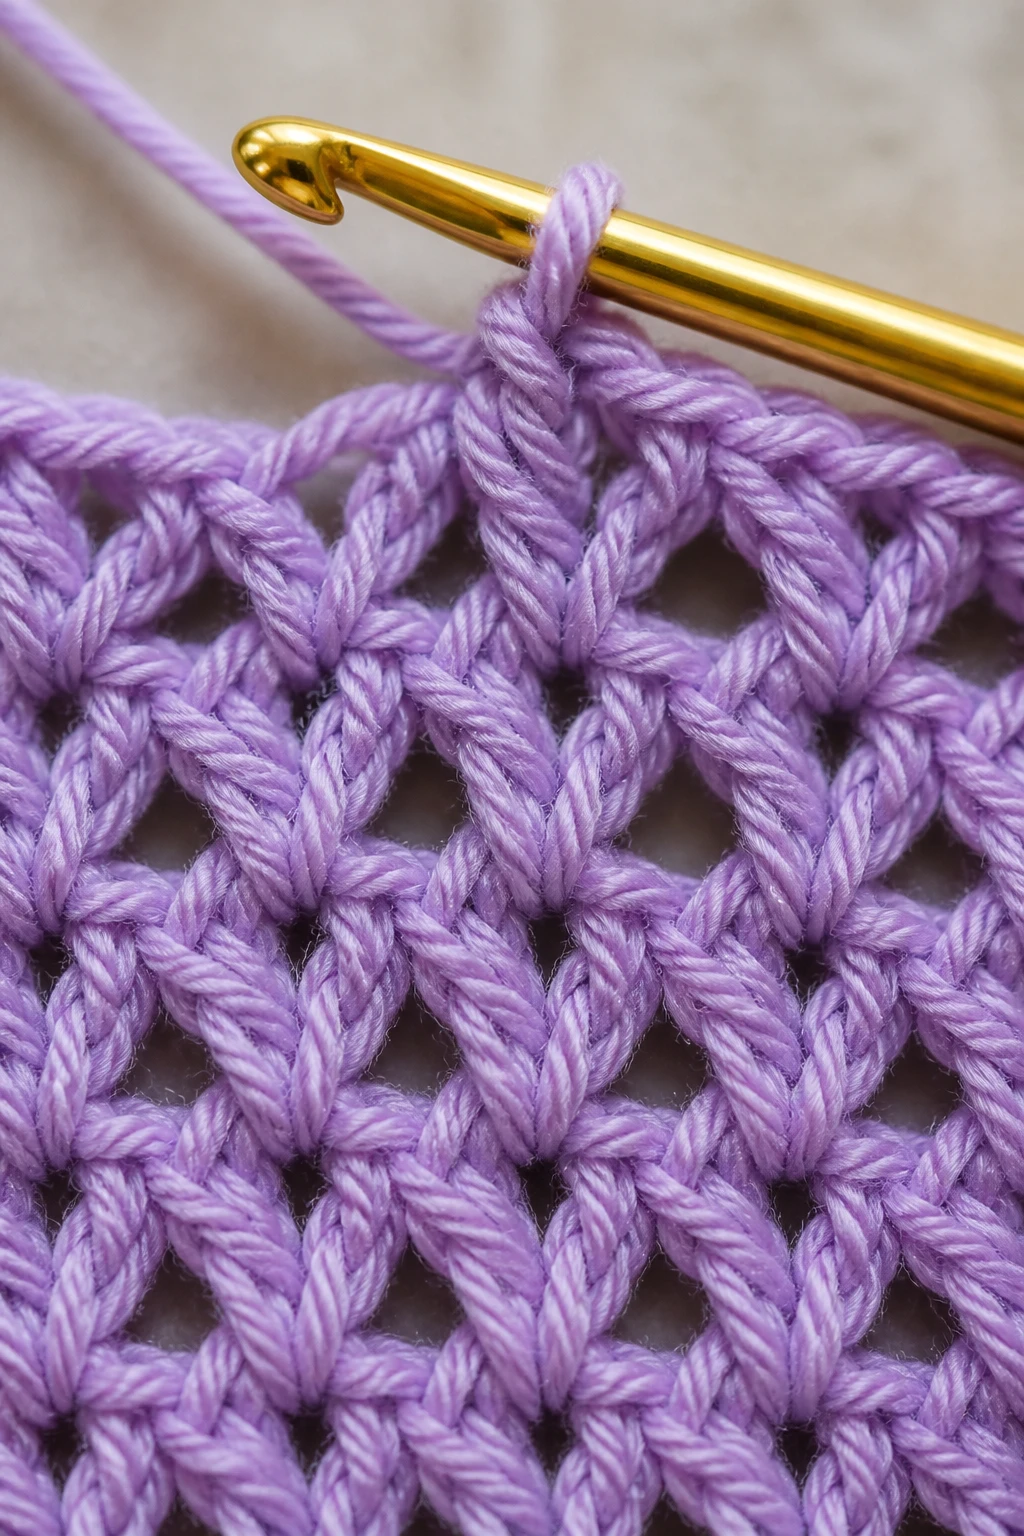
Special stitches and how to tackle them
Some stitches aren’t as straightforward as a simple chain or double crochet. Don’t panic—the names sound fancy, but they’re just a few extra steps.
- invisible join or slip stitch join in rounds: creates a seamless circle. You’ll often see “sl st to join” or “sl st in 1st st.”
- popcorn stitch: creates a little bobble, used for texture. Typically (dc, ch 1, dc, ch 1, dc) all worked into the same stitch, then joined with a sl st.
- bobble stitch: a cluster that stands out. You’ll see “bobble in next st” and that means you’re stacking stitches in one space to make a bump.
- brim or puff stitches: larger puff of yarn created in a single stitch space for a fluffy effect.
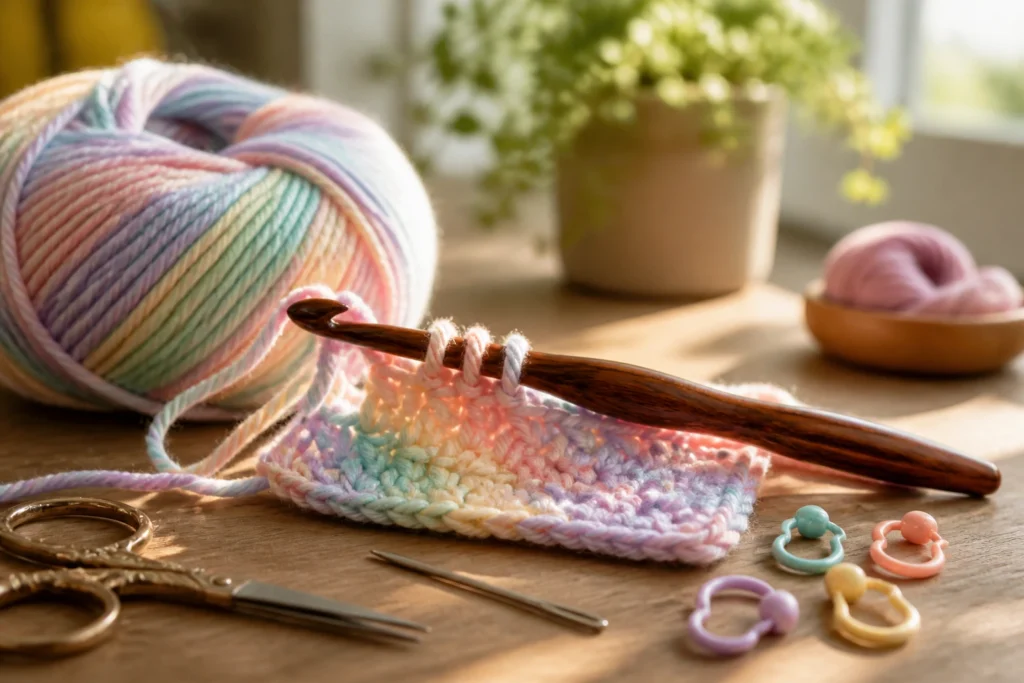
Tips for learning new stitches without drama
– Watch a quick video if you’re a visual learner. A lot of the feel comes from tension and yarn handling, which videos nail.
– Practice on a swatch. Don’t risk a whole project just to test a stitch.
– Use a helper row. If you’re unsure where to place your first stitch, crochet a few rows of sc to anchor yourself.
Counting stitches and keeping track without losing your mind
Counting is a saving grace in crochet, especially when you’re building motifs or joining pieces.
- Count at the end of each row or round. If you lose track, rip back to the last complete row rather than guessing.
- Use stitch markers. Place a marker in the first stitch to know where you started. Move it as you progress.
- Mark increases and decreases. Put a marker in the chain you’re increasing into, or the last stitch before a decrease, so you don’t skip the next one.
Common counting snafus and quick fixes
– Too long, too short: If your edge is curling, it might mean you started with too many ch or skipped a stitch. Compare your starting chain to pattern instructions.
– Hidden decreases: If you notice wobbly edges, you might have missed a decrease. Re-check the round where the edge starts to smooth out.
– Magic ring vs chain start: Magic ring is great for tight centers; chain start can leave a hole if not joined properly. Decide early which method you prefer and stick with it.
Making sense of patterns with multiple sections
Many patterns become a small story with sections like “universal base,” “mandala center,” or “border.” Abbreviations guide you through transitions between sections.
- Section headers aren’t just decoration—they tell you when to switch stitches or start a new motif.
- Transitions often involve increasing or decreasing rows. Look for inc and dec instructions near section borders.
- Motifs and repeats: you’ll see phrases like “repeat from to until end” or “as follows.” Pay attention to the exact wording to stay on track.
A practical example: a simple flower motif
– You might start with a chain that forms the center, then work round, like (sl st, ch 3, dc, ch 2, dc) in a ring.
– Then you’ll repeat around, adding petals by adding stitches in specific rounds. It sounds fancy, but if you read it step by step, the petals emerge.
– The key? Don’t skip the round where you add the petal stitches. Those little increments define the whole look.
From pattern to finished piece: tips to stay sane and stitchy
Here are some practical moves to translate abbreviation-heavy patterns into actual finished objects without losing your mind.
- Prepare your workspace. Ball of yarn, hook, scissors, and a highlighter or sticky note to mark tricky sections.
- Highlight repeat sections in the pattern. It’s easy to lose track if you’re trying to read while you crochet.
- Keep a cheat sheet open. Your personal list of the most common abbreviations will save you from flipping back and forth.
Three common pattern quirks worth knowing
– Turning chains: Chains at the start of a row count as the first stitch, not as a made chain toward your total. If a pattern starts with “ch 3, turn,” you still count that first stitch few rows later.
– “Join with sl st to first st”: This is a cue to close a round. If you skip it, you’ll end up with a gap that looks silly in a hat or coaster.
– “Rs” vs “ws” in colorwork: Right side vs wrong side—colors can flip your stitches in a fun way. Mind the side you’re on when you switch colors.
FAQ: quick answers to your most burning questions
What does “sl st” actually do, and when should I use it?
A slip stitch (sl st) is basically the tiny glue that holds things in place or helps move you along the pattern. You’ll use it to join rounds, move to a new position without adding height, or slip stitch an edging. It’s not flashy, but it’s essential for clean joins and tidy edges.
Is there a reliable way to memorize all these abbreviations?
Yes—and no. You’ll memorize the ones you use most by repeatedly reading patterns and making swatches. A quick cheat sheet with your own notes helps a ton. IMO, keep it handy in your pattern folder, or pin a small printable reference near your crochet area.
What should I do if I encounter a pattern in UK terminology?
Don’t panic. Most patterns will cross-reference terms, or you’ll see a note like “UK terms” with a side-by-side list. The main differences are stitch names and the number of yarn wraps. A quick lookup will align you in seconds.
Why do some patterns say “blo” and others don’t?
“Blo” stands for back loop only. It creates a ribbed, textured edge or fabric. If you see “sc in blo,” you’ll stitch into the back loop of each stitch, leaving the front loop free to pop out for texture. It’s a simple twist that changes the look dramatically.
How can I tell when a section is repeating properly?
Look for parentheses and numbers after the pattern. A segment like (dc, ch 2, dc) x 4 means you repeat that chunk four times. If you see “repeat to last st,” you’ll finish the row by counting to the final stitch and completing the instruction there.
Conclusion
Abbreviations aren’t the villain—they’re your shortcut to crisp instructions and faster projects. With a little memory work, a handy cheat sheet, and a cup of tea, you’ll glide through patterns like a pro. Remember: practice makes perfect, and every pattern you finish boosts your intuition for what comes next. You’ve got this, and soon you’ll be tossing around terms like a seasoned crochet buddy. Happy stitching, and may your tension be even and your ends neatly woven.