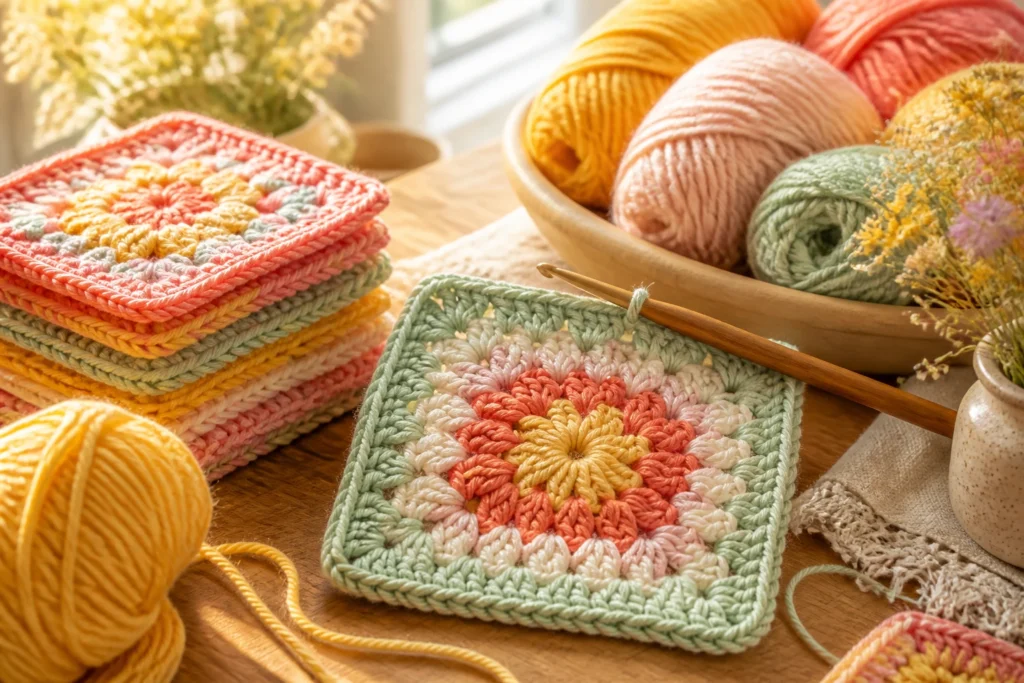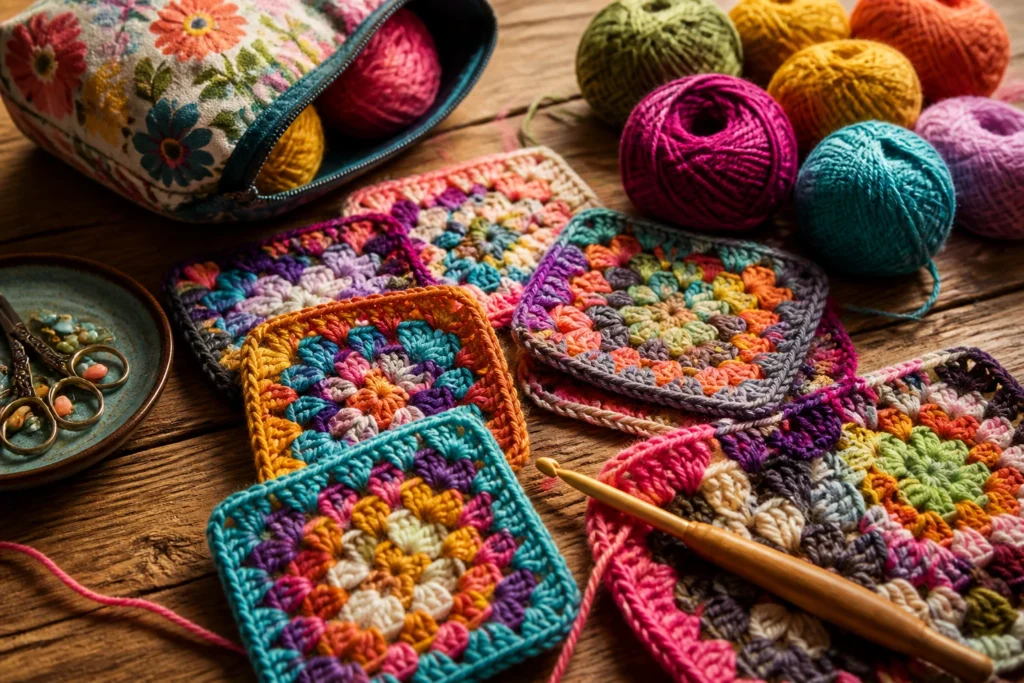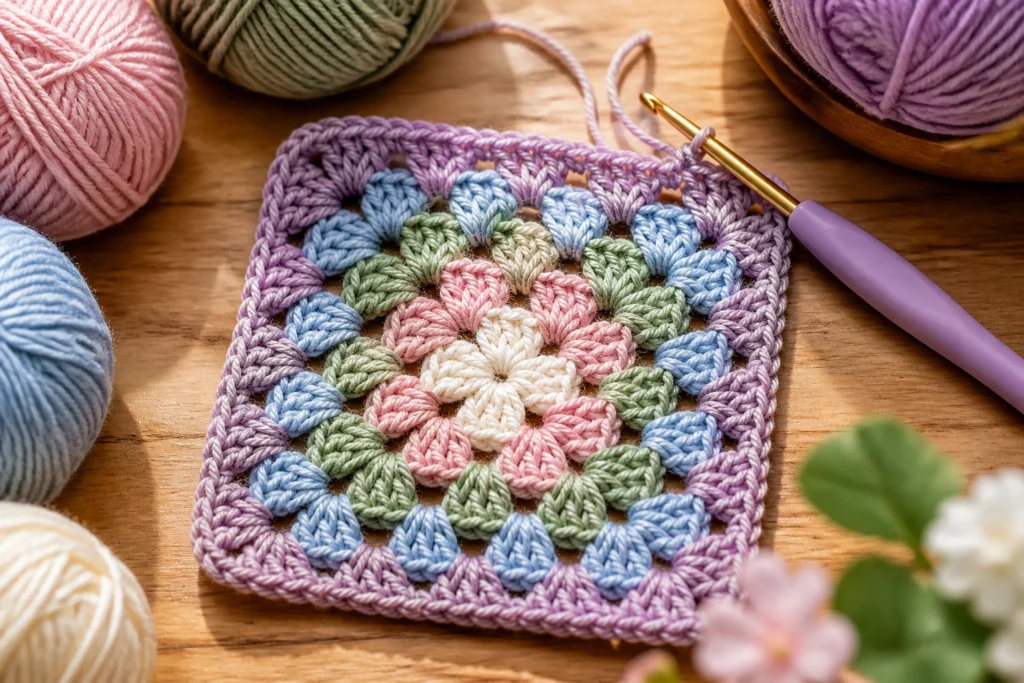
If you’ve ever frogged your way out of a granny square disaster, you’re not alone. Those cheerful little squares can be finicky, but they’re also incredibly forgiving when you know the quirks. Let’s dive into the sticky spots, the easy fixes, and the “why did my corners do that?” moments with a grin.
Common Granny Square Mistakes and How to Fix Them
You start a square with gusto, then… something doesn’t look right. Maybe the corners fan out, maybe your edges crawl, or your color changes act like drama llamas. Don’t panic. Most of these hiccups come from tiny tension gremlins, count misreads, or simply choosing the wrong hook for the yarn. We’ll break down the most common culprits and give you quick, no-nonsense fixes.
1. Tension Troubles: When the Square Looks Uneven
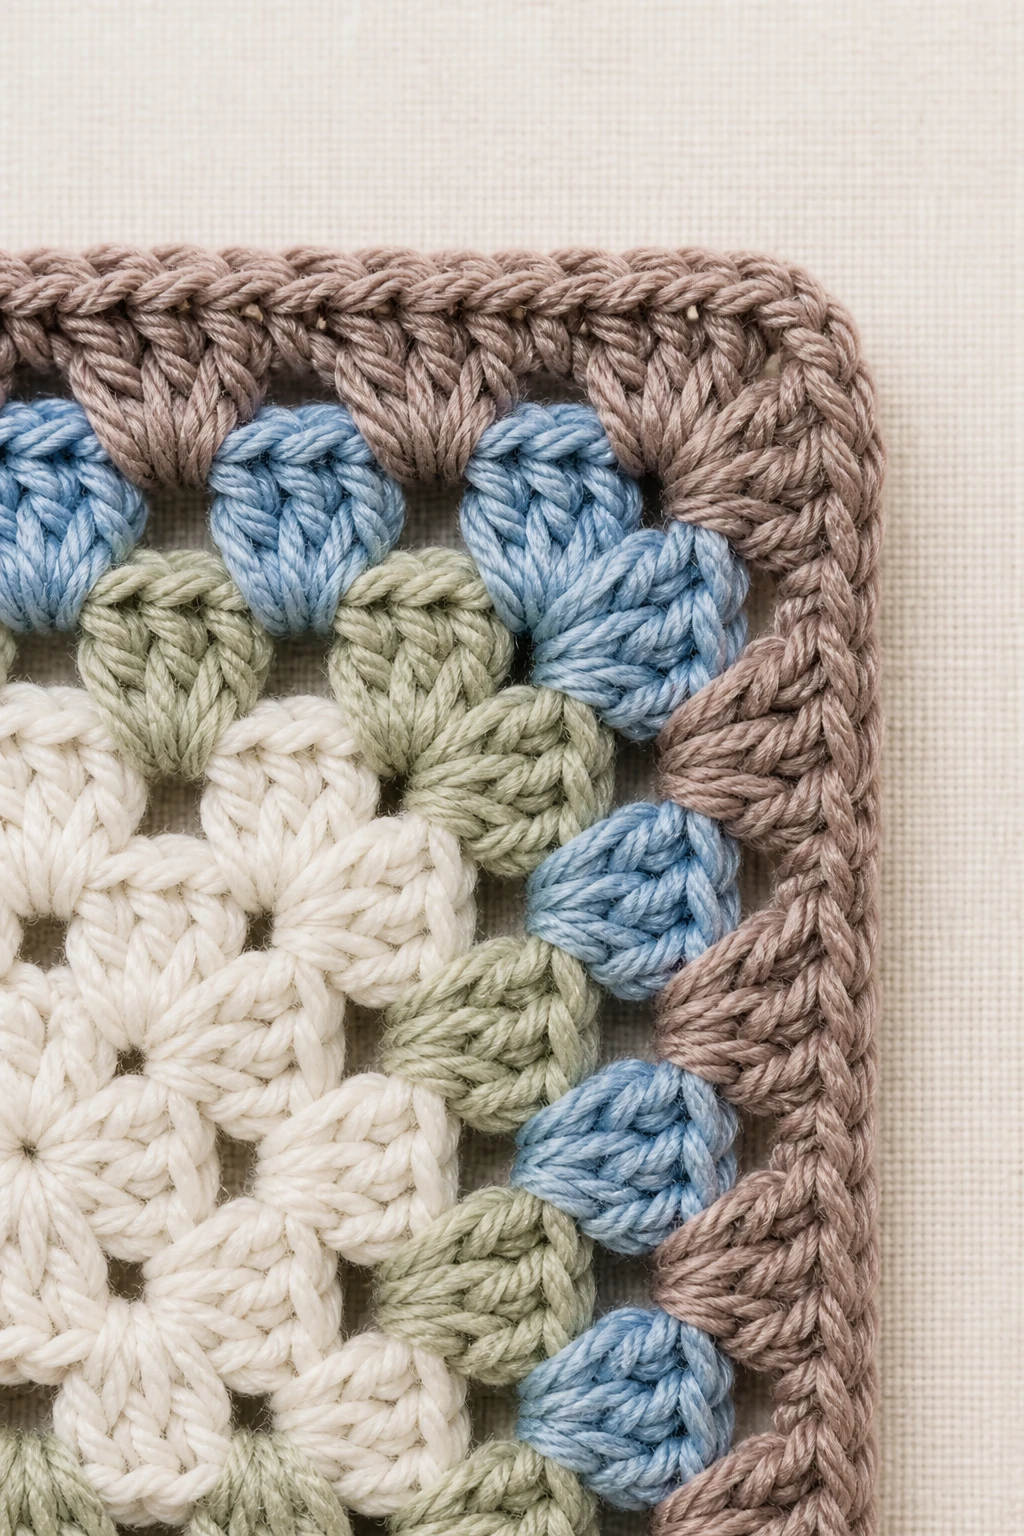
Tension is everything in crochet, and granny squares love to remind you of that. If your squares aren’t matching in size or feel uneven, you’re probably dealing with one of these.
- Yarn tension: Your rows aren’t identical, and that’s okay—mostly. Try keeping a consistent wrap around the hook and avoid tugging too hard on the yarn between stitches.
- Gauge lapse: Different colors or lots of color changes can subtly alter gauge. Treat color changes like mini-tune-ups rather than a full shift in technique.
- Hook size: If you switch yarn brands, your hook might not be the right fit anymore. When in doubt, go down half a hook size for a snuger fabric, or up if it’s too stiff.
Quick fixes for tension
- Make a mini swatch with your chosen yarn and hook to check gauge before you commit to a full square.
- Keep your yarn flowing smoothly—avoid yanking and don’t pull the yarn too close to the hook.
- When joining squares, don’t twist your edges. It’s a quiet killer of flatness.
2. Corner Confusion: The Corner Stitches Don’t Match
Corners are where most people trip up. A Granny square typically uses a chain-4 or chain-3 corner to make the classic puff, cluster, or treble cluster shapes. If your corners are too loose, too tight, or don’t align with the edges, you’ll see a wobble in the whole thing.
- Inconsistent corner chains: Some rounds you might go ch-3, others ch-4. Pick a standard and stick with it.
- Clusters not lining up: Each round’s corner clusters should sit directly over the previous corner. If they wander, your square will skew.
- Tension in corners: It’s easy to pull the corner stitches tighter than the rest. Let the corner stitches “breathe” a bit.
Deeper dive: how to fix misaligned corners
- Count stitches methodically at the end of each round. A quick scan keeps you in line.
- Use stitch markers at the corners as a compass. Move them as you grow to ensure everything sits where it should.
- If you need to frog, do it in small steps. Frogging a corner cluster is way less tragic than ripping the whole square.
3. Joining Jitters: Flat Seams or Gaps Between Squares
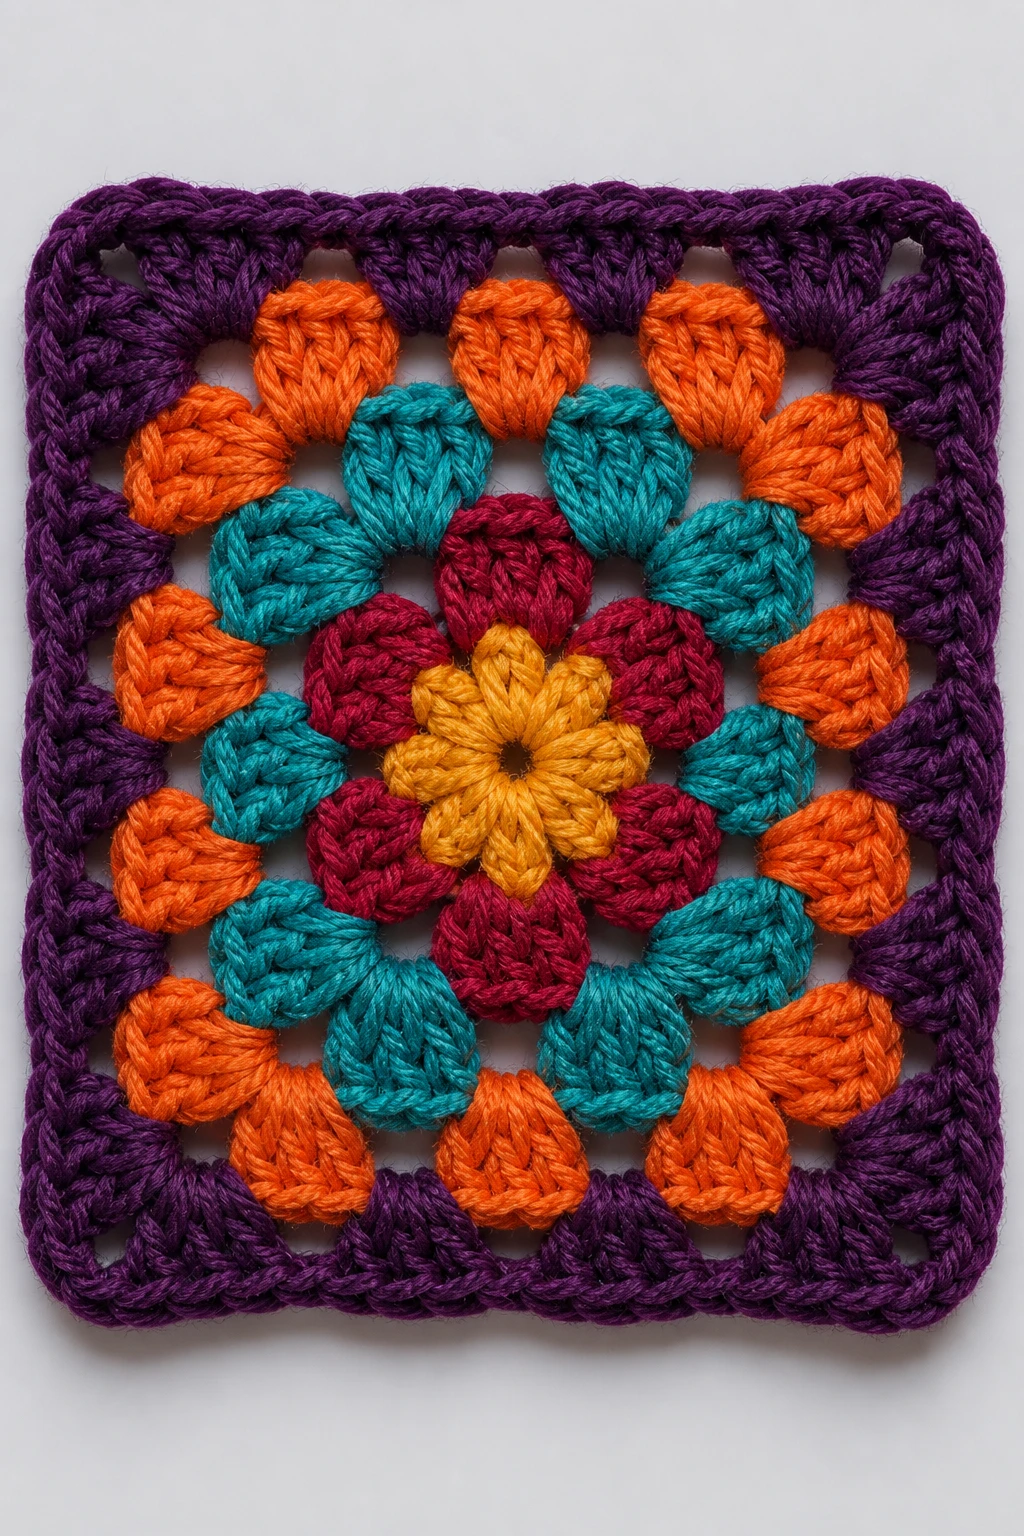
Joining is where your blanket starts to feel real. But if you’re seeing gaps, uneven seams, or a puckered edge, it’s probably the join method or tension.
- Join method: Slip stitch vs single crochet vs whip stitch each give a different look and stretch. Pick one and be consistent across the project.
- Even edge: If your edges aren’t flat, you’ll get a wonky blanket. Work a single crochet or slip stitch into the side edges to level it out.
- Gaps: These can appear if your tension tightens in the last rounds of a square. Don’t be afraid to go looser in those final stitches.
Which join method should you use?
- Slip stitch: Neat, flat, and quick. Great for blankets that will be layered or worn.
- Slip stitch join in the round: Creates a nearly invisible seam along the edges.
- Single crochet seam: Slightly stronger and gives a subtle ridge that many people actually like.
4. Color Chaos: Stripes and Spacing That Don’t Gel
Color is the magic sauce of granny squares, but it’s easy to overdo or misplace. If your color changes feel chaotic or your palette looks off, you’re not alone.
- Color order: A predictable palette helps. Start with a plan: A, B, C, then repeat or vary with intention.
- Change peaks: Changing color in the middle of a cluster can look chaotic. Consider changing colors at the end of a round or after a complete cluster block for cleaner color shifts.
- Color pooling: Some variegated yarns create pooling that looks like blotches. Embrace it or swap colors for a calmer look.
Subtle color strategies
- Limit to 3-4 colors per square if you’re new to colorwork. It’s easier to balance.
- Use a neutral color as a “buffer” between bold shades to keep the eye from jumping around.
- Save high-contrast combos for bigger blankets to avoid overwhelming the eye.
5. Yarn Gripes: Which Yarn Plays Nice with Grannies
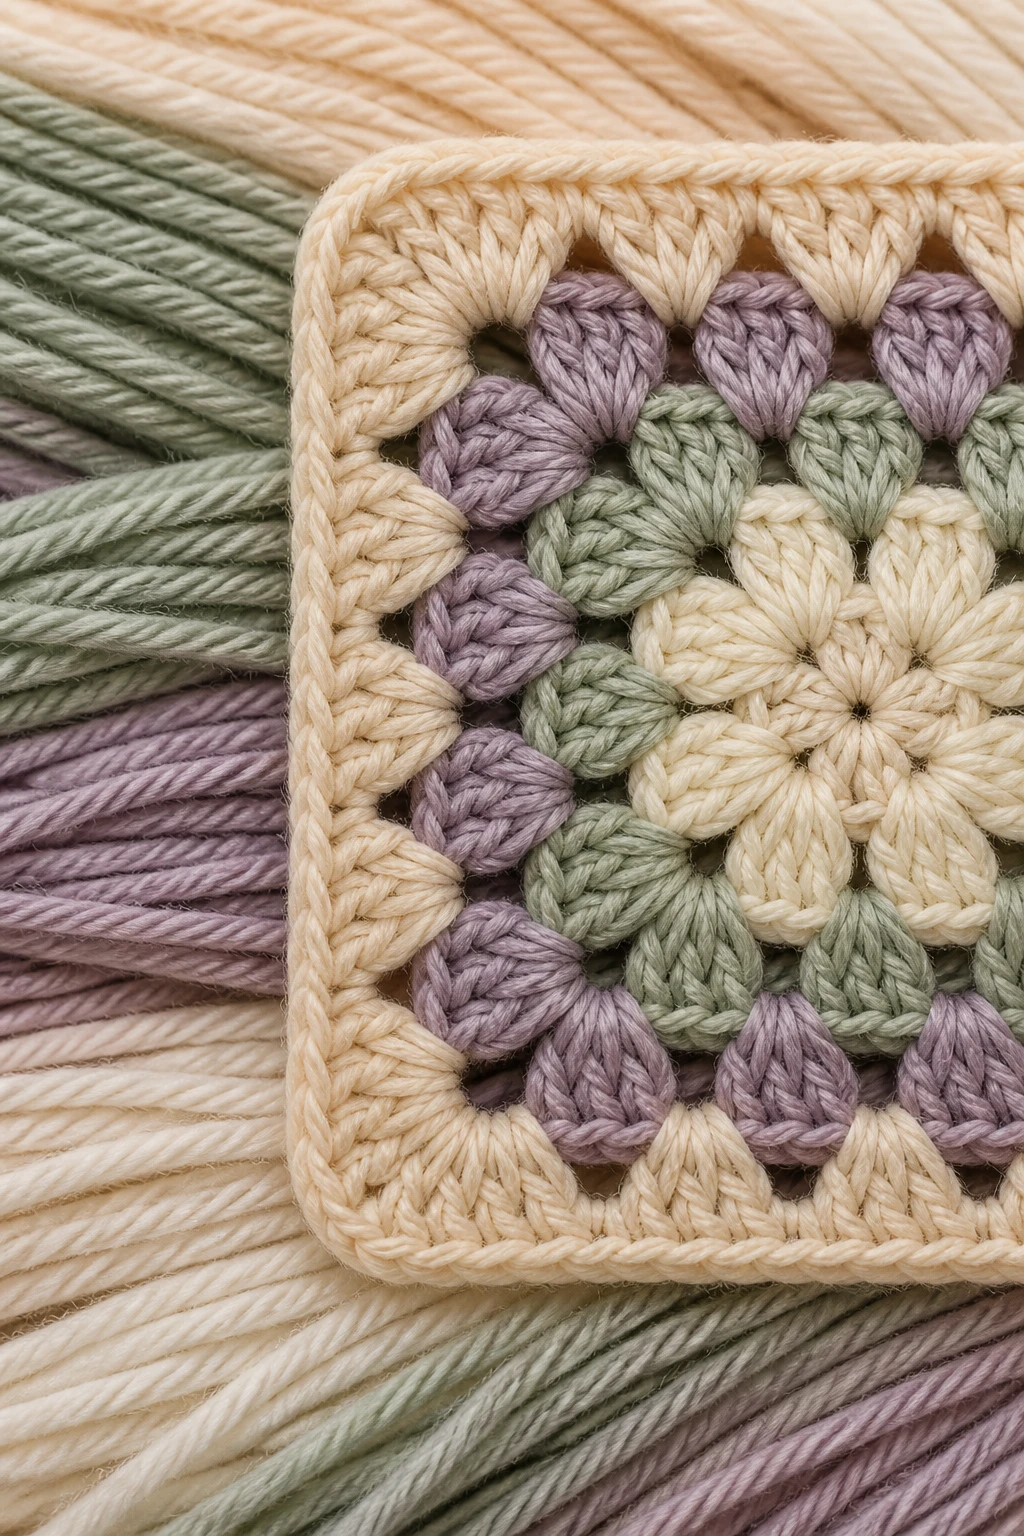
Yarn choice dramatically affects how your granny squares behave. Some blends feel soft and forgiving, others snap back like a stubborn toddler. Here’s how to pick.
- Fiber content: Acrylics are forgiving and affordable; cotton gives a crisp, drapey finish; wool adds warmth and a touch of elasticity.
- Yarn weight: Most granny squares shine in worsted or DK weight. Heavier yarns can creep into the world of “chunky” and change your proportions.
- Care considerations: If you plan to wash the blanket often, choose wash-friendly yarn and a sturdy join method.
What if the yarn pills or sheds?
- Switch to a smoother yarn or a different brand after a swatch test. Pills can appear on any yarn, but some handle wear better than others.
- Keep a lint roller handy for quick catches—no one needs fuzzy corners on their cozy project.
6. Finishing Finesse: We’ve Got Edges, Now What?
The finishing touches can make or break your granny square project. The edges around each square and the final border deserve love.
- Edge consistency: If edging is uneven, your blanket will look skewed. Keep a steady hand and count your chain edges in each round.
- Border strategy: Borders can frame or overwhelm. A simple, even border in a contrasting color often works best for a classic look.
- Blocking magic: A light block after assembly can tame a lot of quirks. It’s not cheating—it’s alignment therapy for yarn.
Blocking 101: when and how to block
- When to block: If your squares will be joined and visible seams will show; also after your project grows to size it needs.
- How to block: Wet block or steam block, depending on yarn. Pin squares to shape and let dry completely.
- What to expect: Blocking can loosen stitches slightly, even out tension, and make joining seams disappear a bit.
7. Mistake Patterns: When to Frog, When to Fold
Sometimes you’ll spot a mistake early; other times it hides in plain sight until you’ve joined everything. Here’s a pragmatic approach to deciding when to frog.
- Early rounds: If you spot a major counting error or a skipped stitch, frog now. It’s easier to fix before you’ve got a dozen squares done.
- Mid-project: If one square is wildly off, fix it now or feel the annoyance later when you’re trying to join.
- Late stage: If the mistake is minor and doesn’t affect joining or size, you can often work around it with clever color placement or a border tweak. Still, don’t let it haunt your project.
FAQ
How do I know if I’m using the right hook size for granny squares?
Check your yarn label for the recommended hook size and make a small swatch. If your stitches float and the fabric feels a bit stiff or too loose, adjust by going up or down a half hook size. The goal is a fabric that holds its shape without being rigid.
What’s the best way to join granny squares without creating gaps?
Consistency is queen. Pick a joining method you like (slip stitch, single crochet, or whip stitch) and stick with it for the whole project. Join squares while the yarn is still relaxed to avoid pulling edges tight. A final gentle blocking helps even out any tiny seams.
Can I mix yarn weights in the same blanket?
You can, but plan it. If you combine different weights, you’ll get a patchwork of textures. Choose a unifying factor—like a shared color or a common edge height—to make it cohesive. Otherwise, you’ll end up with a quilt that looks more collage than blanket.
Why do my borders curl or spike?
Border curl usually means your border stitches tighten up more than the body stitches. Try going looser in the border or using a lighter hook for the border, and ensure your final row lengths match the perimeter exactly. Blocking often smooths out residual curl.
Is it OK to frog entire squares or should I just seam and move on?
Frogging is a personal choice. If a square really bothers you and you can’t fix it with minor adjustments, frog it. It’s better than carrying a crusty square through the entire project. FYI, sometimes swapping colors can hide a small flaw too.
Conclusion
Granny squares are tiny, cheerful puzzles with big payoff. The mistakes are always fixable, and most fixes are about consistency, planning, and a little patience. Remember the golden rules: keep tension steady, pick a joining method you like, and be deliberate with color changes. If you approach each square with a confident, curious mindset, you’ll end up with a blanket you’ll reach for on chilly evenings with a smile.
If you’re feeling overwhelmed, start with a small sampler square. It’s the Kentucky Derby of crochet projects: lots of excitement, but you’ll learn the track before you bet the whole thing on color and corner alignment. Happy stitching, friends, and may your granny squares never meet a miscount again—well, not too often, at least. FYI, practice makes perfect, and the first dozen squares are just warm-up rounds for your courage.