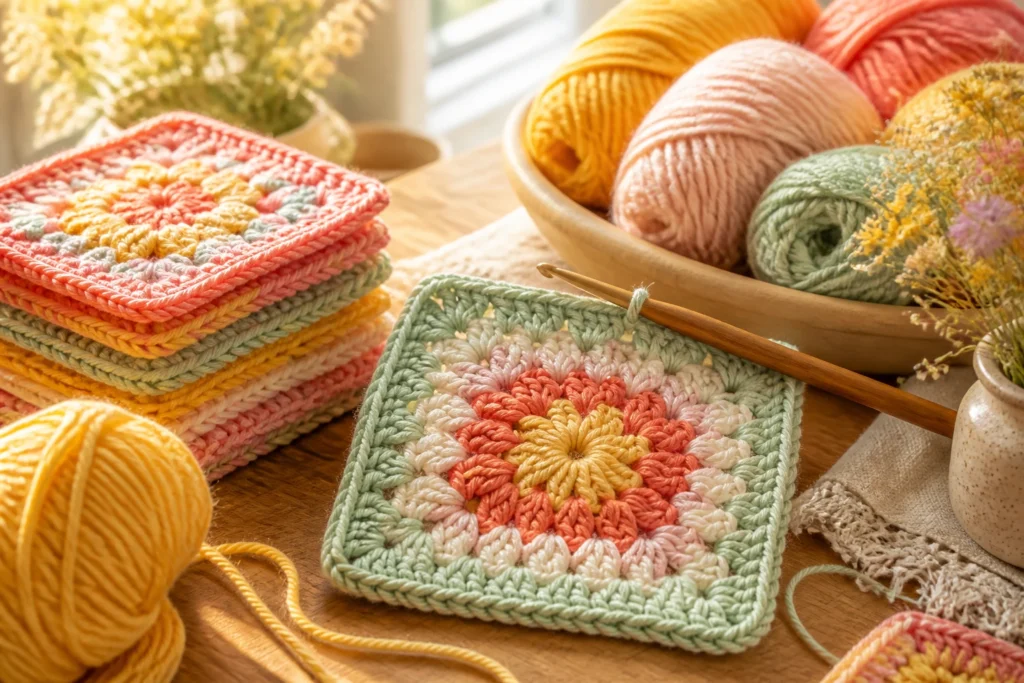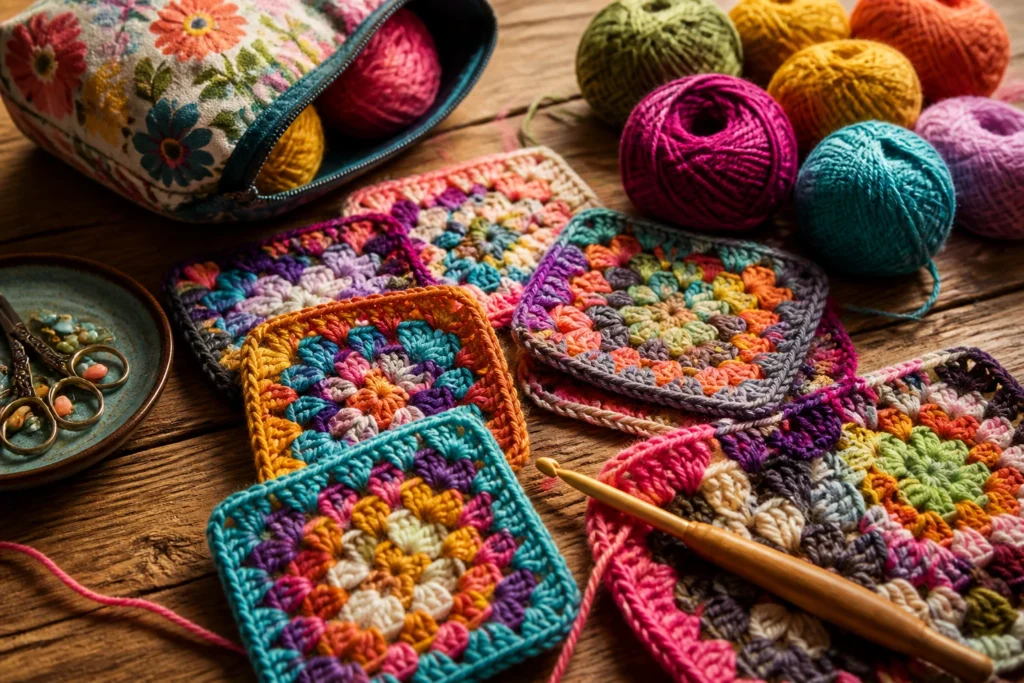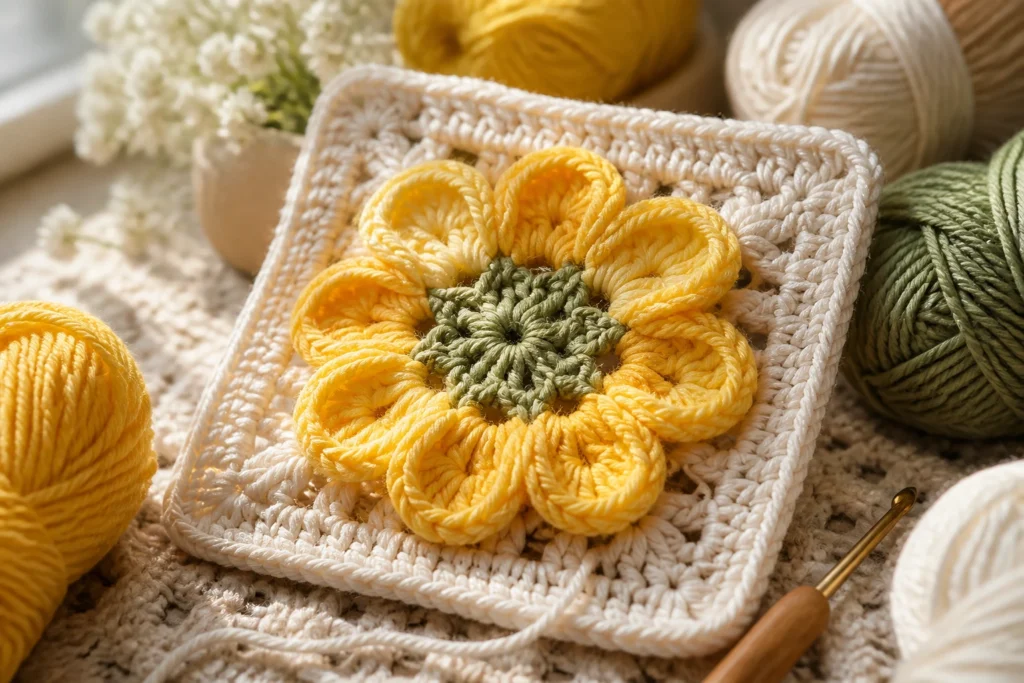
The moment you chain your first crocheted loop and realize you’ve just made a tiny piece of sunshine, you’re hooked for good. A flower granny square is the perfect gateway drug to crochet magic: it’s cute, useful, and surprisingly forgiving. Ready to turn yarn into petals and warmth? Let’s dive in.
What makes a flower granny square so delightful
– It’s a versatile building block: throw a few together for a blanket, bag, or throw pillow.
– It combines two classics—granny squares and crochet flowers—into one charming unit.
– It’s beginner-friendly but still offers room to play with color and texture.
Have you ever started a project and thought, “I just want something chic and quick”? This is that thing. A little patience, a little color, and you’ll see a whole bouquet emerge.
What you’ll need to get stitching

Before you pull out your favorite yarn, here’s a quick gear check so you don’t pause the flow mid-row.
Basic supplies
- Worsted weight yarn in at least two colors (one for the petals, one for the center, plus optional contrast for accents)
- Crochet hook that fits your yarn weight (usually a 4.0–5.5 mm for worsted weight)
- Tapestry needle for weaving in ends
- A pair of scissors, obviously
- Stitch markers if you want to be fancy, or just use a spare paperclip
Tips for choosing colors
- Go with a bold center and soft petals for a pop or flip it—petals bold, center subtle—for a different vibe.
- Color progression around the square can mimic a real flower. Try red center fading to pinks and purples as you move outward.
- Mini skeins are perfect if you’re creating a whole blanket of flowers—less waste, more variety.
Let’s stitch the petals: the flower motif itself
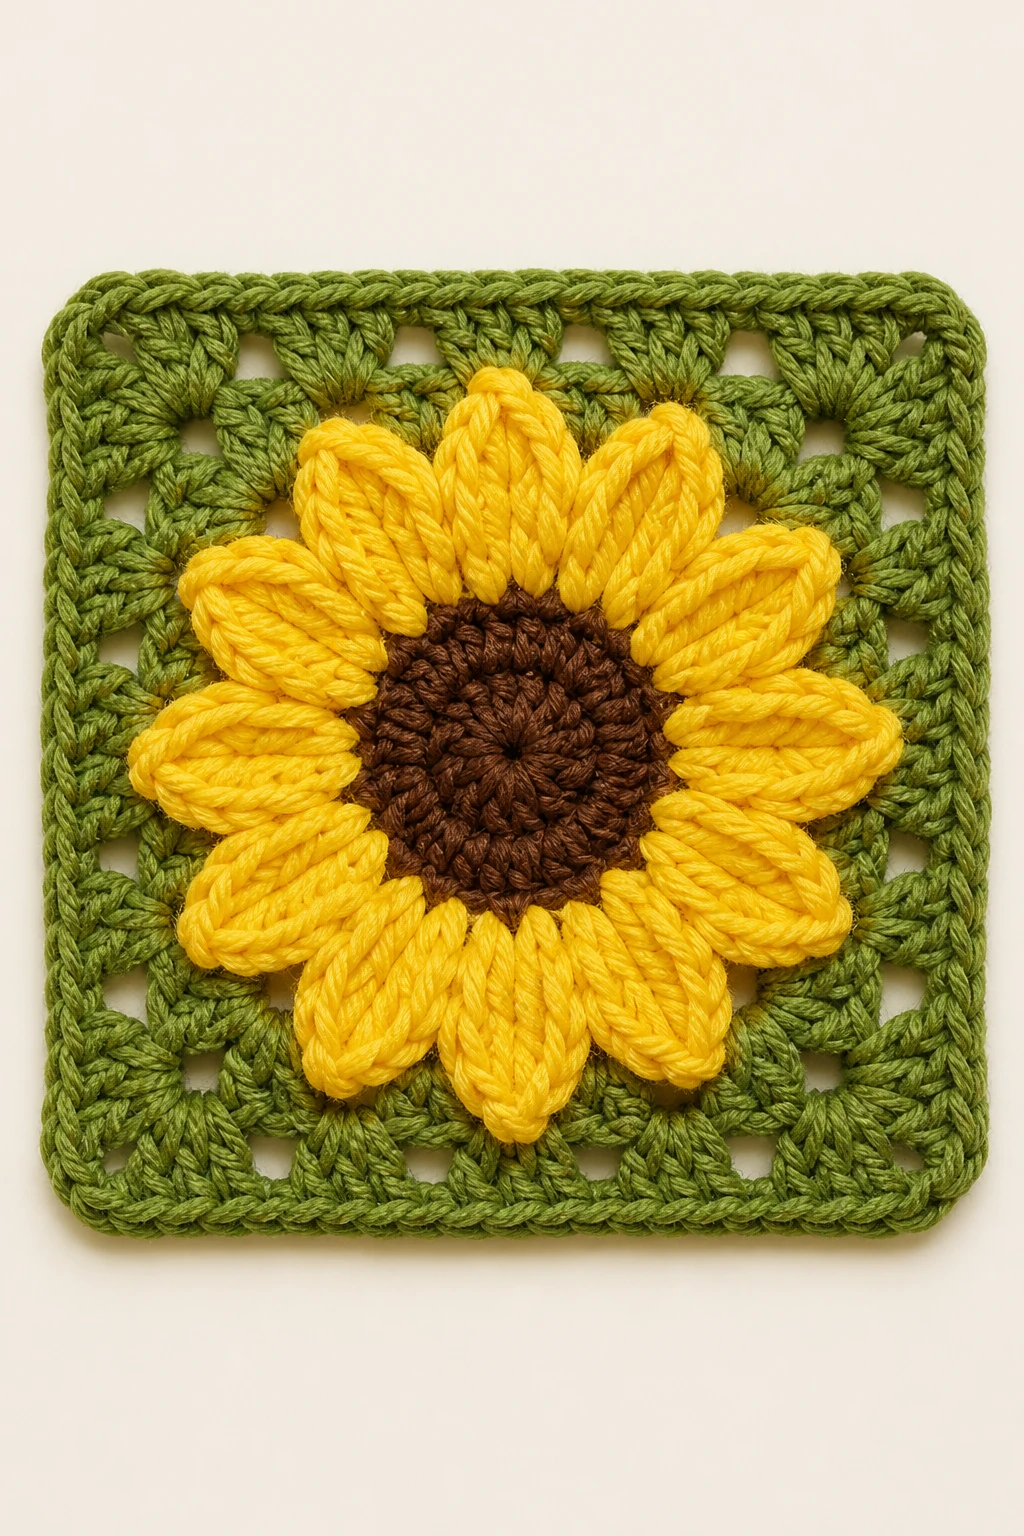
This is the heart of the process. The flower part sits atop the classic granny square base, giving you a standout bloom with minimal fuss.
Step-by-step flower centerpiece
- Ch 4, join with slip stitch to form a ring. This is your flower center anchor.
- Round 1: Chain 3 (counts as first dc), 11 double crochets into the ring. Slip stitch to top of the initial ch-3 to close the round. You should have a 12-dc ring.
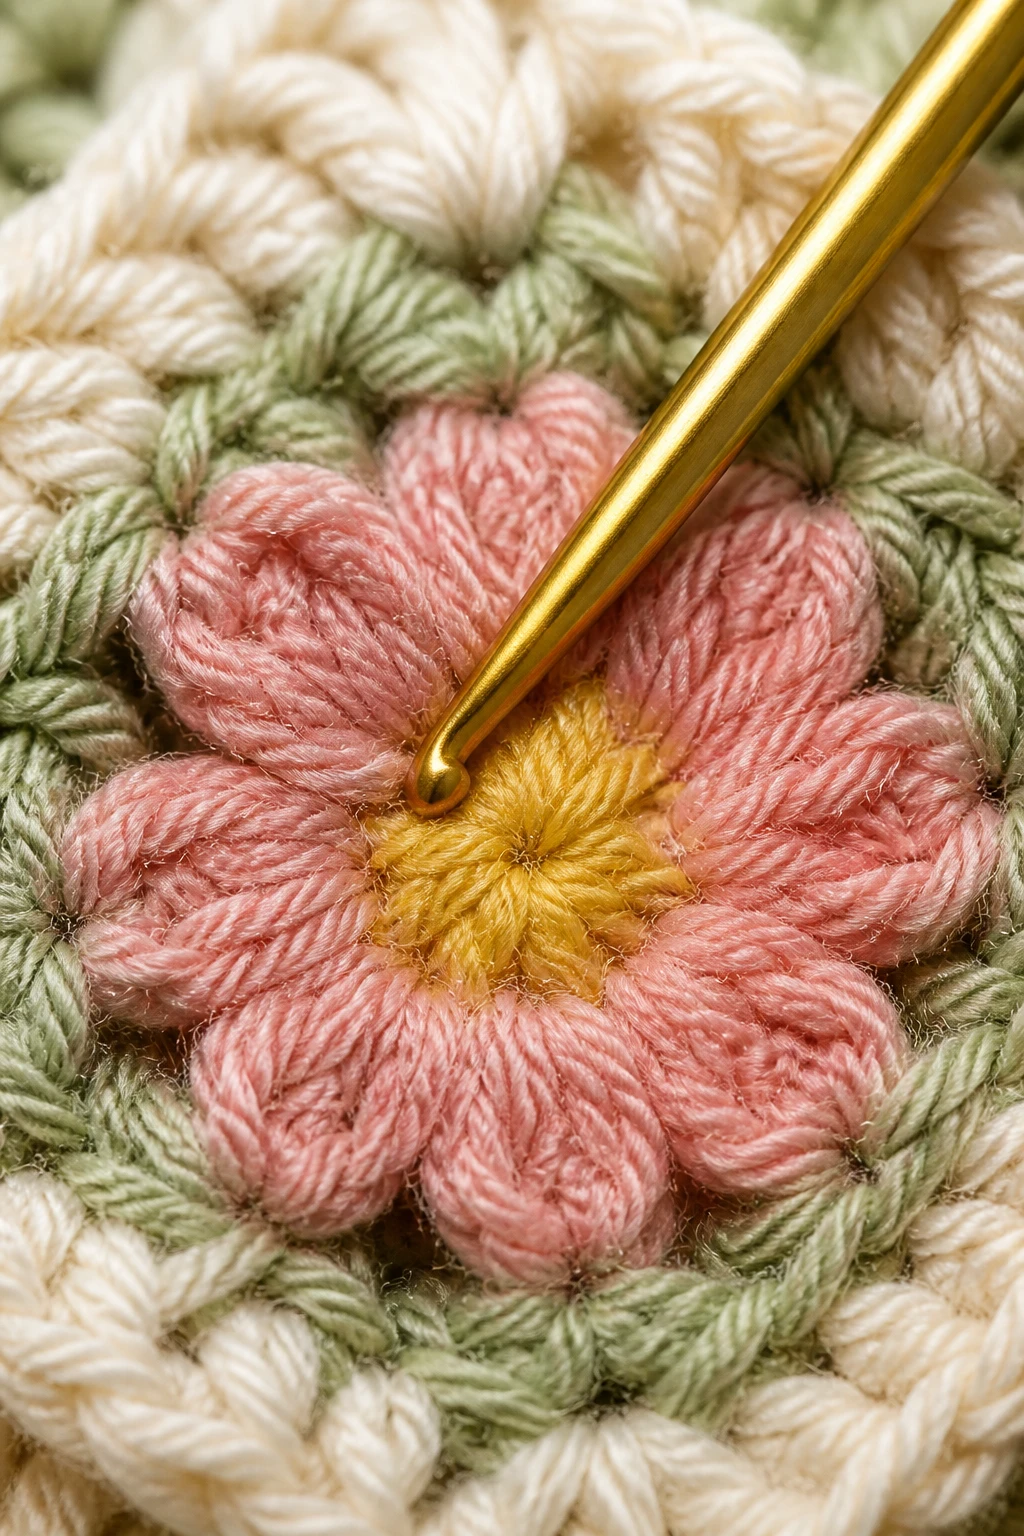
- Round 2 (petal round): Chain 3, skip one stitch, dc in the next stitch, chain 2, dc in the same stitch; repeat around. This creates a two-stitch petal cluster. Slip stitch to top of chain-3 to finish the round.
- Optional center embellishment: sl st to the center, ch 1, sc in same stitch, fasten off. Or keep it clean with a solid center by just sizing up the petals.
Petal variations you can try
- Make each petal using a different color for a playful wobble of brightness.
- Size matters: add more rounds to the petals for a fuller blossom, or keep it tight for a dainty look.
- Texture boost: work some petals in puff stitches or cluster stitches to add depth.
Turning petals into a classic granny square
Now that you’ve got your bloom, you’ll anchor it to the square and extend outward.
Basics of the square base
- Start with a magic circle or a small chain loop and build a 3-dc corner corner pattern (as you would with a traditional granny square).
- Join your first round to form a square, usually by working on the corners with chain 2 spaces to define the edges.
- Incorporate the flower on top by placing it in the center of the square. If your square is larger, you can shift the flower toward one corner or center it perfectly for symmetry.
Four easy edge styles to try
- Classic: simple dc rounds with a soft border, letting the flower be the star.
- Shell border: add a row of shell stitches around the edge to echo the flower’s curvature.
- Picot edge: tiny decorative points that give a delicate finish.
- Bold braid: use a contrasting color to outline each side for a punchy frame.
Joining multiple flower squares into something wearable or usable
This is where your project starts to look intentional instead of cute.
Arrangement ideas
- Blanket or throw: arrange flowers in a grid or offset them with a staggered pattern for a “meadow” vibe.
- Bag or tote: a neat row of squares with a solid back panel creates a chic, on-trend accessory.
- Pillow cover: a single large panel or a 4×4 mini-hero quilt of blooms.
Joining methods that keep the look neat
- Slip stitch join: nearly invisible, simple, and quick for a clean look.
- Whip stitch join: a traditional go-to that hides well and holds firmly.
- Join-as-you-go (JAYG): perfect for blankets; you’ll crochet the petals together as you add each square.
Finishing touches and care tips
Your project isn’t done until you finish it properly. Here’s how to keep those petals perky and colors true.
Ending the yarns
- Weave in ends securely with a tapestry needle. Don’t just knot and run—dime a little extra security into the fibers.
- Trim tails close to the fabric to avoid bulky knots peeking through later.
Blocking for that crisp look
- Block all squares before you join them for uniform edges. Moisten, stretch gently to shape, and pin until dry.
- Use a steam block for a fine finish on acrylics; avoid heat on delicate fibers.
Care guidelines
- Hand wash in cool to lukewarm water with a mild detergent to extend life.
- Avoid harsh machine washing unless you want a responsible fuzz-fest; if you must, use a delicate cycle and a garment bag.
- Lay flat to dry to preserve flat edges and prevent distortion.
Common pitfalls (and how to dodge them)
Even veteran crocheters stumble. Here are the little landmines and how to bypass them.
Inconsistency in charm and size
- GAUGE is a fancy word for “does this match yours?” If your squares come out different sizes, swap hook size or tension a bit, and block to align.
- Start with a small swatch to lock in your gauge before you dive into full squares.
Color bleed and fading concerns
- Wash swatches first with your chosen dye and detergent to see how colors behave.
- Choose colors with similar ferric levels to minimize bleeding risks.
FAQ
Do I need to know how to crochet in the round or can I learn on the fly?
You can totally learn as you go. Flower centers typically start with a magic ring or a small chain loop, then you build in rounds. If you’ve never done a magic ring before, practice once or twice on a scrap square—it helps a lot when you’re finishing your first bloom.
What if my petals look messy or uneven?
That’s totally normal on the first few tries. Gently tug the yarn to adjust tension, and consider using a stitch marker to keep your rounds tight and even. Blocking can also smooth out minor irregularities and give you confidence to move forward.
Can I substitute yarn weights or hooks?
Yes, but expect size and drape changes. If you switch from worsted to DK, you’ll likely end up with smaller squares; you might need more rounds to reach the same look. When in doubt, crochet a small test square to measure the outcome before committing.
How many flowers should I make for a blanket?
That depends on the size you want. A common range is 20–40 squares for a lap blanket, 60–80 for a regular throw, and 100+ for a large bedspread. Plan with a rough layout and add extra for errors or color variations.
Is this suitable for beginners or should I practice more?
If you’re comfortable with basic stitches (chain, slip stitch, single, double), you can jump in. The flower center might be tricky at first, but it’s a small challenge that pays off big in cuteness. FYI, you’ll likely pick up speed after your first few squares.
Inspiration corner: quick project ideas to test-drive your flowers
– Mini bouquet garland: string a handful of squares into a cheerful wall decoration or party garland.
– Cozy pillow cover: a 4×4 grid of blooms for a pop of whimsy on a neutral sofa.
– Transformer tote: attach a few squares to a sturdy tote bag and boom—personalized accessory.
– Baby blanket: a soft, gift-ready blanket that’s all petals and sunshine.
Conclusion
Blending a flower motif with a granny square isn’t just cute on a page—it’s a tiny, portable craft that brightens your day and your home. You get a quick victory with each bloom, and the collective magic happens when you assemble those blooms into something usable. So grab your yarn, pick your colors, and start stitching. IMO, you’ll be shocked at how fast a garden of squares grows.
If you want a quick recap: pick two or three colors, master a simple flower center and petal sequence, stitch your blooms into a grid, and finish with a neat edge and some good blocking. FYI, the first square will feel clunky, the second will feel charming, and by the third you’ll see your own little crochet garden blooming in real life. Now go knitting-into-a-flower-loom level of creative confidence.