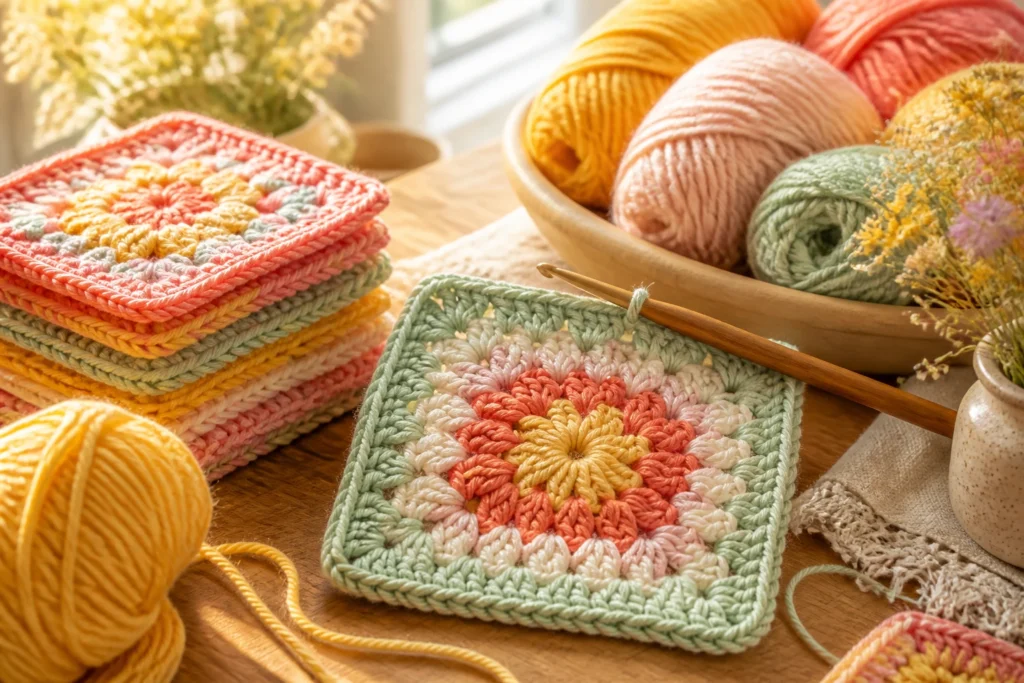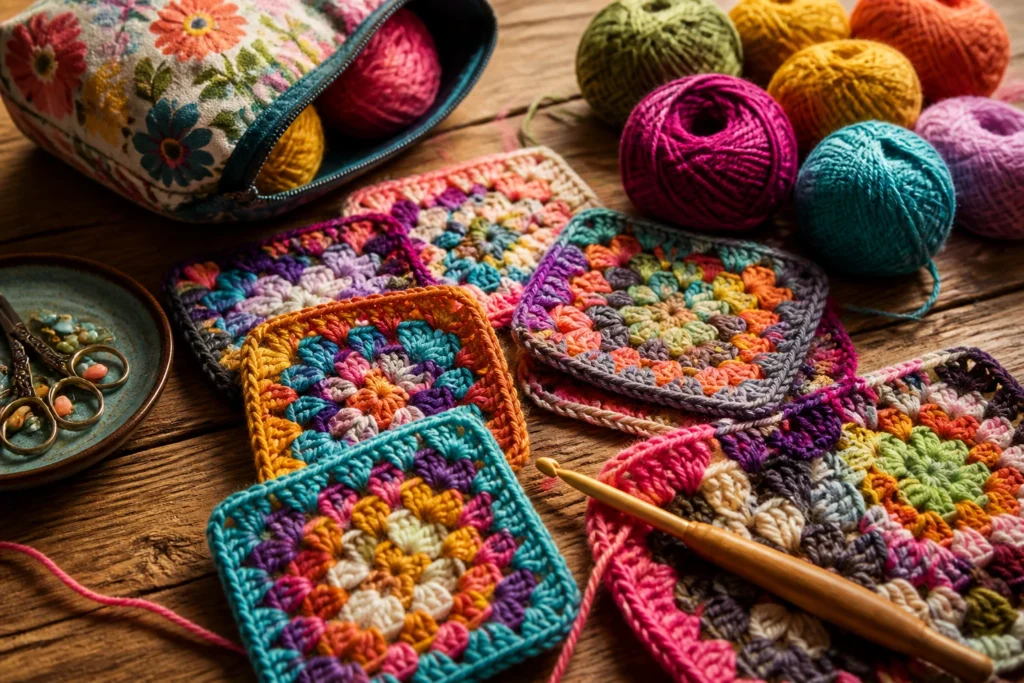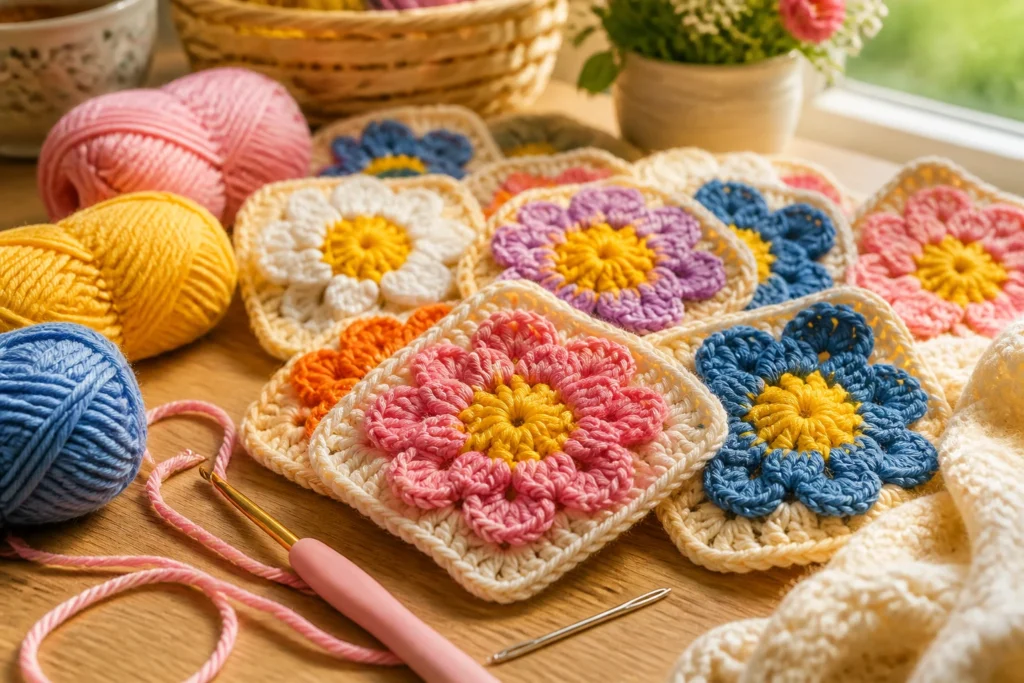
The minute you finish your first granny square, you’ll suddenly understand why people won’t stop talking about them. Best Flower Granny Squares for Beginners proves you don’t need years of practice to make something warm, cozy, and totally Instagram-worthy. Grab your yarn, your hook, and a cup of tea, and let’s dive in.
Why Flower Granny Squares are a Beginner’s Best Friend
If you’ve ever looked at a granny square and thought, “That looks complicated,” think again. Flowers add whimsy without the math-heavy drama. They’re forgiving, portable, and you can knit (or crochet) them in tiny bursts. Plus, you can mix and match colors like you’re painting a little garden on fabric. Fancy? Maybe. Fun? Absolutely.
Choosing Your Flower Patterns for Starters
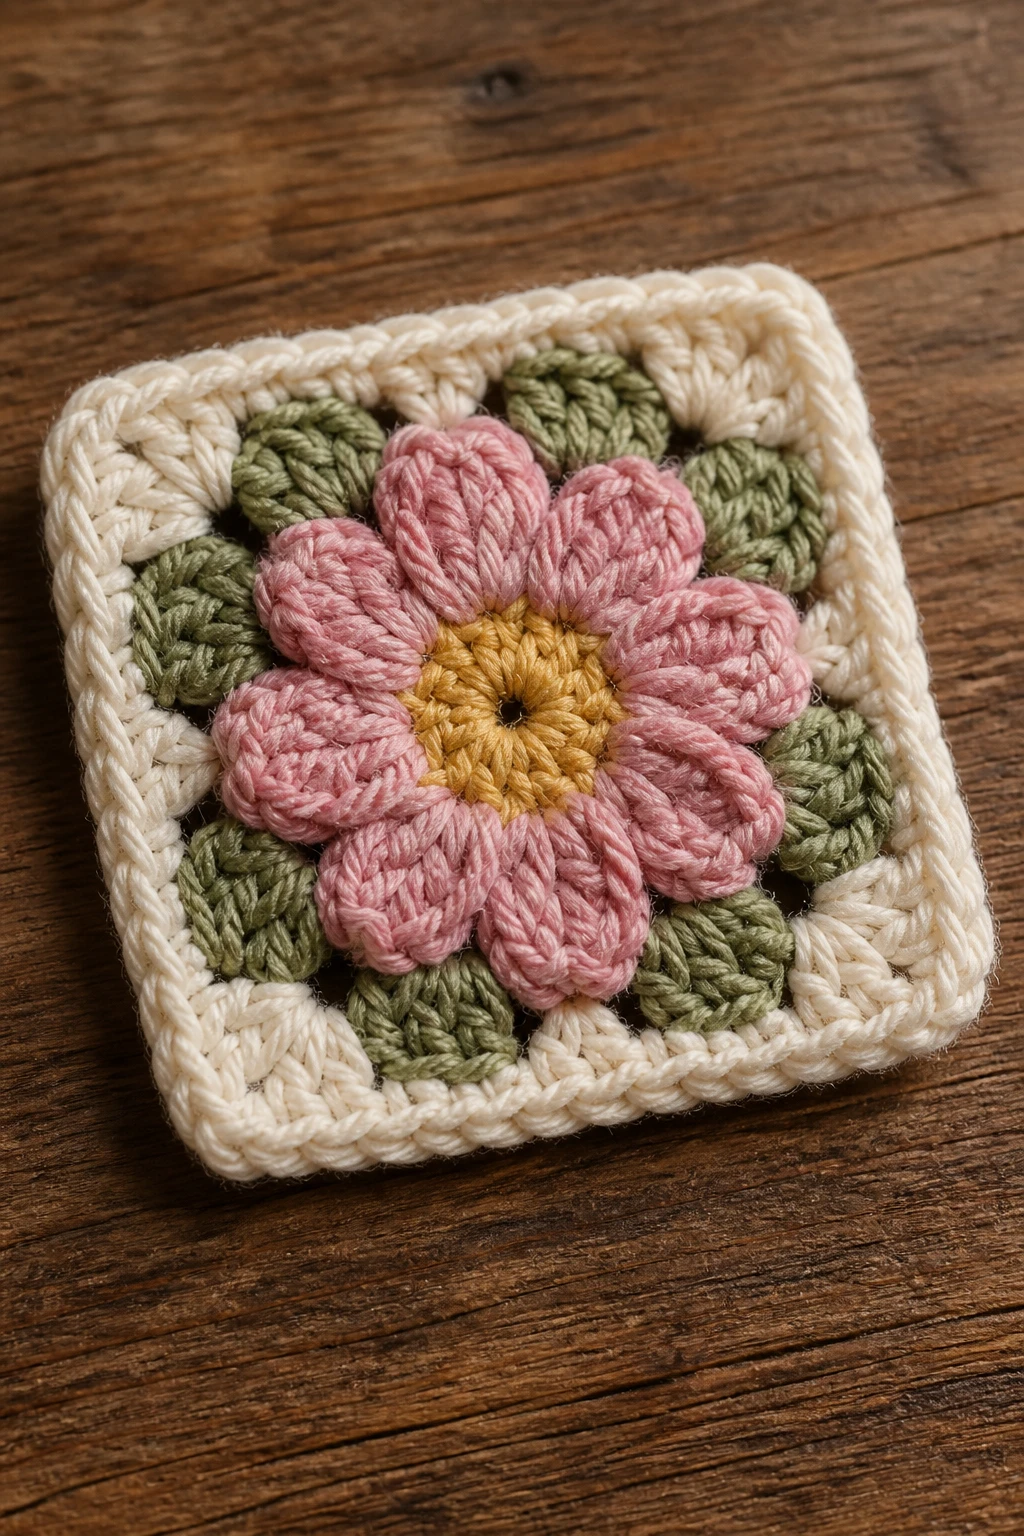
Starting with the right pattern matters. Not all flowers play nice with beginners.
- Simple daisy-style blooms give you a dependable four-to-six-petal look without overcomplicating the stitch count.
- Rolled petals add a bit of drama, but keep the stitches straightforward: you’ll mostly work single crochets and chains.
- Pop-petal bursts use a repeatable motif that teaches you color changes without making you count to the moon.
Materials that won’t fight you
– Lightweight cotton yarn in 2–3 contrasting colors
– A comfortable crochet hook in the right size for your yarn
– A tapestry needle for weaving in ends
– Stitch markers if you’re new to keeping track of rounds
FYI, choose a palette that makes you smile. Your enthusiasm will carry you through your first dozen squares, so pick colors you love. Also, start with one pattern in a single square size before you branch out.
The Basic Flower Granny Square Blueprint
Let’s break down a standard flower granny square so you know what you’re chasing.
- Center— crochet a small center ring or a tight magic loop. A neat center keeps petals from wobbling.
- Petal formation— most patterns use chains and double crochets. You’ll learn how to space petals evenly and create symmetry.
- Center color change— you’ll learn when to switch colors without it looking sloppy.
- Joining— you’ll either sew squares together or whipstitch as you go. Either way, neat edges win.
Common beginner pitfalls (and how to avoid them)
– Uneven edges? Maintain tension by keeping yarn comfortable in your fingers. Don’t clamp the yarn too tightly.
– Ring too tight? Loosen the initial loops and give the center a gentle tug with your hook.
– Color chaos? Use a small amount of leftover yarn to test color changes before committing.
5 Flower Styles That Are Foolproof for Newbies
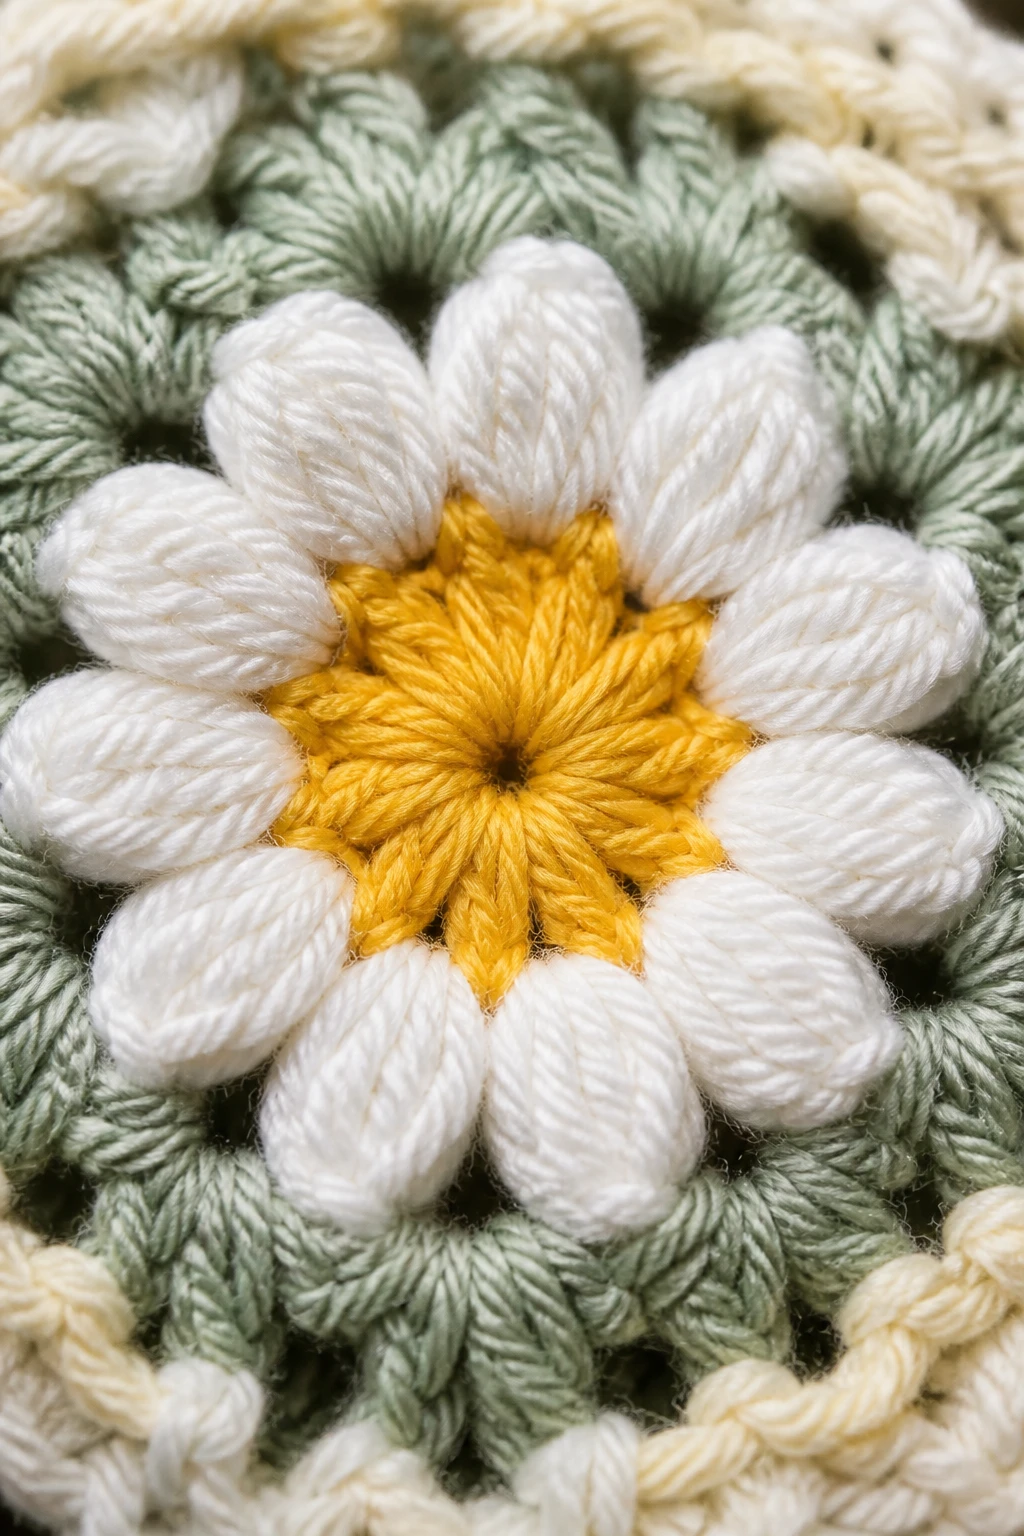
Here are five flower motifs that don’t demand expert timing or fancy tricks.
- Daisy Center, Simple Petals— Classic and easy to visualize. One center round, then evenly spaced petals.
- Polished Poppy— A few short petals with a bold center give a modern vibe without extra fuss.
- Three-Tier Bloom— Layer petals in three rounds for depth, but keep each round basic.
- Rolled Rose Accent— Not technically a daisy, but the rolled petals look fancy with minimal effort.
- Sunflower Cheer— Brown center, bright yellow petals; it’s iconic and surprisingly simple.
Color strategies that help beginners
– Start with two colors: one for the center and one for petals. You’ll master joins without getting overwhelmed.
– Use a gradient or shade family to keep the look cohesive even when your stitching isn’t perfect.
– Practice color changes on scraps first, then apply to your square.
Techniques that Make Flower Granny Squares Go Smooth
You don’t need dozens of techniques to produce gorgeous squares. These few will cover you.
- Magic ring vs. adjustable loop— both work; pick one and stick with it to avoid unraveling centers.
- Working in the round— keep your rounds even by counting stitches during the pattern and using stitch markers.
- Joining methods— you can choose to join as you go or sew later. Both work; pick your preference.
- Tension control— maintain consistent tension; if your stitches collapse, adjust your grip rather than yank.
Stitch-control quick tips
– Keep your hook size consistent with your yarn label recommendations.
– Pause and adjust if you notice your edges curling inward or bulging outward.
– Count stitches every few rounds until it becomes second nature.
From Squares to a Cozy Project: Assembly Ideas

The best part of granny squares is how forgiving the assembly can be. You can go minimal or go bold.
- Blanket blanket, obviously— lay out in a gradient or a checkerboard pattern for visual drama.
- Throw pillow covers— fewer squares but punchy color combos. Instant chair upgrade.
- Wall hangings— frame a small cluster for a cheerful, textile art vibe.
- Table runners— combine stripes and florals for a sunny table centerpiece.
Joining options to fit your vibe
– <strongSlip stitch— nearly invisible and quick; great for a neat, flat finish.
– <strongWhip stitch— simple and sturdy; visible but charming.
– <strongMitered corners— for square layouts that lay flat; perfect if you’re making a square-based design.
Project Ideas to Keep You Motivated
Feeling inspired? Here are practical starter projects that use flower granny squares and won’t overwhelm you.
- Garden of squares— 12–16 flowers in two or three colors, arranged in a soft mosaic blanket.
- Petal pillow— a couple of squares around a pillow form creates a daisied, cozy look.
- Mini bunting— crocheted flowers strung along twine; perfect for nurseries or craft nooks.
- Floral tote— mix in some solid color squares for handles and accents; practical and pretty.
Tools, Hacks, and How to Stay Inspired
Every beginner needs a small toolkit to keep the momentum.
- Small project bag— stash a few squares and a hook for quick sessions.
- Color cards— a tiny swatch book helps you plan color palettes without dragging out full skeins.
- Row counter— if you’re counting stitches, this little gadget saves sanity on long rounds.
- Pattern journal— jot changes, color tweaks, and wins; you’ll thank yourself later.
Tips to avoid burnout
– Set micro-goals: finish one square a day, then a small cluster.
– Take breaks if you feel frustrated; your hands will thank you.
– Swap to a different color or pattern for a bite-size reset.
FAQ
Do I need fancy yarn to start with flower granny squares?
Nope. Start with a smooth, medium-weight yarn like worsted or DK in cotton or cotton-blend. It gives you good stitch definition and forgiving tension. Save the fancy or fancy-pun yarns for later when you’re feeling more confident.
How many squares do I need to make a blanket?
It depends on your desired blanket size. A baby blanket might be 24–36 squares, a lapghan around 48–72, and a full bed size could be 100+ squares. Plan a layout first, then multiply by the square size you’re making.
How do I join squares neatly without bulky joins?
Choose a joining method you like: slip stitch or whip stitch for clean edges, or crochet a simple join-as-you-go method for speed. Tension helps here—tighten a touch on the edges so the seams don’t puff.
What if my squares come out different sizes?
Don’t panic. Slight size differences add character. If you want uniformity, switch to a smaller hook or adjust your starting chain. Blocking can help even out minor variances too, but don’t obsess—handmade charm is part of the vibe.
Are there beginner-friendly patterns beyond flowers?
Absolutely. Once you’re comfy with the basics, try granny squares with different petal counts, or mixes like shells, corners, or clusters. Branching out keeps things fresh and builds your confidence.
Conclusion
Flower granny squares for beginners are a friendly, forgiving door into the world of crochet. They teach you center work, color changes, and joining without turning your world upside down. If you’ve been scrolling past “fancier” projects because they looked intimidating, these squares are your warm, welcoming in. IMO, the best thing is you can keep tweaking colors, sizes, and layouts until you land on something you adore. So grab a hook, pick a flower pattern, and start stitching your little garden one square at a time. You’ve got this.