There’s nothing more frustrating than a skein that behaves like a rebellious cat—splitting right where you don’t want it to. You feed it, you coax it, you swear softly to it, and still those fibers decide to shed their secrets. Let’s cut to the chase: yarn splits for real reasons, and once you know the culprits, you can outsmart them. FYI, this isn’t witchcraft—it’s chemistry, tension, and a dash of luck.
What does “splitting” even mean, and why should you care?
Splitting happens when the yarn fibers separate as you work, leaving a fuzzy edge or a broken strand that you have to pick up again. It’s not just annoying; it can ruin gauge, texture, and your vibe while you’re trying to finish a shawl that looks chic in your head but ends up in “why did I even start this?” territory in real life. The good news: most splits are preventable, and some quick fixes can save your project, your nerves, and your yarn.
Yarn type and construction: the big players
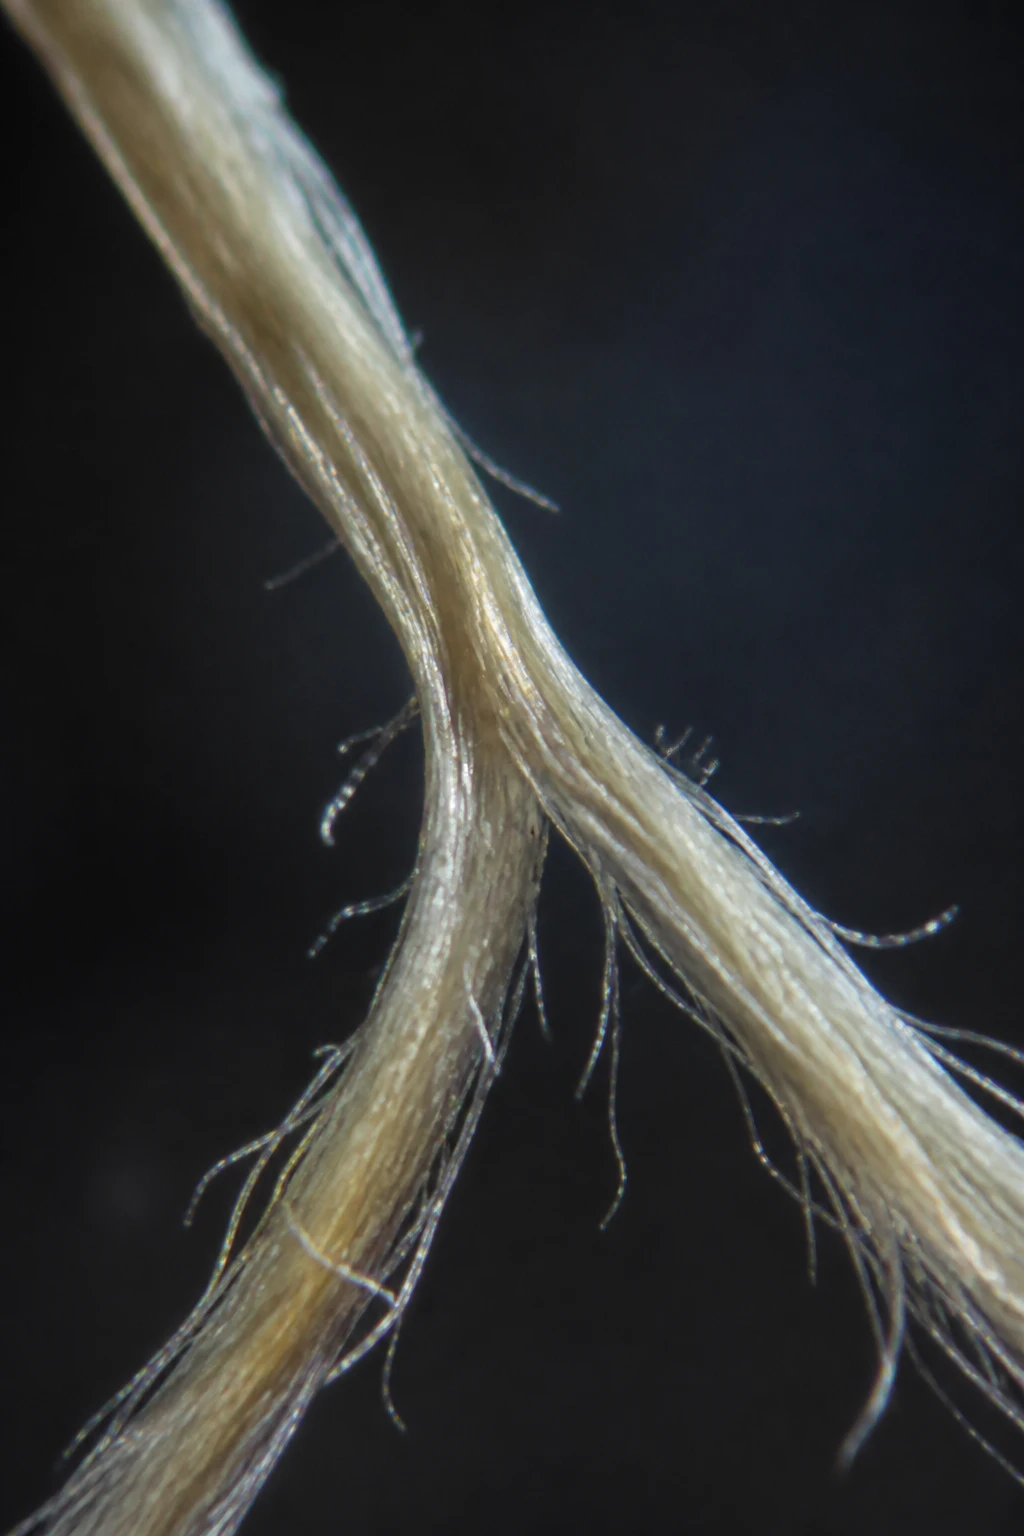
Your yarn isn’t just “wool” or “cotton.” It’s a whole team of fibers, spins, and plies, all influencing how easily it sprouts a strand-lifeboat when you pull.
- Fibre content matters. Superwash wool, alpaca blends, and merino feel smooth, but they each behave differently. Cotton can be slippery and brittle at times, while acrylic tends to be stubborn about not splitting but can fuzz like mad.
- Fiber twist and ply. The more tightly spun and plied a yarn is, the less likely it is to split. But if a yarn is over-twisted, it can feel like trying to peel a wrapped candy with your teeth—unpleasant and risky for splits.
- Yarn weight vs. hook/needle size. A mismatch here is the sneaky culprit. If the needle is too big for a tight, high-tly twist yarn, it can poke fibers apart as you work.
Tooling treasures or tormentors: needles, hooks, and hooks’ cousins
Tools aren’t just blunt instruments; they’re co-conspirators in yarn splits.
- Needle or hook size. Going a touch too large often invites slipping and squishing, while going too small can rough up fibers and cause splits. Aim for a balance that lets the yarn glide rather than snag.
- Tile of the, um, surface. A slick surface on your project bag or work surface can spark slippery fibers to separate. Try a soft mat or a fabric underneath to keep things calm.
- Grip and tension. If your grip is too tight, you’re crushing the fiber and encouraging splitting. If it’s too loose, you’re tugging unevenly. A light, consistent tension feels like magic when you find it.
Technique tricks: how you’re pulling can break the yarn’s will to stay in one piece
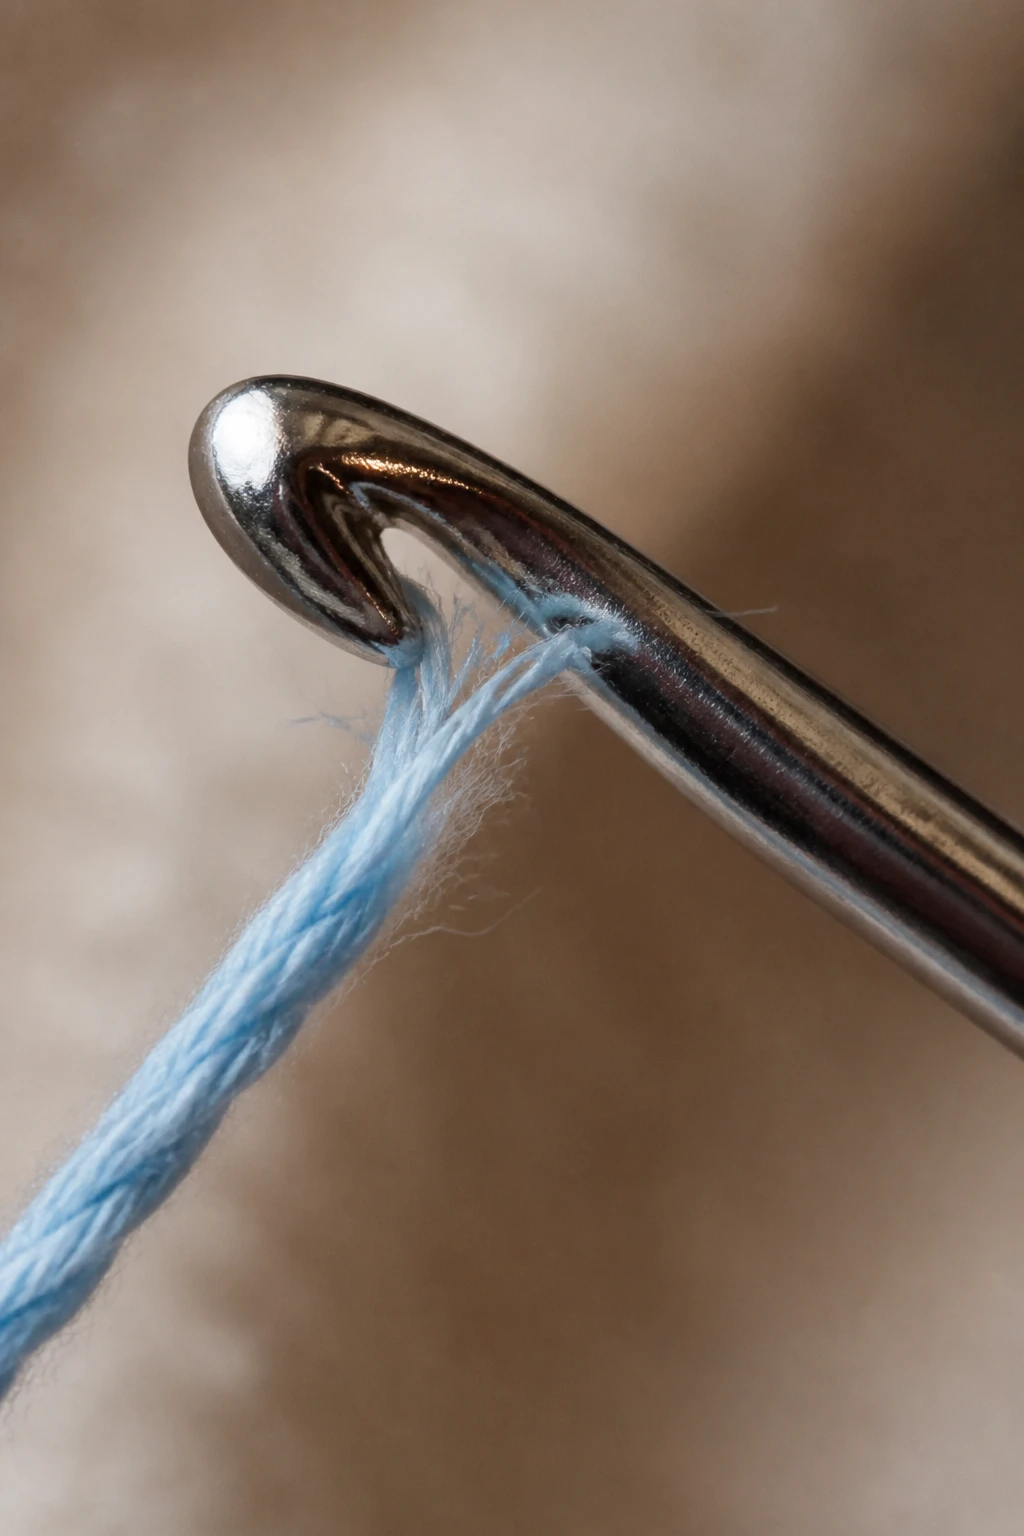
Sometimes the problem isn’t the yarn but how you’re coaxing it along.
Yarn over, under, and around: basic moves you might be misusing
– If you yank, you yank the fibers apart. Double up on a smooth motion—think of it as a graceful swipe rather than a tug-of-war.
– Keep the yarn trailing behind your work rather than wrapping around your fingers. This reduces drag that can cause splits.
– Let the hook or needle do the work; don’t force it through fibers that are begging for a gentle persuasion.
Work from the right part of the skein
– Start with a clean, untangled end. If you’re fighting with knots, you’ll attract splits like a magnet.
– Winding into a ball or center-pull cake can help keep tension even. If you notice uneven feeding, pause and fix it before it becomes a habit.
Yarn preparation: pre-game ritual that pays off
A little prep goes a long way to reducing splits.
- Give it a gentle unwind. Run your fingers along the strand to feel for snags or thick spots. Smooth out any tangles and pre-tension the yarn so it doesn’t “snap” when you work.
- Split detection. Check for sections that feel stiffer or fuzzier. These can become stress points as you crochet or knit. If you find a problematic section, consider using a new skein or breaking it up into smaller portions to avoid a looming split disaster.
- Soap and water not required, but lint removal helps. A quick pass with a soft cloth or a gentle brush can reduce loose fibers that want to jump ship mid-row.
When fibers decide to split: common culprits and how to outsmart them

Humidity and environment
– Dry air can make fibers brittle and prone to breaking. If you’re crafting in a heated room or a dry apartment, consider a small humidifier or placing your project near a source of gentle moisture (not dripping water, please).
– Sudden temperature changes can also stress fibers. Keep your yarn in a stable, comfortable climate if you can.
Sectional twists and tension drama
– Uneven tension is the undercover assassin here. If one area of your fabric is tighter, you’ll see splits as the fibers try to compensate.
– Practice consistent motion. Some people lock their wrists and “draw” the yarn along; others keep hands loose and let the stitch do the work. Find your groove and stick with it.
Yarn aging and storage quirks
– Old skeins can shed more fiber and get eye-stinging tiny knots that show up as splits. If you’re pulling from an older stash, inspect for dryness and fluffiness.
– Store yarn in a breathable bag to avoid moisture buildup that makes fibers swell and fight back with splits.
Fabric care after you finish: the post-flight analysis
Blocking and setting the fabric
– A proper block can hide many minor splits and even out tension. Soak and shape according to fiber type, then let it dry flat. You’ll thank yourself later when the fabric relaxes in a way that doesn’t betray you mid-wear.
– If a split is stubborn, a clever use of reinforcing stitches can save a project that would otherwise end in the “terrible towel” category.
Furling and finishing touches
– Snip and tidy loose ends as you go, not all at once at the end. It reduces the risk of new splits because you’re not forcing extra fiber into the same strains.
– Use a gentle weaving method to secure ends. A hurried finish invites extra wear and can create tension pockets that collapse into splits after wear.
Choosing the right project for your yarn: a playful filter
- Match the yarn to the project. If you’re new to a yarn, pick a simple, forgiving pattern that doesn’t punish the fiber with high-tidelity twists or tight stitches.
- Start with smoother yarns. If your goal is to avoid splits, try a yarn with a smooth ply and moderate twist. It’s like training wheels for fiber confidence.
- Scale up gradually. Move from a simple scarf to a hat, then a sweater. Build your technique in increments; your yarn will thank you.
Maintenance tips for the long haul: keep it friendly for future projects
- Label your skeins. Note the fiber content and recommended needle size. If you grab the wrong tool, splits will wave hello sooner than you’d like.
- Rotate your stash. Put older skeins near the front and newer ones in the back. It helps you notice dryness or splitting cues before they ruin a project.
- Keep a small repair kit. A crochet hook, a needle, and some spare yarn can fix splits on the fly without breaking your rhythm.
FAQ
Why does my yarn split more when I crochet than when I knit?
Splitting is less about crochet vs. knit and more about fiber structure and tool interaction. Crochet projects often work with shorter runs of yarn and tighter loops, which can force fibers apart if you tug or hook at the wrong angle. Knitting tends to distribute tension more evenly through the fabric, especially with balanced gauge. If you’re seeing more splits in crochet, check your tension, hook size, and whether your yarn is suited for crochet in that weight class.
Is there a quick trick to stop splits mid-project?
Yep. Short version: slow down a notch, check for snags, and give your yarn a gentle yank-free feed. Switch to a slightly smaller hook or needle if you’re fighting the yarn, and keep the work surface calm and clean. If you notice a recurring problem in a specific spot, pause, unwind that section a bit, and rejoin with fresh fiber. FYI, a light spray of water or a damp cloth on the working area can sometimes help the fibers align without over-wetting.
Can I use conditioner or oil to reduce splitting?
Some folks swear by a very tiny dab of conditioner on the hands to reduce friction, but be careful. Too much slip can cause stitches to migrate and create other issues. In general, keep your hands clean and dry, and let the yarn’s natural slipperiness do the work. If you’re experimenting, test on a swatch first to see if it improves or worsens the situation.
What should I do if I accidentally cut a yarn while working?
Stop, breathe, and take a small breath. If you cut a strand that’s part of a loop, you may create a ladder or a big split later. Use a crochet hook to weave the cut end back into the work carefully, or cut away the damaged section and reattach with a secure join. It’s not the end of the world—just a temporary pothole on your project road trip.
Which yarns are least likely to split?
Yarns with a smooth, well-balanced ply and moderate twist tend to be friendlier. Superwash merino blends, nylon-augmented sock yarns, and tightly plied cottons usually behave well, though every yarn has its quirks. The trick is to know the yarn’s behavior by reading the label, swatching, and testing a small sample before diving into a big project.
Conclusion
So, why does your yarn keep splitting? Because a mix of fiber chemistry, construction, tools, technique, and environment all conspire to test your patience. But you’re not powerless. Adjust your needle or hook size, refine your tension, prep the yarn, and pick projects that match the yarn’s personality. Keep your workspace calm, treat snags with respect, and you’ll see splits shrink from dramatic melodrama to minor frays. IMO, yarn splitting is less a problem and more a rite of passage for yarn lovers who want to learn and laugh along the way. You’ve got this.
If you want, tell me what yarn you’re working with (fiber content, weight, and a quick sample of your technique), and I’ll tailor a mini plan to help you dodge splits on your next project.