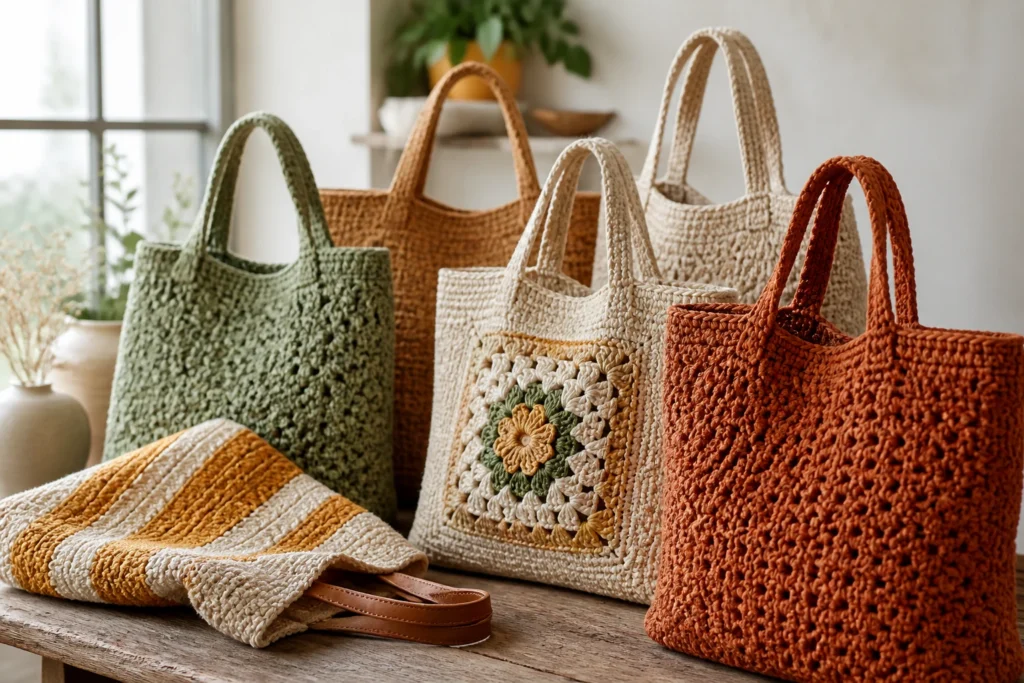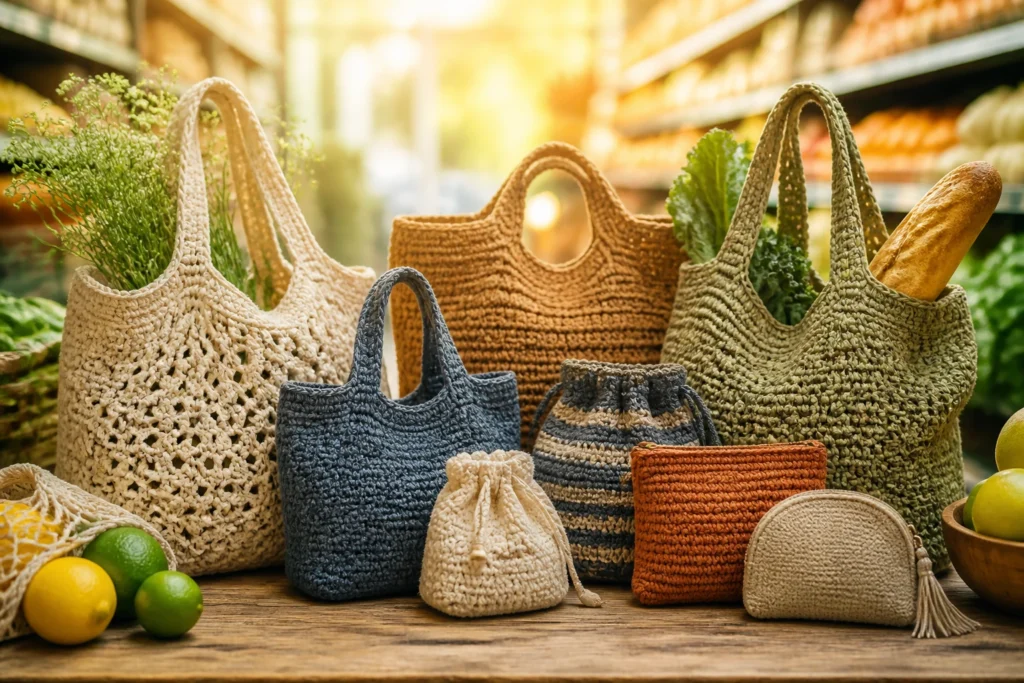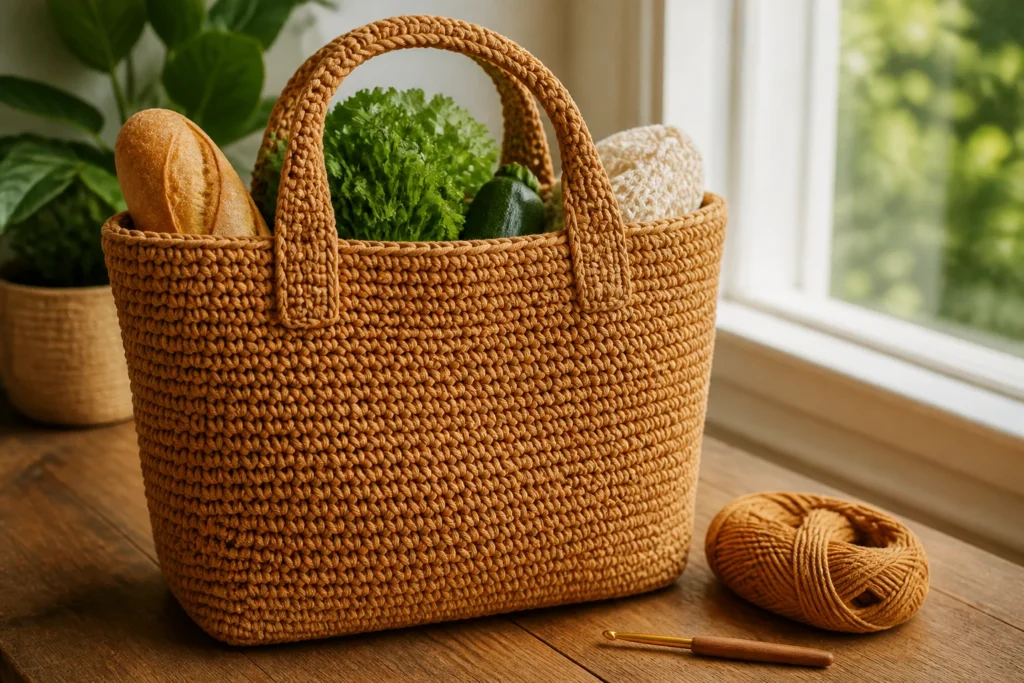
I crocheted a tote out of a cereal box once. It was a disaster. Then I learned how to make durable crochet tote bags, and suddenly the world made sense. You want something that can actually carry groceries, promote your indie yarn habit, and survive a beach day—without shedding, stretching, or looking like a sad scarf. Let’s dive in and make totes that are sturdy, practical, and a little bit stylish.
Why a crochet tote? Let’s lay the groundwork
Ever notice how store-bought totes feel flimsy after a few uses? A homemade crochet tote can be stitched to your exact needs: thickness, stitch tightness, and handle length. You control the durability, weight, and personality. Plus, it’s a confidence boost when people ask, “Did you really crochet that?” FYI, the right yarn choice and stitch pattern make all the difference.
Choosing the right yarn and hook for toughness
Yarn matters more than you think
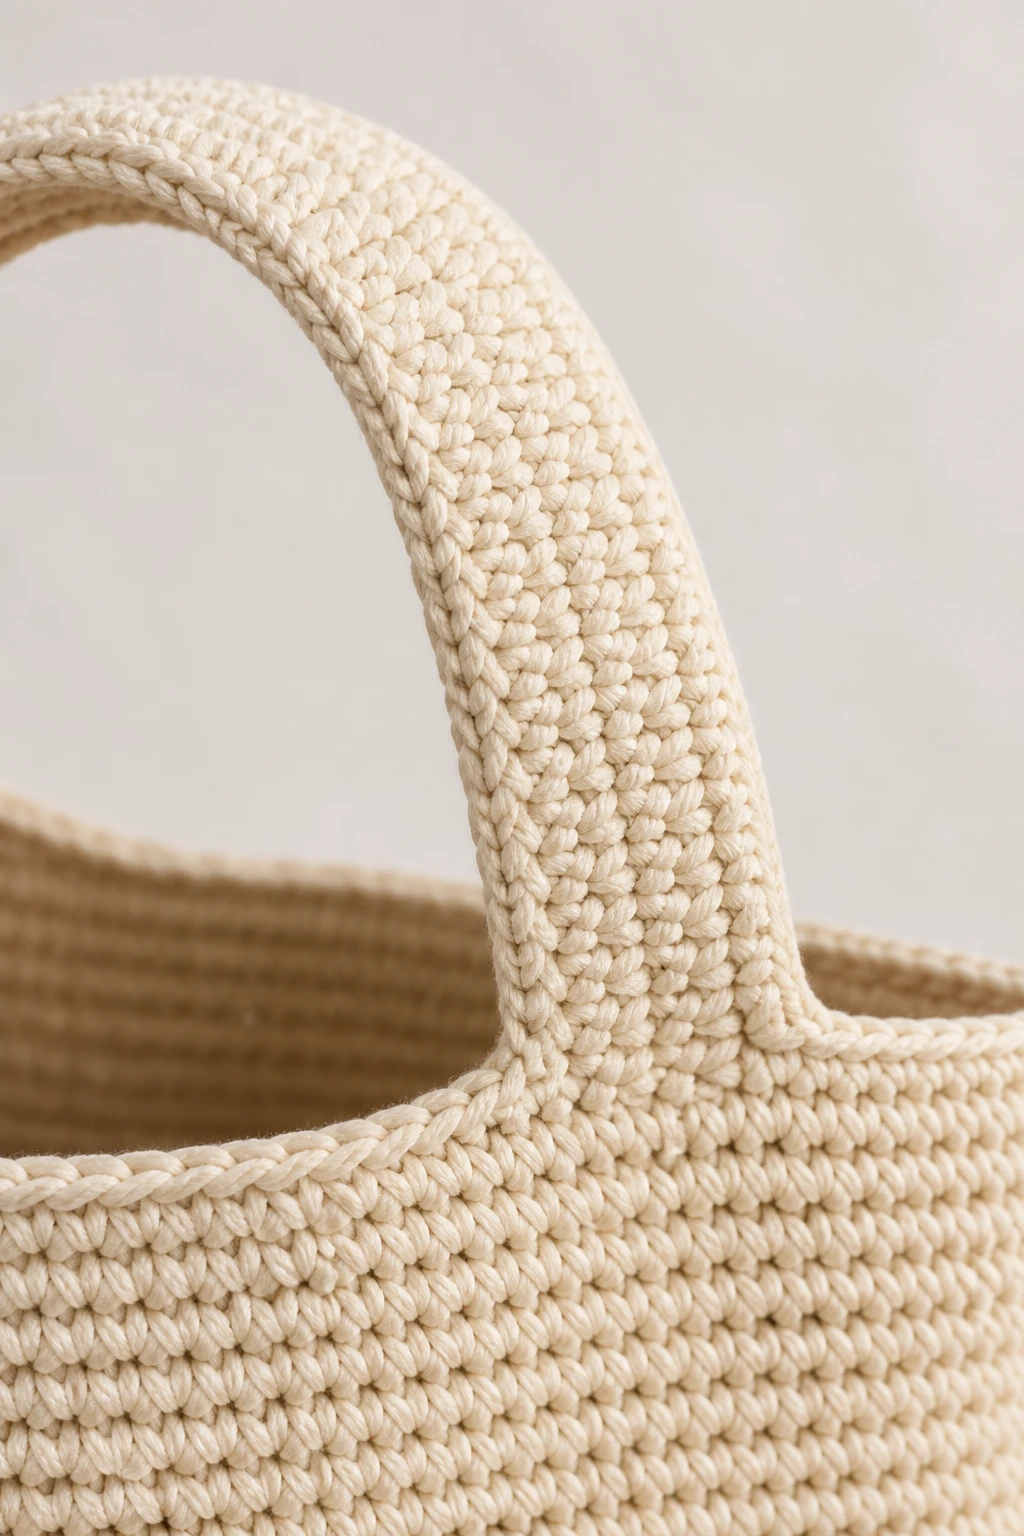
– Go for sturdy fibers: cotton, cotton blends, or DP (double-ply) worsted weight yarns are popular because they hold shape and resist stretching.
– Avoid thin novelty yarns for the main bag; they don’t wear well over time.
– Consider a blend with a touch of acrylic for resilience and machine-wash options.
Hook size—don’t wing it
– Use a hook that produces a dense fabric. A typical tote might use a H-8 (5mm) or larger, depending on your yarn.
– If your fabric is too loose, you’ll trade durability for softness. If it’s too tight, you’ll hate your life when you try to toss a bag of groceries in.
Yarn weight vs. pattern density
– Worsted weight yarn with a tight stitch pattern = durable tote.
– If you want a lighter bag for magazines, you can still use a lighter yarn but increase stitch density and lining.
Stitch patterns that actually hold up
Solid, dense stitches beat loose ones
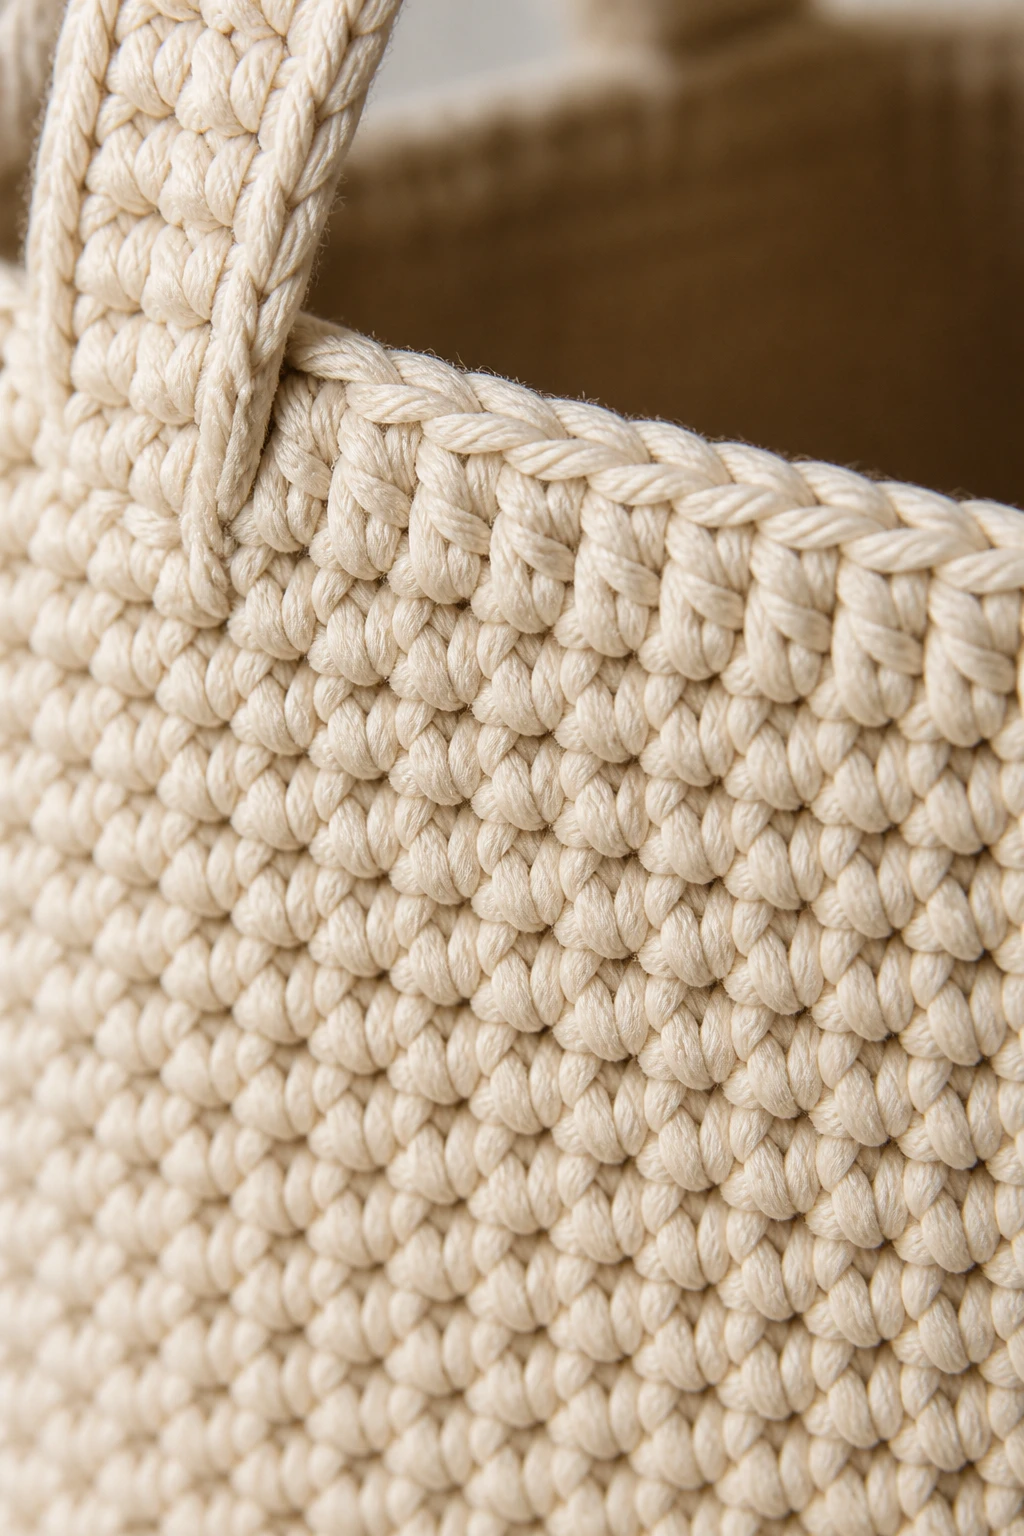
– Try single crochet (sc) for a tight weave.
– Double crochet can work if you knit it tight and use bigger hooks to keep shape.
Helpful stitch choices
- Basketweave or half double crochet combined patterns create a sturdy, structured look.
- Front post/back post stitches add texture and extra body.
- Ripple edges are cute, but be mindful they can stretch the top—add a ribbed band to counteract it.
How to test durability as you crochet
– Grab a small swatch and loop a few items through it. Does the fabric hold? Are edges curling? If yes, your stitch pattern might be too loose.
– Try a quick stress test: pull on the top edge with a few pounds of weight. If it holds, you’re in the right territory.
Structuring the bag for real-world use
Body shape that carries weight well
– A rectangular, boxy tote holds groceries and odds-and-ends better than a slouchy sack.
– Build a lining or a fabric inset to prevent sagging and to protect what’s inside.
Bottom support is non-negotiable
– Add a flat bottom: either a separate panel stitched in or a sewn-in fabric bottom that reinforces the base.
– Consider a single-layer or double-layer base depending on how heavy you plan to carry stuff.
Handles that won’t cut you a deal with gravity
– Thick, sturdy handles distribute weight across your shoulder. Aim for at least 1 inch wide rope-like handles or double-strand yarn handles.
– Attach handles with reinforced stitching, not just a few rows of slip stitches. Think square knots, or a few rounds of tight single crochet under the handle.
Finishing touches that scream “I’m durable, not decorative chaos!”
Lining and fabric inserts
– Line the bag with cotton canvas or sturdy cotton fabric to reduce snagging and to keep contents from poking through.
– A lining is optional but makes the tote look polished and increases longevity.
Finishing edges and corners
– Sew or crochet a border to prevent fraying. A simple slip stitch around the top edge helps with stability.
– Corner reinforcing pieces, either crocheted or fabric patches, can prevent wear at the most-stressed spots.
Care guidance that keeps it alive longer
– Most cotton totes love a gentle hand-wash or delicate cycle. Lay flat to dry to preserve shape.
– If you used cotton blends with acrylic, a cool wash cycle is usually safe. Avoid harsh detergents that strip color or weaken fibers.
Project blueprint: a durable tote you can actually sleep at night about
Materials
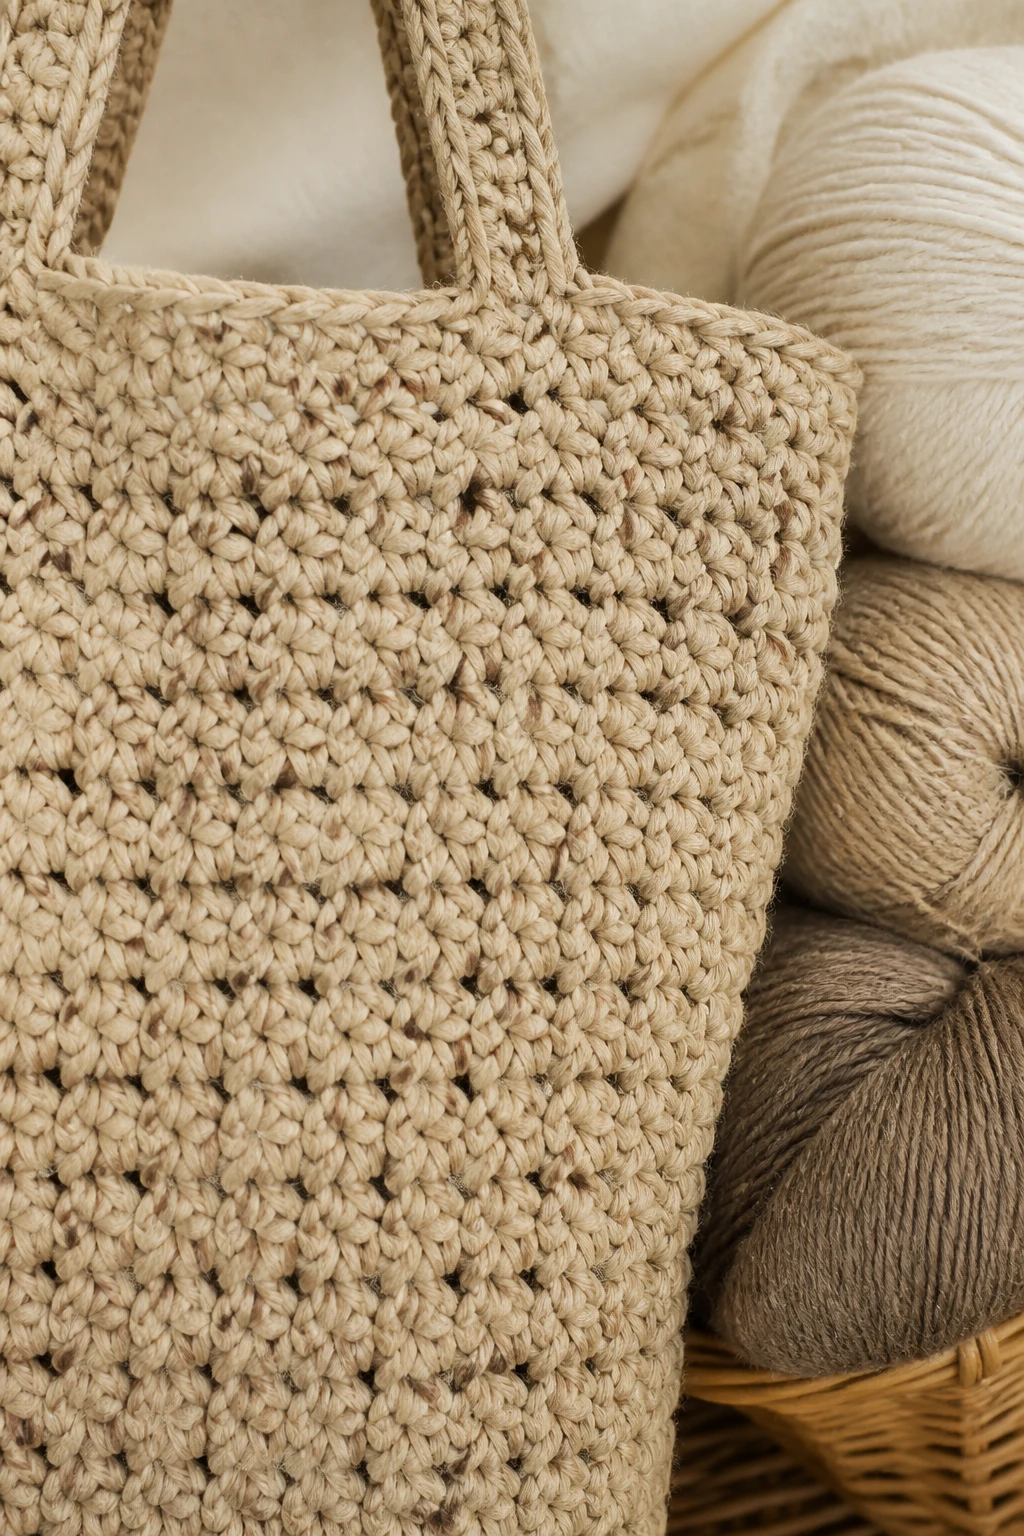
- Yarn: 1000–1500 g worsted weight cotton or a cotton blend (adjust for bag size)
- Hook: 5mm (H-8) or according to yarn label for a tight fabric
- Fabric lining: 1 yard of sturdy cotton
- Base panel: optional fabric base or extra crochet base
- Sturdy thread or needle for sewing handles
- Needle for finishing ends
Pattern sketch
- Foundation chain: determine width you want, then crochet a tight base.
- Body: work in the round or back-and-forth with a dense stitch (sc or tight hdc).
- Bottom: add a flat base to give structure. Attach by sewing or crochet-in.
- Top edge: reinforce with a few rounds of tight slip stitches or a ribbed edge.
- Handles: attach securely with multiple passes, reinforced stitches, and a comfy width.
Step-by-step build tips
- Start with a swatch to dial in stitch density. If your swatch stretches under load, go tighter or switch yarn.
- Work the body in a sturdy stitch; don’t chase softness at the expense of strength.
- Attach lining after the crochet is done to ensure a clean finish.
- Test with a few books or groceries to confirm the design holds up.
Common hiccups and how to dodge them
Hugely common: bag distorts after a few uses
– Fix: switch to a denser stitch and a heavier yarn, or add a fabric base/lining to keep shape.
My handles keep slipping or tearing
– Fix: double-layer your handles, use reinforced stitching, and consider attaching with a small fabric patch for extra support.
Color bleeding or fading concerns
– Fix: pre-wash yarns and choose colors that won’t bleed. If you’re dye-conscious, do a color titration test with a small fabric swatch.
Inspiration and practical examples
Everyday grocery tote
– Use a sturdy cotton or cotton blend with a simple sc stitch and a reinforced bottom. Add a zipper pocket inside for small items.
Beach-day buddy
– Use a lighter yarn with a denser stitch, but consider a water-resistant lining. External pockets for sunscreen bottles are clutch.
Market helper with serious vibes
– Opt for a larger tote, deeper body, strong handles, and an easy-clean lining. Add a few exterior pockets for receipts and scissors.
FAQ
How heavy of a load can a handmade crochet tote safely carry?
That depends on the yarn, stitch, and construction. A dense single crochet with cotton or a cotton blend can comfortably carry groceries or a laptop plus accessories. Always test with a load you’re comfortable with and reinforce stressed areas such as the handles and bottom.
Is it better to line the tote or leave it unlined?
Lining adds structure and protects contents from snagging on crochet stitches. It’s especially useful if you use textured stitches. If you’re aiming for a very soft, flexible bag, you can skip lining, but you’ll want stronger edges and secure handles.
Can I machine-wash a crochet tote?
It depends on the yarn. Cotton blends with a touch of acrylic are usually machine-washable on gentle cycles. Pure cotton can shrink if care isn’t gentle. Always check the yarn label and test a swatch before washing the whole bag.
How do I reinforce the bottom without making the bag bulky?
Use a single or double-layer fabric bottom or crochet a flat base with extra rows. You can also sew a sturdy fabric insert into the bottom. The goal is to maintain shape while avoiding added weight.
What if my tote starts to stretch after a few weeks?
That’s a sign the fabric is too loose or your load is heavier than the design supports. Switch to a denser stitch or heavier yarn, and consider adding a lining or a bottom reinforcement to regain structure.
Conclusion: you’ve got this—durable totes for days
If you’ve stuck with me to the end, you’re ready to craft totes that actually weather life. Durability isn’t magic; it’s math, stitch choice, and a dash of common sense. Pick sturdy yarn, tight stitches, and reinforced handles, and you’ll have a bag that doesn’t quit after week two. IMO, nothing beats the satisfaction of carrying groceries in a tote you made yourself, especially when compliments roll in. So grab your hook, pick your yarn, and crochet your way to a tote that’s built to last.