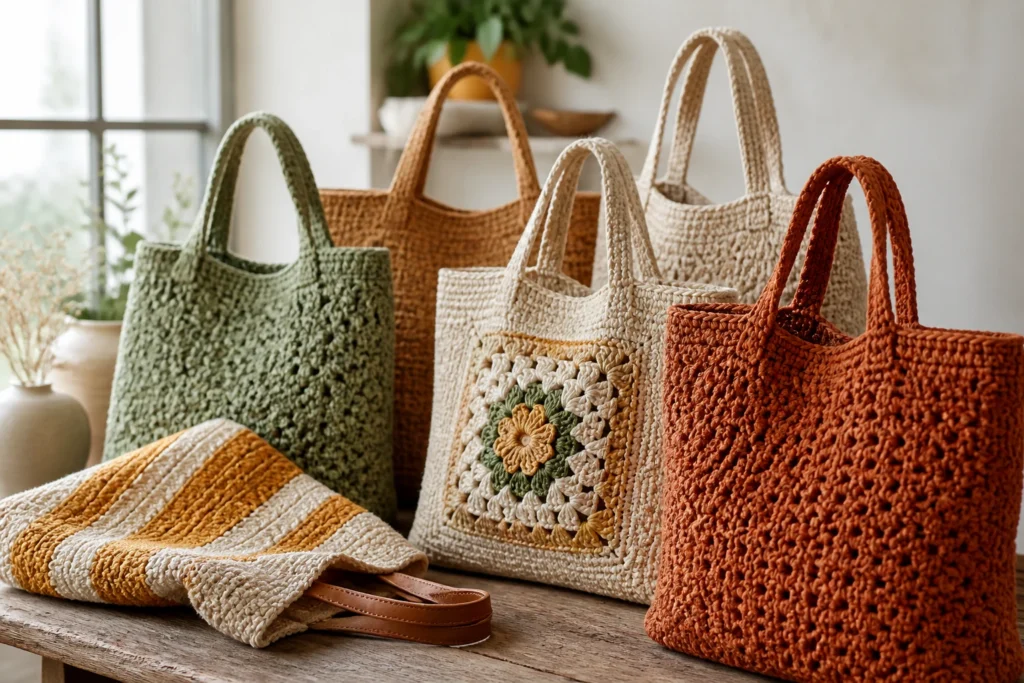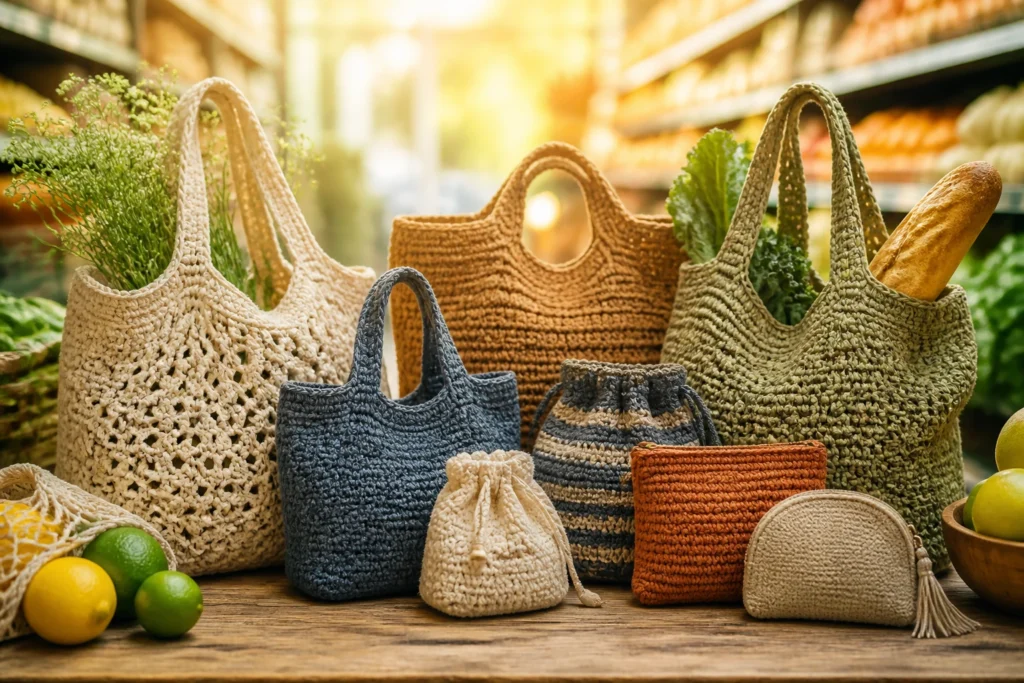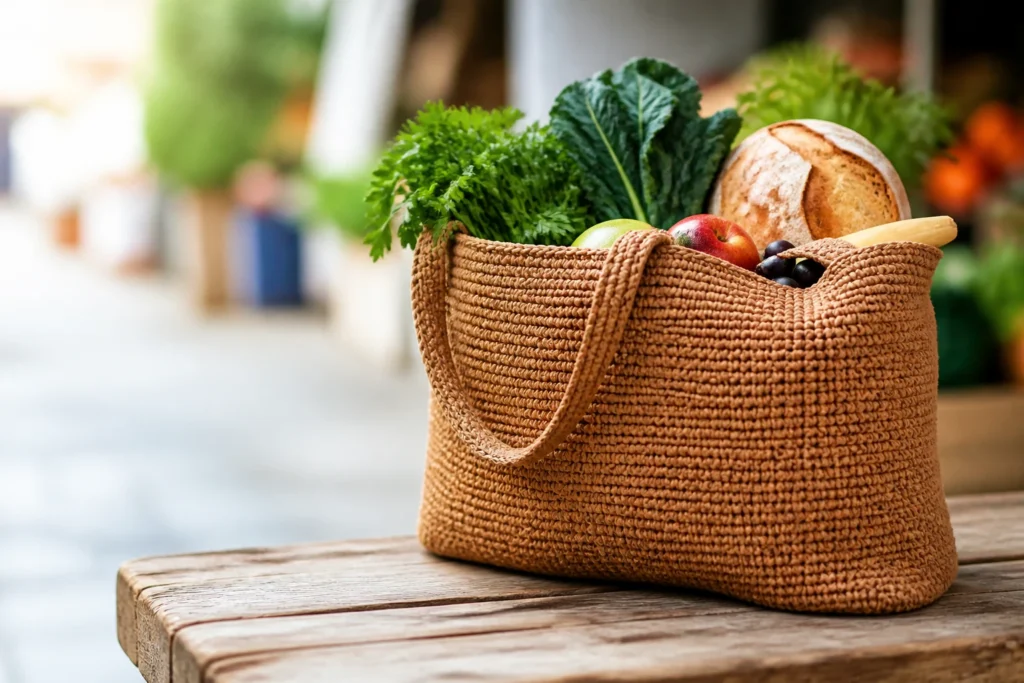
If you’ve ever hauled groceries in a tote that squeaks, wobbles, and looks like it’s about to unzip at any moment, you’re not alone. Crochet market bags have come a long way from comfy, grandma-charm to sturdy, city-ready workhorses. Let’s level up your bag game so every trip to the farmers’ market feels triumphant rather than nerve-wracking.
Choose the right yarn and hook for strength and style
You can’t make a great bag with a great attitude alone. It starts with the basics: yarn, hook size, and stitch choice. Pick materials that can handle a little dirt, a lot of weight, and plenty of happy compliments.
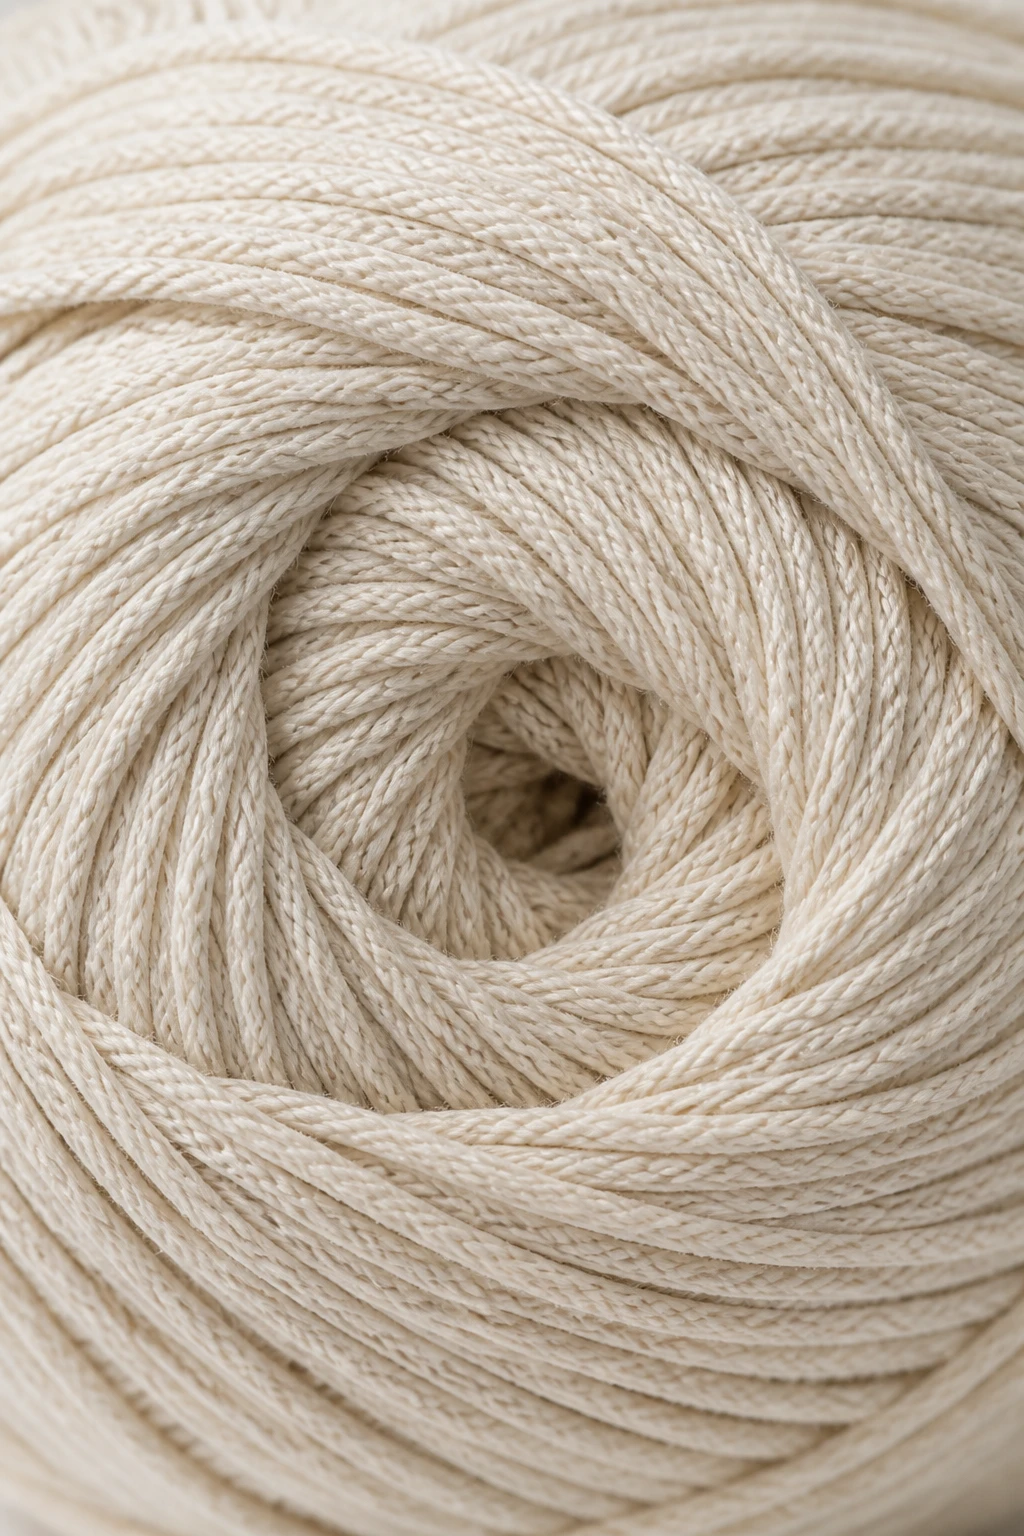
– Yarn matters more than you think — look for sturdy fibers like cotton, t-shirt yarn, or a cotton blends with a tad of nylon for resilience.
– Don’t go too soft — fluffy yarns look cute but tend to sag when loaded. If you love softness, mix a cotton main with a sturdier core.
– Hook size should match your yarn label, but don’t be afraid to go a size up for a tighter weave that won’t stretch. FYI, a tighter stitch = happier shopper.
– Stitch pattern matters too. A dense stitch like single crochet or half double crochet creates a bag that keeps its shape.
Structure beats style if you’re hauling heavyweight groceries
A bag that caves in is a bag that scares customers away. Build a structure that stands up to real life, not just pretty photos.
Reinforcing the base
– Use a flat, firm base: start with a square or rectangle bottom and crochet it separately, then seam or whip-stitch it to the bag sides.
– Double up on fabric or canvas inserts in the base for extra stiffness.
– Consider a boxed bottom (a few extra rows of stitches at the corners) to give the bag a true flat base rather than a rounded one.
Side walls that breathe but don’t flop
– Work in the round or in panels that you seam. Panels tend to hold shape better when you’re stuffing produce and jars.
– Add an extra row of a firmer stitch near the top to keep the rim from stretching.
– If you’re feeling bold, insert a cotton webbing handle or a tote strap sewn on to avoid stitch fatigue over time.
Handles that don’t turn into spaghetti
Handles can make or break a bag experience. You want comfort, durability, and a touch of personality.
– Length matters: 18-22 inches is generally comfy for slinging over the shoulder, but adjust to your body type and how you plan to carry the bag.
– Upgrade options: consider braided cotton handles, canvas handles, or even thick recycled t-shirt handles for a more eco-friendly vibe.
– Join with a solid anchor: sew or crochet a reinforced loop system into the bag’s sides. Don’t rely on a single strand to bear weight.
– Edge protection: slip a small leather or fabric tab at the top where the handle meets the bag to prevent fraying.
Texture matters: stitches that actually hold up
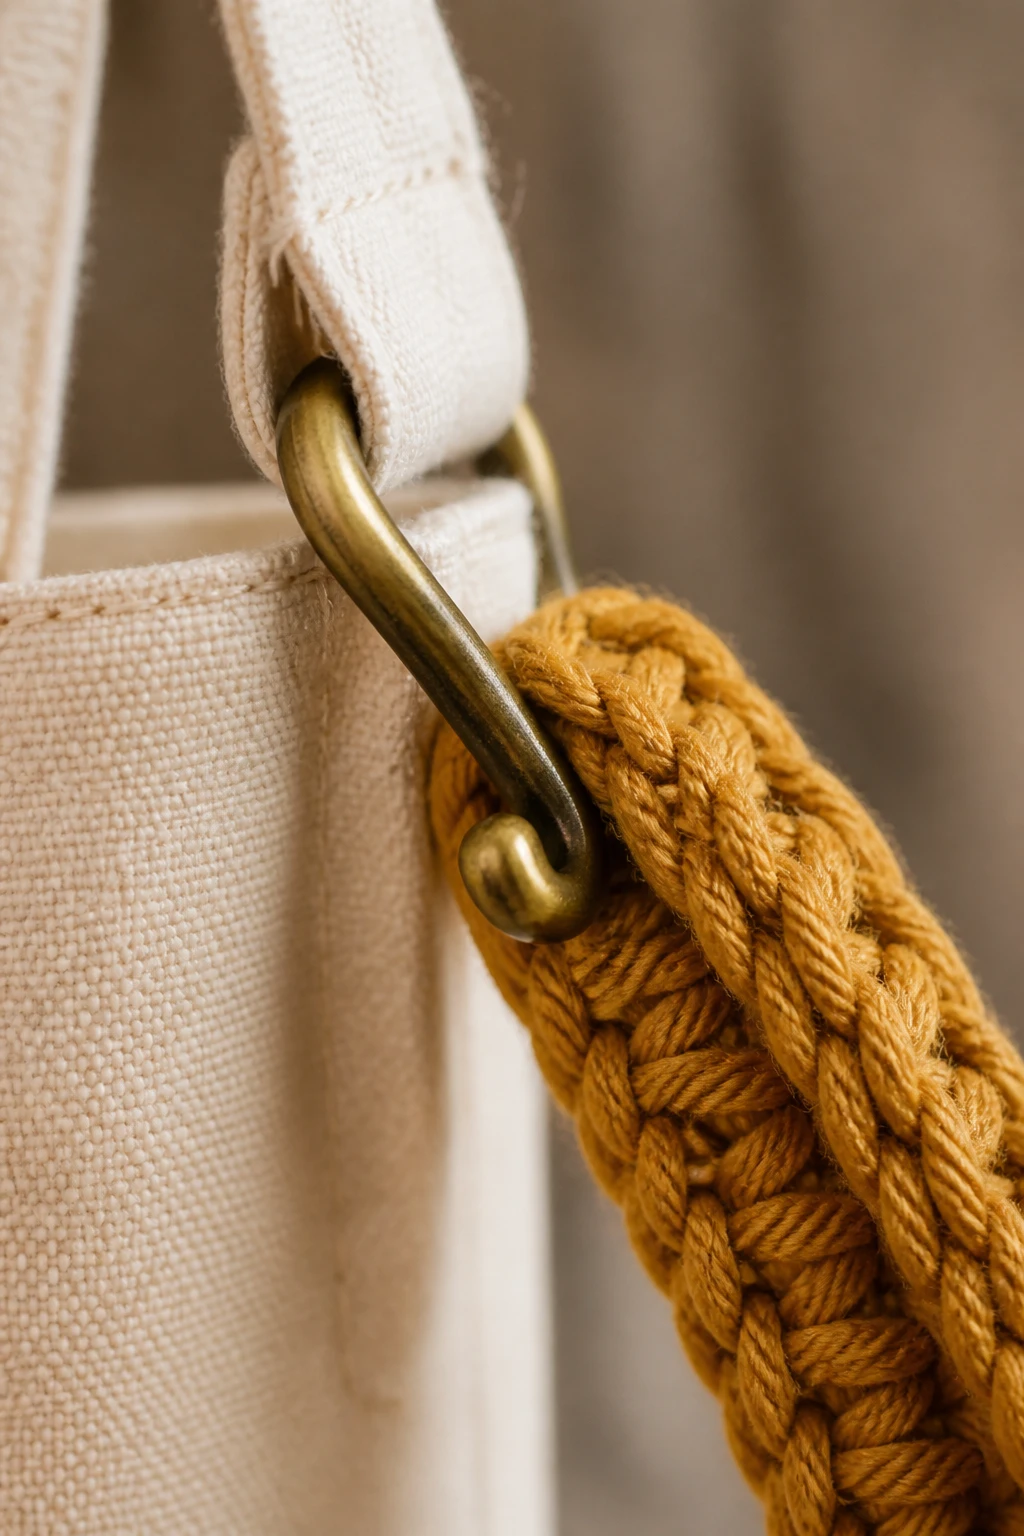
Texture isn’t just pretty; it’s practical. A tight, dense fabric reduces sagging and snagging, and a little personality never hurts.
– Go for density with stitches like single crochet or half double crochet in a tight gauge.
– Watch for gaps: avoid loose stitches that become holes when the bag is loaded.
– Consider a stitch pattern that adds grip and structure, like a moss stitch or a simple back-and-forth rib.
– Color and pattern caution: busy variegated yarns can look gorgeous but may obscure the fabric’s strength. If in doubt, stick to solid or tonal versions for structure’s sake.
Linings and inner supports: practical extras that pay off
A bag without a lining risks contents showing more drama than your favorite rom-com. A light lining stabilizes the interior and adds a touch of polish.
Why you want a lining
– Keeps small items from poking through stitches.
– Makes the bag feel sturdier and more professionally finished.
– Reduces wear on the crochet fabric from rough produce corners or jars.
Easy lining options
– Use a lightweight cotton or cotton-canvas fabric. Cut a simple rectangle or box shape to fit the bag’s interior, with a seam allowance.
– Attach with a simple weave or by sewing the lining to a fabric-facing edge that’s visible, keeping the inner stitches tidy.
– If you don’t sew, glue sticks or fabric tape can work for lightweight linings, but a small sewing project yields a much cleaner result.
Closures, pockets, and smart details
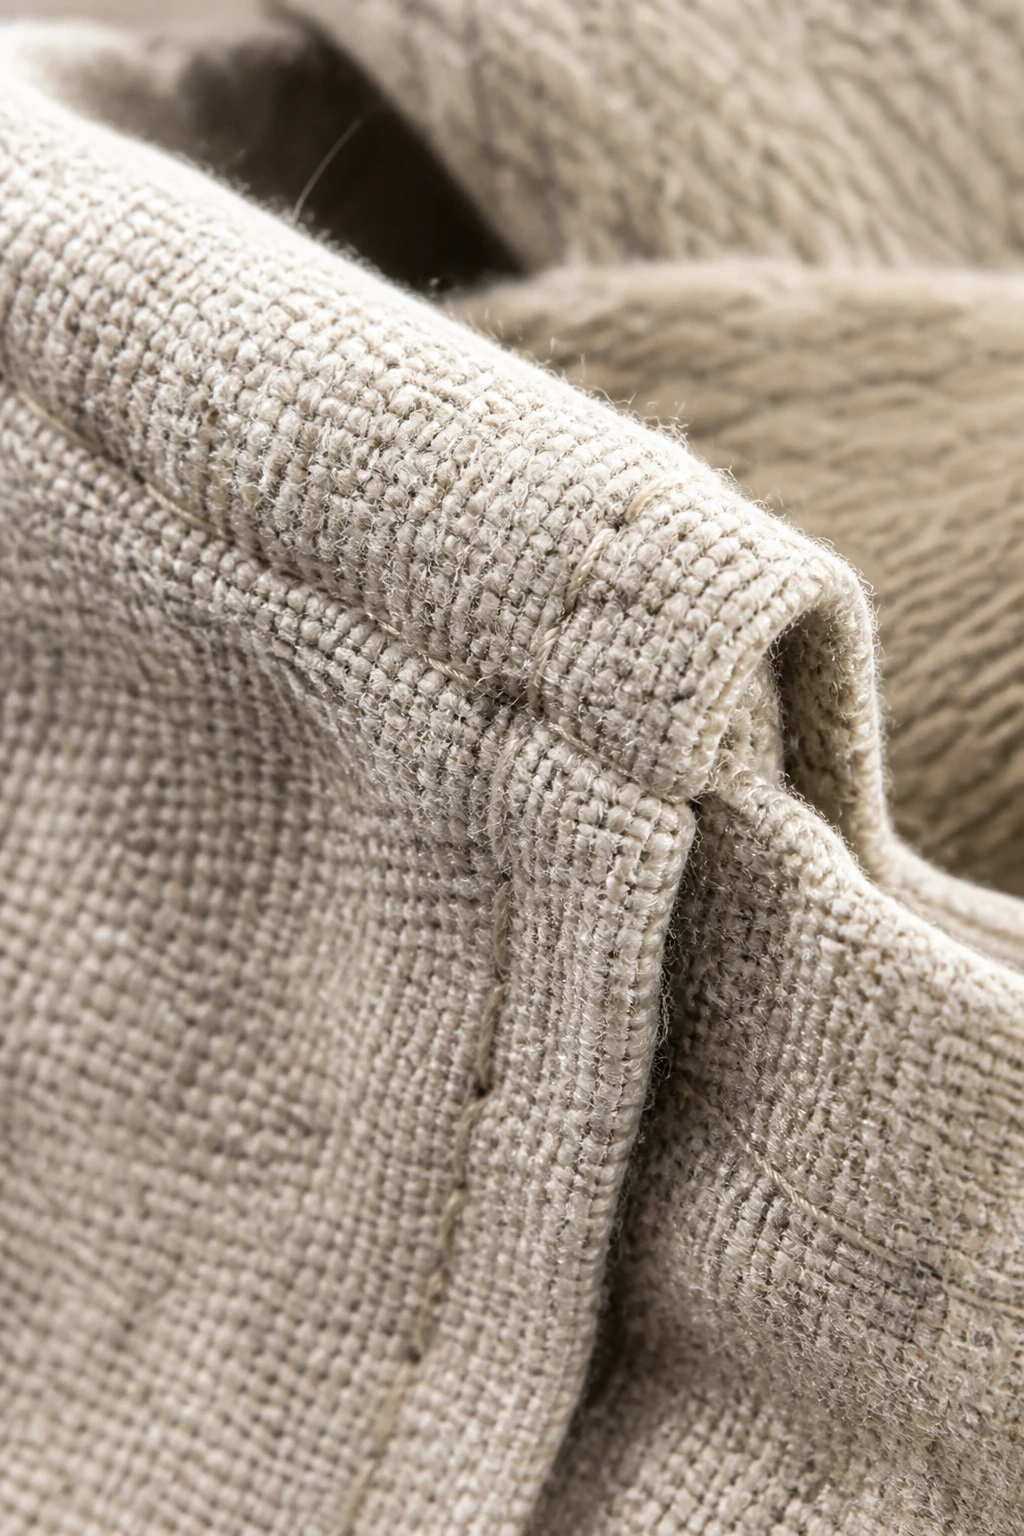
It’s the little things that separate a good bag from a great bag. Think about how you’ll access your items and what your buyer will appreciate.
– Top closures: a simple drawstring, a magnetic snap, or a chunky wooden button can keep groceries secure.
– Mini pockets: a small interior pocket for keys, a calculator, or a shopper card helps keep things organized.
– External accents: a subtle handle wrap, a decorative seed bead row, or a reinforced rim give your bag personality without compromising function.
– Weight distribution: place heavier items near the base and keep the top lighter to avoid tipping.
Care and maintenance: keep it looking fresh
Your bag is going to get dirty. Fair enough. A little care keeps it usable and looking cute for longer.
– Wash gently: most cotton bags tolerate hand washing or a delicate cycle. Air dry flat to maintain shape.
– Spot clean: use a mild detergent and a soft brush for stubborn spots. Don’t scrub so hard you undo the stitches.
– Store smart: store flat or carefully folded to avoid a misshapen top edge.
– If you want extra longevity: seal with a fabric-safe spray to resist water and stains, but test first on a hidden area.
Project ideas: quick builds to boost your market bag lineup
If you’re chasing ideas for new bags to sell or gift, here are a few quick, satisfying builds.
- Everyday tote with a sturdy base and simple strap in a high-contrast color combo.
- Produce-friendly shopper with a lined interior and a couple of inner pockets for labels and calculators.
- Foldable market bag with a light inner lining and a compact base that folds flat when empty.
- Gift bundle combining a bag with a matching coiled cotton wallet or small pouch.
Frequently asked questions
Can I use recycled yarn for a stronger bag?
Yes, recycled yarns can be strong, but test tension and gauge first. Look for tightly spun fibers and consider blending with a sturdier yarn to maintain structure. FYI, you’ll want to swatch before committing to a full bag.
What gauge should I aim for to prevent sagging?
Aim for a tight gauge that creates a dense fabric. If your stitches are too loose, your bag will stretch with weight. A good trick is to crochet a gauge swatch, then adjust your hook size accordingly.
How do I attach a lining without visible stitching on the outside?
Sew the lining to the inside edge of the bag using a hidden stitch or slip stitch. If you’re not into sewing, you can use fabric glue for lightweight linings, but a simple stitch will outlast glue in the long run.
What if my bag still sags after all this?
Double-check your base reinforcement and consider adding a rigid insert or a small interlining like craft foam or thin plastic. A reinforced rim can also help keep shape when the bag is full.
Should I add a zipper or pocket closures?
Pockets are often more practical for market bags than zippers. If you need a closure, a magnetic snap or simple drawstring usually works best and keeps the bag flexible for groceries.
Conclusion
Strength isn’t a vibe; it’s a feature. When you layer the right yarn, sturdy structure, reinforced bases, and smart handles, your crochet market bag stops being just cute and starts being a dependable daily workhorse. You’ll get compliments for the look and the function, and your groceries will thank you for the extra support. IMO, a well-made bag is one that makes life easier, not harder. So grab your hook, pick your favorite yarn, and start stitching toward bag-perfection.