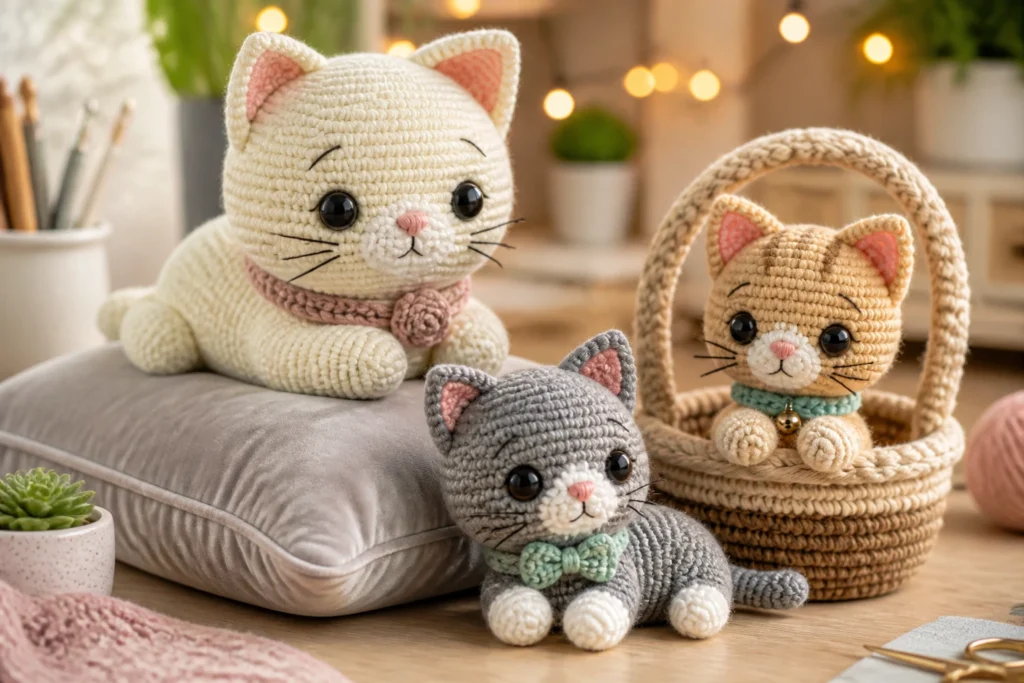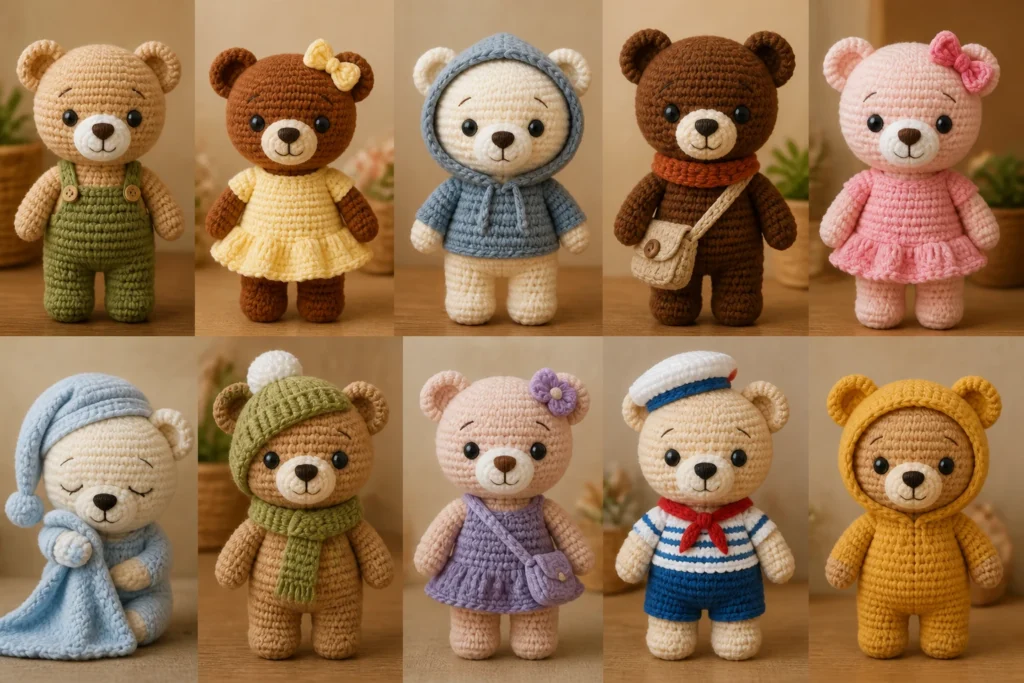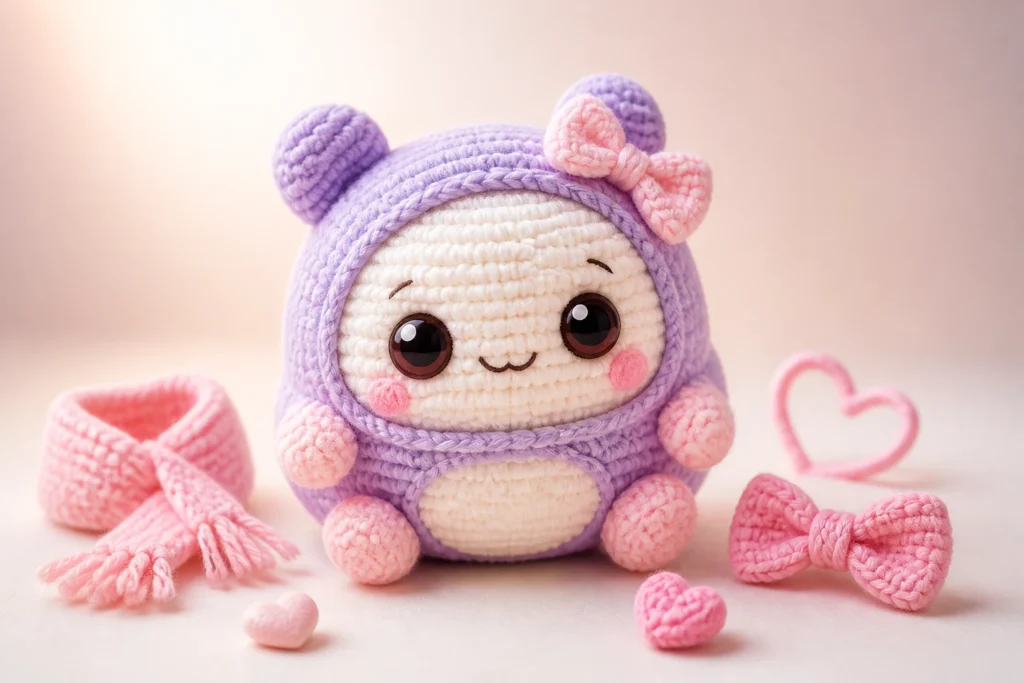
If you can sew a scarf, you can design a kawaii amigurumi that sparkles with personality. Let’s skip the guesswork and dive into a friendly, hands-on guide that makes crafting feel like a chat with your crafty bestie.
Start with a Feeling: What Makes a Kawaii Amigurumi Tick
Ever watched a character wobble its little head and thought, “Yep, that’s the vibe I want”? That’s kawaii energy in a nutshell. It’s all about big eyes, simple shapes, and a sense of “aww” that makes you want to hug it forever. Designing your own means shaping attitude first—then letting yarn follow your mood.
– Big-eyed charm: Round or oval eyes that take up a chunk of the face.
– Simplified silhouette: A few sturdy shapes that read clearly at a glance.
– Expressive details: tiny blushes, a cute mouth, little accessories.
Ask yourself: What feeling do I want this critter to radiate? Sassy? Sleepy? Playful? The answer guides color, shapes, and tiny quirks.
Sketching Before Hooking: Nail the Concept Quick
You don’t need fancy software to brainstorm. A simple sketch on a scrap paper or even a sticky note works wonders. Think in three layers: head, body, accents.
– Head: Usually the focal point for kawaii. Make it a touch oversized to maximize charm.
– Body: Keep it compact; a short limb ratio reads adorable and approachable.
– Face details: Eyelashes, blush, and a tiny smile go a long way.
Morph Your Character: From Cat to Dino to Cupcake
If you’re stuck on ideas, mix and match. A cat head with a chubby body? Adorable. A sleepy dinosaur with a bow? Perfectly quirky. The rule of thumb: keep shapes uncomplicated so you can crochet cleanly.
– Swap ears and tails to change the species vibe in minutes.
– Try different color palettes: pastel for soft vibes, bright primaries for punch.
– Add an accent piece: a scarf, hat, or flower to personalize.
Choosing the Right Yarn and Hooks (No Drama, Just Practical Ys)
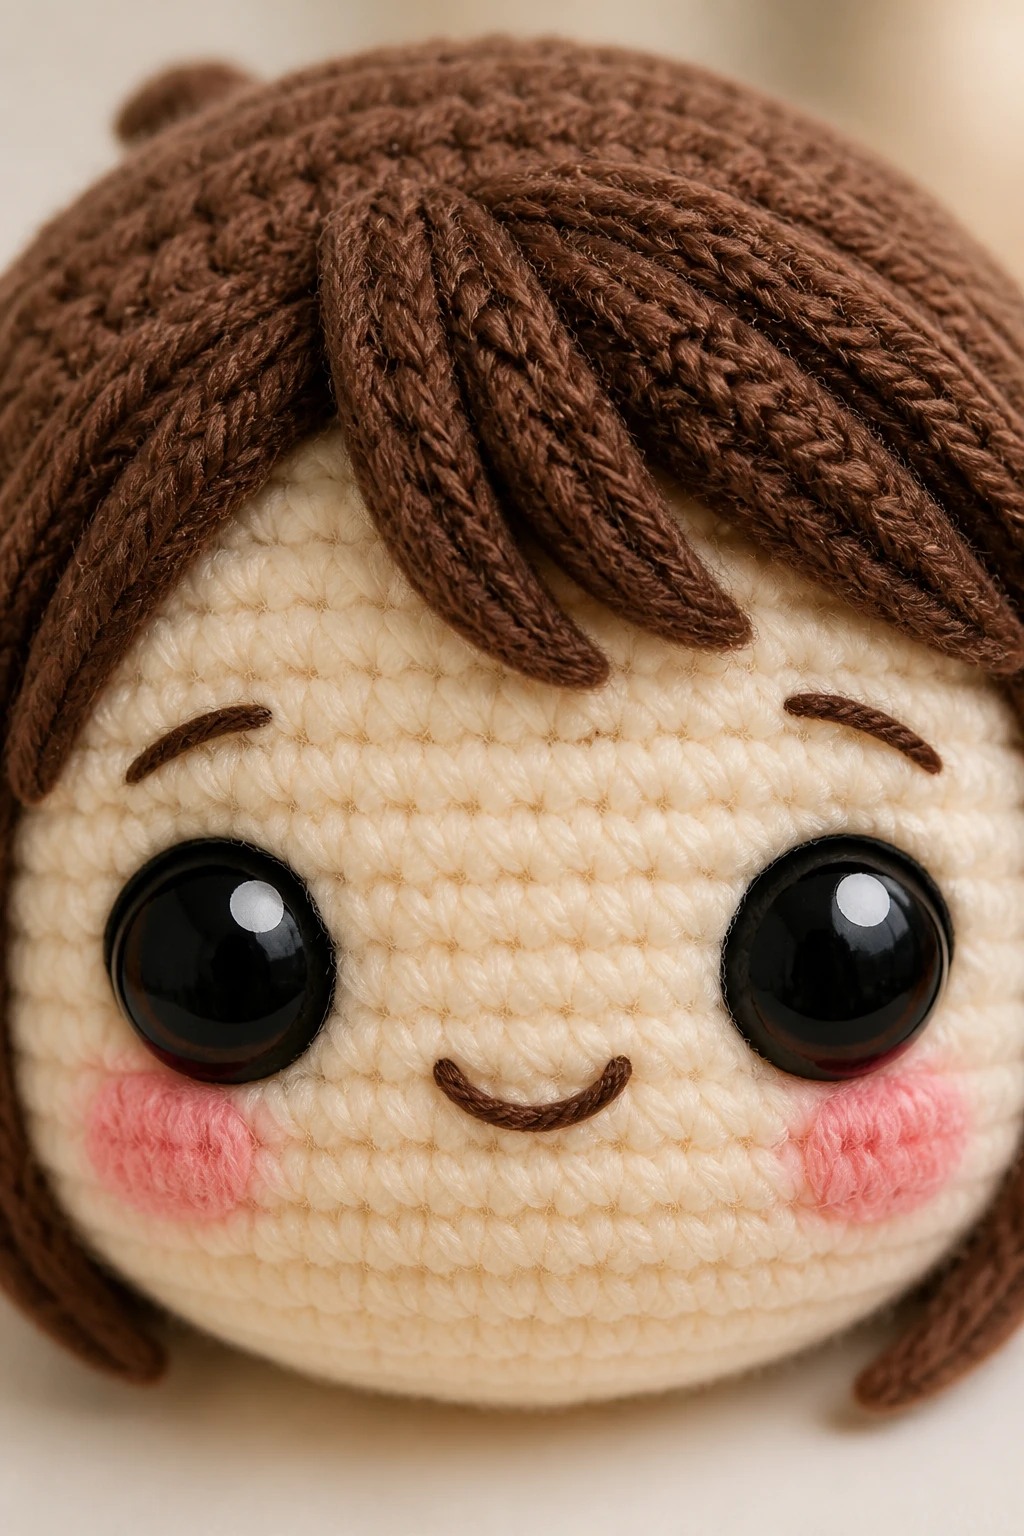
Materials set the mood. For kawaii, you want yarn that reads smooth and cuddly on the outside and holds a sturdy shape on the inside.
– Yarn: Soft cotton blends or acrylic in DK to worsted weight typically work well.
– Hook size: Match your yarn’s label, but don’t be shy about a slightly smaller hook for tight stitches to avoid visible gaps.
– Stuffing: Polyfill works, but eco-friendly options like cotton wadding feel nice for long-term keepsakes.
– Safety eyes or embroidery: If you’re gifting to kids, embroider eyes or use yarn noses to avoid small parts.
Pro tip: Do a quick tension test: crochet a small swatch in your chosen stitch, stuff it lightly, and poke it. If it holds shape and looks cute, you’re in the clear.
Stitching Smarts: Simple Stitches That Do the Heavy Lifting
Kawaii amigurumi thrives on clean, tight stitches. You want a plush look with minimal gaps, so practice makes perfect.
– Magic ring: Your best friend for round heads and snappy starts.
– Single crochet: The backbone of most amigurumi. Keep your stitches uniform.
– Increases and decreases: Learn afew clean transition tricks to shape heads, bodies, and limbs smoothly.
– Invisible decreases: A tiny trick that hides the join line for a seamless finish.
Common Pitfalls (And How to Avoid Them)
– Holey shapes: Don’t yank the stuffing in; stuff gradually and evenly.
– Uneven tension: If one side looks ribbed, reset your grip on the hook and count to maintain consistency.
– Visible stuffing peeks: Push stuffing in gently as you go and shape with your fingers.
Character Building: Facial Features That Spark Joy
Faces are the real star of kawaii. The eyes set the tone; the mouth and cheeks seal the deal.
– Eyes: Large circles or ovals work best. Place them slightly higher on the head for that “glance from under lashes” vibe.
– Blush: A tiny pink dot or two on the cheeks adds warmth.
– Mouth: A tiny curved line says a lot. A tiny dot can read mischievous or shy, depending on position.
– Eyelashes and brows: A few delicate strokes can transform the expression.
Expressions That Read Fast
– Wide-eyed wonder: Big round eyes with a tiny gleam dot.
– Sleepy cutie: Half-closed eyes with a subtle smile.
– Cheeky grin: A small upturned mouth with a dot for a dimple.
FYI: If you’re making a batch, consider a few variations so you can mix and match expressions for different characters.
Color Magic: Palette Picks for Maximum Cuteness
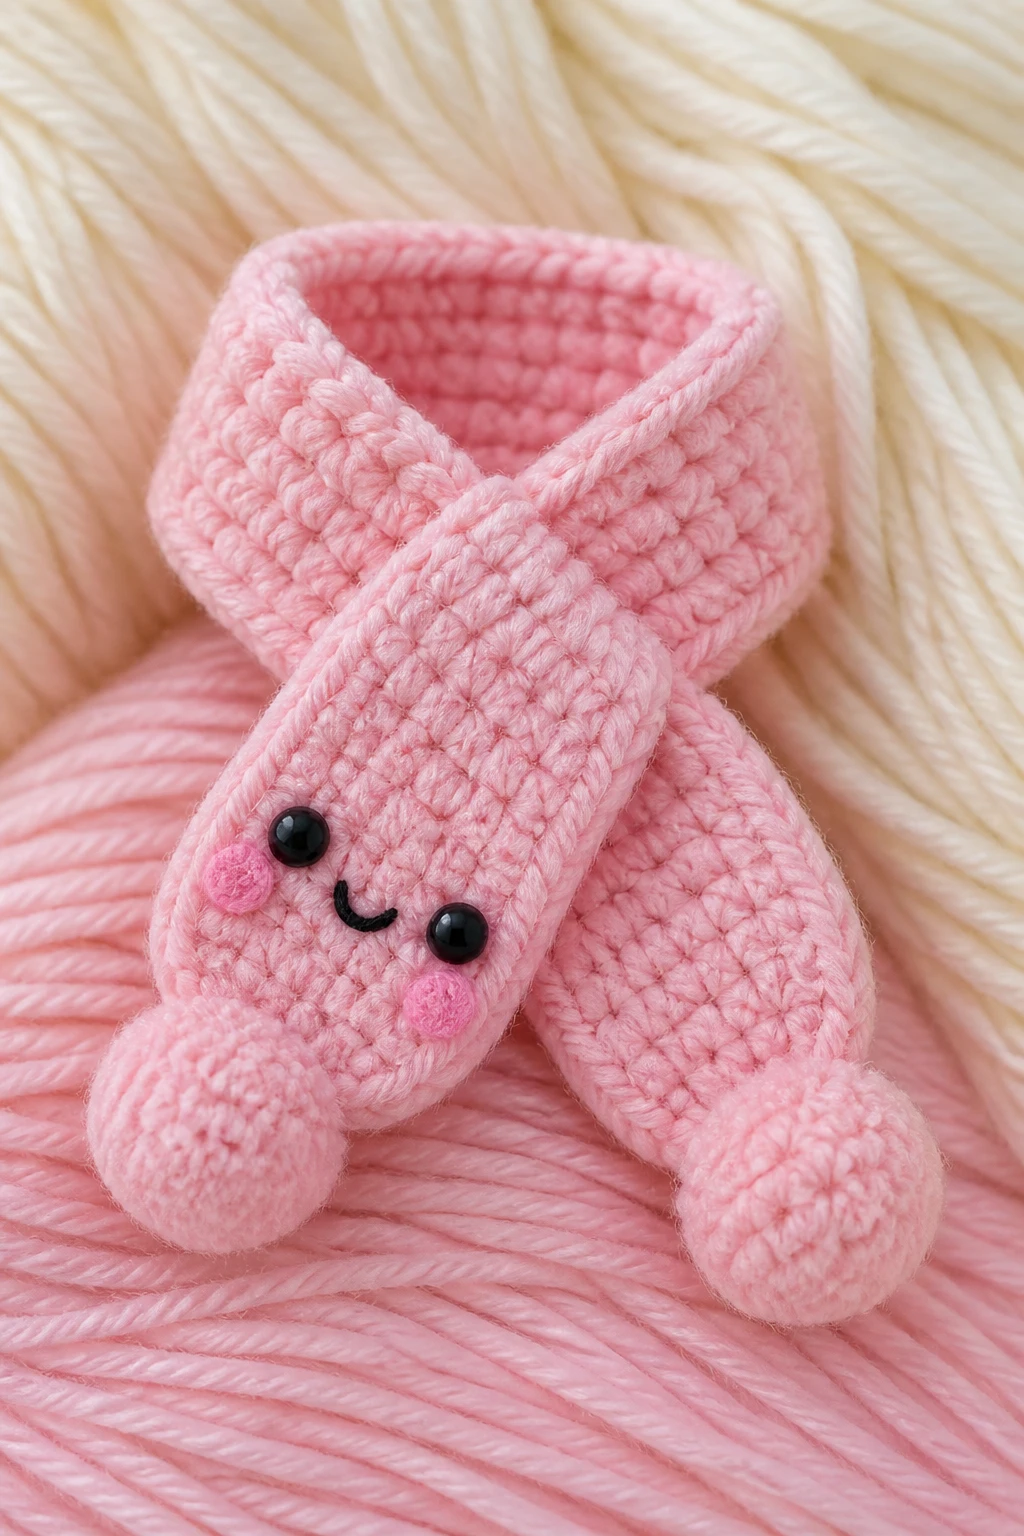
Color choice can instantly set mood. Kawaii loves soft, cohesive palettes, but a pop of contrast keeps things exciting.
– Pastels: Baby pinks, mint greens, pale yellows—classic kawaii vibes.
– Contrasts: A bold accessory or a dark outline can make features pop.
– Theme palettes: Match a character to a mood (rainbow for cheerful, lavender + cream for dreamy).
Quick palette rule: Use 2–3 base colors and 1 accent color. This keeps things readable at a glance and simple to manage.
Outfits and Accessories: Tiny Details, Big Impact
Clothes and accessories let you express personality without changing anatomy.
– Hats, bows, scarves: Easy add-ons that transform a character instantly.
– Mini props: A tiny umbrella, a fruit, or a book tells a story.
– Textures: Try a fluffy yarn for a scarf or a ribbed stitch for a sweater.
Staging Your Cute: Display Tips
– Pose ideas: A seated pose with rounded limbs reads calm and friendly.
– Miniature backdrop: A tiny chair or cloud rug elevates the charm in photos.
– Lighting: Soft, natural light makes colors sing and minimizes harsh shadows.
Finishing Touches: Assembly, Seams, and Sealing the Deal
This is where your piece becomes a true keepsake. Neat finishing matters.
– Seaming: Weave in ends as you go to keep areas tidy. A single tail at the end of a limb can anchor details securely.
– Stuffing distribution: Push stuffing in evenly; avoid lumps behind eyes or under ears.
– Embroidery vs. safety eyes: Decide early. If using safety eyes, secure them firmly and consider backing plastics for kids.
Pro tip: If you want a plush, high-end look, add a light pinched seam around the head to accentuate the spherical shape.
Sharing Your Creations: From Journal to Gallery
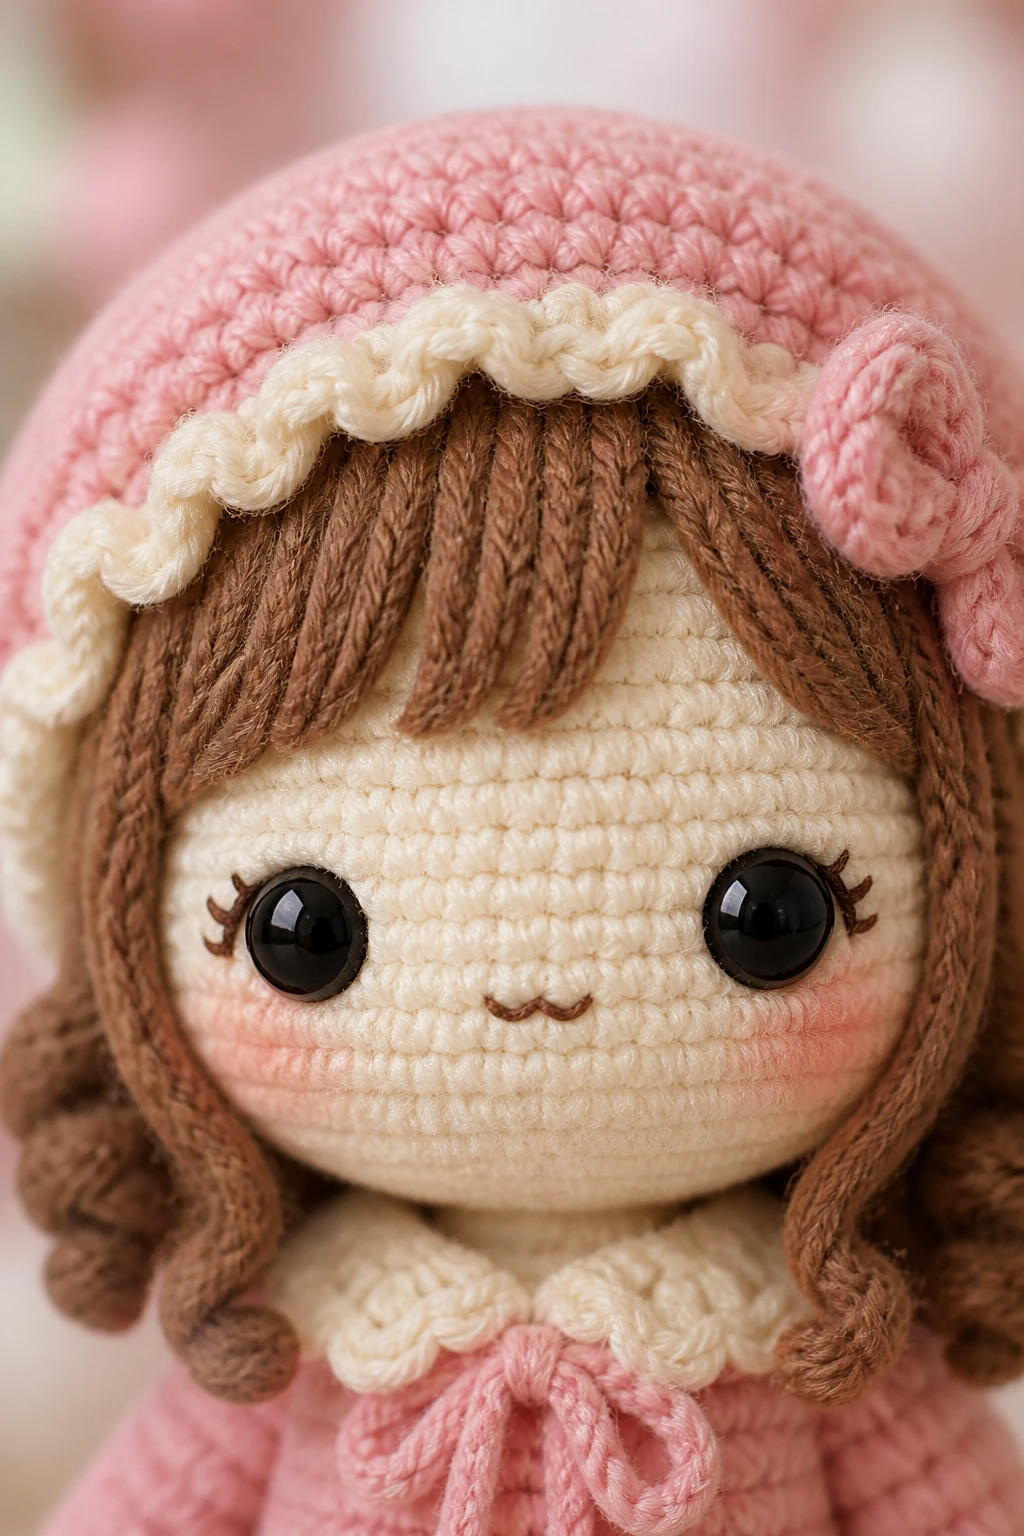
You’ve made something adorable—now what? Sharing helps you grow and connect with other crafters.
– Document the process: Progress photos, stitch counts, and color codes help others learn.
– Gift-ready or sale-ready: For gifts, a little tag with care instructions is cute. For shops, professional photos and a consistent feel help.
– Community vibes: Join online sewing groups, share tips, and celebrate the tiny triumphs.
Advanced Tricks: Leveling Up Without Losing the Charm
If you’re craving more, these tweaks keep kawaii flavor intact while pushing your skills.
– Textured stitches: A knit-look edge or slight bobble adds depth without losing simplicity.
– Mini ergonomics: Slightly different limb lengths create personality without breaking the cuteness.
– Accessories as characters: A tiny backpack or a pocket with a tiny item can tell a story.
Mini Project: Design a Kawaii Character in 60 Minutes
Yes, you can! Here’s a quick, friendly workflow.
– 10 minutes: Sketch a face with two expressions. Pick one core color and one accent.
– 15 minutes: Crochet a simple head and body (one ball each). Leave open seams for stuffing.
– 10 minutes: Attach eyes or embroidery, add blush.
– 15 minutes: Stuff, close, add a scarf or hat. Snap photos for your brag wall.
If you finish faster, you’re probably a crochet wizard. If not, no worries—practice makes perfect.
FAQ
What’s the easiest first project for a beginner?
A small, round head with a simple body and tiny blush marks is forgiving and cute. Start with a single color, experiment with a large eye option, and keep the rest minimal. You’ll gain confidence fast.
Which yarn and hook should I choose for a soft, cuddly feel?
Choose a soft acrylic or cotton blend in DK to worsted weight. Use a hook size that gives tight stitches but isn’t tedious—often a size smaller than recommended yields a plush look. If you want extra softness, consider cotton yarn for a snuggly finish.
How do I keep eyes from posing a safety risk for kids?
If the toy is for young children, embroider eyes or use safety eyes with a secure backing. Sew or glue on with extra stitching to prevent loosening. For added safety, place facial features on the front and avoid tiny parts that can detach.
What’s the best way to photograph amigurumi for sharing?
Natural light is your best friend. Shoot from multiple angles, keep the background simple, and use a clean surface. A plain white or pastel backdrop helps the colors pop. Add a couple of props like a tiny plant or a mini blanket for context.
How long does it take to design a new kawaii amigurumi?
It varies. A simple character might take 2–4 hours in one sitting, while a more elaborate design could take several sessions. Plan in bites: sketch, prototype, tweak, and finalize. FYI, patience pays off with better proportions and expression.
Can I sell my kawaii designs?
Yes, many crafters do. Start with small batches to test demand, price thoughtfully (consider yarn, time, and finishing touches), and protect your work with clear photos and descriptions. Share your process in a way that celebrates your unique style.
Conclusion
Designing your own kawaii amigurumi is as much about attitude as it is about stitches. Start with a vibe, sketch quickly, pick friendly colors, and stitch with intention. Let the eyes do the talking and the little accessories tell the story. And if you end up with a squishy little buddy that makes people smile, you’ve nailed it.
If you’re feeling camera-shy, just remember: your amigurumi’s cuteness will do the talking for you. IMO, nothing beats that moment when someone squeezes it and gasps, “I need this in my life.” So go ahead—grab your yarn, pick a character, and make something that’s uniquely you. FYI, your future kawaii army is waiting.