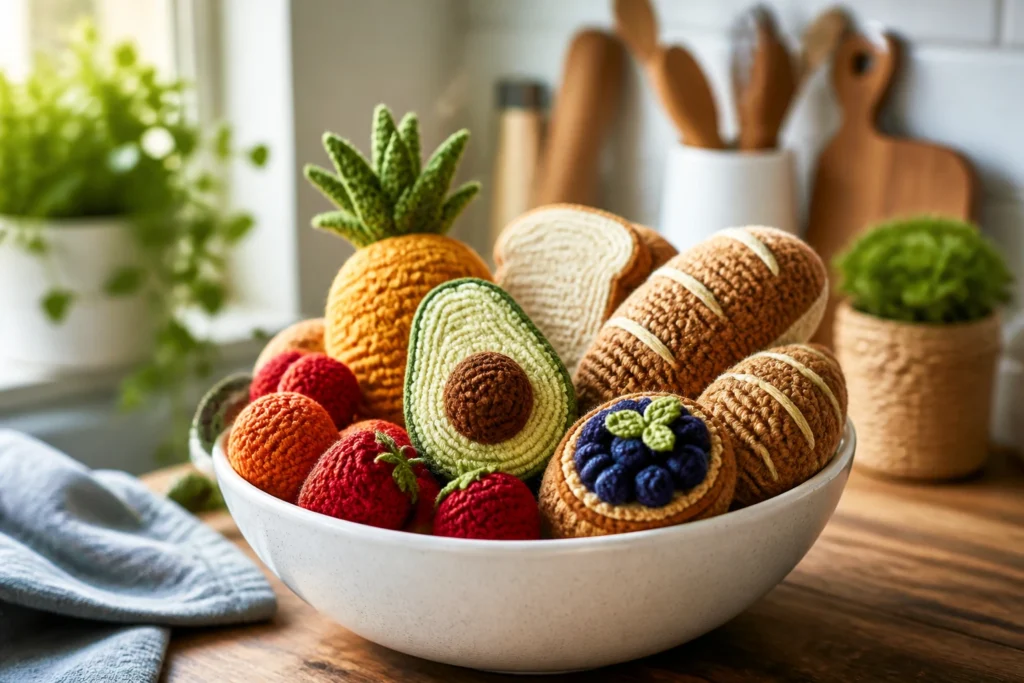
The moment you bite into a cute food amigurumi and want it to last, you start eyeing your yarn like a knight eyeing a dragon. Pick the wrong fiber, and your pineapple will shed like a gossip session. Pick the right yarn, and your avocado can go on weekend adventures without falling apart. Let’s talk about the best yarn choices for food amigurumi, so your crochet kitchenware stays as charming as it is sturdy.
What makes yarn the secret sauce for food amigurumi
You probably have a few favorite yarns for garments or decor, but amigurumi bread-and-butter is a different game. The stitches stay compact, the shapes stay crisp, and the colors stay true. So what should you consider?
– Stitch density: Amigurumi relies on tight, even stitches. Yarn that’s too fluffy or too thin can wobble, leaving gaps.
– Colorfastness: Food colors are fun, but you don’t want primers or dye rubbing off onto your hands or clothes.
– Durability: You’ll handle these little treats a lot. A little resilience goes a long way.
– Safety for kids: If your ami is a toy, you’ll want yarn that’s sturdy and non-toxic.
Bottom line: the best yarn blends combine a tight twist, good stitch definition, and reliable colorfastness. FYI, blends often beat 100% acrylic for durability, but we’ll get into that.
Best yarn bases for crisp, tasty-looking amigurumi
Here are the main types you’ll see in food-themed projects, and what makes them shine or sip extra milk in your mug.
Superwash merino: smooth, premium feel with a thread of resilience
– Pros: Excellent stitch definition, soft touch, minimal pilling for a natural look.
– Cons: Can be pricier, and some colors may bleed a tiny bit at first wash.
– Best for: Small details on fruit faces or subtle shading on croissants.
If you want the premium, soft finish without sacrificing heft, superwash merino is a swoon-worthy pick. It glides, yet stays tighter than you expect. Just wash with cold water and lay flat to dry to keep those colors happy.
Acrylic blends: practical, budget-friendly workhorses
– Pros: Durable, easy to wash, lots of colorways, holds shape well.
– Cons: Can feel a bit stiff if you go too rough with the hook, some brands pill over time.
– Best for: Everyday food amigurumi you want to toss around or wash after a cute drop-spill incident.
Acrylic blends often hit that sweet spot between cost and performance. If you’re making a handful of mini donuts or a cheerful banana bunch, acrylic blends save you from babying your objects. Look for blends labeled “nylon core” or “AZO-free dye” for fewer color issues.
Cotton: crisp stitches and natural vibes
– Pros: Great stitch definition, breathable, machine washable on gentle, bright colors.
– Cons: Can stretch a bit, and some cottons shed fibers when you’re new to them.
– Best for: Tart fruit slices, lemon wedges, or a whipped cream cone where you want a clean, matte finish.
Cotton gives you that snap you crave in edges and faces. If you’re aiming for a sugar-dpright gloss on a lemon, cotton’s matte finish can look deliciously realistic.
Cotton blends with a bit of nylon or bamboo
– Pros: Enhanced durability, better stretch control, smoother feel.
– Cons: Slightly pricier, can dull brighter colors if you pick the wrong blend.
– Best for: More complex shapes that you’ll handle a lot, like a croissant with multiple layers or a layered cake.
Blends give you the best of both worlds: cotton’s clean stitch definition with a touch of synthetic resilience. They’re especially good when your amigurumi has several tight rounds and small stitches.
Other fibers worth knowing
– Linen: interesting texture, nice for rustic foods; can be a tad stiff but looks amazing for bread crusts if you handle it gently.
– Bamboo: soft, smooth, with good drape but sometimes weaker in high-stress spots. Great for delicate slices or decorative toppings.
– Velvet/faux fur: for special toppings (like whipped cream swirls or fluffy toppings), but use sparingly and with a tight stitch so it doesn’t shed everywhere.
If you’re brand-new, start with an economical acrylic or a cotton blend. You’ll learn your preferred grip, tension, and hook size without breaking the bank.
Color and dye: keeping your food looking delicious
Color matters as much as texture. Your amigurumi pizza won’t look right if your pepper tones drift into strawberry territory. Here’s how to keep colors on point.
– Colorfast testing: Before you commit to a big project, snag a small swatch and rub it with a damp cloth. If the color transfers, pick a different dye or brand.
– Palette planning: For fruits, lean into realistic tones, then add a couple of playful accents for personality. For pastries, think buttery yellows, browns, creams, and subtle shading.
– Variegated yarns: They can create fun, natural-looking textures, but they can also ruin detailed features. If you want precise features, stick to solid or semi-solid colors.
– Dye bleed caution: Especially with cotton or natural fibers, dye bleed can happen. Wash swatches separately, color-rub, and then proceed.
If you’re not sure about a color, test first. FYI, a good light source makes color judgment so much easier—nobody wants a purple blueberry.
Stitch definition and tension: how to keep shapes solid
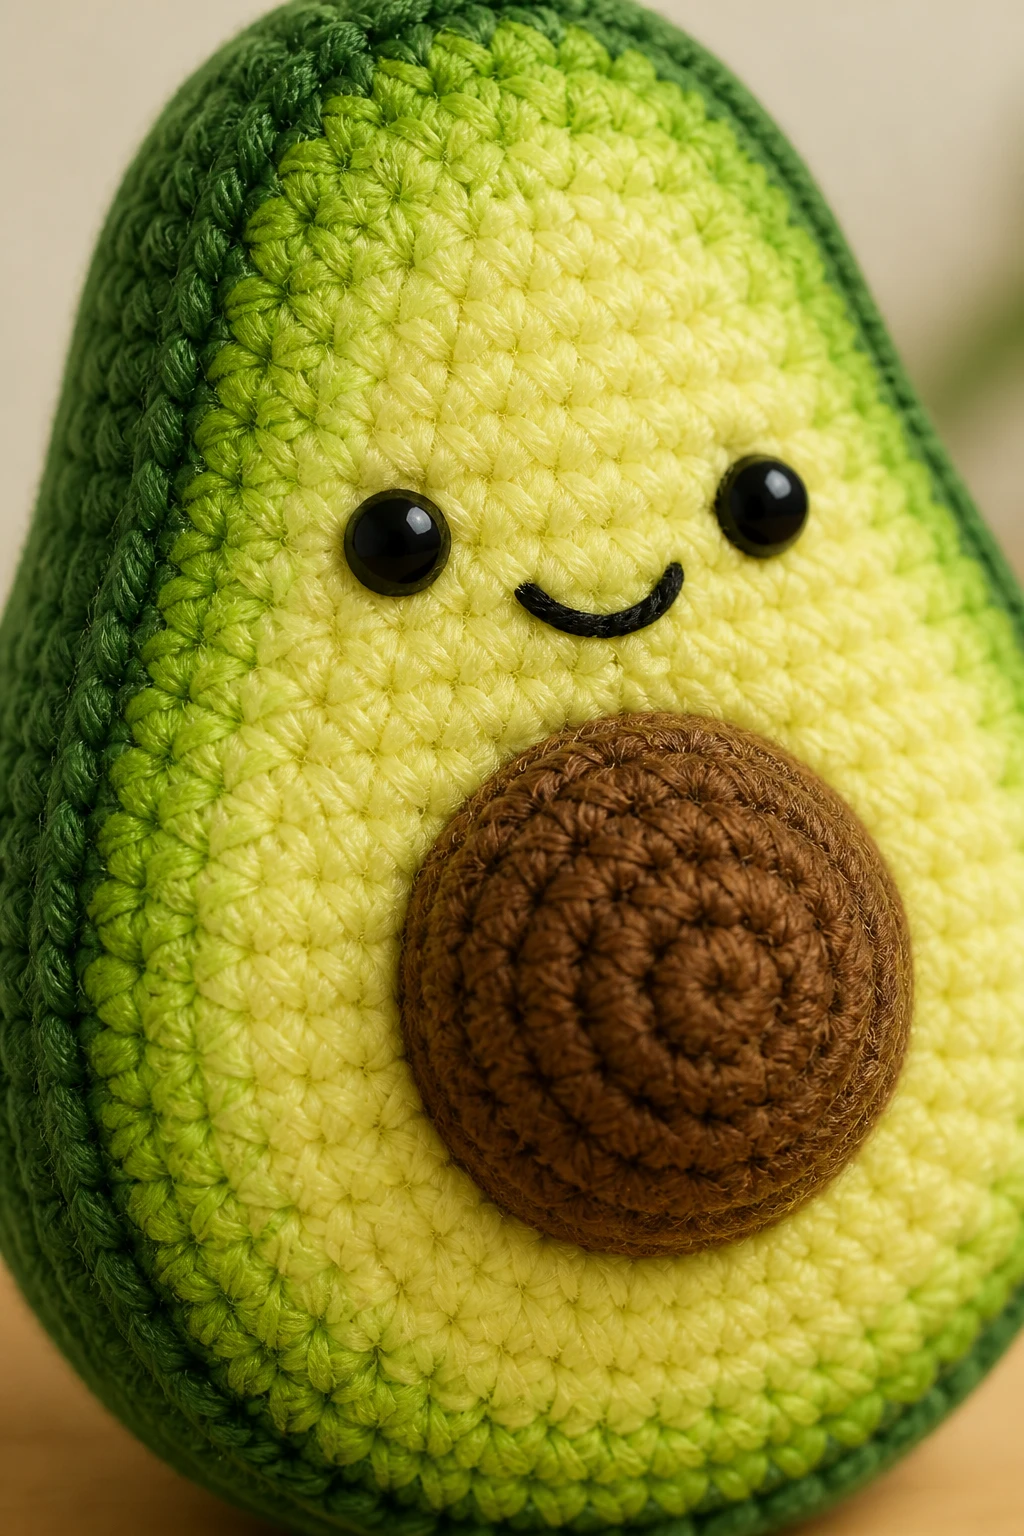
Your hook size and tension determine how crisp your shapes stay. Here are quick tips to dial it in.
– Tighten your grip a notch: Amigurumi loves tight stitches. If you tend to get loose, use a smaller hook than pattern calls for.
– Consistent tension: Aim for uniform loops. If your stitches vary, your fruit shapes will wobble.
– Use an E or F hook for small parts, a G or H for larger pieces. But always refer to the pattern as your primary guide.
– Finish with a tight slip stitch seam: You want invisible seams that don’t split under playtime.
Troubleshooting quick tips:
– If your edges flare, go up a hook size slightly and re-test.
– If your stuffing shows through, ensure your last rounds are tight and consider a smaller needle for finishing.
Stuffing and finishing: keep your dessert cute, not lumpy
Yarn choice is only part of the magic. Stuffing and finishing seal the deal.
– Toy-safe stuffing: Use polyester fiberfill or cotton batting designed for toys. It’s fluffy but compressible, so your shapes stay compact.
– Needle technique: A blunt or tapestry needle helps you weave in ends cleanly. Don’t overstuff; a little gives you extra volume without losing shape.
– Secure finishing: When you close a piece, weave the tail through a few neighboring stitches to prevent shifting. A tiny drop of fabric glue on the tail end can help if you’re worried about loosening.
This is one of those steps where your patience pays off. A well-stuffed donut holds its roundness better than a saggy bagel.
Care tips: keeping your edible amigurumi fresh
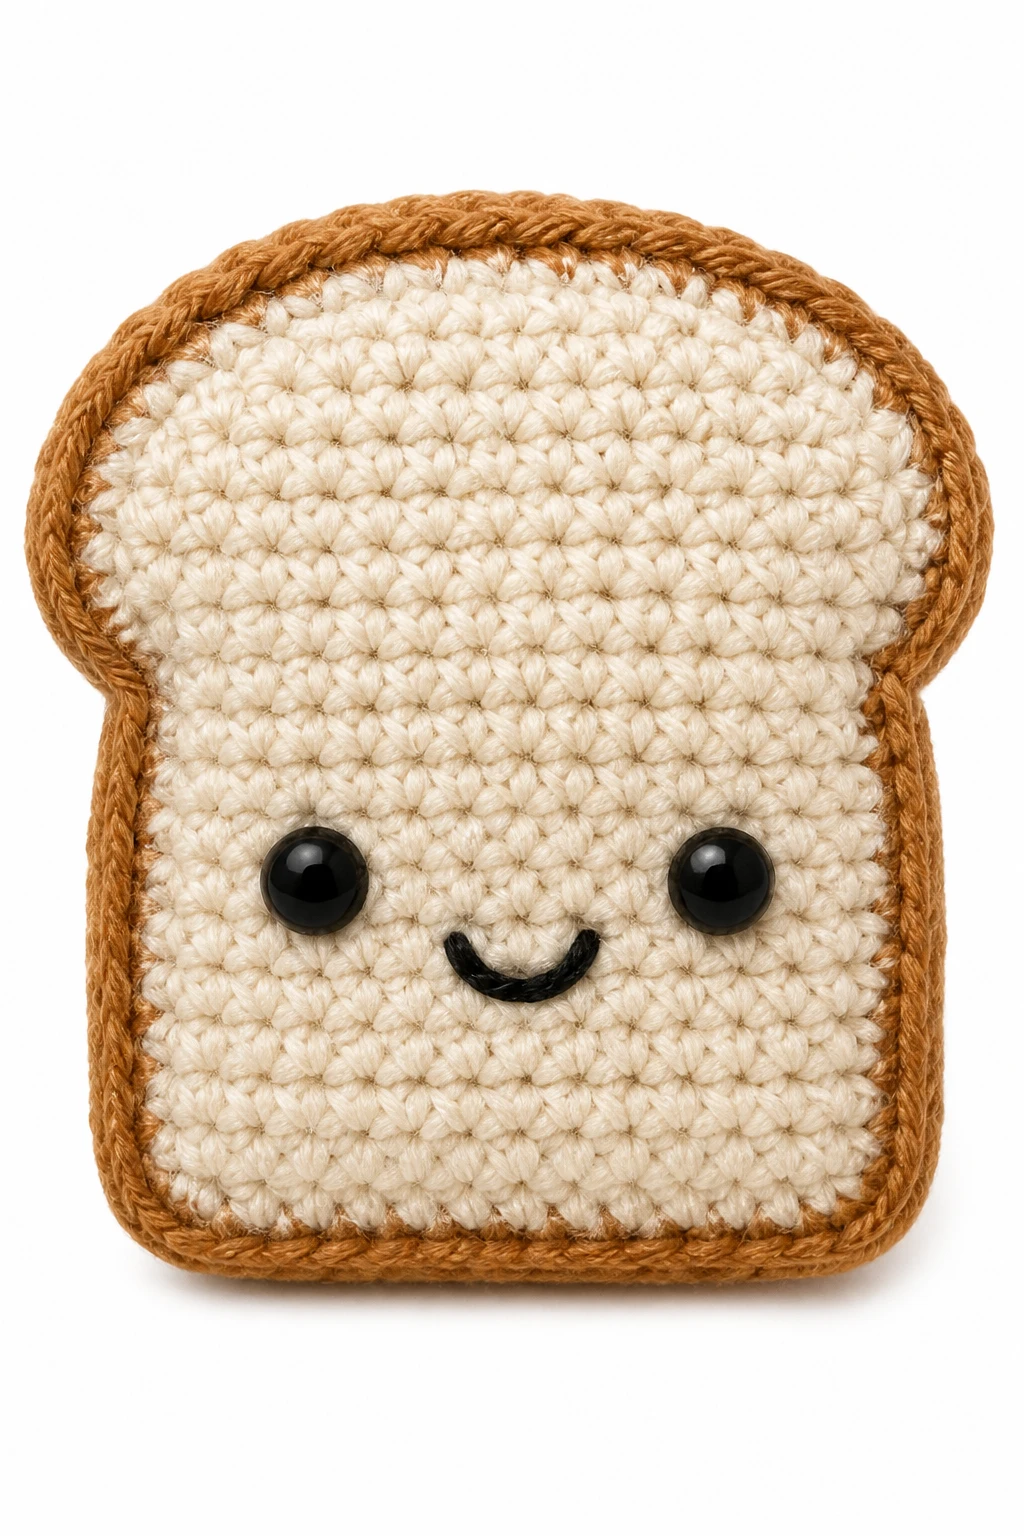
If you’re making toys that kids will tug on or display, you’ll want a care plan.
– Hand wash vs machine wash: Many yarns handle gentle machine washing, but hand washing is gentler for longevity. Always test a small piece first.
– Drying: Lay flat, reshape as needed. Don’t wring—your lemon wedge will end up looking like it’s auditioning for a comedy routine.
– Storage: Avoid direct sun to preserve the colors. A zippered keepsake box works well for display pieces.
If you want your pieces to survive a playful kitchen showdown, plan for washability from the start. FYI, acrylics usually fare the best in a gentle wash cycle.
Project ideas to test your yarn choices
Try these mini food projects to feel the difference between yarns in action.
– Realistic citrus slice: Cotton or cotton blends for the crisp rind edge and clean color breaks.
– Gleaming strawberry: A bright red acrylic blend with a touch of white for highlights; keep stitches tight so the seeds stay defined.
– Fluffy whipped cream: A light, soft acrylic or a short-fiber yarn with a tiny apply-on crown for texture.
– Classic croissant: A natural cotton blend with a tan gradient to mimic baked layers, then a tiny satin-sewn edging.
Want more inspiration? Try a tiny sandwich with different layers to test color planning and shaping all in one go.
What I actually do: personal tips from the field
If you’re curious about how I pick yarns for a batch of amigurumi, here are my go-to habits.
– Plan first, swatch second: I map out colors and textures on paper, then test stitches with the chosen yarn. It saves color drama later.
– Keep a stash log: I tag each yarn with the projects it’s best suited for—fruit, pastry, savory bites—so I don’t reinvent the wheel every time.
– Don’t be afraid to mix: For a strawberry with tiny seeds, I’ll use a cotton blend for the main body and a single-strand of acrylic for the seeds, applied with a fine needle. It looks natural and holds up to playtime.
I’m not saying it will make you instantly a master, but it does give you confidence to try new textures and finishes. IMO, experimentation is half the fun.
FAQ
What yarn is best for tiny, detailed food amigurumi?
Yarn with excellent stitch definition, like a cotton blend or a fine merino blend, helps tiny details pop. Use a smaller hook and go slow so your stitches stay crisp.
Can I use leftover yarn scraps for amigurumi?
Absolutely. Small scraps are great for accents like seeds, toppings, or stems. Plan where you’ll place them to avoid loose ends showing through.
Is there a yarn I should avoid for food amigurumi?
Avoid very fuzzy yarns or extremely textured boucle when you want defined shapes. They can blur edges and make features hard to see. Also avoid very light, delicate fibers if you expect rough handling.
How do I prevent color runs on my finished piece?
Do a colorfast test on a swatch and wash it separately before starting. When building with multiple colors, allow yarns to rest for a moment between color changes so the dyes don’t bleed into adjacent stitches.
What’s the easiest way to finish off a project without bulky ends?
Weave ends in very close to the last rounds and trim close. If you’re worried about unraveling, a dab of fabric glue on the ends after weaving can help—just test first on a scrap.
Conclusion
Choosing the right yarn for food amigurumi isn’t just about color or softness; it’s about balance. You want a yarn that gives you crisp stitches, durability for play or display, and color stability that doesn’t turn your pineapple into a pastel disaster after a few spins in the wash. The best yarns to keep in your cart are the ones that handle tight stitches with confidence: cotton blends for clean edges, acrylic blends for everyday toys, and a touch of merino where you want that luxe feel without sacrificing resilience.
If you’re new to the game, start simple: a cotton blend for fruits and a sturdy acrylic blend for accessories. As you grow more confident, mix in merino for detail or a splash of velvet for toppings. FYI, the joy of amigurumi is in the tiny victories—those perfect seam lines, the tiny seeds that actually look like seeds, the way a lemon shard catches the light just right.
So grab a skein, pick a practice project, and crochet like you’re building a little edible world. Your future plush bakery awaits.