If you can crochet a coffee sleeve, you can crochet a tulip that looks like it could survive a bouquet-toss in slow motion. Tulips are a classic, and yes, you can make them look real enough to fool your cat or your grandma. This guide hands you practical tips, a few tricks, and a lot of joy.
Getting the basics right: choosing yarn, hooks, and a photo-friendly color palette
So you want tulips that look alive, not just tulips that survived a couch crash. Start with sensible materials.
- Yarn weight: DK or worsted works well. They give you a sturdy stem and a plump bud without turning into spaghetti after one tug of a toddler or a curious dog.
- Fiber choice: A wool blend adds life-like texture, but cotton is crisp and holds shape nicely. If you’re allergic to wool, go for a smooth acrylic that takes dye well.
- Color palette: Think garden bed—three to five colors per flower helps with shading. Start with classic red, pink, or yellow tulips, then add a green stem and leaves. FYI, a touch of white or a lighter shade on the petal edges gives dimension.
- Hook size: Use a hook that gives you a tight, even fabric. Usually a 2.5–3.5 mm for DK, or 3.25–3.5 mm for worsted. Test a tiny swatch; if your stitches look too loose or too stiff, adjust.
Shape matters: drafting a realistic tulip bloom that won’t look like a teacosy
Reality check: petals need curves, not straight lines. Here’s how to sculpt them.
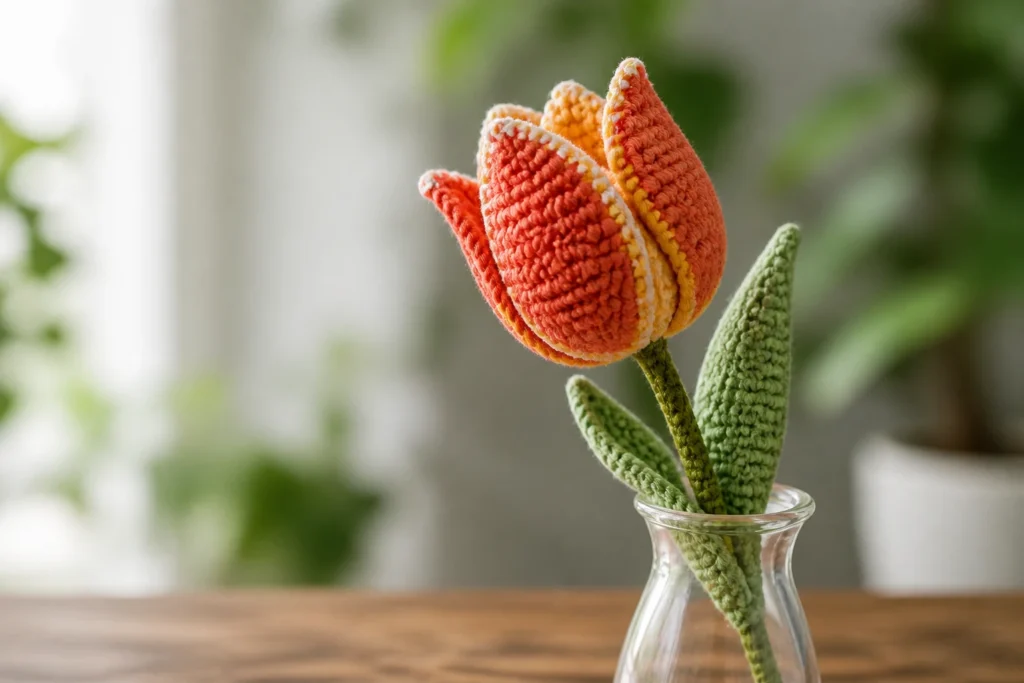
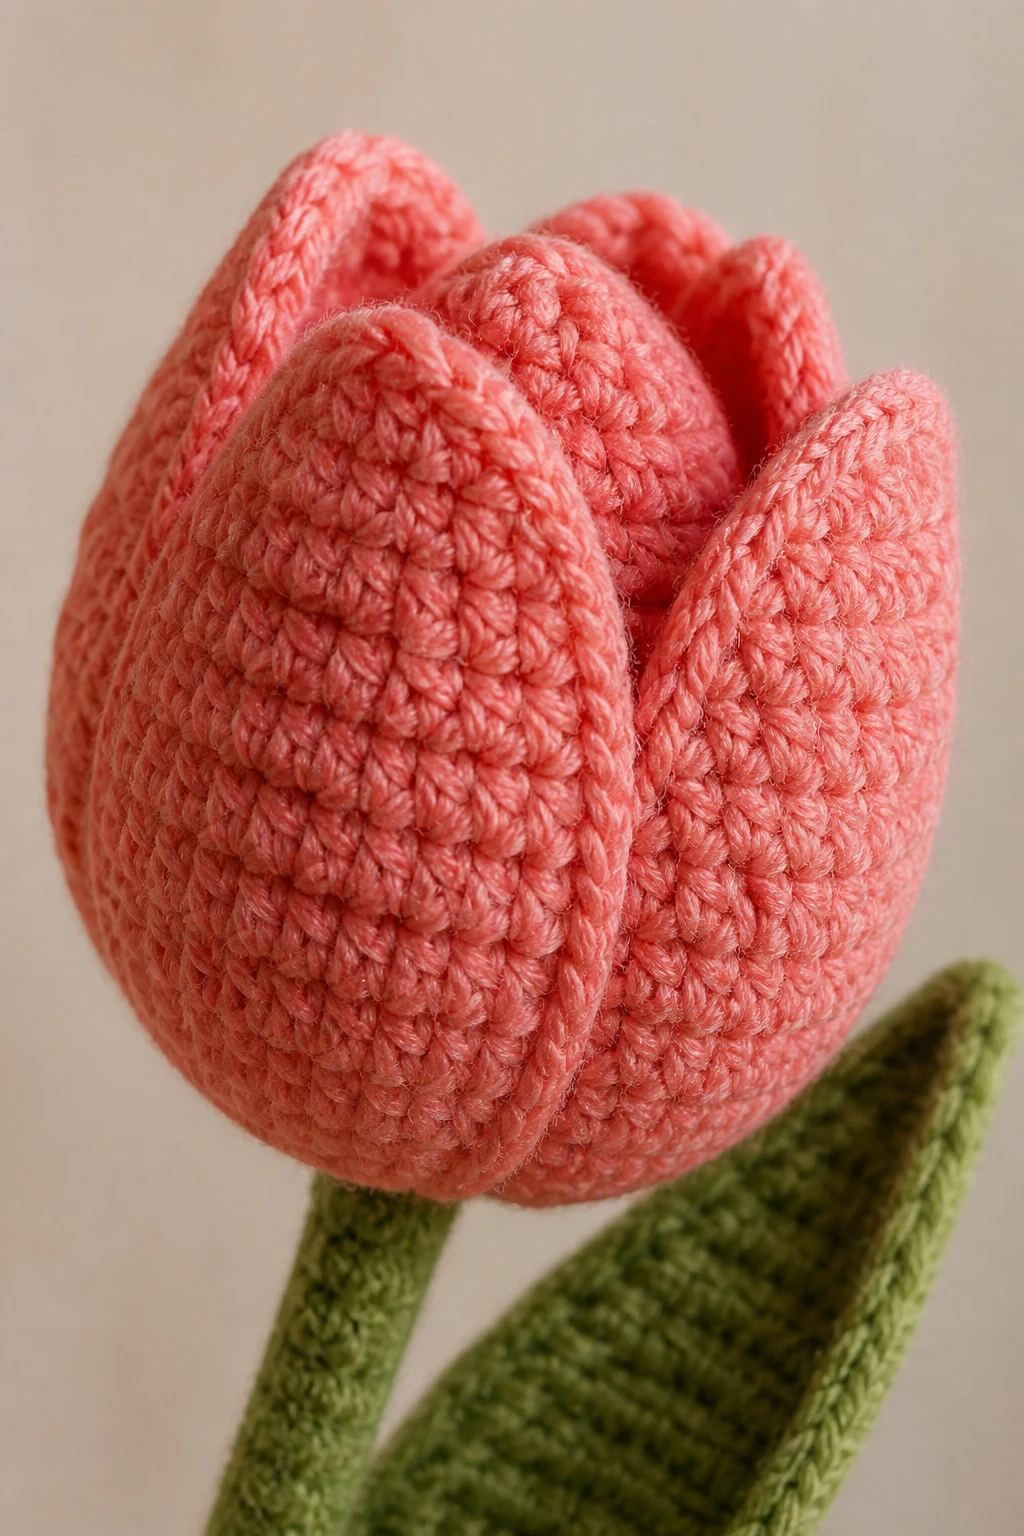
- Petal construction: Start with a flat petal that rounds at the tip. Work increases along the base to make a gentle frill. This gives you a natural, cupped look rather than a flat, cardboard flower.
- Number of petals: Tulips usually have 3–6 petals visible at once. Don’t overdo it; a compact bloom reads more realistic. You can always layer a couple more petals behind for depth.
- Petal shaping: Give each petal a light arch by pinching the base as you finish and wafting the tip into a soft curve. A bit of steam can set the shape if your yarn is non-plasticized.
Stems and leaves: getting the structure to stand up and look alive
Stems should hold their own, not flop like a wet noodle.
- Stem core: Use a sturdy wire or a tightly crocheted I-cord as the inner core. The wire makes it stable; the crochet keeps it smooth. If you don’t want metal, coil several strands of DK yarn into a tight cord.
- Leaves: Long, slender leaves with a slight twist look most realistic. Work in a flat oval to give a natural carry; then fold and shape around the stem. A tiny bit of wire in each leaf can help them cling to the stem where you want them.
- Stability: Anchor the base of the bloom to the stem with a few tight rounds. A dab of fabric glue (or hot glue if you’re not allergic to heat) at the join can keep petals from sliding down during display.
Color play: shading, highlights, and micro-details that sell the illusion
Subtlety wins. Real tulips aren’t flat colors, they’re baked with light and shadow.
- Shading: Use a darker shade at the base of petals and along the underside of the bloom. A tiny bit of variegation adds depth.
- Highlights: A touch of lighter color along the petal edges or the very tip mimics sunlight catching the petals.
- Stamen: Don’t forget the tiny anthers in the center. A few French knot stitches or tiny French knots in yellow or orange give believable detail without overwhelming the bloom.
Construction flow: a practical, step-by-step approach to a tulip that stays put
Here’s a clean path you can follow, step by step.
- Make the bloom petals: Crochet 3–6 petals per flower. Shape and size them to feel cohesive. Don’t worry if they aren’t identical—natural variation reads as real life.
- Crochet a cup for the bloom: Create a shallow cup to anchor the petals. This is where the petals gather and curve outward. Avoid a deep bowl shape; tulip petals should sit lightly on the stem.
- Attach petals to the cup: Layer petals slightly overlapping, securing at the base. Leave the tips loose enough to curve outward.
- Attach the bloom to the stem: Insert the bloom into the stem’s top, then twist or sew in place so the flower faces a natural angle.
- Shape the stem: Bend the stem gently to create a natural tilt. A small hint of bend suggests a moment captured in a breeze.
- Add leaves: Attach leaves at varying heights along the stem. A little asymmetry sells realism much more than perfection.
- Final touches: Add a touch of shading on the petals, stitch in the stamen, and check the overall silhouette. Put it on a table and squint—does it look real enough to rival a real bouquet?
Pro tips that actually work in the wild world of tulips

Because you don’t need to reinvent the wheel for every bloom.
- Practice petals first: Make a few practice petals in different sizes before you commit to a full bouquet. It saves you from “oops, that one is too small” drama later.
- Stiffness is a feature, not a flaw: A slightly stiff bloom holds its shape. If your petals droop, a light spray of fabric stiffener or a quick bath in diluted glue helps set the curve. Yes, you’ll survive the DIY chemistry lab.
- Scale for impact: Create a tiny bouquet of 3–5 tulips for a desk display, or 8–12 for a full arrangement. Scale helps you practice shading and stem structure without getting overwhelmed.
- Make it interactive: Add a few “buds” that haven’t opened yet. They add depth and give you a sense of growth and anticipation, like a tiny springtime cliffhanger.
Common hurdles—and how to smash them
We all hit speed bumps. Here are fixes for the usual suspects.
Why do my petals look flat?
Give them a gentle curve. Pinch and shape the base as you finish, then let the tip slant outward. A tiny bit of steam can set the shape, and a wet fingertip can help smooth the curves.
My stems keep bending or snapping
Switch to a sturdier core or add a support sleeve (a hollow tube of yarn around the stem). If you used wire, tape the joint securely and avoid sharp bends.
Color bleeding or muddy shading?
Use separate bobbins for each shade and work deliberately. Ditch long color runs across petals; dab color in small sections to keep crisp transitions.
Display ideas: turning your tulips into show-stopping decor
Realism is great, but display matters too.
- Mini vase clusters: Create 3–5 stems with varying heights. Place them in a shallow vase for a contemporary, tactile centerpiece.
- Hanging garlands: String several tulips along a twine or cord, with stems anchored behind each blossom. It looks like a spring dream suspended in air.
- Mixed bouquets: Combine tulips with crocheted greenery and pebbly fillers for texture. It reads as a handcrafted, thoughtful gift rather than a mere decoration.
Maintenance tips: keeping your crochet tulips fresh-looking

Yep, you can keep them looking good for longer.
- Dust control: Use a soft brush or a microfiber cloth to gently remove dust. Avoid water unless you re-wash and shape—and who has time for that?
- Storage: Store flat or in a box with soft padding to avoid crushing petals. If you must stack, place tissue between blooms.
- Shape refresh: If petals sag, heat gently with a hair dryer on low setting from a distance, then re-shape with your fingers.
Experimentation corner: tiny tweaks that make a big difference
Want to push your tulips further? Try these ideas.
- Petal texture: Add a few scattered surface stitches on petal backs to simulate natural veining; keep it subtle to avoid stiffness.
- Bloom size variation: Crochet blooms at three different scales and cluster them for a more organic look. Imperfection is stylish.
- Leaf texture: Use a simple ribbing technique or surface crochet on leaves for extra realism without complicating the pattern.
Materials cheat sheet
– Yarn: DK to worsted, cotton or wool blends, plus a touch of acrylic for accessibility
– Hooks: 2.5–3.5 mm range, depending on yarn
– Core: Floral wire or tight crochet cord for stems
– Accessories: Fiber glue (optional), fabric stiffener (optional)
FAQ
Do real-look tulips require special patterns?
Not necessarily. Start with a straightforward petal-and-stem pattern, then add shading and stamen details. You can adapt existing flower patterns by changing petal shapes and counts to fit tulip aesthetics.
How many tulips should I crochet for a decent bouquet?
Three to five creates a charming cluster; eight to twelve makes a full, showy bouquet. Vary heights for natural appeal.
What is the easiest way to attach petals so they don’t spin around the stem?
Anchor the petals at the base with a few tight rounds, then sew or weave the base into the bloom cup. A tiny dab of glue at the base helps, but only if you’re comfortable with a little extra security.
Can I crochet these in non-traditional colors?
Absolutely. Tulips come in every shade under the sun in your imagination. Experiment with variegated yarns or non-traditional color combos to match decor or gifts. IMO, unexpected colors can be stunning if you balance them with natural greens for leaves and stems.
How do I keep the petals from curling in on themselves?
Shape the petals while they’re still warm from blocking or steaming. Work a slight curve into the tip and base. Let the petal rest in a curved position as it dries to hold the form.
Conclusion
There you go: a practical, friendly roadmap to crocheting tulips that look surprisingly real. The trick is balancing shape, shading, and sturdiness, then letting the pieces play nicely as a little garden you can hold in your hands. IMO, the best part is that you can tweak tiny details until you love the result—and you’ll be pleasantly surprised at how little time it takes to craft something that feels genuinely alive. FYI, once you get the hang of it, you’ll want to crochet tulips in every color imaginable. Now go grab your yarn and make something that blooms in yarn-world real life.