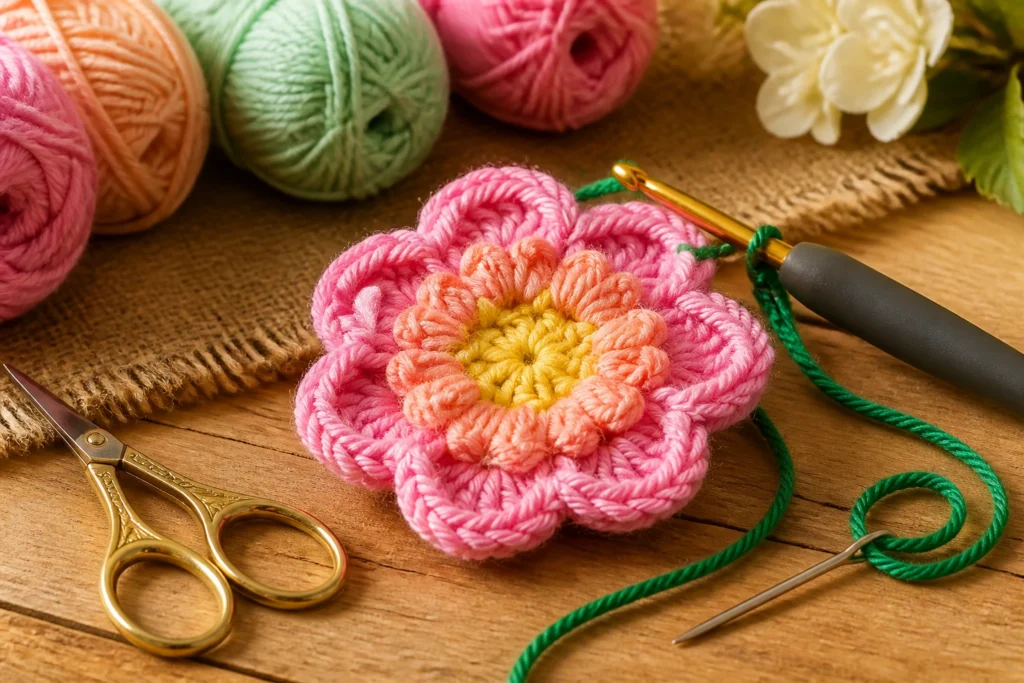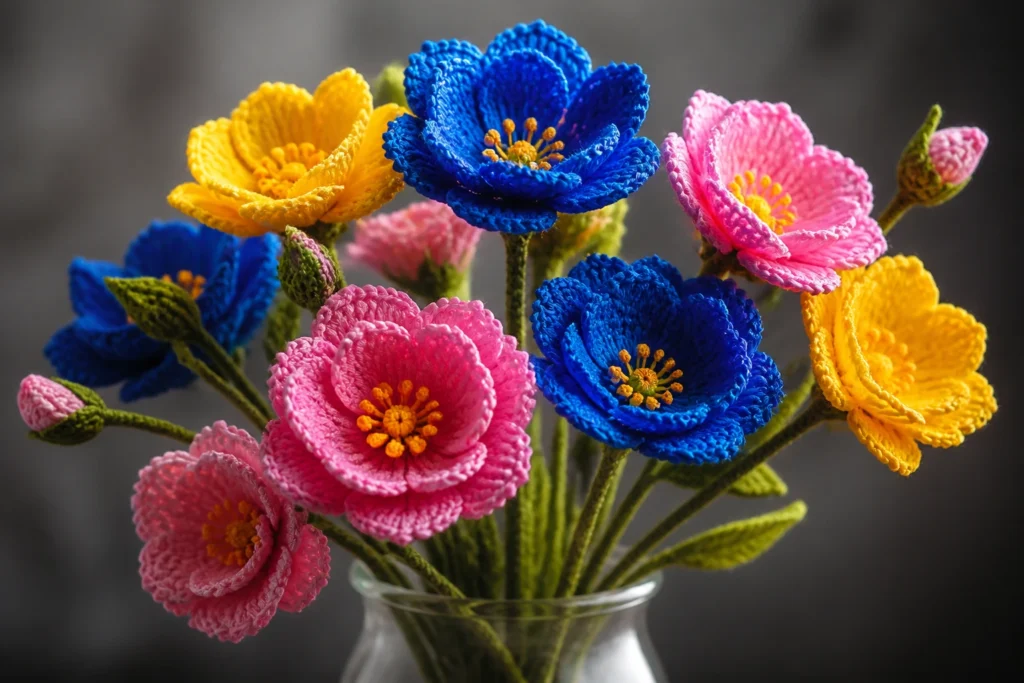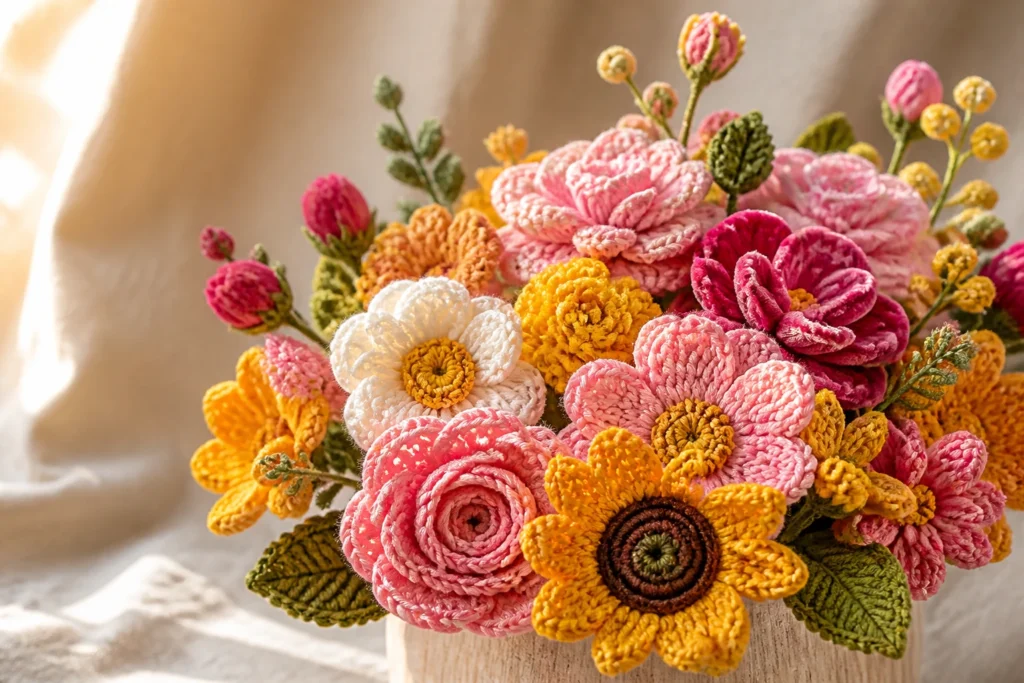
I’m not gonna pretend I’m the captain of the crochet ship, but I’ve steered plenty of yarn-filled adventures. Today we’re unraveling a bouquet that never wilts: a crochet flower bouquet you can actually give as a gift or keep on display without feeling guilty about stealing real petals. Ready to make something that spider-webs into conversations? Let’s stitch it together.
Choosing the vibe: what kind of bouquet do you want?
Before you even hook a single petal, decide the mood. Do you want bright, sunny daisies that scream “spring is here”? Or lush roses with a vintage romance vibe? Maybe a wild mix of succulents-inspired crochet blooms for a modern, quirky twist. The vibe sets the color palette, the shapes, and even the yarn you’ll reach for first.
Ask yourself:
– Do you want a cohesive color story or a candy-splash of colors?
– Should the bouquet lean feminine, rustic, or whimsical?
– How long do you want it to last? If you’re gifting, do you want it to be low-maintenance?
If you’re unsure, start with a core stem: one or two star blossoms that anchor the bouquet, then add accents. FYI, you can always change the vibe later by swapping out a few flowers.
Picking the right yarn and hooks
This is where the magic starts to feel real. The yarn choice dramatically impacts texture, durability, and how the petals hold their shape.
Yarn weight and texture
– DK or light worsted works great for most floral shapes. It’s forgiving and holds up well.
– Cotton yarn gives a crisp, classic flower look and a bit of stiffness—perfect for petals that don’t flop.
– A touch of acrylic blends adds bounce and resilience, which is nice for stems that get a lot of handling.
Colors
– Start with a few main colors and 2–3 accent shades. If you’re unsure, pick a base color (like peach) and add a few pinks, corals, or yellows as blossoms pop.
Hooks
– Most flowers stabilize nicely with a hook size that matches your yarn label. If a petal feels too floppy, go up a hook size or switch to a stiffer yarn blend for that element.
Stability tools
– Consider a light fabric stiffener or a bit of thinned white glue to help petals hold their shape. Don’t overdo it—you want a natural look, not a plastic bouquet vibe.
Core construction: bloom shapes that actually look like flowers
There’s joy in picking the right bloom shape and then watching it come to life. Here are a few reliable shapes you can mix and match.
Simple roses that don’t slip away
– Start with a tight spiral center (a few rounds of tight stitches) and gradually increase outward with layered petals.
– Use a slightly smaller hook for the center to keep it compact.
– Optionally weave in a bit of floral tape or floral wire inside the stem for extra hold.
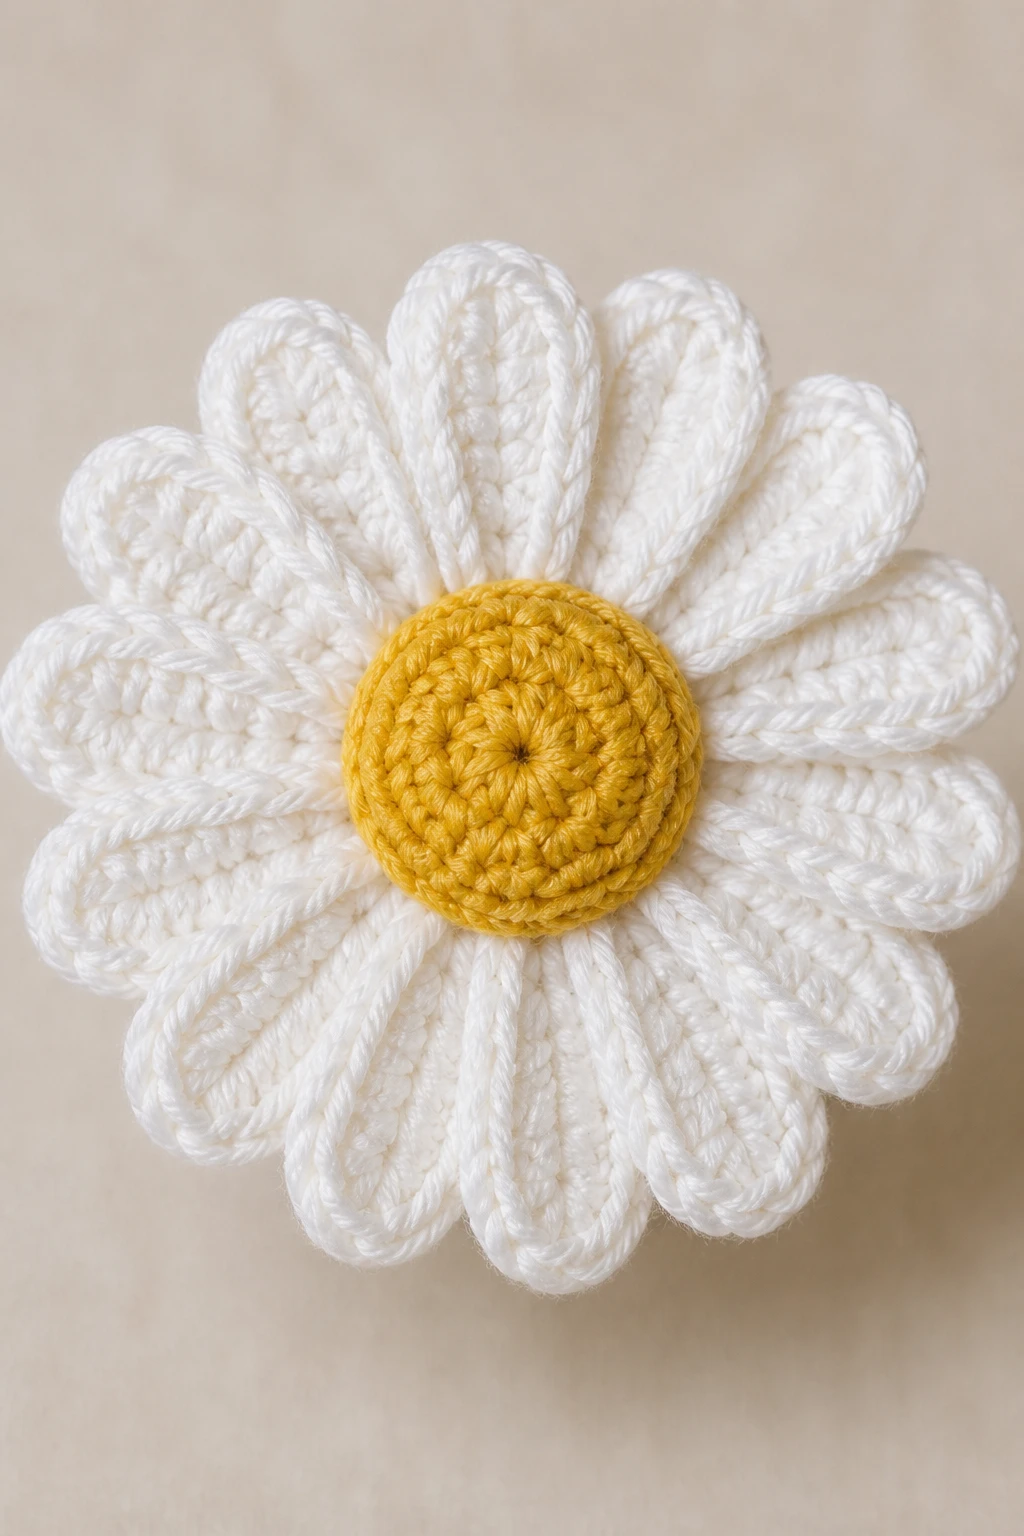
Dainty daisies with cheerful arms
– Create a round center, then chain several petals around in a gentle curve.
– Leave a bit of space between petals to keep that classic daisy look.
– A tiny yellow puff in the middle finishes it off.
Peonies without needing a degree in botany
– Peonies rely on big, ruffly petals. Build from a small center and add several large petal petals around, layering as you go.
– Use a slightly thicker yarn for the outer petals to give that lush fullness.
Succulent vibes for a modern twist
– Think wedges and small leaves more than classic petals.
– Use tight stitches for leaves and a sturdier, dense knit for the succulents’ bodies.
– Color gradients help evoke that succulent look—start dark at the base and lighten toward the tip.
Stems that stand up to life (and toddler fingers)

Stems are the backbone of your bouquet—without sturdy stems, the petals start to droop, and you cry a little inside.
Structure options
– Floral wire inside the crochet tube: Crochet a cylindrical stem, slip in a length of green florist’s wire, and secure with yarn. This gives you strong, poseable stems.
– Pipe cleaners + cable ties: A budget-friendly version. Crochet a hollow tube until your desired length, insert a pipe cleaner, and wrap the wire with yarn. Flexible and sturdy.
– Wooden dowels or skewers: For a rustic feel, wrap a small wooden stick with yarn and glue in place. It’s simple and effective.
Leafy touch
– Add a couple of leaves by crocheting leaf shapes and attaching them at the base of the bloom or along the stems. Leaves add realism and fill space visually.
Starch and stability
– If you want extra stiffness, you can dip stems in a light stiffener or a mix of glue and water. Let them dry completely before arranging.
Arranging a bouquet that feels effortless
Here’s where your inner florist comes alive. The arrangement should be balanced, not chaotic, with a little whimsy.
- Start with a focal point. Place one or two bold blooms in the center or slightly off-center.
- Build around it with medium blooms and a few smaller fillers for texture.
- Vary heights. Don’t all bloom at the same level. Some stems should rise, others curve gracefully outward.
- Use greens and filler accents sparingly to avoid optical clutter.
Color balance tips
– Pick a dominant color and sprinkle complementary shades. For example, if you choose coral as the main bloom color, add soft pinks and a hint of ivory as accent colors.
– Use a color wheel mindset: opposite colors pop, analogous colors feel cohesive. But you don’t have to be rigid—your bouquet should spark joy.
Stability in the vase (even though they’re crochet)
– If you’re displaying on a table, you can place the stems into a foam floral block or a shallow vase filled with marbles or glass beads for weight.
– For a hand-tie look, gather stems with a ribbon or twine and seal around the base with floral tape.
Finishing touches that make it feel real

Little details can take your crochet bouquet from cute to wow.
- Touch of gloss: A dab of clear-drying craft glue on the petals’ edges can give a subtle sheen, mimicking dew or natural shimmer.
- Gentle shaping: Use a small comb or your fingers to coax petals into a lifelike curve. Don’t bake them flat—soft bends read as organic.
- Fragrance illusion: A few drops of essential oil on the tissue around the bouquet (not on the yarn) can evoke fresh-cut flowers for an invitational scent. Go light—people’s noses are sensitive.
Care, maintenance, and what to tell the recipient
Fun fact: crochet flowers don’t need water, but they do appreciate a little love.
Dusting
– Use a soft brush or a gentle vacuum with a brush attachment to keep dust from settling in.
– A quick wipe with a microfiber cloth works in a pinch.
Storage
– Store in a cool, dry place away from direct sunlight to prevent color fading over time.
– If you’re gifting and want to keep things pristine, wrap in tissue paper and box it up.
Longevity tips
– Keep away from moisture to avoid mildew on any stiffeners or glue used in the stems.
– If a petal gets a snag, repair with a tiny crochet hook or yarn needle and a dab of matching yarn.
Taking inspiration from real bouquets (and maybe stealing ideas)
If you’re stuck, copy a real bloom layout and translate it into crochet. It’s like fashion—translate trends into stitches.
- Look at real floral arrangements and pick three flowers you love the most. Build a crochet version around those.
- Study stem lengths in real bouquets. Crochet your stems at varying lengths to mimic a natural cluster.
- Note textures: some petals curl slightly, others are flat with a hint of wave. Try to reproduce that subtle variety.
DIY launch party: a quick plan to make a bouquet in a weekend
If you want to actually complete this, here’s a no-stress plan.
- Day 1: Gather materials and decide on the bouquet’s vibe. Crochet 5–7 blooms of your chosen shapes.
- Day 2: Crochet stems and leaves, then assemble the bouquet. Get the base structure ready.
- Day 3: Finish the arrangement, add finishing touches, and test stability. Optional: set a vase and test how it holds up when moved.
- Day 4: Wrap it up with ribbon or lace, write a little note, and bask in the glory of your handmade bouquet.
If you want to level up the craft
– Experiment with bobble stitches for a three-dimensional petal texture.
– Try variegated yarns for a naturally shaded effect without extra planning.
– Add tiny beads as pollen accents for a touch of whimsy.
FAQ
How long does it take to crochet a bouquet?
Crochet time depends on how ambitious you are. A small, 6–8 bloom bouquet can take a weekend if you’re fairly practiced. If you’re stacking dozens of blooms, plan for a few evenings or spread it over a week. FYI, patience pays off when you see the final arrangement.
What if I’m a beginner? Can I still make this?
Absolutely. Start with one simple bloom type, like a daisy, and use a basic color palette. Keep your stems short and simple, and you’ll build confidence with each bloom you finish. Pro tip: don’t rush the shaping; petals that feel a little wonky at first usually settle into a charming, imperfect look.
How do I attach flowers to a bouquet without them shifting?
Use floral tape or a small amount of hot glue on the base of each stem, then bundle them in a way that minimizes movement. Place the largest blooms centrally and angle stems slightly outward so the bouquet has a natural, rounded silhouette.
Can I personalize the bouquet for a specific recipient?
Yes! Use their favorite colors, birthstones as bead accents, or a particular flower shape they adore. You can even tailor it to a theme—like a garden party vibe with soft pastels, or a bold, edgy look with saturated jewel tones.
How can I make the bouquet more durable for gifting?
Strengthen the stems, weigh the bouquet with a few heavier blooms, and use a sturdy vase or box for transport. Consider a keepsake container with a padded insert so the flowers don’t rattle around during shipping.
Conclusion
There you have it—the recipe for a crochet flower bouquet that looks alive enough to fool a bee but built to last longer than a real bouquet ever could. The joy is in mixing textures, playing with colors, and giving shape to petals with just yarn and a hook. IMO, the best part is that you can tailor the bouquet to the person you’re gifting it to, or keep it as a cheeky, cuddly centerpiece for your own space.
If you want a quick-start plan, here’s a tiny cheat sheet:
– Pick 3 main colors and 2 accent shades.
– Choose 2–3 bloom shapes to anchor the bouquet.
– Crochet 6–10 stems with varying lengths.
– Add a few leaves and a sturdy base for stability.
– Finish with a pretty ribbon and a personal note.
FYI, the first bouquet you make will probably be your most imperfect, and that’s exactly what makes it special. So grab your hooks, pick a vibe, and start stitching your own forever-flower arrangement. You’ve got this, friend.