I get it: you want to learn crochet, and you want to know if you can teach yourself without turning your living room into a yarn graveyard. Spoiler: you can. It’s absolutely doable, even fun. You’ll stitch your way from “what on earth is a slip knot?” to, well, actual projects sooner than you think.
Can You Teach Yourself Crochet? Here’s the honest answer
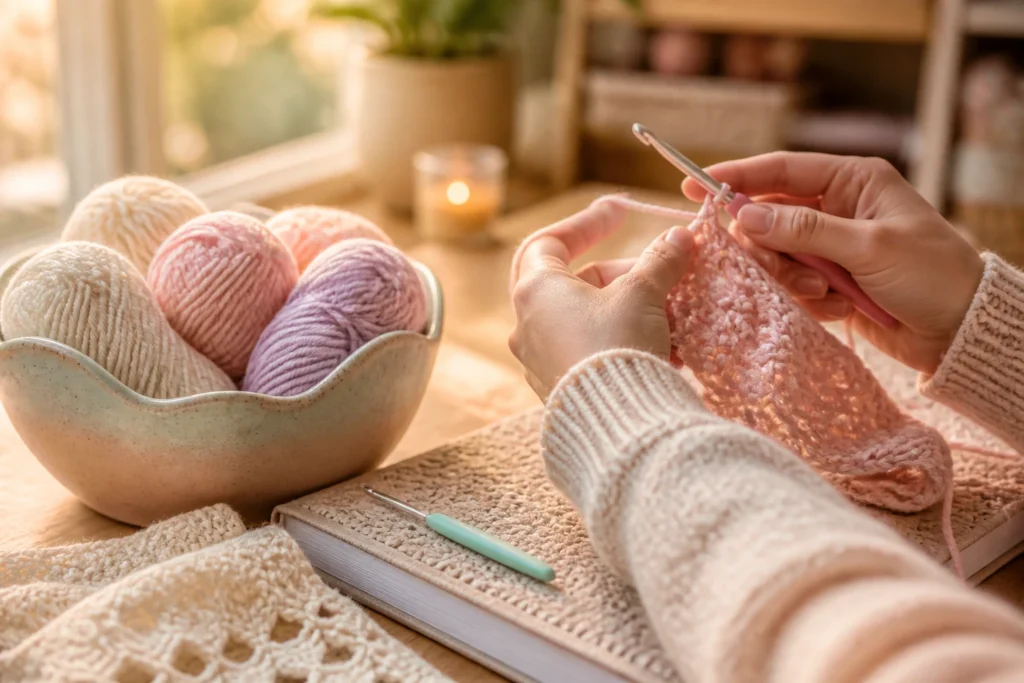
Yes, you can teach yourself crochet. No magical fairy is going to appear with a crochet hook in hand to guide you, but you’ve got everything you need right now: YouTube videos, beginner-friendly patterns, and a stubborn streak that won’t quit. The key is steady practice, patient troubleshooting, and a handful of reliable references. FYI, progress isn’t always glamorous—it’s mostly tiny victories and a lot of looping yarn. But hey, small steps eventually turn into wearable shawls, blankets, or coasters you’ll brag about at coffee shops.
First, Gather Your Basics: What You Need to Start
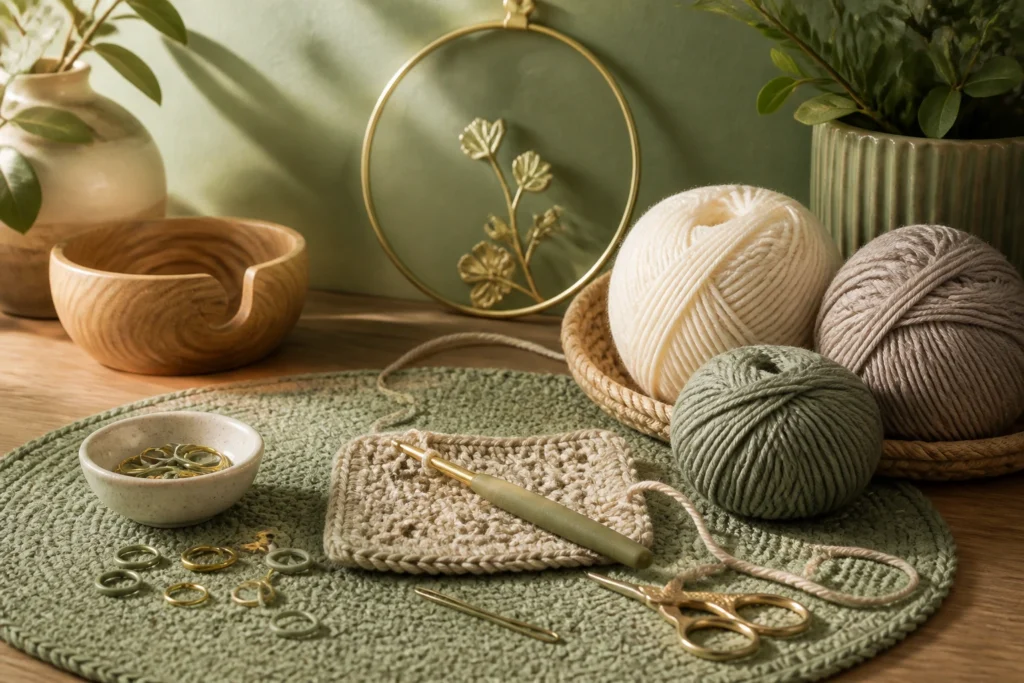
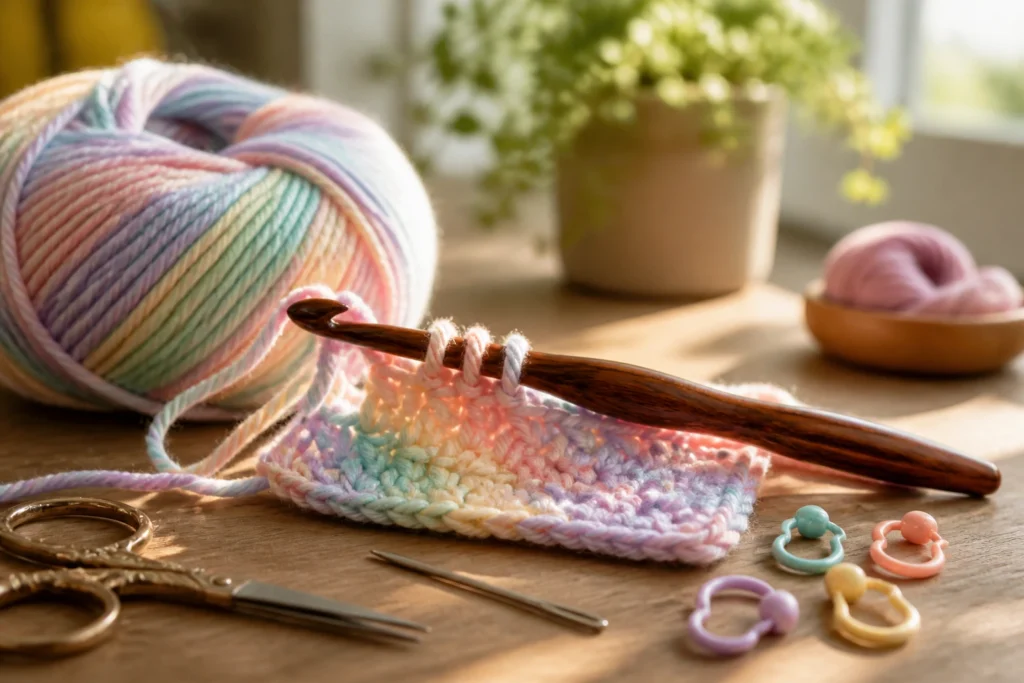
Before you dive in, assemble a sane starter kit. You don’t need a treasure chest of hooks, but you do need a few essentials.
- Hook size: Start with a medium size, like 4.0 mm (G) or 5.0 mm (H). It’s not too slippery, not too tight. You’ll learn what feels comfortable as you go.
- Yarn: Choose a soft, medium-weight yarn (often labeled “worsted weight” or #4). Light colors help you see stitches; dark yarn is a sneaky troublemaker at first.
- Scissors and a tapestry needle: Tiny snips for ends, big needle for weaving in ends later.
- stitch markers (optional but helpful): A simple piece of yarn or a specialized marker to hold your place in tricky rows.
- Patience and a comfy chair: Not glamorous, but absolutely essential.
Get Your Foundations Right: Basic Stitches and Tension
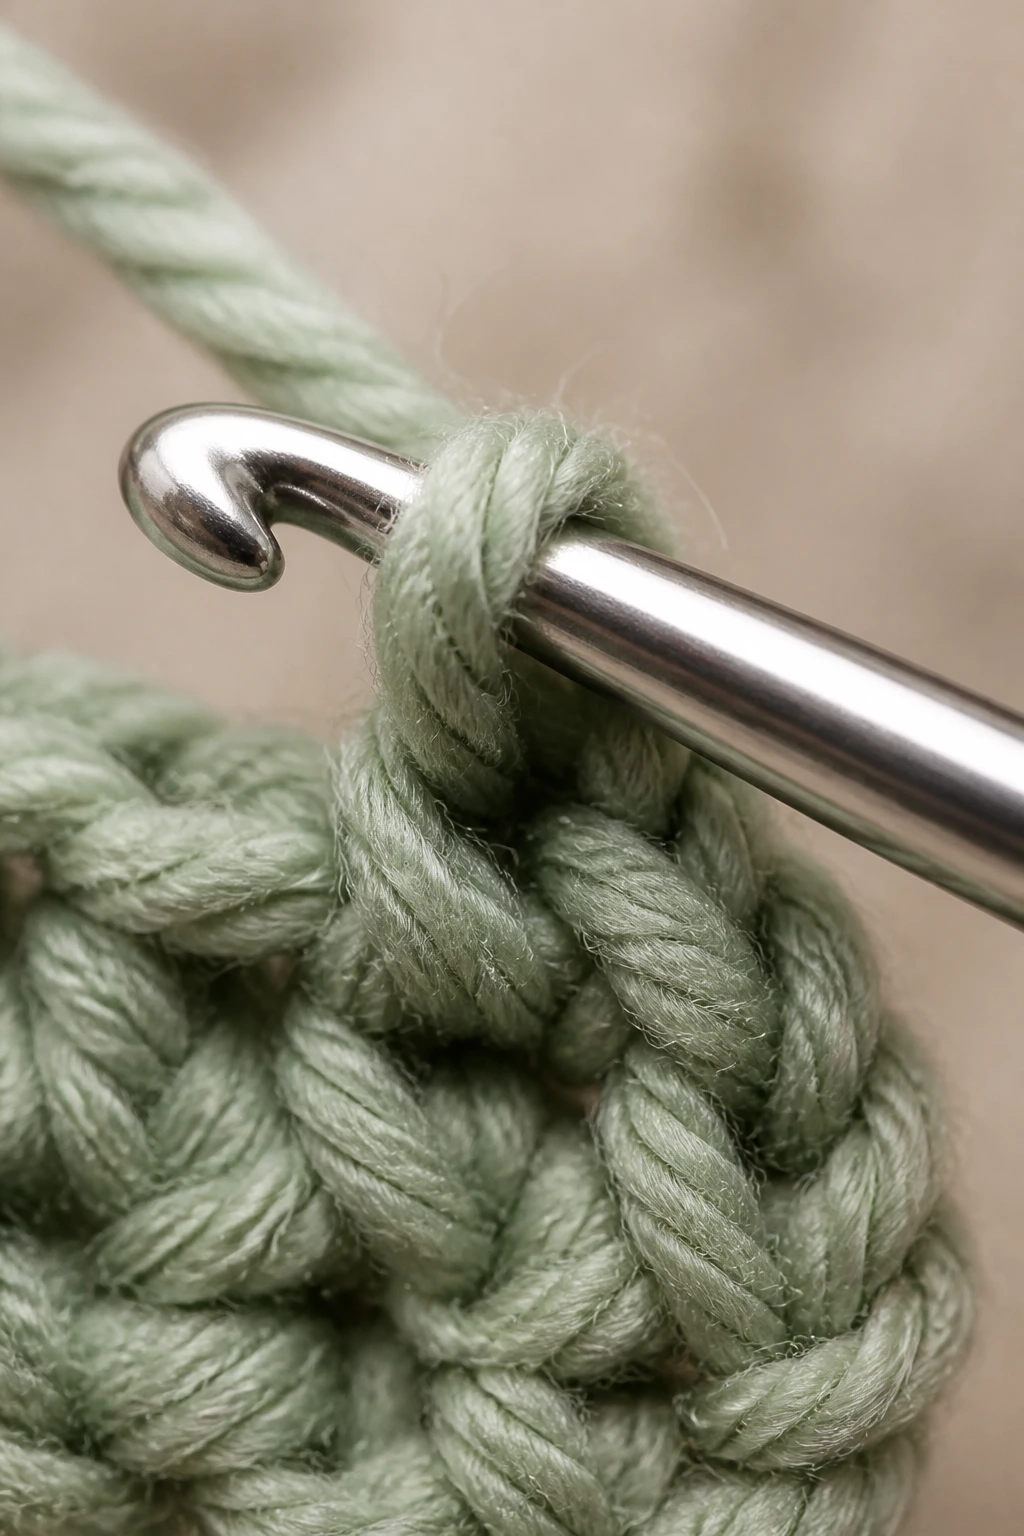
Mastering a few stitches is half the battle. Once you’ve got them, you can tackle almost anything that comes your way.
The Slip Knot, Foundation, and Chains
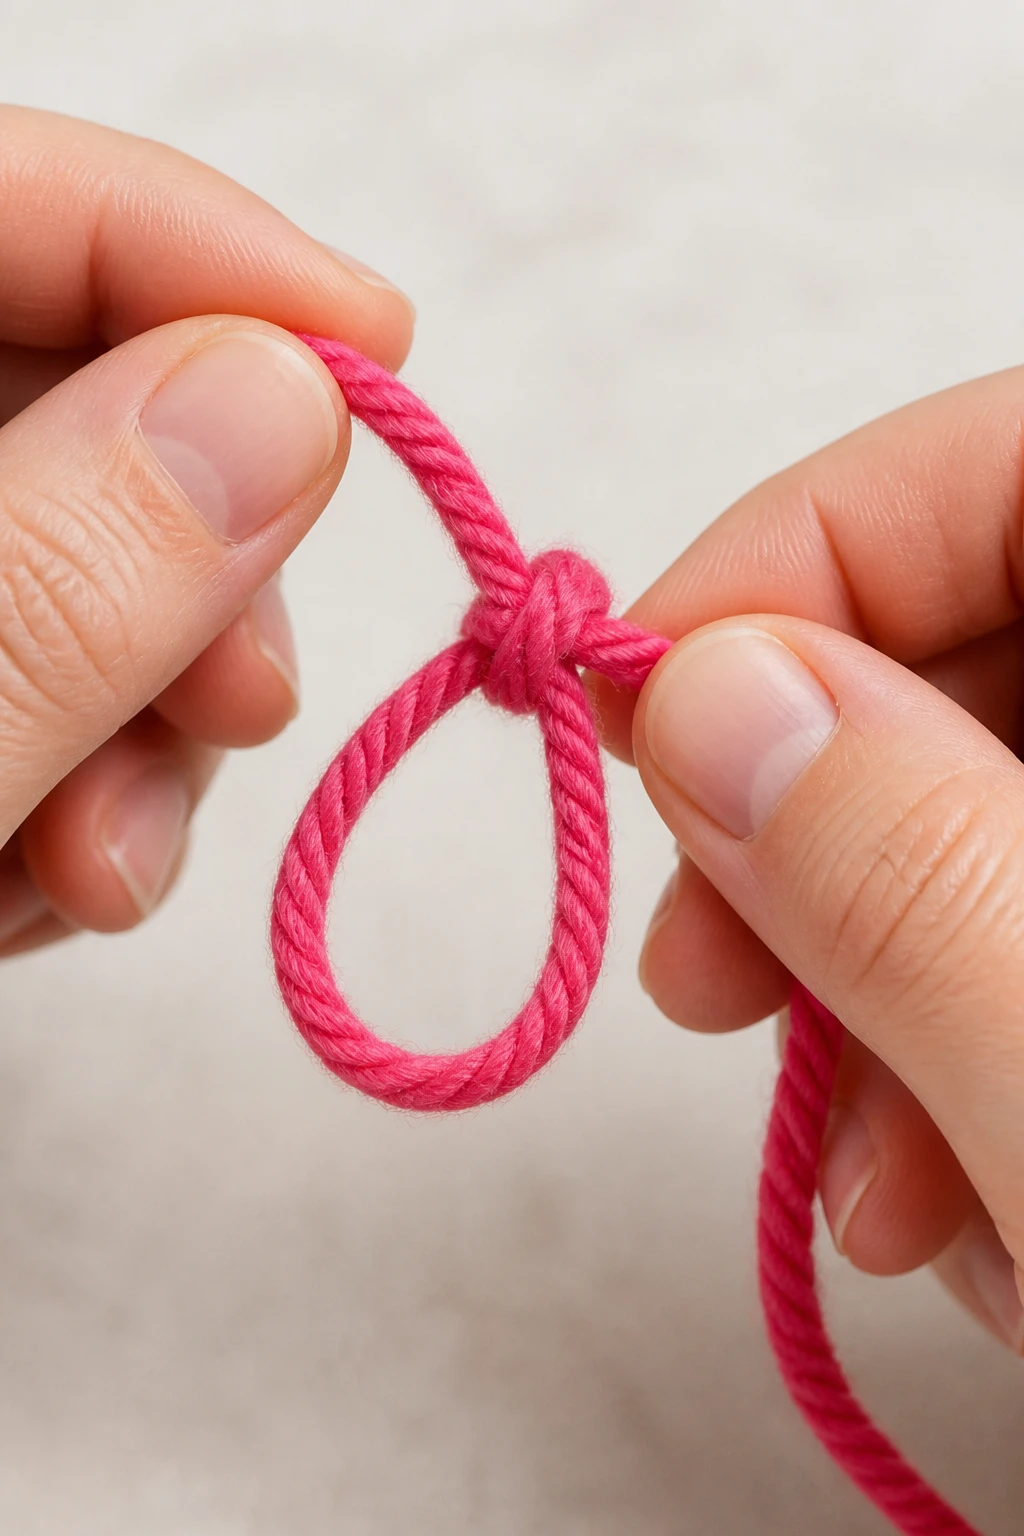
– The slip knot is your door into crochet. It’s how you attach the yarn to your hook without a knot that will strangulate your project.
– A foundation chain creates the base row. Your goal is even, not spaghetti-thin or a sausage link chain. If you can’t feel your fingers after chaining 100 stitches, slow down and reset.
The Basic Stitches You’ll Use Most
– Single crochet (sc): Quick, sturdy, and perfect for beginner projects.
– Half double crochet (hdc): A bit taller, a little quicker.
– Double crochet (dc): The workhorse stitch. Creates openness and drape.
– Practice makes progress: aim for consistent tension—neither too tight nor too loose.
Reading a Pattern Like a Pro
– Patterns are basically a recipe. They tell you how many stitches to chain, when to turn, and which stitch to work into which loop.
– Start with the simplest patterns: scarves, dishcloths, or simple blankets. They use straightforward repeats and little counting.
Techniques that Make Everything Easier
A few tricks can save you hours and hair-pulling frustration.
- Tension matters: If your stitches look uneven, loosen up or tighten down a bit. It’s a finesse skill that comes with time.
- Turn tight corners with care: Don’t pull your turning chain too tight; it warps the edge. Let it breathe.
- Use stitch markers: They’re tiny lifesavers for counting and staying on track in patterns with repeats.
- Weave in as you go: Don’t wait until the end. It’s easier to secure ends while you’re in the zone.
DIY Curriculum: A Realistic Path to Self-Taught Glory
If you’re teaching yourself, you’ll want a simple, repeatable plan. Here’s a friendly path you can actually follow.
Week 1–2: Groundwork
– Learn the slip knot, chain, and one basic stitch (dc or sc).
– Complete a tiny washcloth or coaster. It’s not your dream project, but it shows you progress and gives you a tiny brag-worthy win.
Week 3–4: Build Confidence
– Add a second stitch type (hdc or another) and practice in a simple scarf or small throw pillow.
– Practice variations: alternate stitches in a flat panel; try ribbing by changing stitch types every row.
Month 2: Expand Your Repertoire
– Start a larger rectangle project, then a small amigurumi animal or a simple garment piece like a baby blanket.
– Learn a basic edging for a clean finish. Boundaries matter—neat edges sell your work.
Month 3+: Tackle Real Patterns
– Move to beginner-friendly patterns with repeatable rows or rounds.
– Start learning colorwork basics if you’re into stripes or simple crochet colorblocking.
– Build a stash-friendly portfolio: a few scarves, a coaster set, a blanket, and a beanie.
Helpful Resources: Where to Learn Without Breaking the Bank
Your friends’ advice is great, but you’ll also want reliable, structured guidance.
- Video tutorials: YouTube channels that start from the ground up are gold. Look for creators who explain tension and grip clearly.
- Online courses: A short course can provide a step-by-step plan and downloadable patterns. Some are free; some are paid, but worth it if they click for you.
- Pattern libraries: Ravelry and other pattern databases give beginner-friendly options with easy-to-follow instructions.
- Local communities: A nearby craft group or fiber arts meetup can give you live feedback and a sense of camaraderie.
Common Hurdles and What to Do About Them
No journey is without potholes. Here’s how to power through the sticky spots.
My stitches look uneven. Am I doomed?
Nope. A lot of “ugly” stitches are just tension issues. Slow down. Focus on your grip and posture. Do a block of 10 stitches, then compare to your previous rows. You’ll see the improvement.
My hands hurt after a while. Is crochet bad for me?
Take breaks. Stretch your wrists and fingers. Use a comfortable hook size and a soft, forgiving yarn to start. If pain persists, consult a medical professional.
What if I mess up a row?
Chalk it up to a learning moment. Unravel gently or cut the yarn if you must, but don’t panic. Most patterns have an obvious return point where you can correct course.
Finish Strong: Finishing Touches That Elevate Your Crochet
When you finish a piece, you want it to look polished, not like it wandered off a messy desk.
- Weave in ends neatly: Use a tapestry needle to weave the yarn tail back and forth within the stitches. This keeps fraying at bay.
- Block for shape: Some projects benefit from light blocking to even out stitches and give a professional look. A quick wash, reshape, and dry will do.
- Choose a good edge treatment: Basic single crochet edging or a simple shell border can frame your work nicely.
Should You Invest in Fancy Tools or Stick with the Basics?

You can absolutely start with basic tools and still create lovely pieces. But a few smart buys can speed things up and reduce frustration.
- Quality but inexpensive hook set: A few comfortable hooks in common sizes are worth it. Ergonomic handles can save your grip.
- Metal vs. plastic hooks: Metal hooks glide smoothly but can be slippery in some yarns. Plastic hooks are grippier, which helps beginners.
- Needle for weaving in ends: A simple tapestry needle is essential to finish cleanly.
But I Want Quick Wins: Cozy Projects for Immediate Gratification
If your inner impatient child wants to see results fast, try these starter projects that actually feel like “progress achieved.”
- Dishcloths and washcloths in simple stitch patterns
- Coasters with a tiny color-blocked design
- Spruce up a tote bag with a crochet edge
- A tiny stuffed animal or mug cozy that looks surprisingly cute
FAQ
Can I really learn crochet on my own without a class?
Absolutely. You can teach yourself with patience, the right beginner-friendly patterns, and clear tutorials. You’ll learn by doing and adjust as you go. If you hit a wall, there’s no shame in pausing and revisiting a technique later.
What if my first projects look rough?
That’s totally normal. Your first few pieces will likely be imperfect. The point is practice. Each row teaches you something new, and your future pieces will look better as you gain control over tension and technique.
How long does it take to become proficient?
Depends on how often you practice and how ambitious you get. A few weeks to a couple of months can bring noticeable improvement. The real win is consistency—even 15–30 minutes a day compounds fast.
Is crochet harder than knitting for a beginner?
Not inherently. Both have a learning curve. Crochet tends to work up faster per row and can feel more forgiving for beginners because you see progress quickly. If you love it, you’ll find your rhythm in no time.
What if I don’t like a project I start?
Feel free to frog it—unravel it and reuse the yarn. It’s incredibly common and far less dramatic than it sounds. You’ll be surprised how much you’ve learned simply by undoing a few rows.
Conclusion
So, can you teach yourself crochet? Yes, you can. With a little grit, the right beginner projects, and plenty of patience, you’ll stitch your way from “what’s a slip knot?” to “I made this.” Do it at your own pace, enjoy the tiny victories, and don’t forget to share your wins with someone who gets your yarn obsession. IMO, the journey is half the fun—the moment you realize you’ve created something tangible with your own hands is incredibly satisfying. FYI, you’ll probably end up with a pile of cozy things you never knew you needed, and that’s the best kind of problem to have.