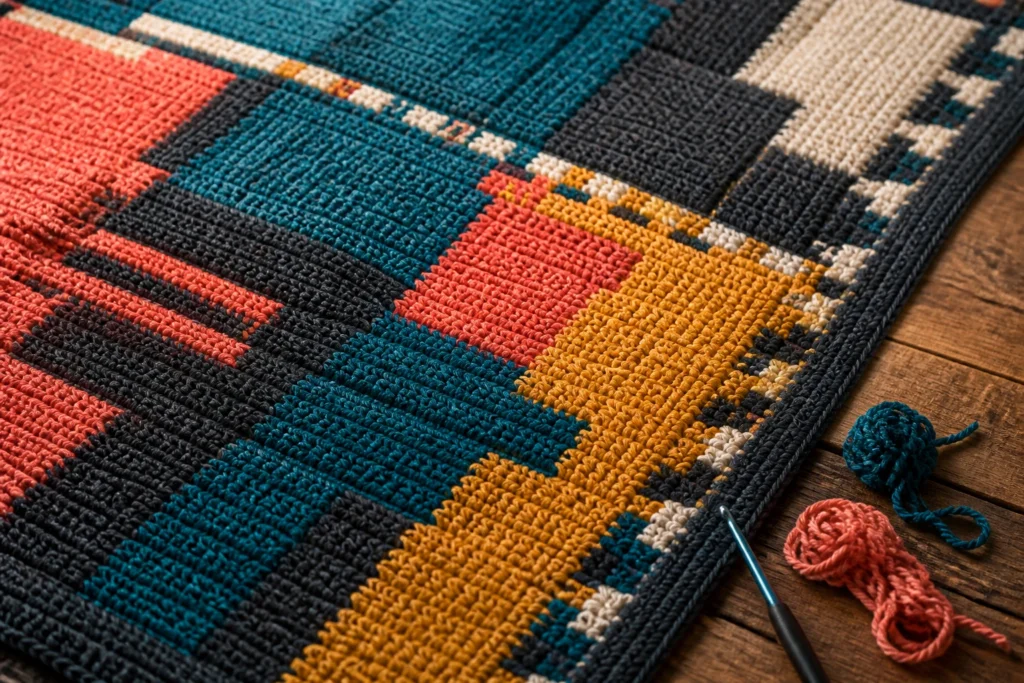
I taught myself mosaic crochet out of sheer curiosity and a stubborn need to finish a blanket before the next season of my shows dropped. Spoiler: there were tangles, frogging sessions, and a lot of coffee. If you’re here, you probably want to dodge the common pitfalls and get to the good part—bright color blocks, crisp lines, and fewer headaches. Let’s dive into the messy, delightful world of Common Mosaic Crochet Mistakes, and how to sidestep them like a pro.
Why mosaic crochet isn’t what you expect (and why that’s a good thing)
Mosaic crochet looks fancy, but it follows some pretty simple rules. The magic happens when you keep contrasting colors in check, read your pattern correctly, and let the stitchwork do the talking. When you mess up, it’s usually because your color changes or tension sneaks off like a cat at bath time. The upside? Once you learn the usual suspects, you can fix almost anything with patience and a little know-how.
– You’re not failing; you’re learning what not to do next time.
– Most mistakes are fixable with a quick frogging, a tight gauge check, or a careful re-reading of the chart.
– The more you practice, the more your color blocks pop and your edge lines glisten.
Now that we’ve set the mood, let’s break down the most common missteps and how to handle them.
1. Tension drama: uneven stitches across the color palette
Tension is the sneaky gremlin in mosaic crochet. You might notice one color sits stiff and tight while the next is loose and floppy. The result? Uneven color blocks and wonky edges that look more “abstract art” than crisp design.
– Why it happens: different yarns, different fibers, even different needles (or hook sizes) can tug at your fabric differently.
– How to fix in progress: pause, check your current gauge, and adjust your grip. If you can, switch to a hook size that feels comfortable for all colors. Avoid forcing stitches; let the yarn glide.
– How to prevent: knit a tiny swatch with the same yarns and test your gauge before starting a big project. Keep a consistent tension rhythm: slow, steady, even.
Subsection: How to gauge without turning your project into a yarn-yard sale
– Use a ruler or a dedicated gauge swatch with your chosen color changes.
– Count stitches and rows until you hit the target, then compare to your pattern.
– If you’re off by more than 0.5 cm, consider adjusting needle size or tension before you ruin the entire row.
2. Color alignment chaos: misreading charts and slipping color turns
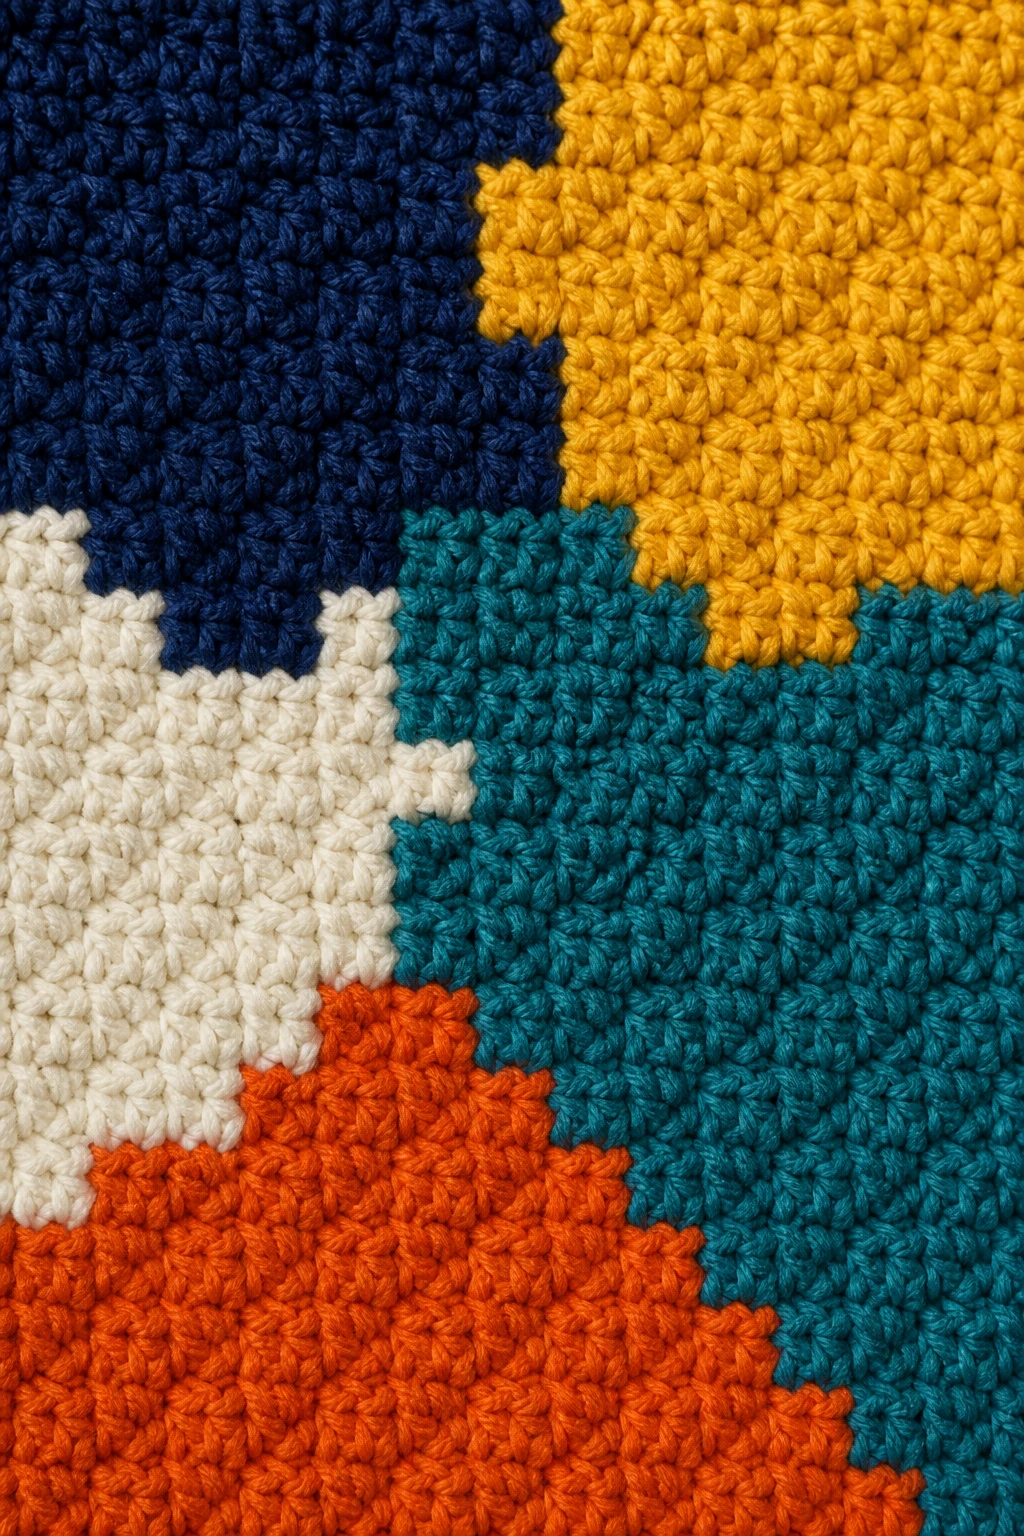
Color placement matters in mosaic crochet because you’re building an image with blocks of color. When you misread a chart or misplace a color, those blocks start drifting or look like a cryptic puzzle.
– Common culprits: skipped color changes, accidentally working a slip stitch in the wrong color, or losing track of which color belongs to which row.
– In-progress fix: pause at the color change, count your stitches, and confirm you’re anchoring the right color at the right time. It helps to mark your chart with sticky notes or a pencil for manual tracking.
– Prevention tips: always confirm the color order before you begin a new row. If your pattern uses variegated yarns, check the color repeat length and how it translates to your chart.
Subsection: Chart-reading sanity checks you’ll love
– Open the chart and your current row side-by-side.
– Every time you switch colors, whisper a quick “color change” note in your head or out loud (no one will judge you in your craft corner).
– When you see a mismatch, retrace a couple of stitches and compare to the symbol legend. If you’re still off, frog back to a clean color-change point.
3. The dreaded “frog and repeat”: frogging as a sport
Frogging is part of the mosaic journey. You’ll curse it, then respect it. It happens when your pattern folds in on itself, your color changes don’t align, or you realize you wired up the wrong row after you’ve already completed a chunk.
– Why it hurts: you lose progress, you risk tension changes from the back side, and you question your life choices.
– Quick fix method: identify a clean, known good point (a repeat motif or a boundary row). Frog back to that point, then re-knit the section with careful attention to color changes.
– Prevention strategies: mark your rows clearly, use a lifeline thread after each completed color-block set, or photograph your progress frequently for reference.
Subsection: Lifelines and practical frogging aids
– A light-colored, contrasting lifeline (like a spare yarn threaded through the stitches you’ll be reworking) can save you hours.
– Use a locking stitch marker at each row boundary to remind yourself where you started a color block.
– If you’re new to frog-and-fix, practice on a small motif before attempting a bigger project.
4. Yarn quirks and how they sabotage mosaic edges
Not all yarn behaves the same, and mosaic crochet loves a crisp, sharp edge. When your yarns differ in thickness, spool size, or even how they pill, your edges can look wobbly.
– Typical edge problems: a scalloped edge instead of a clean straight line, or color borders that appear uneven.
– Solutions in the moment: try a smaller hook for the edge rounds, or tighten the edge stitches slightly to bite into the fabric more firmly.
– Prevention moves: pick a single fiber family for your project if possible (e.g., all cotton or all acrylic) or ensure all yarns are roughly the same weight and ply.
Subsection: Choosing the right yarn pairing for crisp mosaic
– For crisp edges, avoid mixing super bulky with sport weight in the same project unless the pattern explicitly supports it.
– If you must blend yarns for aesthetic reasons, swatch first and compare edge definition.
– Consider a solid-colored background yarn if you’re using multi-colored motifs; it helps the color blocks pop and keeps edges looking clean.
5. Pattern pitfalls: misinterpreting the mosaic basics
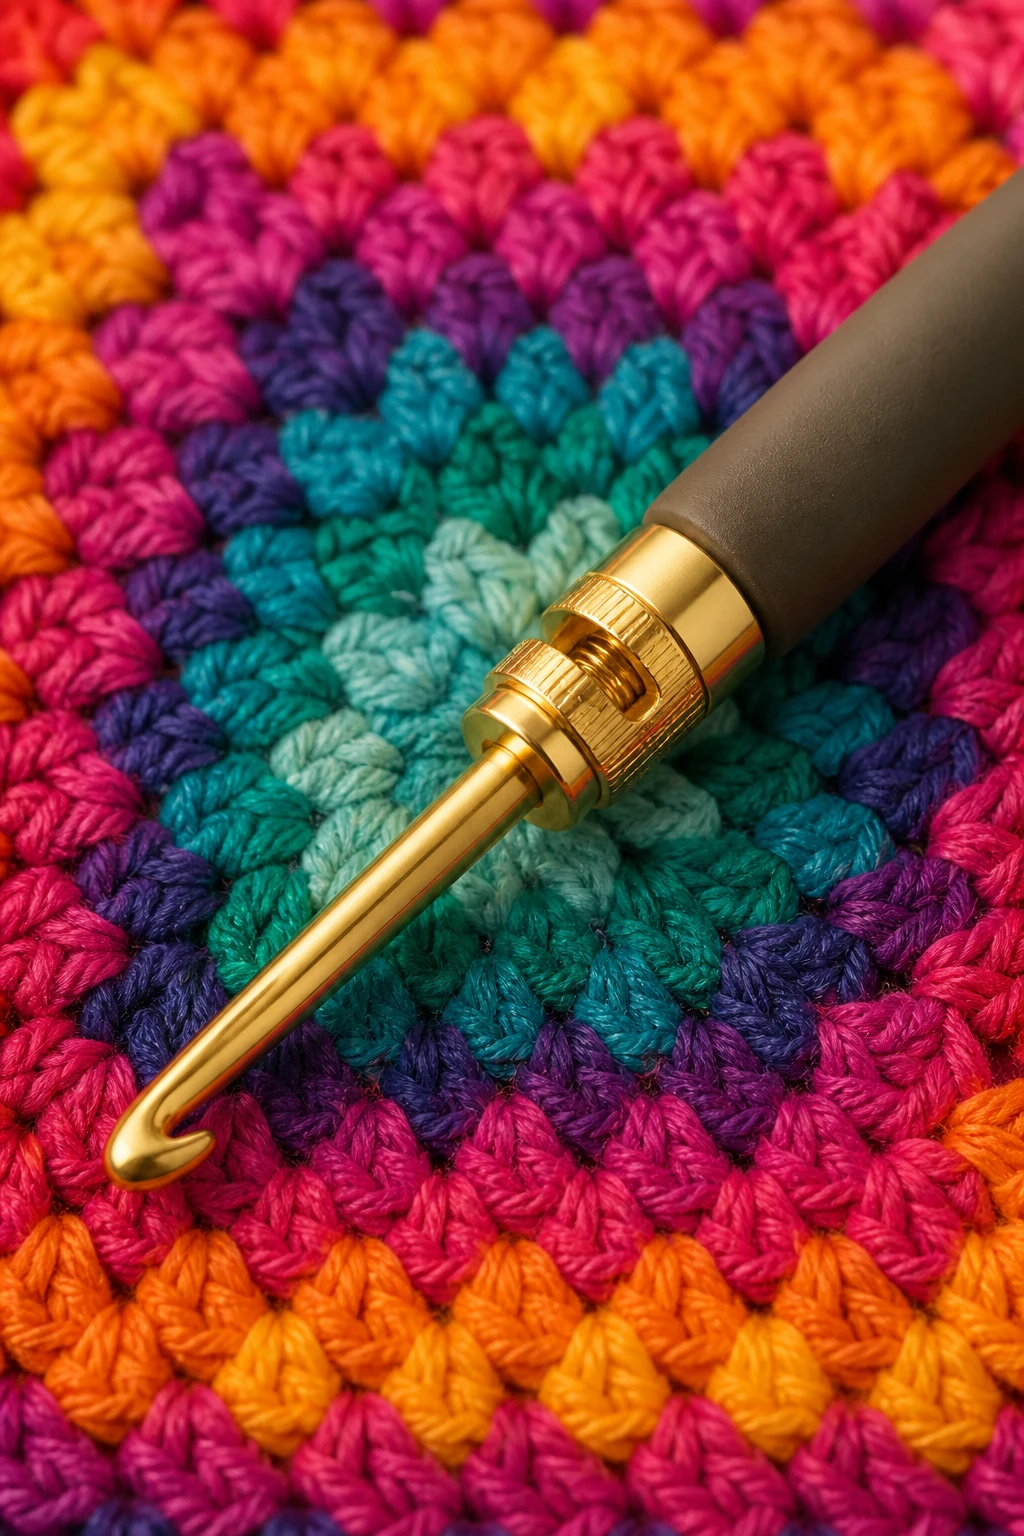
Mosaic crochet has some specific rules that differentiate it from regular crochet. If you don’t follow them, you end up with garbled color blocks that look like a glitchy emoji.
– Common misinterpretations: assuming you can carry colors across the back, counting stitches incorrectly, or not inverting color placement in double-sided patterns.
– Straighten it out: re-check your pattern’s definition for “carrying” yarns, whether the backside shows carried colors, and how to anchor color changes. Some patterns require carrying only certain colors; others want you to cut and rejoin for each color block.
– Safety check: always verify which rows are wrong by comparing with the chart on both sides. If something doesn’t line up, you probably misread a symbol or skipped a stitch.
6. Tension on the backside: the B-side that steals the show
Mosaic crochet isn’t just about the pretty front; the back side needs decent tension too. A sloppy backside can bleed onto the front, especially if you’re using a single crochet technique or slip-stitch joins.
– What you’ll notice: the backside has a lot of loose, fluffy loops or tight pulling that makes the fabric feel stiff.
– Fixing approach: practice a consistent wrap and pull. Keep your yarn moving in the same direction across rows, and avoid tugging at the color changes.
– Backside love: consider a simple, consistent return pass and minimal crossing of colors at the back to maintain a tidy finish on the front.
7. Finishing frenzy: blocking, weaving, and edging pitfalls
The finish makes or breaks the mosaic look. If you skip blocking or misweave ends, your hard work can go flat fast.
– Blocking basics: gently dampen and shape to the pattern’s dimensions. Let it dry flat; don’t stretch it unevenly.
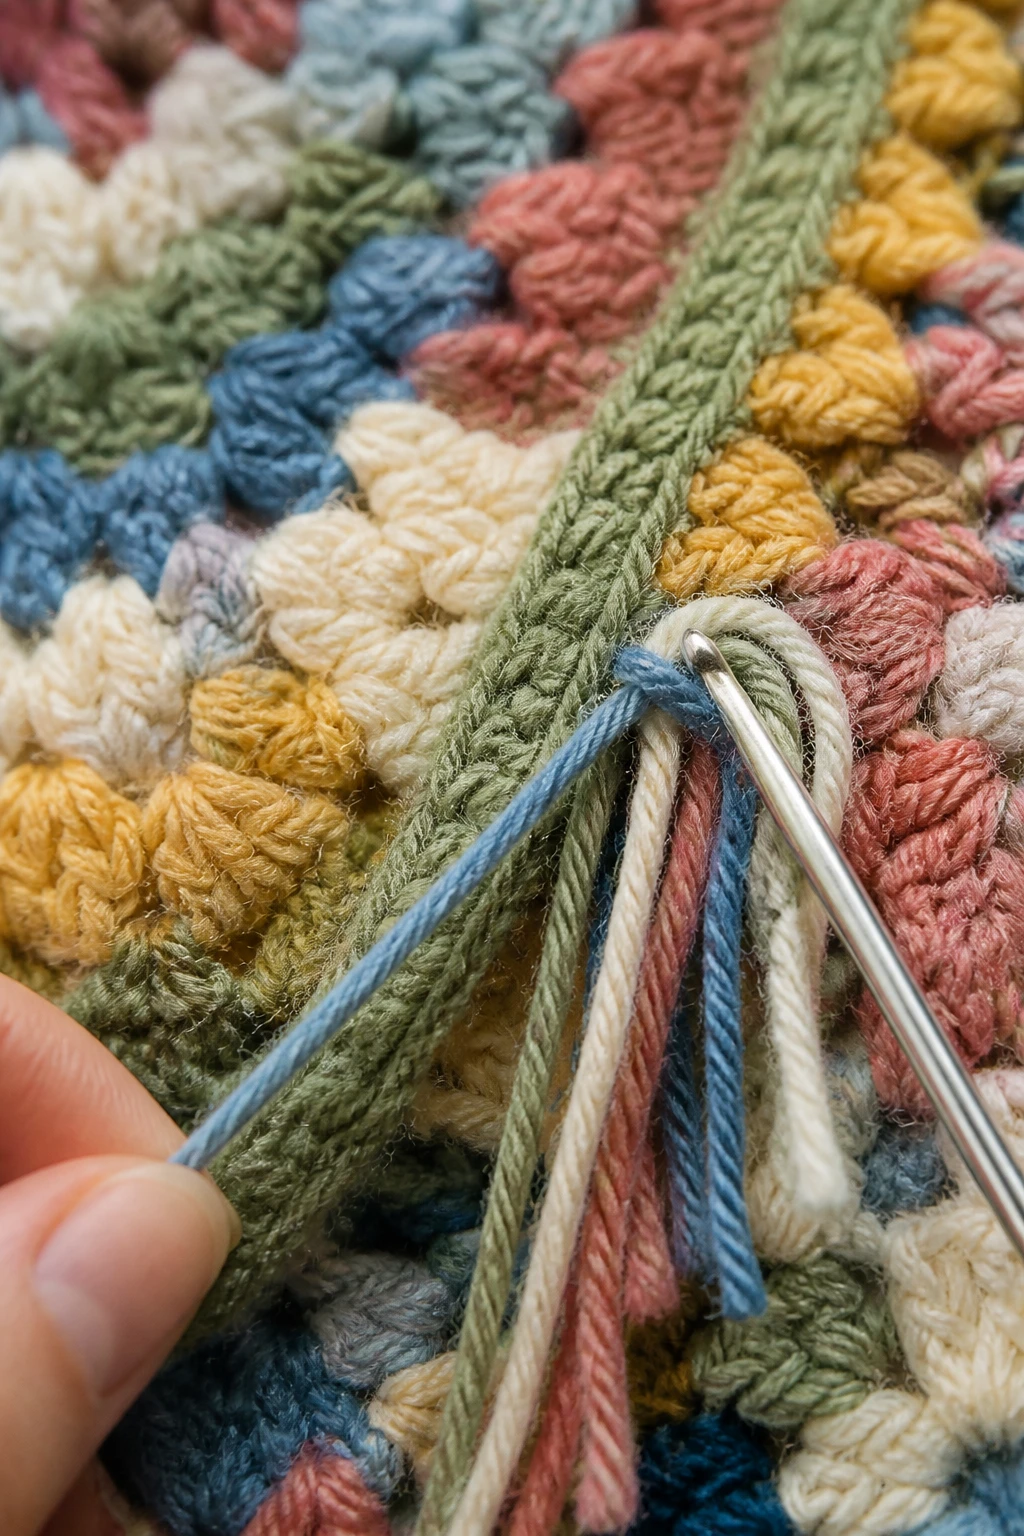
– Weaving ends: weave in ends neatly at color-change points to prevent bulk and keep the surface smooth.
– Edges matter: a clean edge frame helps the mosaic blocks read as designed. Consider a simple border that doesn’t compete with the color blocks.
8. Practical tips that actually save time (and your sanity)
– Start with a small, high-contrast palette: you’ll see mistakes faster and learn faster.
– Keep a dedicated project notebook or digital note: color order, hook size, yarn batch, and any gotchas you encountered.
– Use a photo log: take a quick shot of each color-block section as you go. This helps when you need to frog back to a known-good row.
– Don’t be afraid to switch patterns mid-project if you find a technique isn’t suiting your vibe or your yarn.
9. Quick-fire troubleshooting cheat sheet
– Edges curling? Check tension, edge stitches, and yarn weight alignment. Consider a tighter edge if needed.
– Color blocks misaligned? Re-check chart orientation and color-change points. Verify you’re not skipping a stitch or changing color on the wrong row.
– Uneven gauge? Copy your swatch’s gauge to a point-and-recheck. Switch hooks if necessary.
– Backside looks messy? Slow down; practice consistent carry or carry-free technique, and revisit your returning pass.
FAQ
How do I know if my mosaic crochet project is turning out right?
Paragraph: The simplest answer is to compare your work to the chart or photo of the intended design. Keep an eye on the alignment of color blocks and the crispness of edges. If your front matches the motif clearly and the back looks neat enough to read, you’re likely on track. FYI, it’s okay if your first attempt isn’t perfect—practice makes pretty.
Should I carry yarn across the back to avoid weaving in ends?
Paragraph: It depends on the pattern and the yarns you’re using. Some mosaics carry the non-working color over the back for longer stretches, which saves weaving, but it can show through on lighter colors. If you’re not sure, err on the side of weaving in ends first and try a small sample to see whether the carry is noticeable.
What’s the biggest mistake beginners make in mosaic crochet?
Paragraph: Probably mixing up the color changes or misreading the chart. It’s easy to forget which color goes next or to miss a color change, and suddenly your motif looks like a scrambled puzzle. Take your time with the chart, mark your rows, and double-check before you knit the next stitch.
Can I use variegated yarn in mosaic crochet?
Paragraph: You can, but it’s tricky. Variegated yarns can blur color blocks and make the pattern harder to read. If you do use them, test on a small swatch first to see how the color changes play with your motif. IMO, solid colors or carefully chosen semi-solids usually give crisper results.
Is blocking really necessary for mosaic crochet?
Paragraph: Blocking helps set the fabric and even out tension, especially for large projects. It’s not strictly mandatory, but it makes a noticeable difference in edge crispness and overall drape. If you skip it, you’ll likely notice minor deviations at the edges after a few uses or washes.
Conclusion
Mosaic crochet is a dance between color and stitch, a little math, a lot of patience, and just enough whimsy to keep things interesting. The most common mistakes—tension, color alignment, frogging, yarn quirks, pattern misreads, and finishing chaos—are all part of the learning curve. Start with a plan, don’t be afraid to frog back, and celebrate every clean line you achieve. IMO, the moment your color blocks line up like they’re photoshopped into place, you’ll feel like you cracked a tiny secret code of crochet.
If you keep these tips in mind, you’ll sew together gorgeous mosaics that wow friends, family, and even your cat who pretends not to care but actually sits on your yarn as a calm, judgmental supervisor. FYI, mosaic crochet isn’t just a hobby; it’s a celebration of color, patience, and the tiny triumphs that happen a single stitch at a time. You’ve got this.