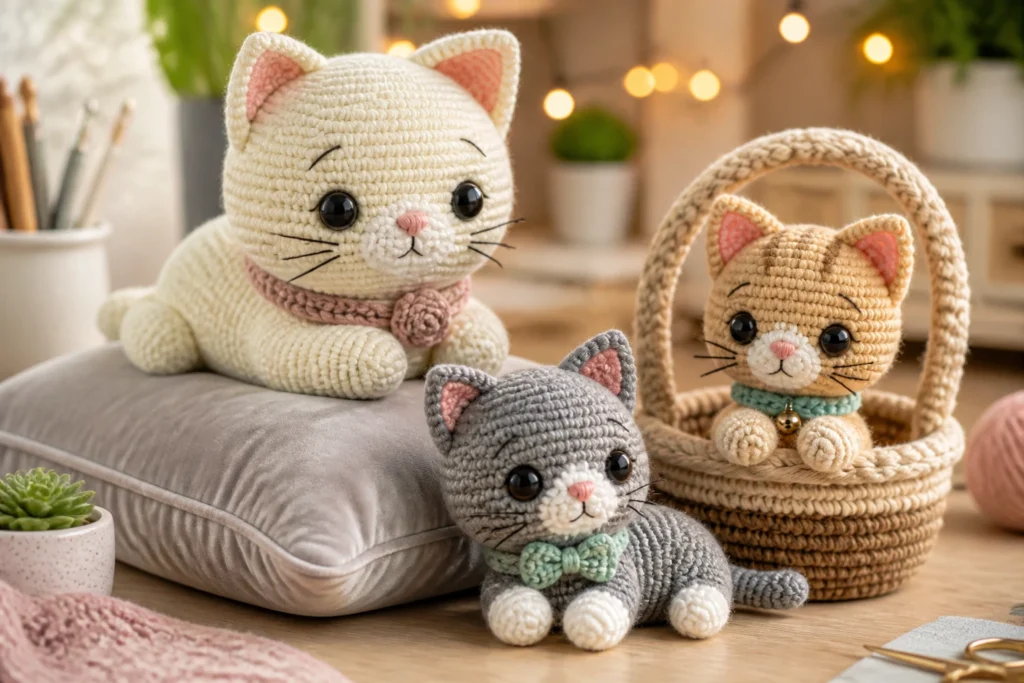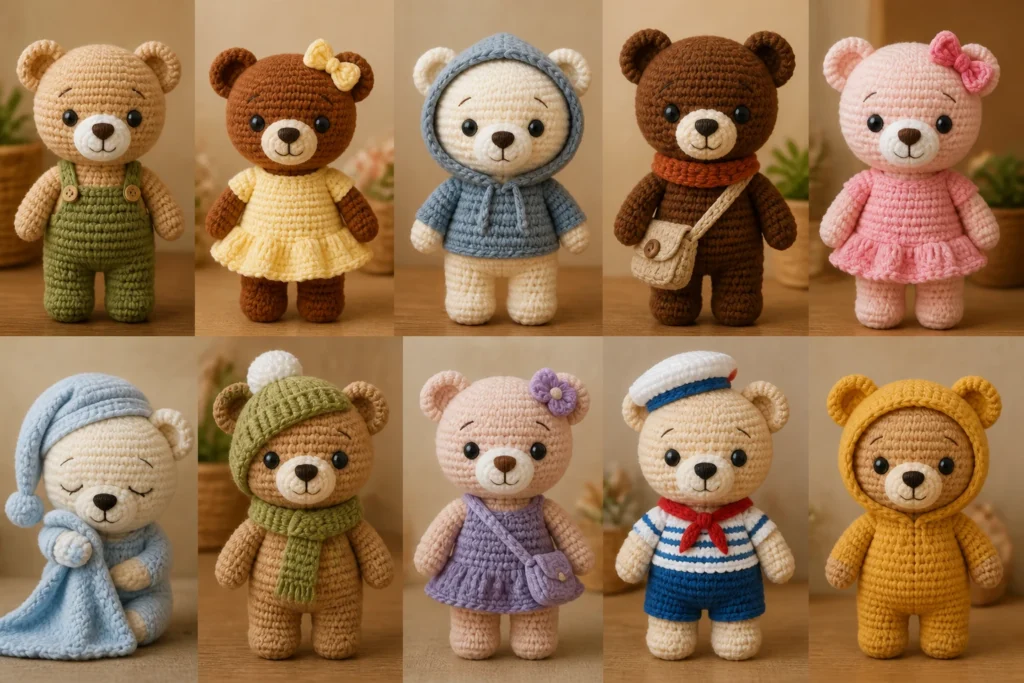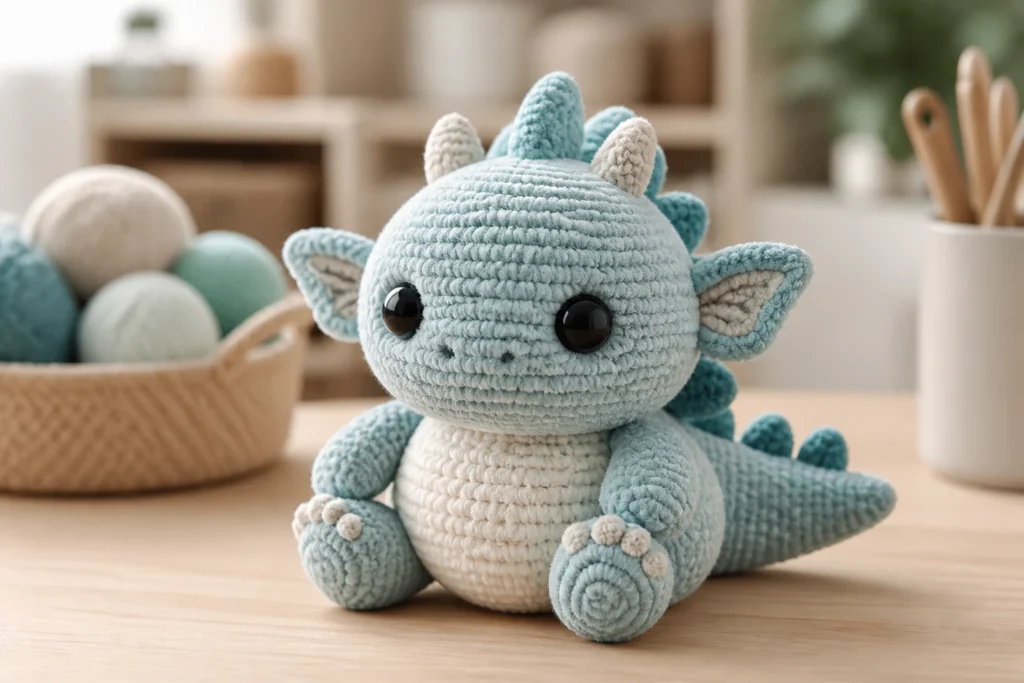
You can make no-sew amigurumi look professional without turning your living room into a textile lab. Yes, it’s totally possible to finish plushies that could hang in a gallery or at least impress your grandma. Let’s skip the suspense and get into the good stuff.
Why no-sew amigurumi can look pro (even if you’re still debugging your crochet gauge)
No-sew doesn’t mean sloppy. It means you’re leveraging clever finishing, smart stuffing, and clean shapes to create a polished stuffed friend without a single stitching marathon. The secret sauce is precision, patience, and a few tricks that elevate the entire piece. FYI, a little planning goes a long way here.
Master the basics: perfect shapes start with good patterns
A good pattern is half the battle won. You don’t want a wonky head on a perfectly rounded body. Here are the essentials to wire your brain for success.
- Choose reliable patterns: Look for patterns with clear diagrams, stitch counts, and photos. If a pattern feels vague, move on.
- Gauge matters: Crochet swatches aren’t just for sweaters. A tight gauge makes stuffing behave; a loose gauge makes seams look sloppy.
- Match the scale: If you want a small critter, scale down the features and stuffing amounts. Big heads on tiny bodies scream “rookie energy.”
- Test fit your pieces: Before you finalize, stuff lightly and compare to the final size you want. It saves a lot of rework later.
Structure over flash: choosing the right finishing approach
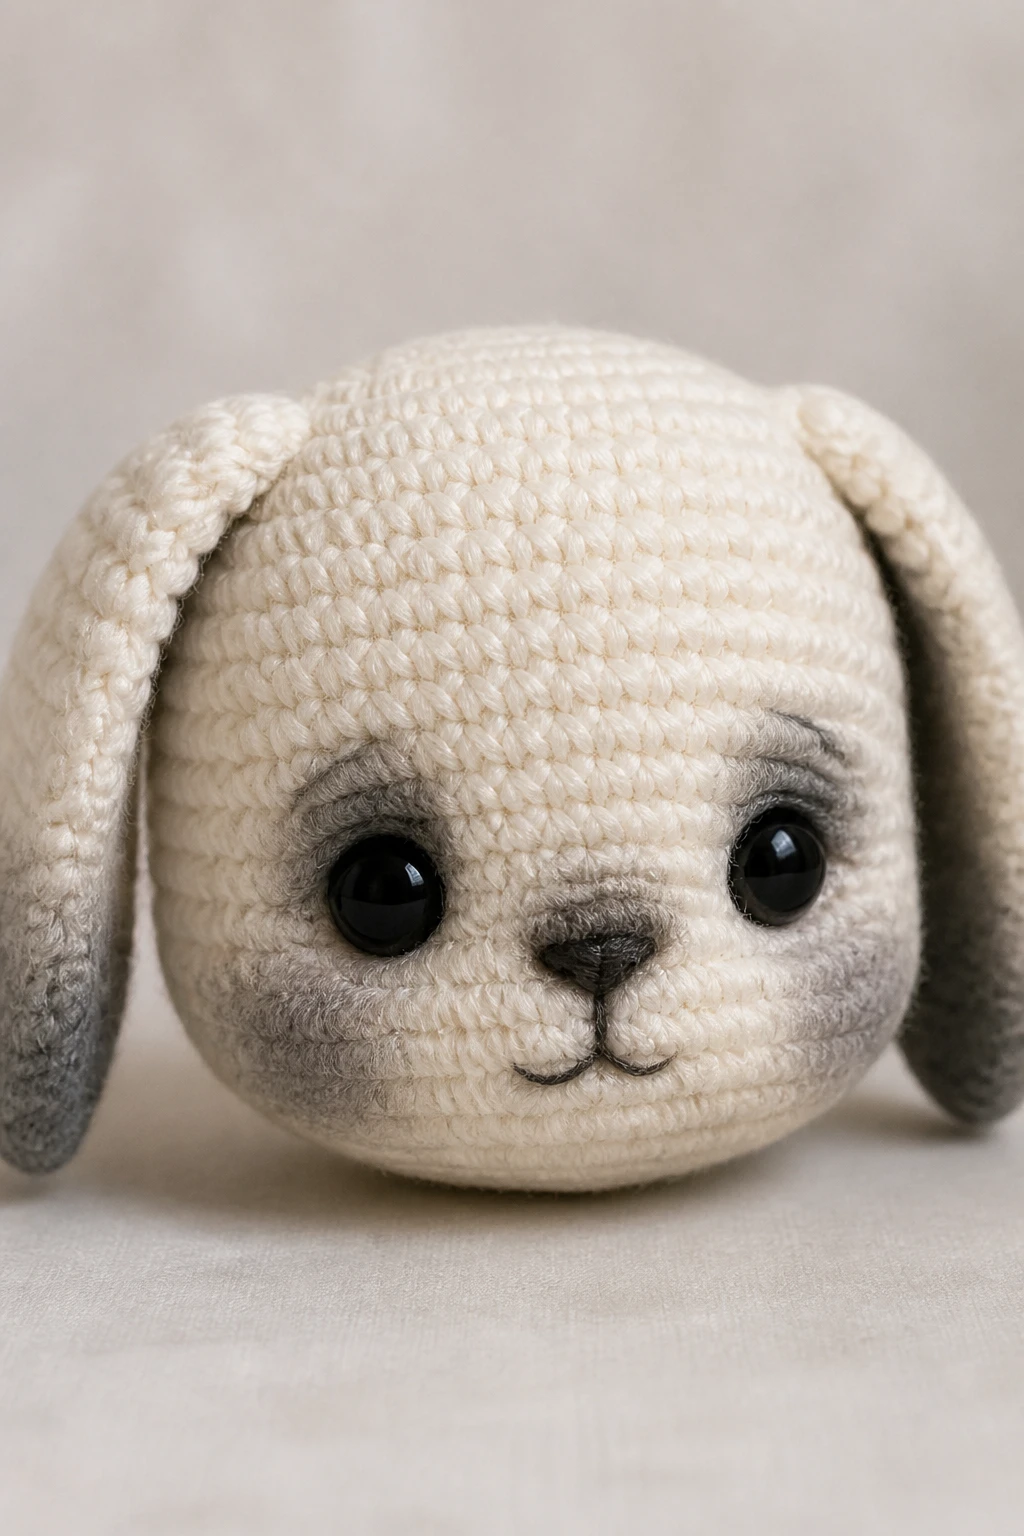
No-sew doesn’t mean no structure. It means you use clever finishing to hide seams and keep things strong.
Strategic seams that disappear
Seams are the visual tell. Keep them clean and nearly invisible.
- Hide with stuffing: Lightly stuff as you go, then snug the seams with a bit more stuffing to lessen seam visibility.
- Use color-matching yarn: A thread that matches the main body color reduces the contrast of seams.
- Oversew lines sparingly: If you must, do tiny, evenly spaced stitches along the seam line and tuck the ends away.
Sturdy joints without sewing needles
No-sew joints require a little planning.
- Elastic or pipe-cleaner internal supports: A whisker of flex can help limbs stay in place for a more “display-ready” look.
- Solid stuffing distribution: Pack the limbs firm but not rigid. A blob at the tip can help pose without flopping.
- Adhesive “seams”: For certain parts, a dab of hot glue holds pieces together before you align the final shape. Use sparingly and test on scrap first.
Face it: expressive features that stay put
A face sells a plushie’s personality, so give it a tiny bit of drama with minimal effort.
Eyes, mouths, and that sparkle
– Safety eyes vs. embroidery: Safety eyes are fast and clean, but embroidery can be softer and safer for kiddos. Pick what fits your vibe, then align the placement on both sides for symmetry.
– Placement matters: A little off-center can read curious. Do a quick mock-up with pins or stitch markers before finalizing.
– Expression tweaks: A simple curve for a smile, a tiny eyebrow tilt, or a dot for a cheek highlight can transform the whole mood.
Cheeks, noses, and tiny extras
– Blush with yarn or fabric paint: Gentle pinks or peach tones give life without overdoing it.
– Nose choices: A tiny sewing button, a small bead, or a single embroidered dot all work—pick one you can consistently replicate.
– Whiskers and tiny accents: Fine black thread or embroidery floss works for whiskers. Don’t overdo; one or two per side reads best.
Texture and finish: making no-sew look intentional
Texture wise, you want your piece to look deliberate, not rough around the edges.
- Choose the right yarn: For a clean finish, select a smooth, tight yarn. Fluffy yarns look cute but can obscure details if you’re not careful.
- Consistency is king: Stick to the same hook size or adjust slightly to keep stitches uniform. Inconsistencies shout “quirky handmade.”
- Surface detailing: Tiny blanket stitches for seams or decorative bits add a pro vibe without heavy sewing.
Pro tips for a clean no-sew look
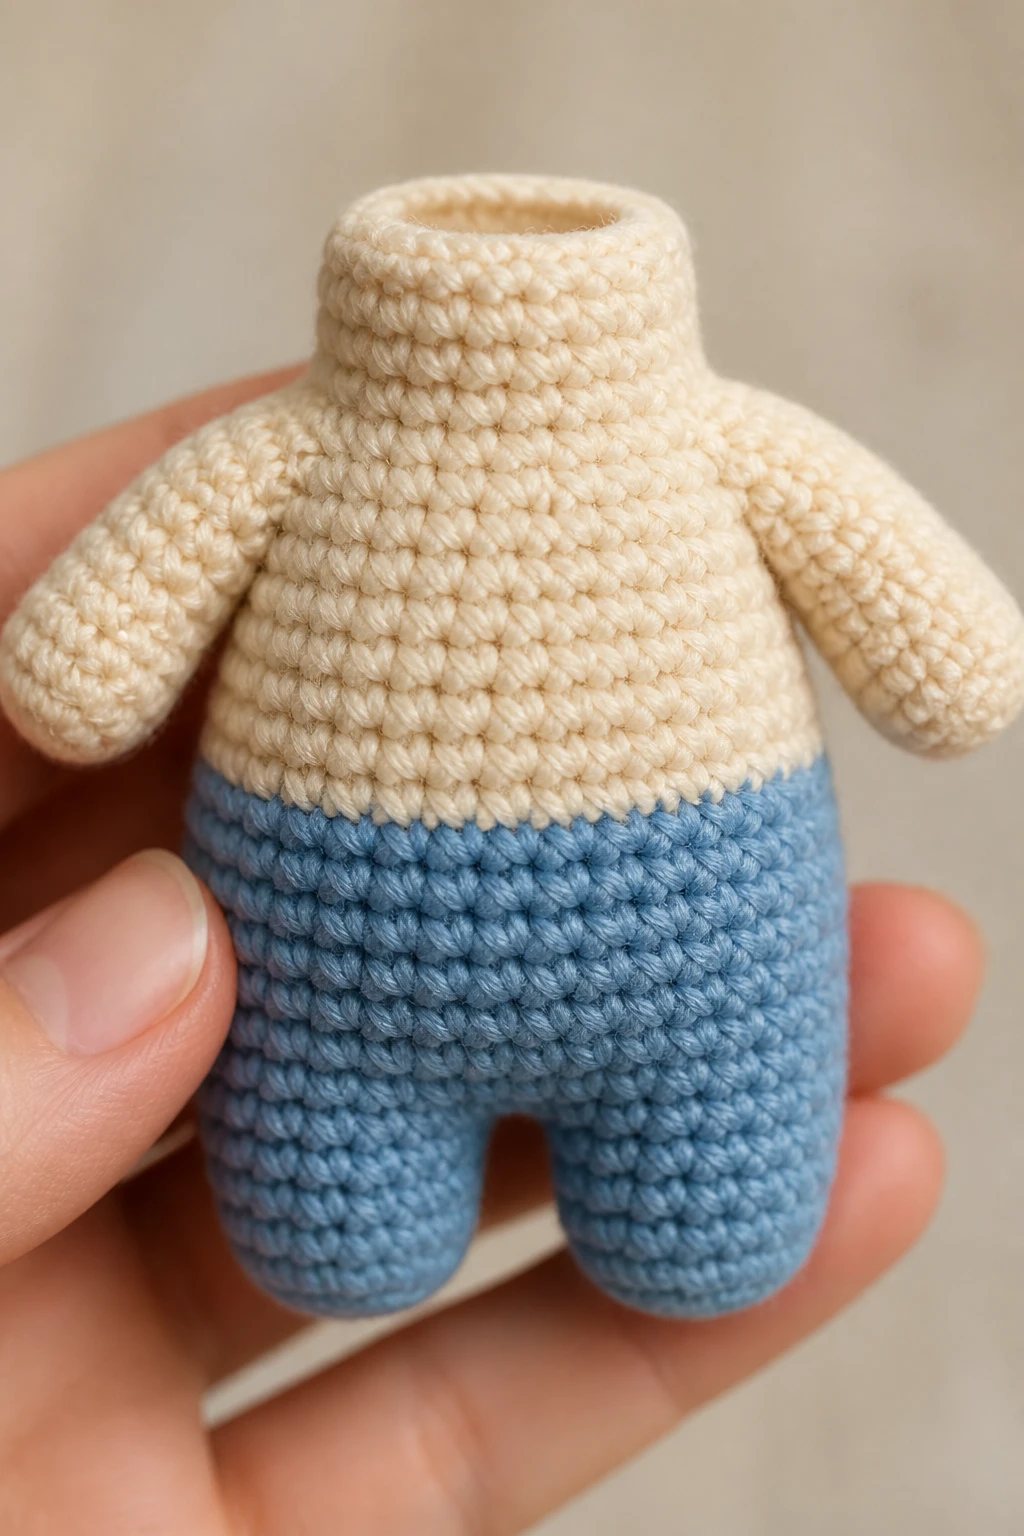
Small adjustments can make a big difference.
- Plan the stuffing path: Stuff in stages, especially for limbs and heads. This helps you shape as you go and avoid lumps.
- Trim ends neatly: Leave a bit of tail for securing, then hide the tail in the seam area when you finish.
- Block shapes lightly: A quick steam or gentle shaping with fingers can set the curves before you seal everything up.
- Finish lines: Use subtle color changes to indicate where a seam ends rather than forcing it along a long line.
Color, pattern, and personality: making a character that pops
Your color choices and patterns are what give your project its soul.
Color strategy that looks intentional
– Limit your palette: 2–4 colors for most characters keeps things cohesive and professional-looking.
– Contrast matters: Light bodies with dark accents help features stand out without overpowering the design.
– Consistency across pieces: If you’re making a whole set, reuse the color logic to keep it cohesive.
Pattern play without chaos
– Feature zones: Decide where the “special” pattern goes (ears, belly patch, cheeks) and repeat the idea in similar spots on other pieces for harmony.
– Mini-variants: If you’re making a family of critters, vary only one element per piece to keep each unique but related.
Finishing touches that scream “professional”
This is where your work goes from cute to gallery-worthy.
- Steady the silhouette: Add small weighted inserts or bias shaping to keep your model upright and balanced.
- Neatly trimmed ends: No stray yarn tails poking out—tuck and glue as needed before final shaping.
- Varnish or sealant on accessories: For tiny accessories or noses, a tiny dab of fabric-safe sealant can prevent fraying and add a finished look.
Common no-sew pitfalls (and how to dodge them)
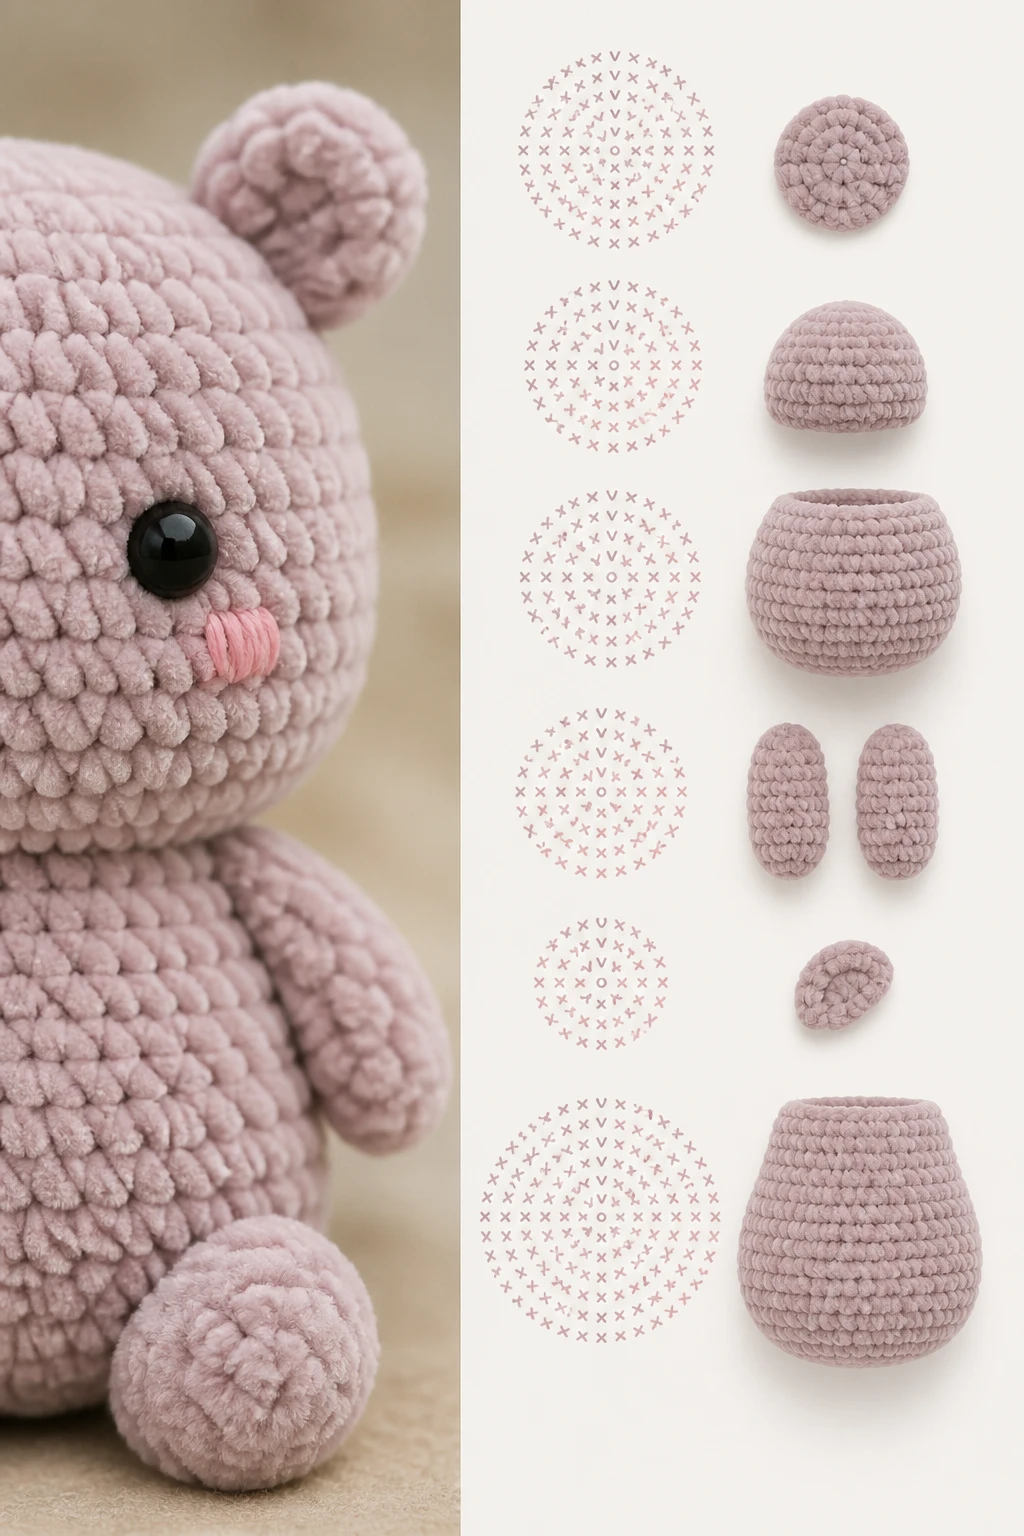
We’ve all been there: a project that looks great in photos but falls apart in hand.
- Overstuffing: It makes limbs stiff and heads top-heavy. Stuff just enough to keep shape, then test poseability.
- Uneven seams: If a seam line looks jagged, go back, smooth the stitch line, and re-tuck the stuffing.
- Visible tying off: Tie off knots carefully and bury ends. A loose knot is a giveaway of amateur status.
Keeping it fun: turning practice into pro-ready pieces
Practice fuels progress. Here’s how to stay motivated and keep your confidence up.
- Set micro-goals: One pattern, one colorway, one tiny feature different from the last project.
- Document what works: Take photos of your process and note what helped with shaping, then repeat.
- Share and get feedback: Post your progress in friendly communities. FYI, constructive critique is gold.
FAQ
What exactly means “no-sew” in amigurumi?
No-sew means you assemble and finish primarily with stuffing, clever shaping, and minimal or no actual stitching to join parts. The goal is to avoid visible sewing lines while still creating strong, poseable pieces.
Can I achieve a pro look with beginner-level patterns?
Absolutely. Start with patterns designed for beginners that emphasize clean shapes, simple features, and clear step counts. As you gain confidence, you’ll be able to adapt and elevate them.
What tools are essential for a no-sew pro finish?
– Quality stuffing for even shape
– A reliable crochet hook that matches your yarn
– Safety eyes or embroidery thread for facial features
– Fine-tipped fabric glue or hot glue for small assemblies
– Tapes or pins to position pieces during shaping
– Scissors and a yarn needle (for trimming and burying ends, if needed)
How do I fix a seam that looks off after finishing?
Carefully remove a few stitches or adjust the stuffing near the seam, then re-sew lightly with tiny stitches and re-fluff. If you don’t want to sew, consider gluing and concealing with a decorative element like a pattern patch or a tuft of yarn that hides the seam line.
Is hot glue safe on amigurumi?
Use it sparingly and only on non-limb areas or decorative parts that won’t be handled aggressively. Test on a scrap piece first to ensure it doesn’t discolor the yarn or stiffen the fabric too much.
How can I make ordinary characters look professional and not handmade?
Stick to a concise color palette, keep shapes tidy, and perfect the finishing touches like neat ends and well-proportioned features. Small, deliberate design choices outperform big, flashy features every time.
Conclusion
If you’re chasing a no-sew look that feels polished rather than homemade, you’re in the right lane. It’s not magic; it’s intentional finishing, thoughtful shaping, and a dash of restraint with color and texture. Start with reliable patterns, plan your stuffing, and keep seams tight but invisible where it counts. FYI, the more you practice, the more those “pro” vibes show up in your work.
You’ve got this. Grab a hook, a skein, and a cup of caffeine, and start shaping something you’d proudly display. Remember: the goal isn’t perfection; it’s confidence in your finished piece—and the joy of showing off how far you’ve come.