You know that moment when your amigurumi starts looking more like a wrinkly prune than a cute critter? Let’s fix that. No-sew projects are gold, but they come with their own little minefield of mistakes. I’m here to help you dodge the potholes so you can croch, stuff, and finish with something you actually want to gift or keep on your couch.
Common No-Sew Amigurumi Mistakes to Avoid
1. Skipping Tension Checks: The Stretchy Trap
- Fan-favorite mistake: making rows that are too tight or too loose. In amigurumi, tension is a vibe—and a big one.
- Too tight = stuffing fights back. Too loose = stuffing shows, seams wobble, edges flop.
- Fix on the fly: practice a few rounds with a medium yarn and hook. If you can twist the yarn into a small spiral with minimal effort, you’re in safe zone land.
Subtle tension tips that save your project
- Keep a relaxed grip and let the hook do the work. If your fingers cramp, your stitches will too.
- Use a stitch marker to track rounds. No more “my magic arc” confusion about where a round ends.
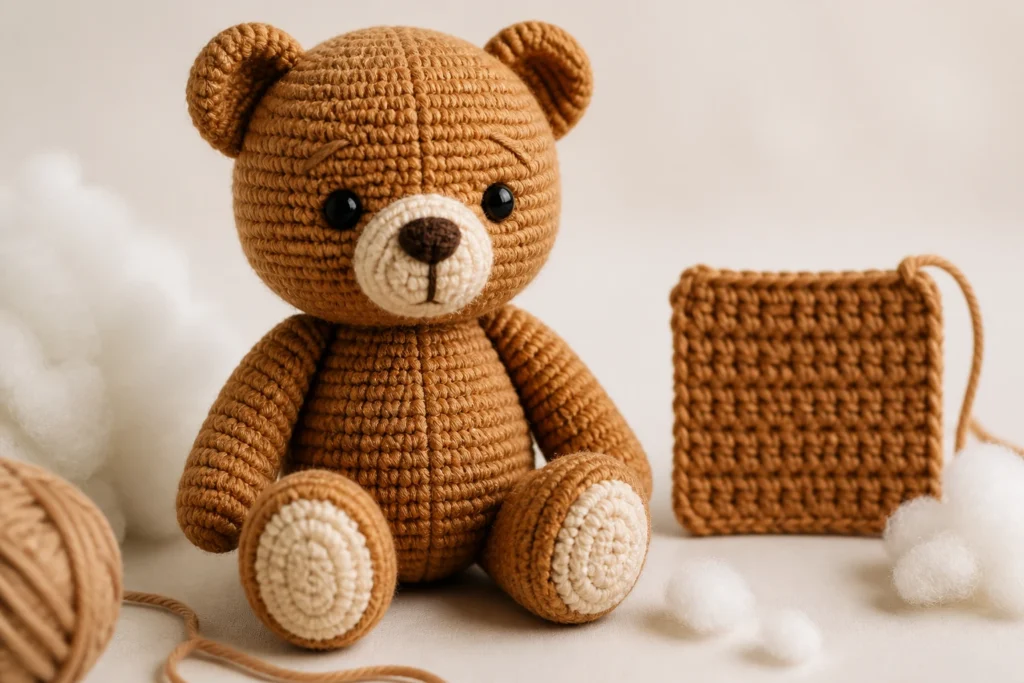
- Test gauge with a 1×1 square. If you can’t close the gaps, go up a hook size or adjust tension.
2. Overstuffing or Underservingly Stuffing: The Balance Dance
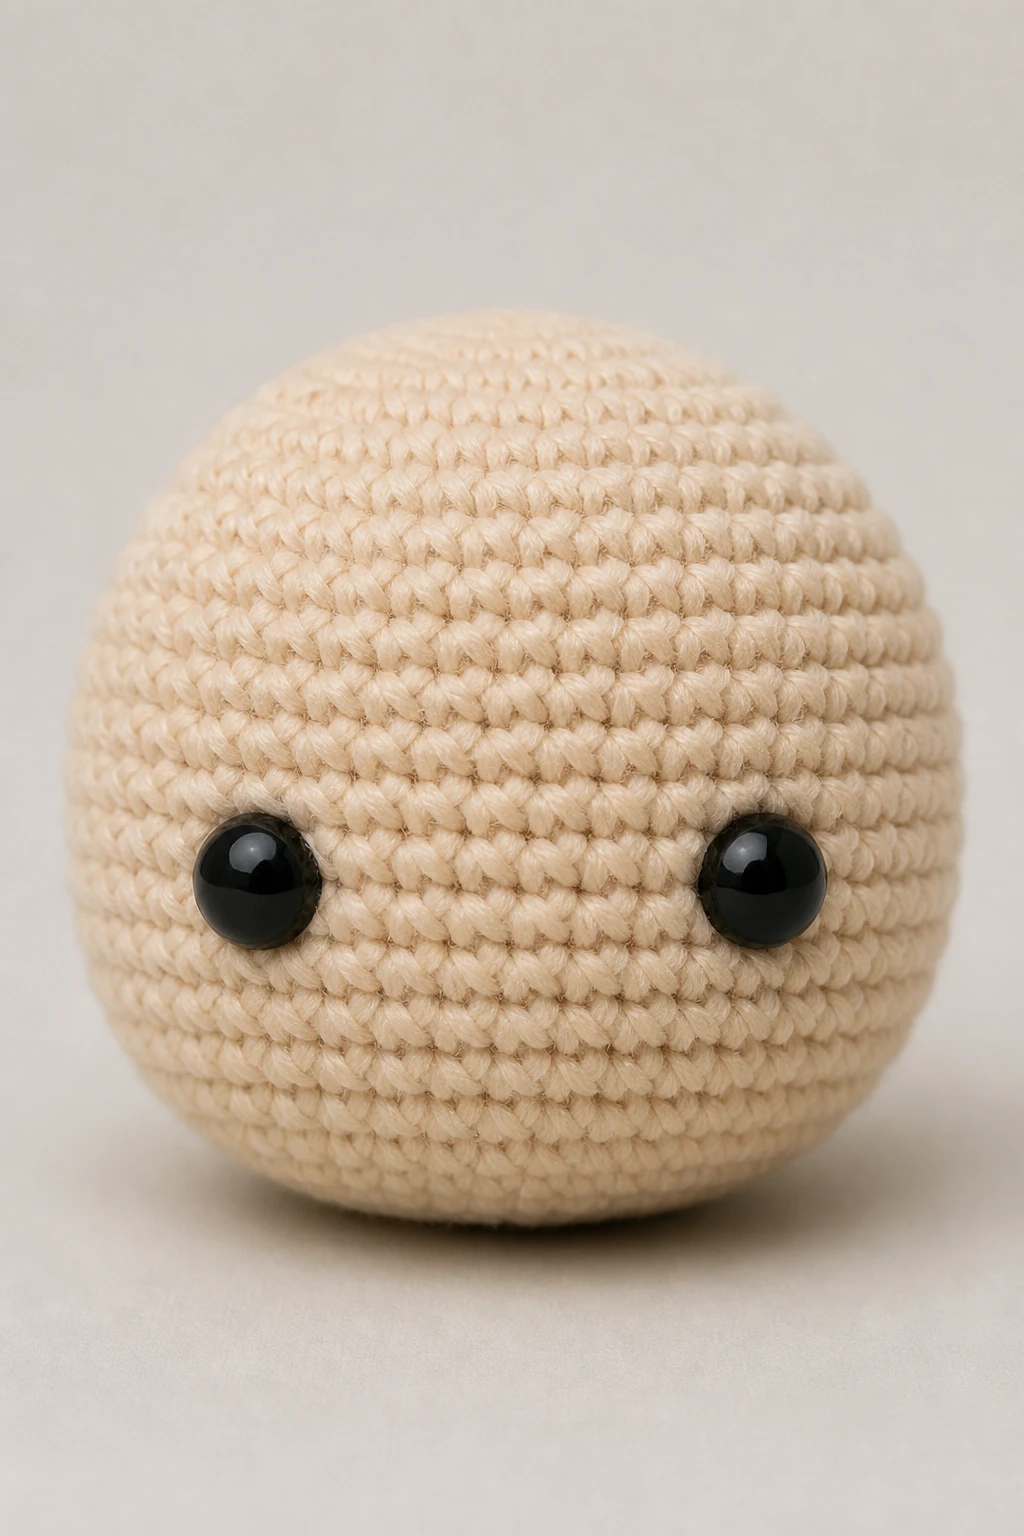
Stuffing is art, not a war crime. Overstuffing makes bulging eyes and seams scream, while under-stuffing leaves your little buddy looking deflated, like a balloon after a party.
- Do a feel test: when you press, the head should have a tiny give but not flop around.
- Distribute evenly: push stuffing into limbs and body as you go, not all at once at the end.
- Consider the look: firmer toys for kids, squishier for decor. FYI, safety eyes can affect how you stuff around the head.
Subsection: Quick stuffing checklist
- Start with a snug base. Don’t overfill right away.
- Use small amounts at a time. You’re sculpting, not stuffing a pillow.
- Leave a little give for shaping — but not so much that you can see a hollow neck.
3. Inconsistent Shaping: Roundish Dreams vs. Squarish Realities
Consistency is key. One leg longer than the other, ears at slightly different angles—these little mismatches add up and make your piece look like it was drawn by a distracted cartoonist.
- Plan your increases and decreases. Sketch a quick plan before you start.
- Use the same number of stitches in each round for symmetrical pieces.
- Mirror your shaping: if you shape one side, shape the other to match.
Subsection: How to spot and fix asymmetry early
- Constantly compare sides as you work. Stop, adjust, continue.
- Hold pieces up frequently. If one ear looks tilted, fix before finishing the head.
- Mark center points on both sides with spare yarn to keep track.
4. Loose or Nonexistent Joins: When Stuffing Meets Structure
Here’s the truth: your toy isn’t held together by magic. It’s the method of joining that makes it sturdy or wobbly. If your amigurumi falls apart at the seams, you’re not alone—but you can fix it.
- Master the whip stitch or mattress stitch for clean joins.
- Don’t skip stuffing around the joints. A little padding makes the seams sit nicely.
- Use a yarn color that blends, not screams. Highlight seams can look intentional, but only when designed that way.
Subsection: Quick joining tips
- Insert the needle at a 45-degree angle to avoid puckering.
- Pull firmly but not so tight that you distort your stitches.
- Pause and check alignment before final knotting.
5. Skipping Color Planning: A Rainbow Without a Map
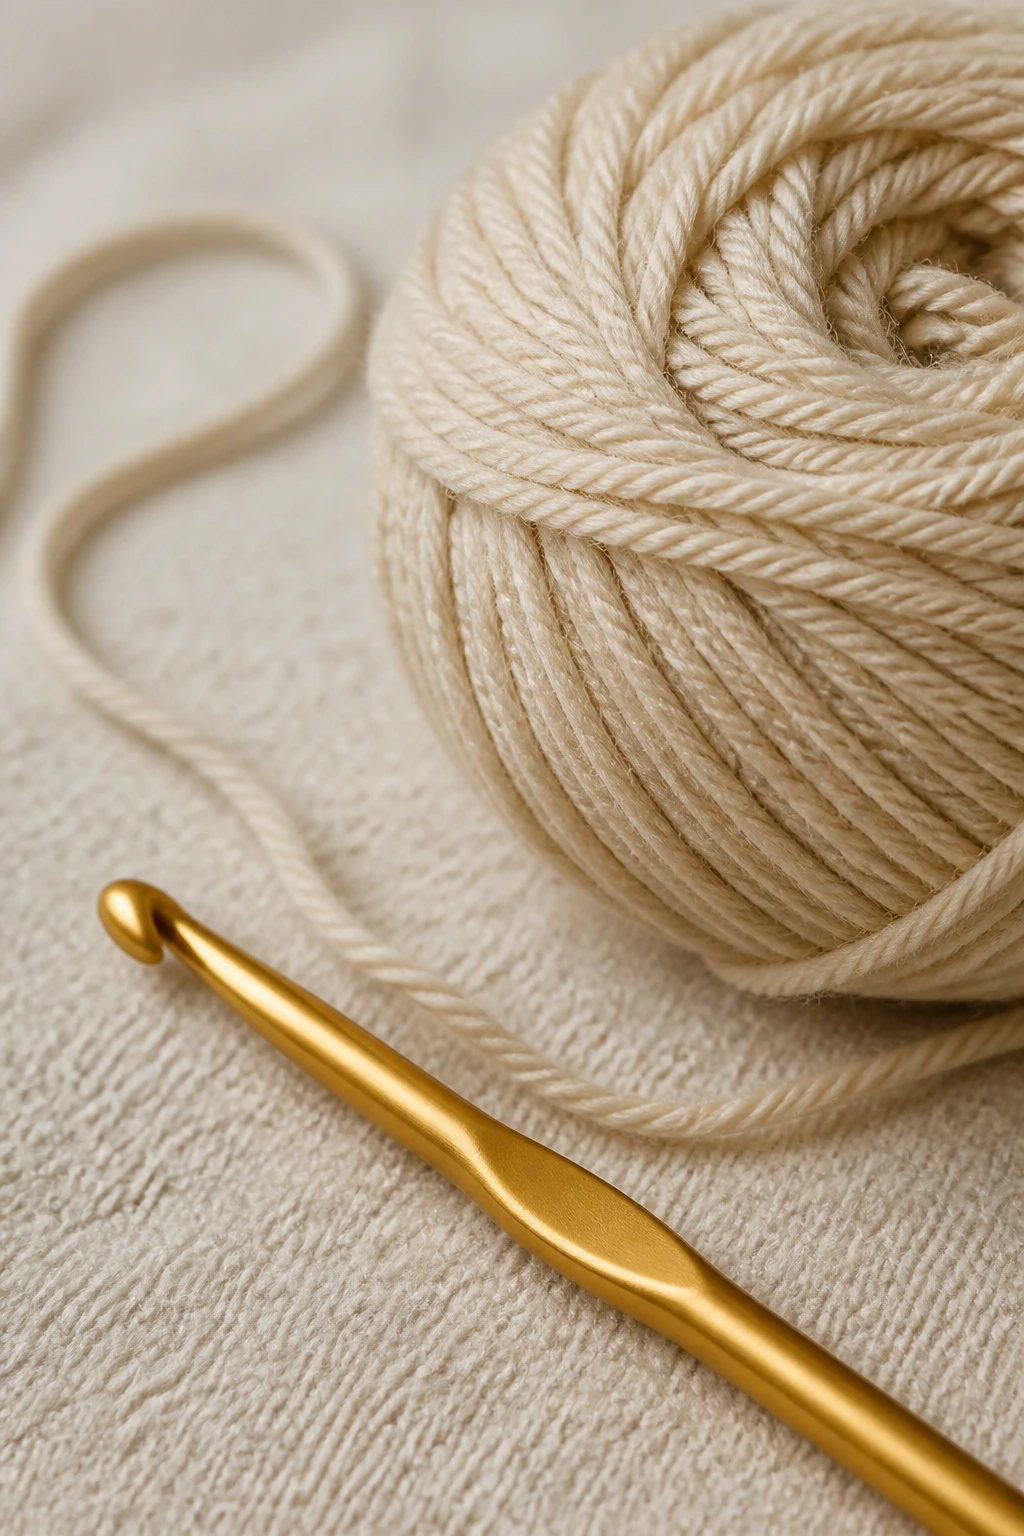
Color is your friend, or your chaos. Haphazard color choices can turn a cute critter into a fashion disaster—unless you’re intentionally going for that quirky look.
- Limit your palette. 2–4 colors typically work well, with one accent.
- Plan color placement before you start. It saves panic and a lot of frogging.
- Swatches help: test how colors look together in a tiny square before you commit.
Subsection: When to frog and start over
- If a color clashes with your plan or your eye keeps jumping to it in a way that distracts, consider a color swap early.
- If you’re unsure, step away for a bit and come back with fresh eyes. IMO, a short break helps more than a fresh coffee.
6. Wrong Yarn Type or Hook Size: The Material Mismatch
Yarn choice can make or break your project. A stiff yarn will behave completely differently from a plushy one. The hook size matters just as much as the yarn weight.
- Check the recommended hook size on the yarn label, then test with a small swatch.
- Adjust hook size if your stitches look too loose or too tight for your pattern’s fabric density.
- Mind the weight: bulky yarn yields big, soft toys; super fine yarn creates delicate pieces. Pick what fits your vision and safety needs.
Subsection: Quick yarn-to-hook rules
- For a standard amigurumi feel, start with a tight-to-medium tension and a hook that yields a sturdy fabric.
- Always check your gauge, especially if you’re following a pattern that requires a specific size for scale models or accessories.
7. Not Securing the Eyes, Nose, and Buttons: Safety and Seams
Stuffed animals are cute, but they’re also potential choking hazards for little ones. Eye and nose placement, plus securing methods, matter more than you think.
- Use safety eyes for babies and toddlers, or embroider features securely.
- Place features before you sew up. It’s hard to reposition once the toy is sealed up.
- Secure each add-on with multiple stitches or a secure knot technique to avoid loosening over time.
Subsection: Quick safety sanity check
- Double-check that all components are firmly attached before gifting.
- Test gentle tugging in a few directions to ensure nothing loosens with play.
8. Finishing Fumbles: Weaving in Ends and Seams Like a Pro
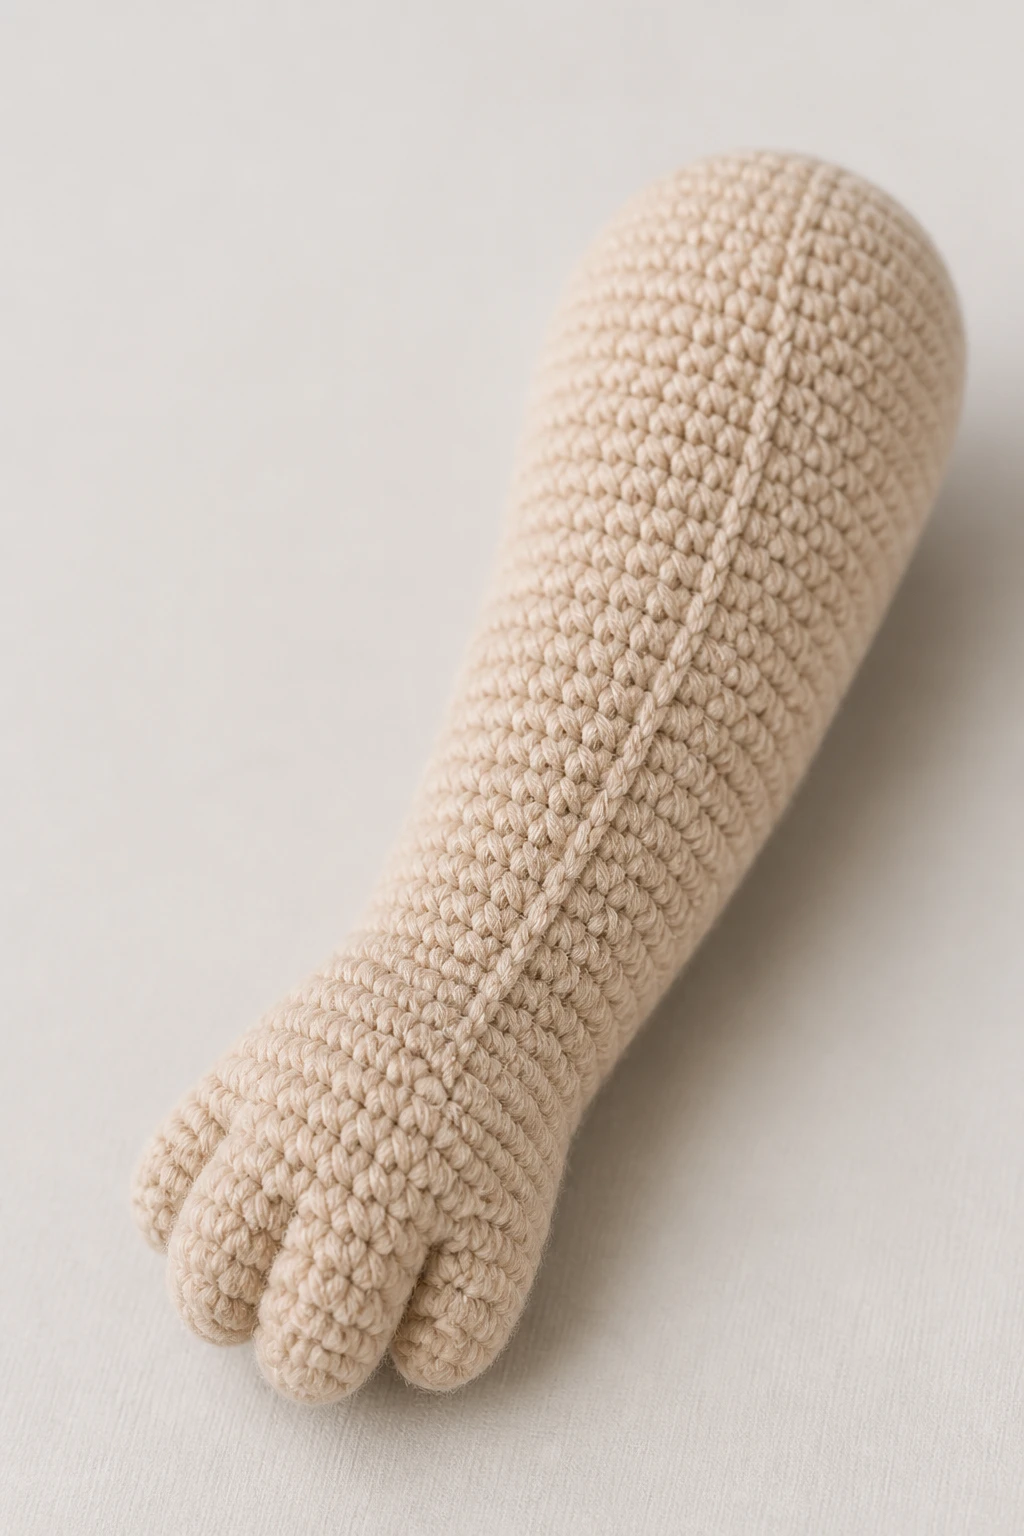
Ends and seams are not glamorous, but they hold the whole thing together. Ugly ends can ruin your finished look faster than a bad haircut.
- Minimize ends by using longer tails where possible, but don’t compromise tension.
- Weave ends back and forth in short horizontal lines to lock in the yarn.
- Trim close, then fluff the fabric with a few gentle pulls to avoid lumps.
Subsection: End-weaving workflow
- End at a natural point where a new stitch begins, so it’s easier to hide.
- Use a tapestry needle with a blunt tip to avoid splitting the yarn.
9. Not Testing as You Go: The Surprise At the End Problem
If you save all the testing for the end, you’ll end up with a rushed finish and a pile of frogged yarn. Testing as you go saves you from heartbreak and a mess of ends.
- Test rounds for gauge, tension, and join integrity every few rounds.
- Take progress photos. It helps you spot asymmetry when you’re tired.
- Hold your project up to a mirror to catch misaligned features early.
10. Not Having a Favorite No-Sew Routine: Your Personal Cheat Sheet
Develop a small, go-to routine that makes no-sew projects feel like second nature. It’s the mental cheat code that keeps you organized and confident.
- Keep a tiny stash of safety eyes, embroidery floss, and a few extra hooks in your crafting tote.
- Maintain a quick “checklist” card by your chair: tension, stuffing, joins, eyes, ends.
- Have a few quick-cleanups: wipe hands, adjust lighting, sip something tasty. Small rituals matter.
FAQ
What’s the easiest way to fix a mis-shaped head?
If you notice wobbliness early, you can do a quick round of tightening increases or decreases in the head to balance the shape. If the head is already stuffed, you may need to remove a few stitches, reshape, and re-stuff. Use a stitch marker to keep track and avoid creating a new wobble later.
How do I decide when to frog vs. fix in place?
Frogging is your friend when the mistake affects core shape or symmetry. If you can tweak a few stitches without unraveling large sections, try a fix. If you’re overlaying multiple mistakes and the fabric looks uneven, frog and restart with a fresh plan. FYI, it’s usually quicker than you fear.
Are safety eyes always necessary for no-sew amigurumi?
Not always. For babies and very small children, safety eyes are recommended for safety. For older kids or décor pieces, or if you’re feeling fancy, embroidering eyes can be a charming alternative. Just keep the placement consistent and secure.
How many colors should I use for a cute no-sew piece?
Start with 2–4 colors. Too many shades can overwhelm the piece, while too few can feel monotonous. You can add a tiny accent color for pop. It’s all about balance and your personal vibe. IMO, less is often more here.
What if my yarn is splitting or shedding?
Yarn split can ruin stitches and make ends rough. Switch to a smoother yarn or a different colorway. Check your hook sharpness and tension too. If shedding persists, test a different brand or weight—sometimes it’s just a mismatch, not you.
Conclusion
Mentally, this is a list of tiny dragons to slay, not a doom scroll. No-sew amigurumi is absolutely doable with the right tweaks and a bit of planning. Use tension checks, smart stuffing, careful joins, deliberate color planning, and solid finishing. FYI, the more you practice, the less you’ll even think about these mistakes. Pretty soon, you’ll be whipping up adorable critters with confidence and maybe a side of smug satisfaction. Ready to crochet your next cutie without the drama? Let’s go, friend.