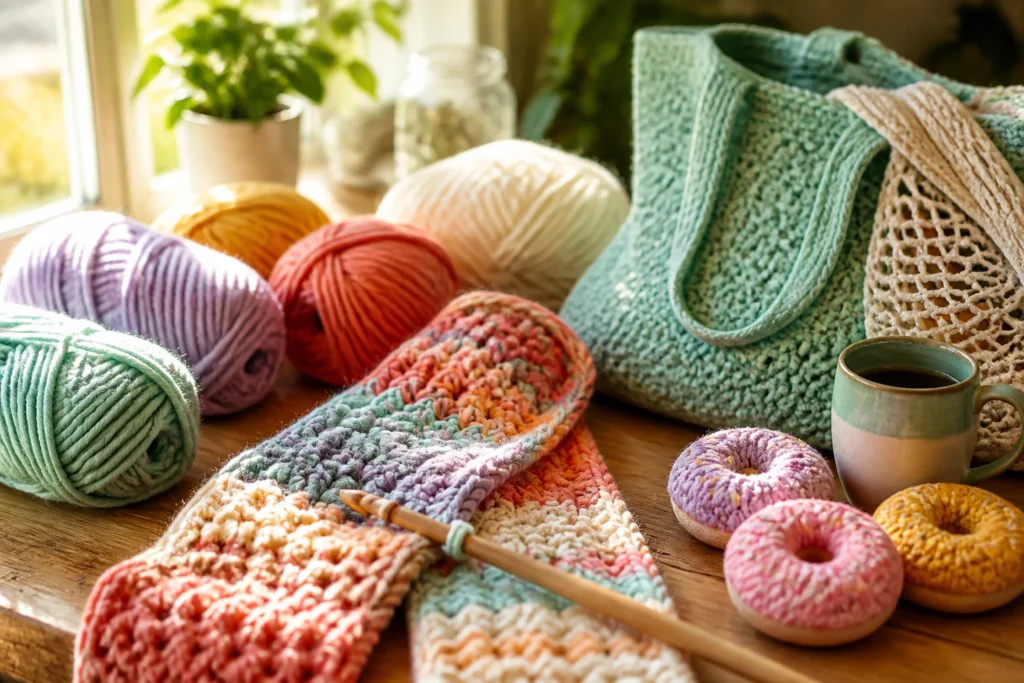
I’m not gonna pretend your yarn stash isn’t a wild beast. It’s a rainbow tornado of skeins, partial balls, and mystery fibers that somehow multiplies when you blink. Here’s the honest plan to corral it so you can pull together quick crochet projects without yelling into a heap of yarn every time you sit down.
Know Your Yarn: Quick Inventory Before You Organize
Are you sure you actually know what you’ve got? Let’s start with a fast stocktake. No lectures, just the essentials.
– Pull everything out, even the stray skeins tucked in corners. Yes, all of it.
– Group by fiber family first: cotton, wool, acrylic, blends, novelty yarns. You’ll notice patterns and gaps fast.
– Note the weight and yardage on each ball or skein. If a label is missing, guesstimate with a quick wrap-test or a rough measure. FYI, you’ll thank yourself later.
– Toss anything you’ll never use into a “donate” bag. You’re not a museum curator of regret.
Why bother? Quick projects demand quick decisions. If you can’t recall what you have, you’ll waste time rifling through bins instead of stitching away. This quick audit sets your organization up for success.
Pick a System That Breathes: How You Prefer to Find It

Your storage should feel intuitive to you, not a puzzle you solve yearly. Here are a few approaches, and you can mix and match.
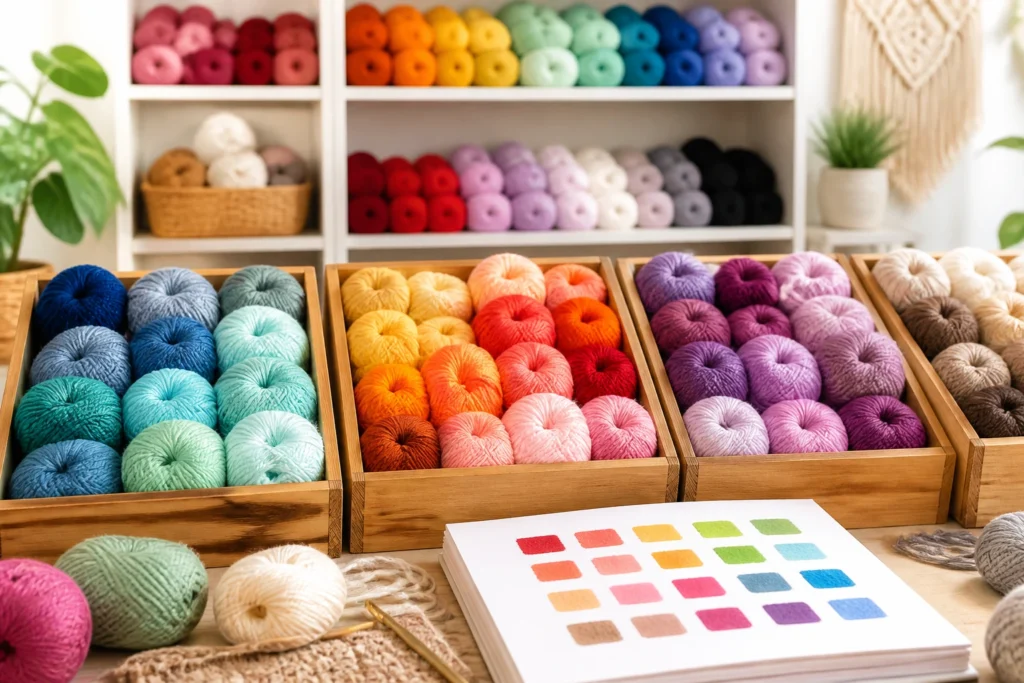
– Color-coordinated chaos (in a good way): Sort by color families within each weight. It’s visually satisfying and great for gradient projects.
– Weight-first, then color: Stock your shelves by worsted, DK, bulky, etc. Then put colors in a separate pull-out bin for the project at hand.
– Keep only what you’ll actually use in the next few weeks: If you’re a serial project starter, consider a “current project” bin with yarn you’ll work on soon, and tuck the rest away.
Pro tip: label everything. A simple sticky label with weight and colorway saves you ten minutes every time you search for a suitable hook and yarn combo.
Containment Matters: Bins, Baskets, and the Great Divider Debate
Your shelves don’t need to look like a craft store, but they should function like one. Here are practical containment ideas that keep things accessible and neat.
– Clear bins with lids: You can see what’s inside without opening ten boxes. It’s like a cheat sheet for your brain.
– Stackable drawers: Great for separating weights or fiber types. If you’re picky, assign a color to each drawer to satisfy your inner organizing-nerd.
– Moldable sacks or canvas totes: Perfect for travel projects or small spaces. They breathe, and your yarn doesn’t feel claustrophobic.
– Divider inserts: Create mini-sections within a larger bin for color families or weight groups. The more you can subdivide, the easier to grab what you need.
How many containers you actually need depends on your space and stash size. Start with a modest setup and scale up as you go. Don’t overdo it—your living room can only handle so many yarn-thrones.
Labeling That Actually Works: What to Put on Every Jar
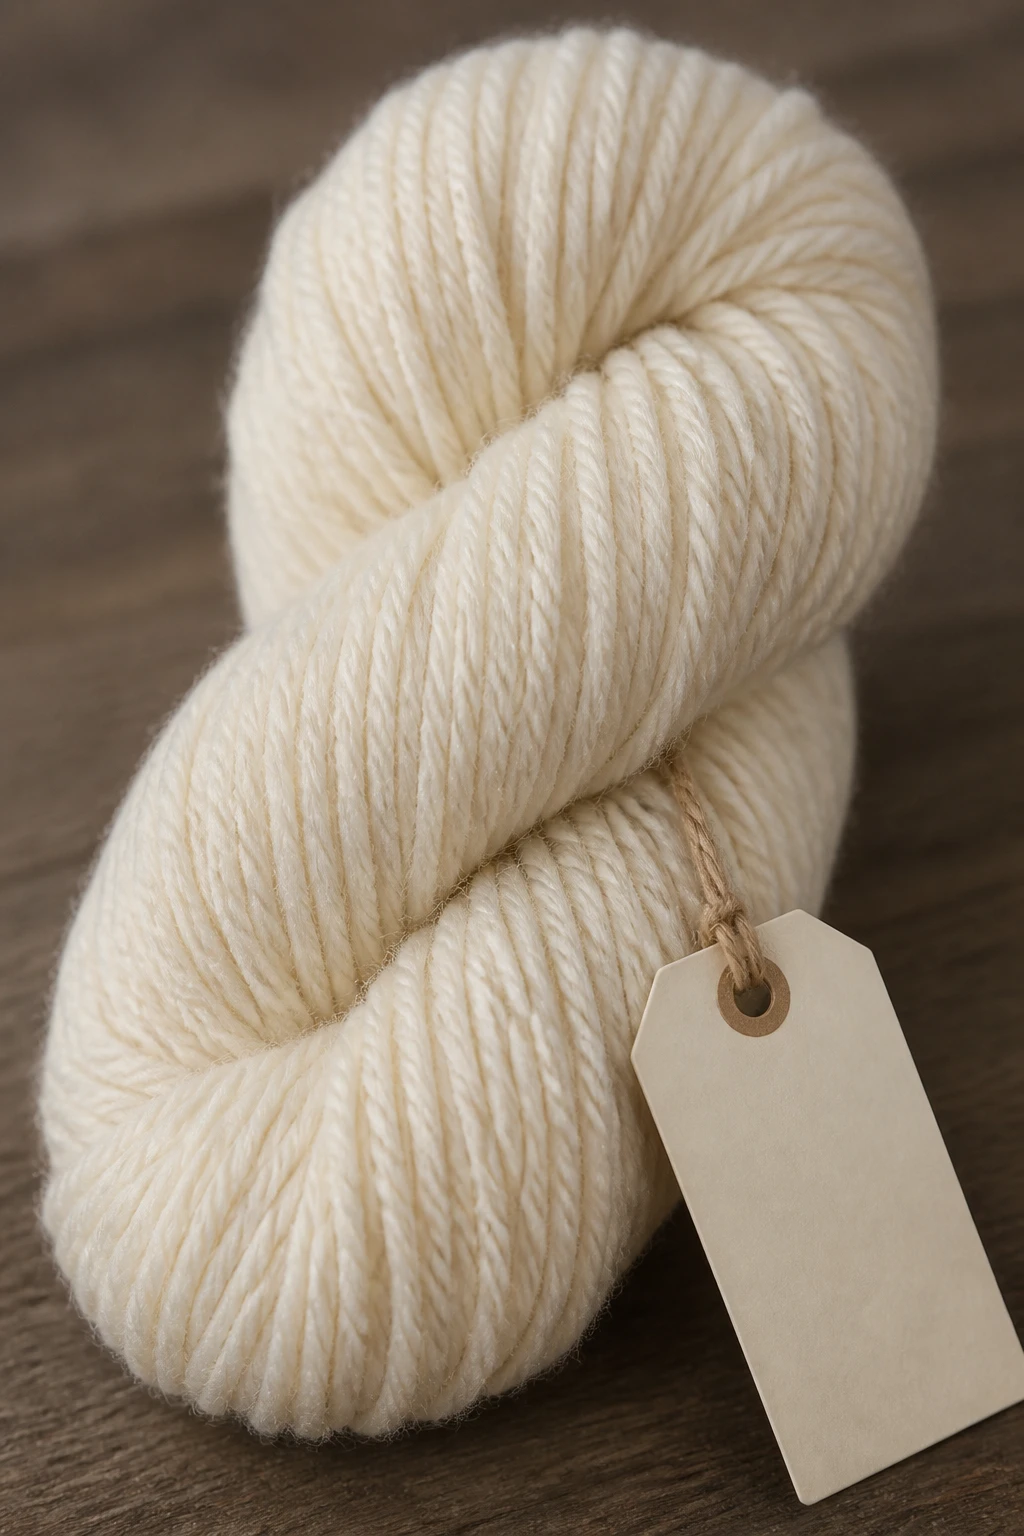
Labeling isn’t glamorous, but it saves you from the “I swear it’s the same purple!” moment.
– Weight (worst ed, DK, bulky)
– Fiber content (cotton, wool, acrylic, blends)
– Yardage or approximate length
– Colorway name or number
– Project potential tag (e.g., “shawl yarn,” “baby blanket,” “scrap bag”)
– Date added (helps you rotate through older skeins first)
Label placement matters. Put labels on the outside of bins and on the top edge of drawers so you can read them without moving everything. A tiny sticker can be a tiny victory.
Make a “Grab-and-Go” Zone for Quick Projects
What’s the point of an organized stash if you can’t grab yarn in under five minutes? A dedicated grab-and-go zone is where the magic happens.
– Pick 2–3 skeins that scream “quick project” (think hats, fingerless mitts, simple scarves).
– Include a small selection of notions: crochet hook sizes, scissors, tape measure, and stitch markers.
– Create a “Riff Raff Roll” or compact kit with a starter pattern, a hook, and a few skeins that pair well together. It’s your DIY express lane.
If you tend to jump between a million projects, this zone prevents the “but I don’t have the right yarn” debate. You’ll still have options, but they won’t derail your momentum.
Make Scraps Work: The Scrap-Hugger Method

Leftover yarns are not trash; they’re your secret weapon for quick bites of crochet or tiny accents.
– Designate a “scrap bin” for short lengths (ten inches or so). Bag them by color family or fiber type.
– Create small projects from scraps: granny squares, striped scarves, edge details on blankets. There’s joy in finishing those tiny bits.
– Use scrap yarn for swatches, gauge samples, or practice rounds. It saves real yarn for actual projects and keeps you honest about what you’ll actually use.
Scraps aren’t clutter; they’re the seasoning you add to otherwise bland projects. Don’t let them multiply into a black hole.
Maintenance Mode: Quick Habits to Keep It Tulf-Free
An organized stash doesn’t happen once and stay perfect. It requires small, consistent habits.
– Do a monthly purge: Remove skeins you’ll never use, re-home stray skeins, and re-balance bins that have tipped.
– Rotate older yarns to the front: If you’re using a “first in, first out” philosophy, your stash stays fresher.
– Update labels when you swap or retire yarns: It prevents the “but I thought it was… wait, which is this?” confusion.
Tips for staying on track:
– Set a timer for 15 minutes a week to tidy. Quick, painless, and you’ll notice the difference.
– Keep a tiny notebook or digital note of “stash hack” ideas. You’ll thank yourself when you need a clever solution for a project.
Seasonal Shifts: Adjusting for Projects, Not Perfection
Your stash should support your seasonal crochet rhythm, not stress you out.
– Spring and summer: prioritize breathable fibers like cottons and blends. Light colors shine on sunny days, figuratively and literally.
– Fall and winter: stock up on warm yarns—wool, alpaca, chunky blends. Think cozy textures, big hooks, and quick blankets.
– Special projects: if you’re chasing a specific pattern, set aside a mini-bin with the exact weight and color family you need. You’ll thank yourself when your hook glides through the stitches.
If you’re the type who crochets in bursts, a modular stash system helps you reconfigure in a jiffy without tearing your entire setup apart.
H3: When to Reconsider a System
– If you’re still hunting for yarn after a long scroll through bins, you’ve added friction. Reassess your layout.
– If colors bleed together in a way that makes you sad, adjust color organization.
– If you find you’re buying more yarn than you’re using, implement stricter rotation or a project-first rule.
DIY Quick Projects That Thrive in This System
Now that your stash has a sensible home, what quick projects actually benefit?
– Hats and beanies: a simple ribbed or granny-stitch hat in bulky or worsted yarn. You’ll finish in an evening.
– Scarves and cowls: play with color blocks and simple stitch patterns. They’re forgiving and fast.
– Mitts and fingerless gloves: tiny, quick, and perfect for scraps of sock weight or DK.
– Baby blankets in stripes: a bigger commitment, but still doable in short sessions if you use a repeat pattern.
– Shoulder shawls and cowls: one-skein wonders. Your grab-and-go zone will be your best friend here.
Remember: the point is to make yarn-accessible, not to create a labyrinth of rules. A little structure goes a long way.
H2>FAQ: Quick Answers to Common Stash-Organization Questions
How often should I reorganize my stash?
Organize in a way that fits your flow, but aim for a quarterly tune-up. If your stash starts overflowing or you’ve got yarns you’ll never use, do a mini-purge sooner. Consistency beats perfection here.
What if I have limited space?
Start with vertical storage and clear bins to maximize visibility. Use wall-mounted shelves and narrow rolling carts for flexibility. The key is to keep similar weights together and label clearly, even on a tiny footprint.
How do I handle color-made yarns or variegated skeins?
Group by weight, then color family. For variegated skeins, pair with a solid color in the same weight to create balanced projects. If you hate the pooling effect, keep a separate bin for those you’re not sure about.
Can I store yarns in the closet or under the bed?
Yes, as long as you keep them away from moisture, sunlight, and pests. Use breathable bags or cotton totes rather than plastic if possible. Moth traps or cedar blocks can help with natural protection, but check them periodically.
What about hobby dohickey extras like hooks, needles, and patterns?
Keep a small, dedicated organizer for hooks, measuring tape, scissors, stitch markers, and patterns. If you crochet often, label a “project kit” with the needed hook size and yarns. It keeps interruptions to a minimum.
Is it okay to color-code the entire stash?
Totally. Color-coding is satisfying and efficient, especially for quick grabs. Do what feels intuitive to you, then adjust as needed. You do you, friend.
Conclusion
So there you have it: a practical, friendly way to turn that beautiful chaos into a smart, grab-and-go stash. Start with a quick inventory, pick a system that feels natural, and containerize with intention. Label everything so you can find your favorite skeins in a heartbeat. Create a grab-and-go zone for fast projects, embrace the scraps, and keep maintenance micro-ing around the corners of your life. Your future self will thank you when you’re halfway through a rainy-day crochet binge and you can actually see your yarn again.
If you’re ever feeling overwhelmed, remember this: you don’t need perfect symmetry or a fancy closet to be organized. You just need a plan that fits your vibes. IMO, a little chaos can coexist with a lot of crochet joy as long as you have a simple system that you actually use. FYI, the best organizing wins come from small, repeatable habits, not a one-and-done makeover.
Ready to start your stash makeover? Grab a bin, pick a weight, and go. You’ve got this.