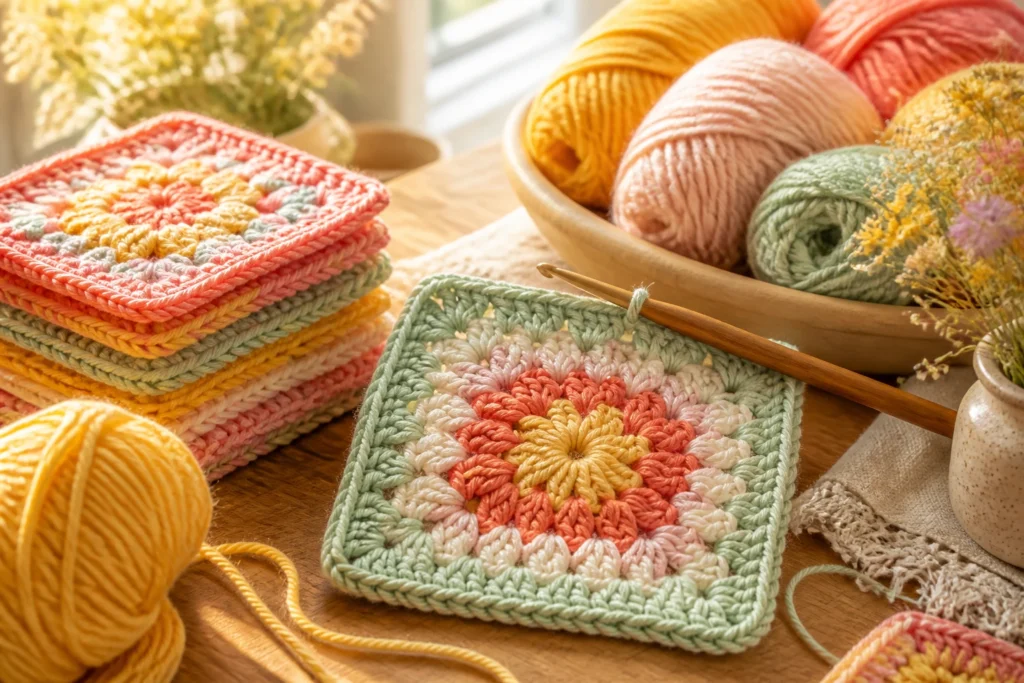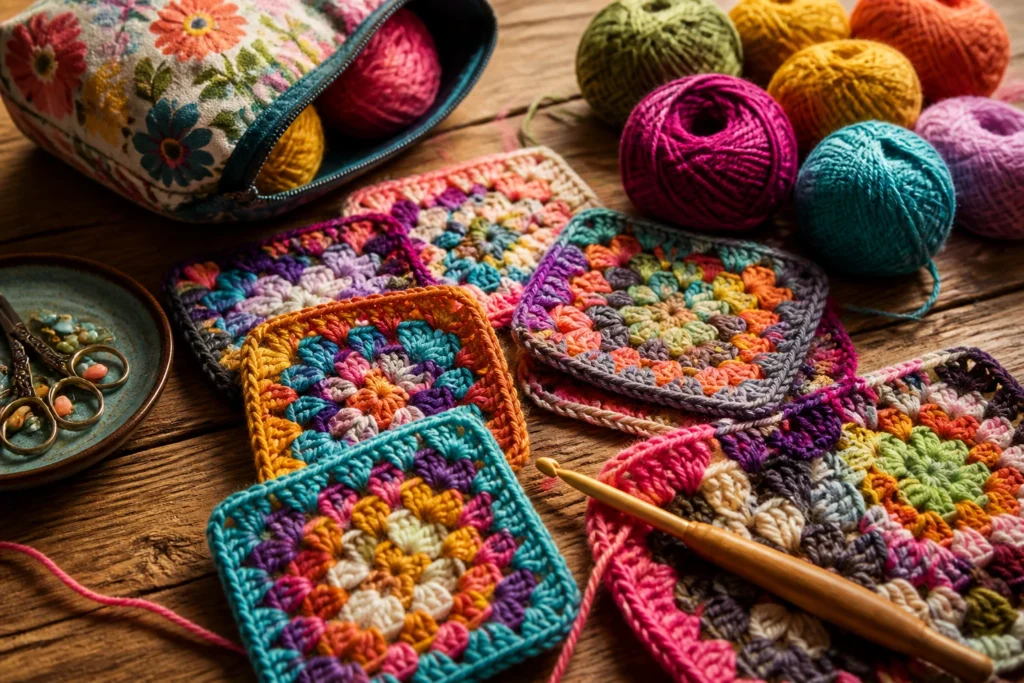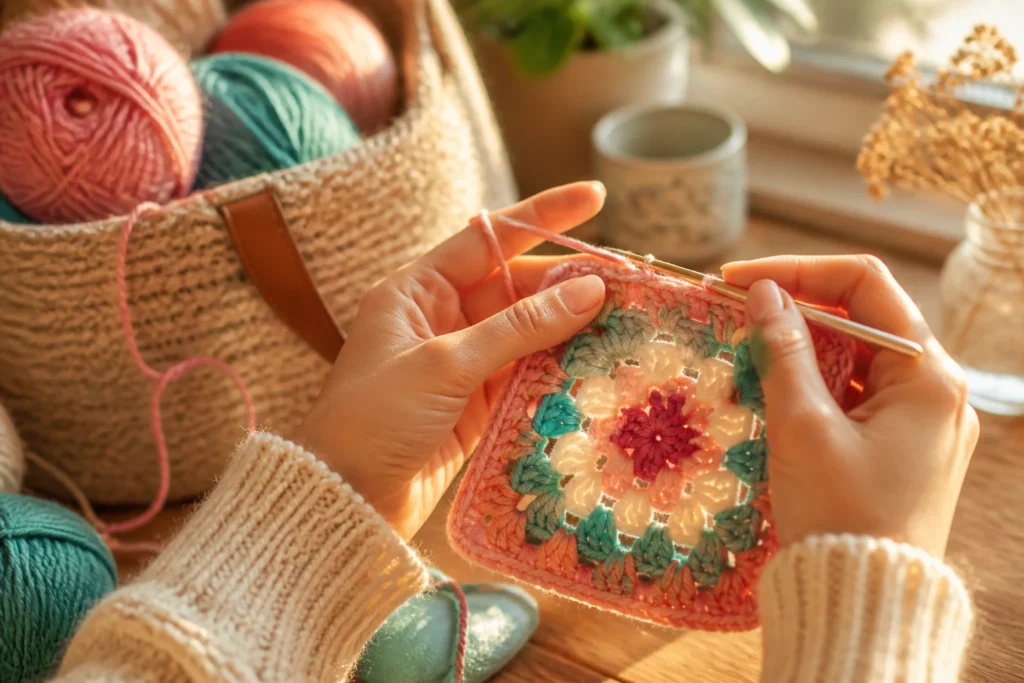
I’ll be honest: crochet your first granny square is less about geometry and more about patience, yarn, and not letting your hook fly across the room in a dramatic flourish. You’ll get there, I promise. By the end, you’ll be sipping tea and proudly showing off a wobble-free square that looks surprisingly intentional.
What a Granny Square Even Is (and why you’ll love making one)
Granny square is basically the sandwich of crochet: a simple recipe, endless variations, and a cozy outcome. It’s the gateway drug to bigger blankets, scarves, and decorative cozies. If you’ve dabbled with basic stitches, you’re not far from glory. Want to impress friends with a handmade gift? A single granny square can spark envy (or at least a warm, fuzzy compliment).
– It’s portable. One square in your bag, you’re set for bus rides, waiting rooms, or that dreaded family gathering.
– It’s forgiving. If you mess up the edges, nobody’s judging. You can add borders or seam differently.
– It scales beautifully. Start with one square and end up with a huge blanket without losing that comfort of a simple pattern.
Tools and Materials: What you actually need

Let’s line up the basics so you don’t wander the craft store in a daze.
- Yarn: Worsted weight or DK works great. Pick colors you love—and yes, you can mix even if you fear clashing. FYI, light colors show stitches better for a first-tinish project.
- Crochet hook: Size that matches your yarn label. If you’re unsure, start with a size H-8 (5 mm) or I-9 (5.5 mm). Your tension will decide the rest.
- Scissors and tapestry needle for weaving in ends
- Stitch markers (optional but handy). They help you keep track of rounds when your brain goes on coffee break.
– Pro tip: grab a forgiving, medium-weight yarn in a couple of colors. You’ll thank yourself when you’re swapping colors mid-round.
Foundations: How to start your very first granny square
This is the moment where you either triumph or get dramatic about a slip knot. Spoiler: there’s a win either way, as long as you stay consistent.
Step-by-step starter
- Make a slip knot and chain 4. This forms the center ring. Don’t pull so tight you can’t shove the hook through later.
- Join with a slip stitch into the first chain to close the ring. If you’ve never done a join before, it’s basically a tiny victory lap.
- Chain 3 to count as your first double crochet (dc). Then do 2 more dc stitches into the ring.
- Continue with a pattern: dc, chain 1, dc – repeat four times to create a 4-petaled center. When you’re done, slip stitch to the top of the starting chain-3.
- Now you’ve got a holey little flower. Welcome to the world of granny! Time to fan out around the ring.
Color breaks and how many rounds to start
– For your first square, keep it simple: three rounds total. Center with one color, then alternate with a second. It helps you see the pattern clearly and build confidence.
– If you want a classic look, go with a white or cream center and a bold color for the outer rounds. FYI, contrast is your friend here to highlight the stitches.
The classic granny square pattern: rounds and stitches

Here’s the heart of it. Granny squares usually grow in rounds with a stepped, square-ish form. You’ll alternate groups of stitches and spaces to create that cozy lattice.
Round-by-round breakdown
- Round 1: In the center ring, make 3 dc, chain 1, 2 dc. Repeat around four times. Slip stitch to top of the starting dc-3 to close.
- Round 2: Chain 3 (counts as dc), dc in the next 2 stitches, then in the chain-1 space, do dc, dc, dc, chain 1, dc, dc, dc. Repeat around. Close.
- Round 3: This is where you start to see that classic square. Repeat the same pattern in the next chain-1 spaces, but create a corner with two chain-1 spaces and a dc cluster in the corner.
– Important: corners are where your square grows. If you don’t land the corner stitches evenly, that’s okay—practice will fix it. The goal is symmetry, but not perfection.
Finishing touches: weaving ends and getting a neat edge
Your square will look great, but it’ll feel a little wild until you weave in ends and crisp up the edges.
Weaving in ends like a pro (without drama)
– Thread the yarn tail onto a tapestry needle.
– Weave along the back of the stitches for about 4-6 inches, then switch directions. This “back-and-forth” approach helps keep ends from poking out.
– Clip the tail close to the weave. No loose threads, please.
Blocking vs. not blocking: what’s worth it for a first square
– Blocking is optional, but it can help your square lay flat and show off stitches more clearly.
– If you block: dampen the square, lay it flat on a towel or blocking mats, and pin to shape. Let it dry completely.
– If you skip blocking, you’ll still have a perfectly usable square; it just might be a touch curlier at the edges.
Colorful combos and creative twists
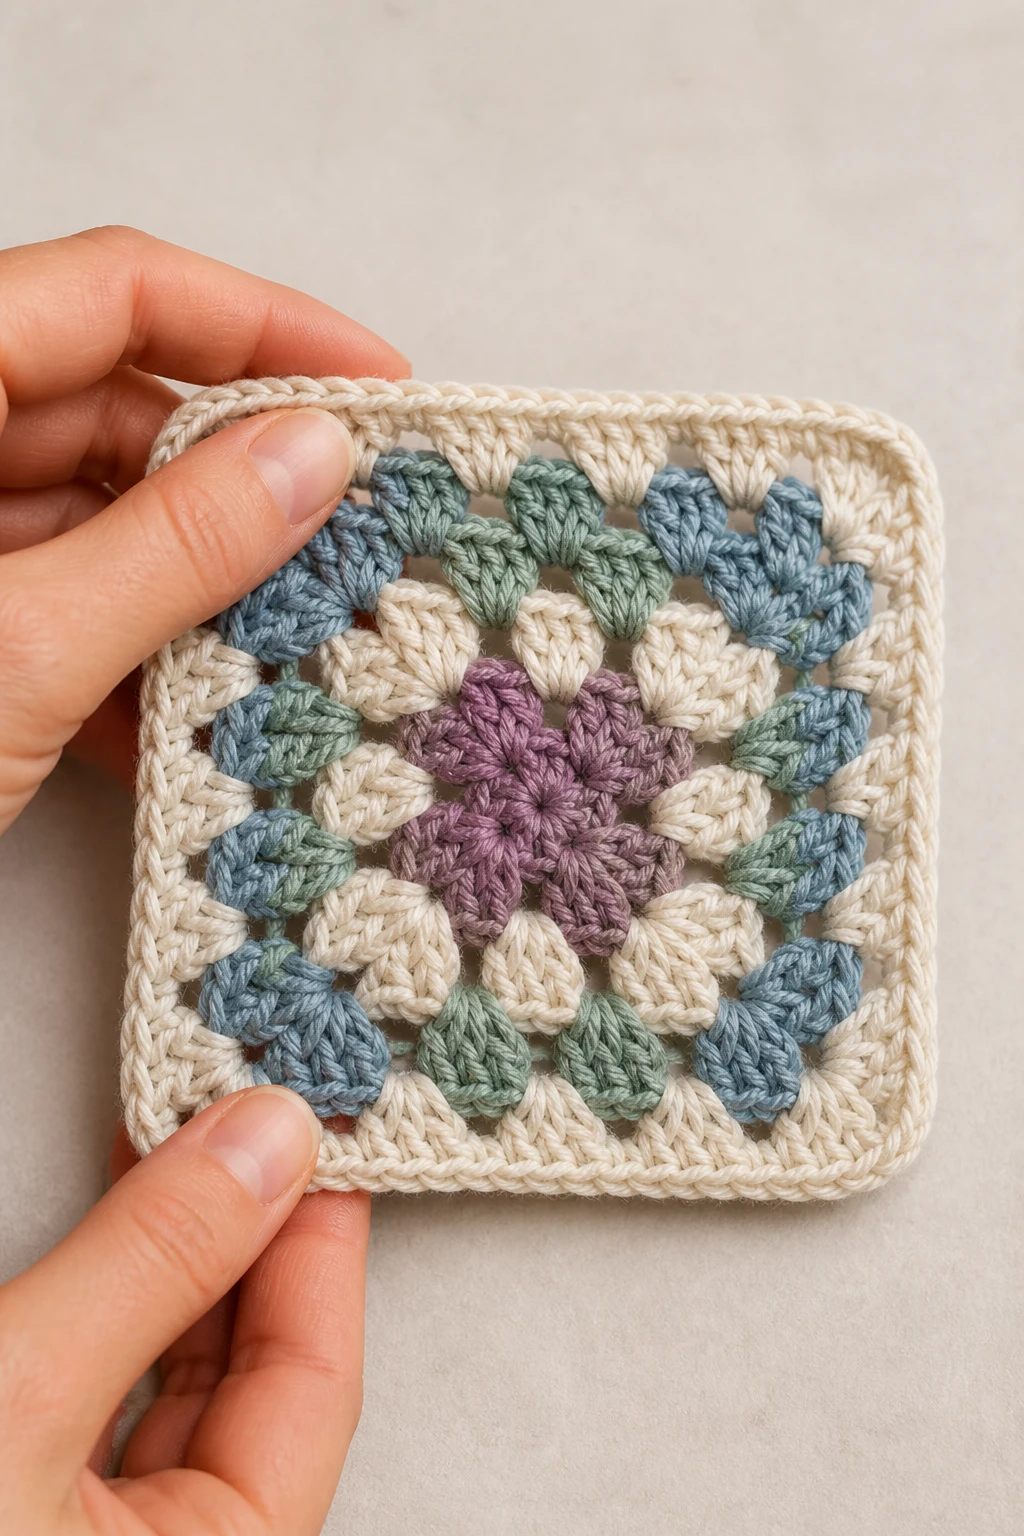
Blocks of color are a big part of the Granny Square vibe, but there’s more to explore. Here are little twists you can try without overcomplicating things.
- Two-color squares with a bold contrast like navy and cream. It pops without getting chaotic.
- Self-striping yarn creates a rainbow without you swapping colors every few stitches. It’s lazy-yay, in a good way.
- Gradient yarns give you hues shifting through tones. You’ll get a modern, magazine-ready look with minimal effort.
A quick sparkle: adding a little border
If you want to finish a square with a neat frame, try a simple border: around each side, alternate dc and sc (single crochet) in the corners with a few rounds. It gives your square a crisp edge and makes joining squares easier later on.
Joining multiple granny squares into something cozy
One square is charming. Ten squares? Oven mitts for your cat, perhaps. The real magic happens when you sew or crochet them together into blankets, cushions, or wall hangings.
Three popular joining methods
- <strongJoin-as-you-go: Work the border of one square and join it to the adjacent square as you add stitches. Fast and neat.
- <strongWhip stitch or mattress stitch: A nearly invisible seam. Great for blankets where you don’t want obvious seams.
- <strongCrochet seam: Crochet two squares together with a slip stitch or single crochet along the edge. This creates a sturdy, comfy join.
– Want a playful, patchwork look? Mix sizes and colors for a boho vibe. You do you.
Common pitfalls and how to avoid them
Every beginner hits a few potholes. Here’s how to dodge them or laugh and move on.
- Tension troubles: Some rounds are tight, others loose. Aim for consistent tension. It helps to practice with a scrap piece before your real square.
- Missing stitches: If your rounds don’t close neatly, count stitches and keep track with markers. It’s like math, but with yarn and no calculators required.
- Yarn tangling: Use a light touch and let the working yarn flow behind your work. Don’t yank the yarn; you’ll regret it later.
FAQ
How many colors should I start with?
PICK two to start. A center color and an outer color creates a clean look. You can experiment later with more colors, but two is a good, forgiving starting point.
What if my square isn’t perfectly square?
Perfection isn’t required to finish a blanket or item. Slight variations are part of handmade charm. If you want a square that lays flat, consider blocking it gently after washing and shaping.
How do I know if my stitches are correct?
Count the stitches in each round and compare to a basic pattern. If your corners line up in a square pattern, you’re on track. If not, pause, recount, and adjust the next rounds.
Can I use a different stitch pattern instead of double crochet?
Yes, you can swap in treble crochet or even half-double crochet. Just remember that different stitches change the square’s size and look, so you may need fewer stitches in a round to keep the square proportional.
How many squares do I need for a small blanket?
A small throw often starts around 24-36 squares, depending on your chosen size and seam method. If you’re new, start with 12-16 and see how your confidence builds.
Practice plan: a tiny, doable road map
If you’re reading this and thinking, “Yes, I want this in my life,” here’s a simple, friendly plan to get you there.
- Week 1: Learn the slip knot, foundation chain, and a basic center ring. Make 3-4 mini squares for confidence.
- Week 2: Add a couple more rounds. Practice changing colors smoothly and blocking minimal ends.
- Week 3: Make a batch of 6-8 squares with two color pairs. Start playing with joining methods.
- Week 4: Pick a project (blanket, cushion, or wall hanging) and assemble your squares. Celebrate with something small for a reward.
– Remember: progress beats perfection. If your first square looks more like abstract art than a square, that’s still a win. You learned a ton.
Conclusion: you’ve got this
You’ve learned how to start, how the rounds build, and how to finish. You know why granny squares are so loved, and you’ve got a little space to play with color and texture. So grab your yarn, pick a color palette that makes your heart sing, and crochet your first granny square like you’re texting a friend about your latest crafty obsession.
– FYI, your future self will thank you for not giving up at that first wobble. And if you’re feeling stuck, remember: there’s a whole community out there ready to cheer you on. IMO, there’s nothing more satisfying than finishing a square and realizing you can absolutely do the next one better.
If you want, I can tailor a quick practice plan to your yarn, hook size, and preferred color vibe. Or we can dive into a specific joining method you’re curious about. Either way, you’ve got this—and your next cup of tea is a perfect crochet buddy.