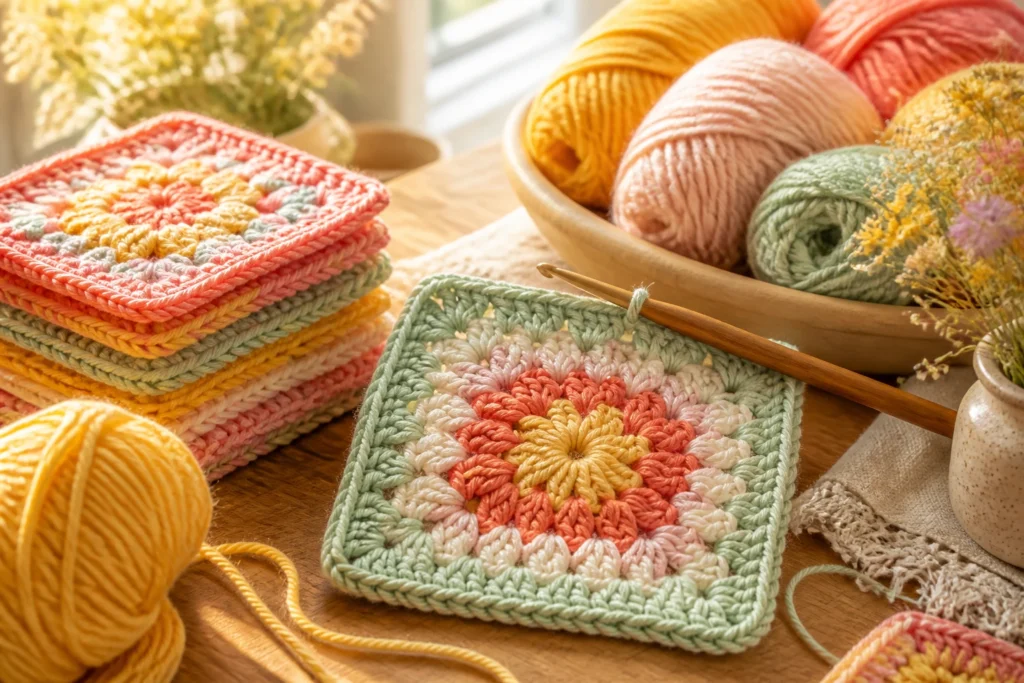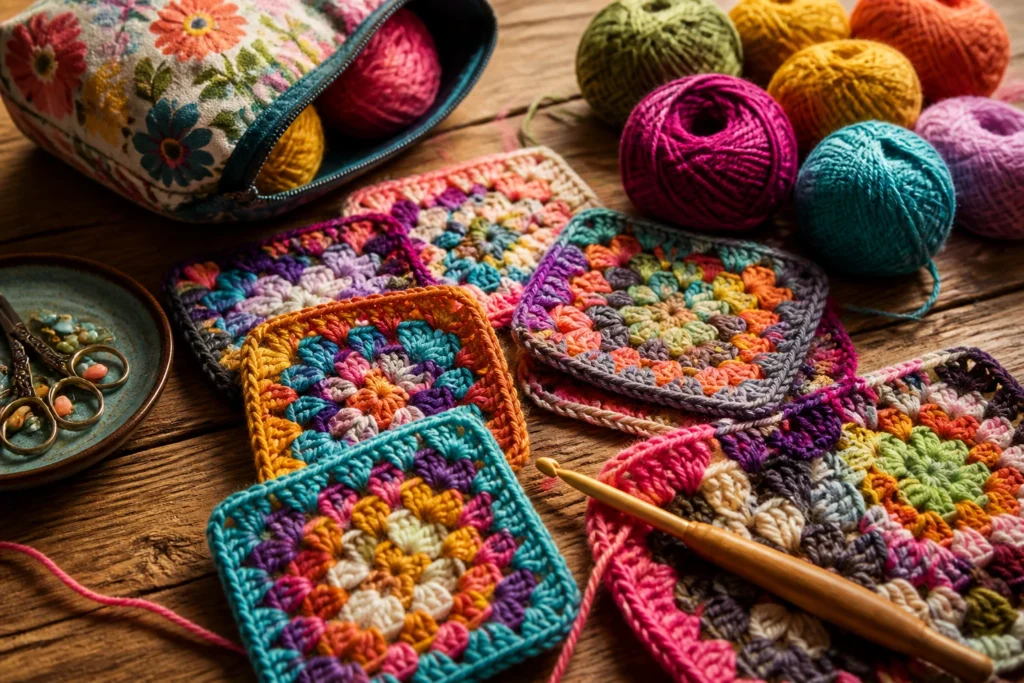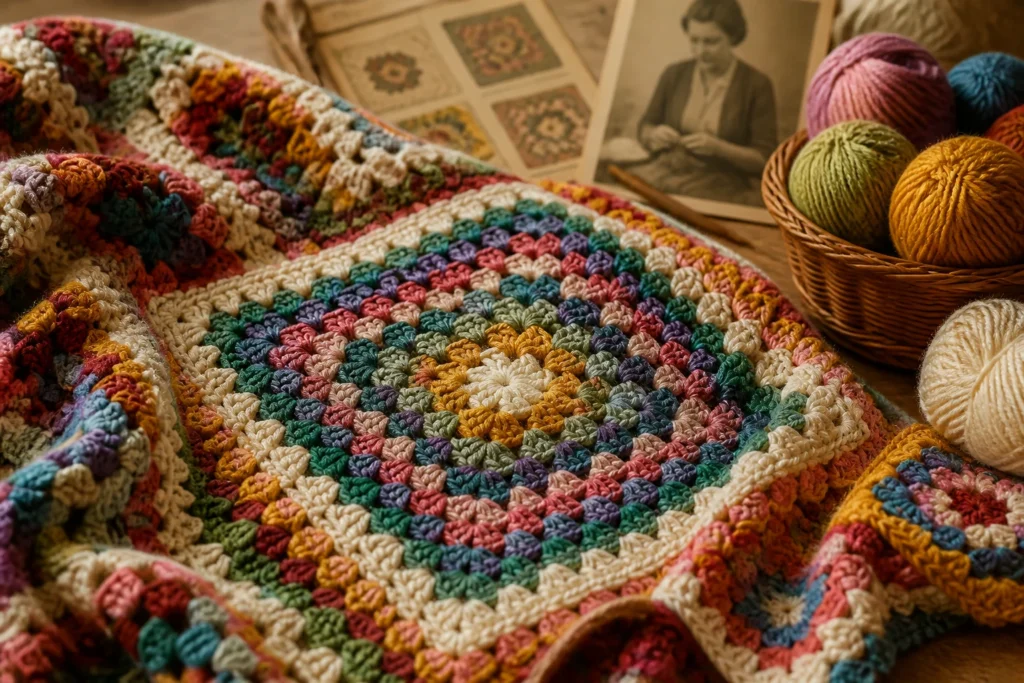
The granny square isn’t just a blanket; it’s a tiny world you stitch together one square at a time. It survives every trend, every shoulder-shruggy “I can’t crochet” moment, and somehow keeps getting cuter. Let’s dive into why these little yarn chips still captivate us after all these decades.
Origins and the birth of a square obsession
Crochet as a craft has a long, tangled history, but the granny square as we know it seems to spring from the early 20th century, tied to the popularity of portable, affordable fashion and home goods. Women gathered in social circles, trading patterns and tips, and a fashion-forward way to reuse leftover scraps emerged. The square itself is almost a perfect symbol of resourcefulness: you start with a bite-sized project, you finish, you make another, and suddenly you’ve got a blanket bigger than your couch.
FYI, the term “granny square” isn’t as old as the technique. Some say it was coined by younger crocheters in the mid-20th century, poking fun at the elder generations who first perfected these shapes in the 1920s and 1930s. Either way, the name stuck, and the vibe became instantly recognizable: cozy, practical, and a touch of retro charm that never quite goes out of fashion.
A visual blueprint: how a granny square is built

If you’ve never actually crocheted a square, here’s the quick mental image. You start with a center ring, usually made in rounds, then you work outward in concentric rounds that create a square outline. The classic granny square uses groups of three double crochet (dc) stitches separated by chain spaces, which gives that distinct “puff” texture and airy gaps.
– Core idea: core stitches radiate from the center, not in a neat spiral.
– Color logic: most squares use a color at the center, then alternate colors in rounds or clusters to create bold color blocks.
– Versatility: you can make a single square in an evening, or churn out a hundred for a blanket that will warm your grand-aunt’s heart.
If you’re curious about the mechanics, here are the essential steps in plain terms:
1) Start with a magic ring or adjustable loop.
2) Make a set of chains to lift your first round.
3) Crochet groups of three stitches, interspersed with chain spaces.
4) Add new rounds by connecting into the chain spaces, expanding the square evenly.
5) Weave in ends and join squares as needed.
The beauty of the granny square is that you can improvise colorways without losing the structure. IMO, that balance between order and whimsy is what keeps people hooked.
Spread and popularization: from necessity to nostalgia
The granny square surged in popularity in the 1960s and 1970s as fiber arts gained mainstream cachet. Suddenly, magazines, craft circles, and even mass-market patterns treated these little motifs as the backbone of home decor. Think crochet throws draped over armchairs, patchwork bags slung over shoulders, and vests that scream vintage-chic in the best way.
But it’s not just about style. The cost-to-effect ratio is unbeatable: small amounts of leftover yarn become a meaningful, durable textile. The thrift-store-ready, “I can finish this by the weekend” aspect made granny squares a go-to for busy households, new crafters, and anyone who loves a project with visible progress.
– The patchwork effect: you can mix colors and textures with reckless abandon.
– Longevity: these squares hold their shape, wash well, and age like fine wine.
– Community crafting: pattern swaps, group crochet sessions, and online forums kept the momentum alive.
Hearing about the granny square’s rise is basically hearing a friend gush about their favorite thrift-store find: it’s practical, a little indulgent, and totally worth it.
Subculture, motifs, and a census of styles
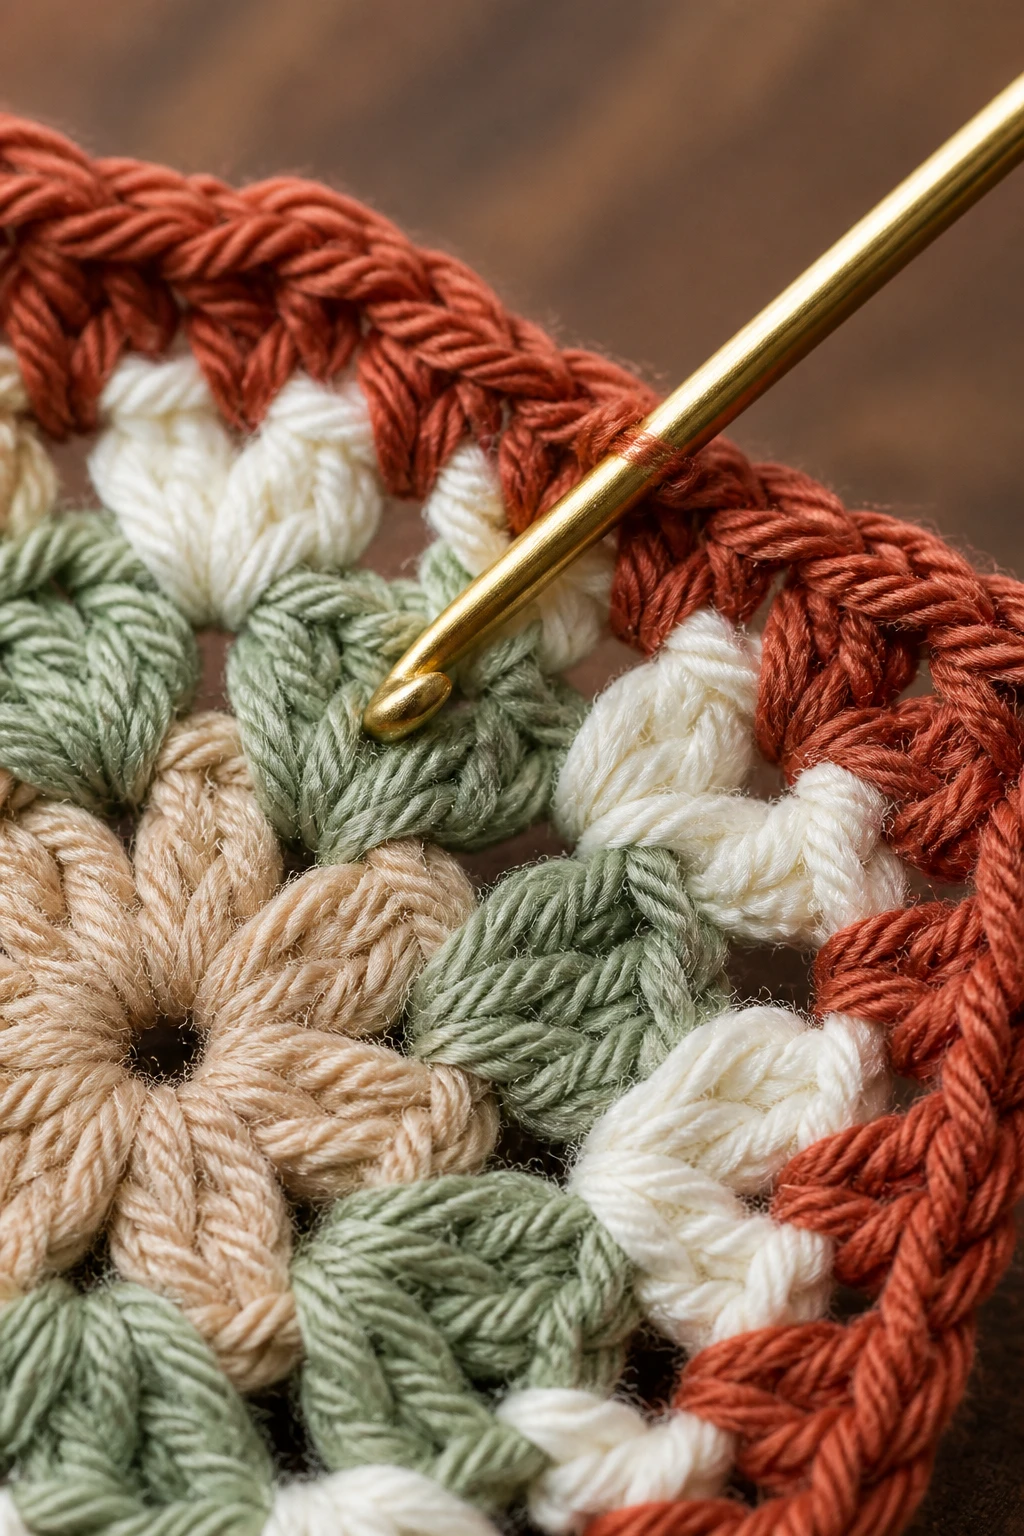
One of the best things about granny squares is how many flavors you can conjure with the same building block. From classic, tightly woven rounds to oversized, open-work flowers, there’s a square for nearly every taste.
Classic vs. modern takes
– Classic: tight stitches, bold color changes, and the iconic “granny” clusters that give that chunky texture.
– Modern: smaller squares, variegated yarns, and minimalist color palettes that slip comfortably into contemporary decor.
Motifs that steal the show
– Circular centers morphing into square edges, giving a soft, honeycomb feel.
– Floral-inspired clusters that resemble little blossoms flaring from the center.
– Striped or color-blocked schemes that read like tiny quilts.
And yes, you can absolutely combine different motifs within a single project. FYI, the result might be a little chaotic in the best possible way, and that’s the point.
Joining squares: the art of making a blanket that doesn’t wobble
As soon as you start making a bunch of squares, the big question becomes: how do you join them so the blanket looks cohesive rather than a quilt of mismatched patches? There are several methods, each with its own vibe and level of effort.
– Mattress stitch for crochet? Not quite. For crochet squares, many pick a simple whip stitch, single crochet seam, or a fancy joining technique like the filet-style join.
– Visible vs. invisible joining: visible joins can become a design feature when you want a grid-like look, while invisible joins keep the surface smooth as if you grew the blanket in one piece.
– Bordering strategy: rounds of dc or sc around each square before joining can unify colorways and give a neat, finished edge.
If you’re new to joining, start with a straightforward method and a single color for the seams. It’s a lot easier to see what you’re doing when you’re not balancing a rainbow on your lap.
Practical tips for making your granny square project sing
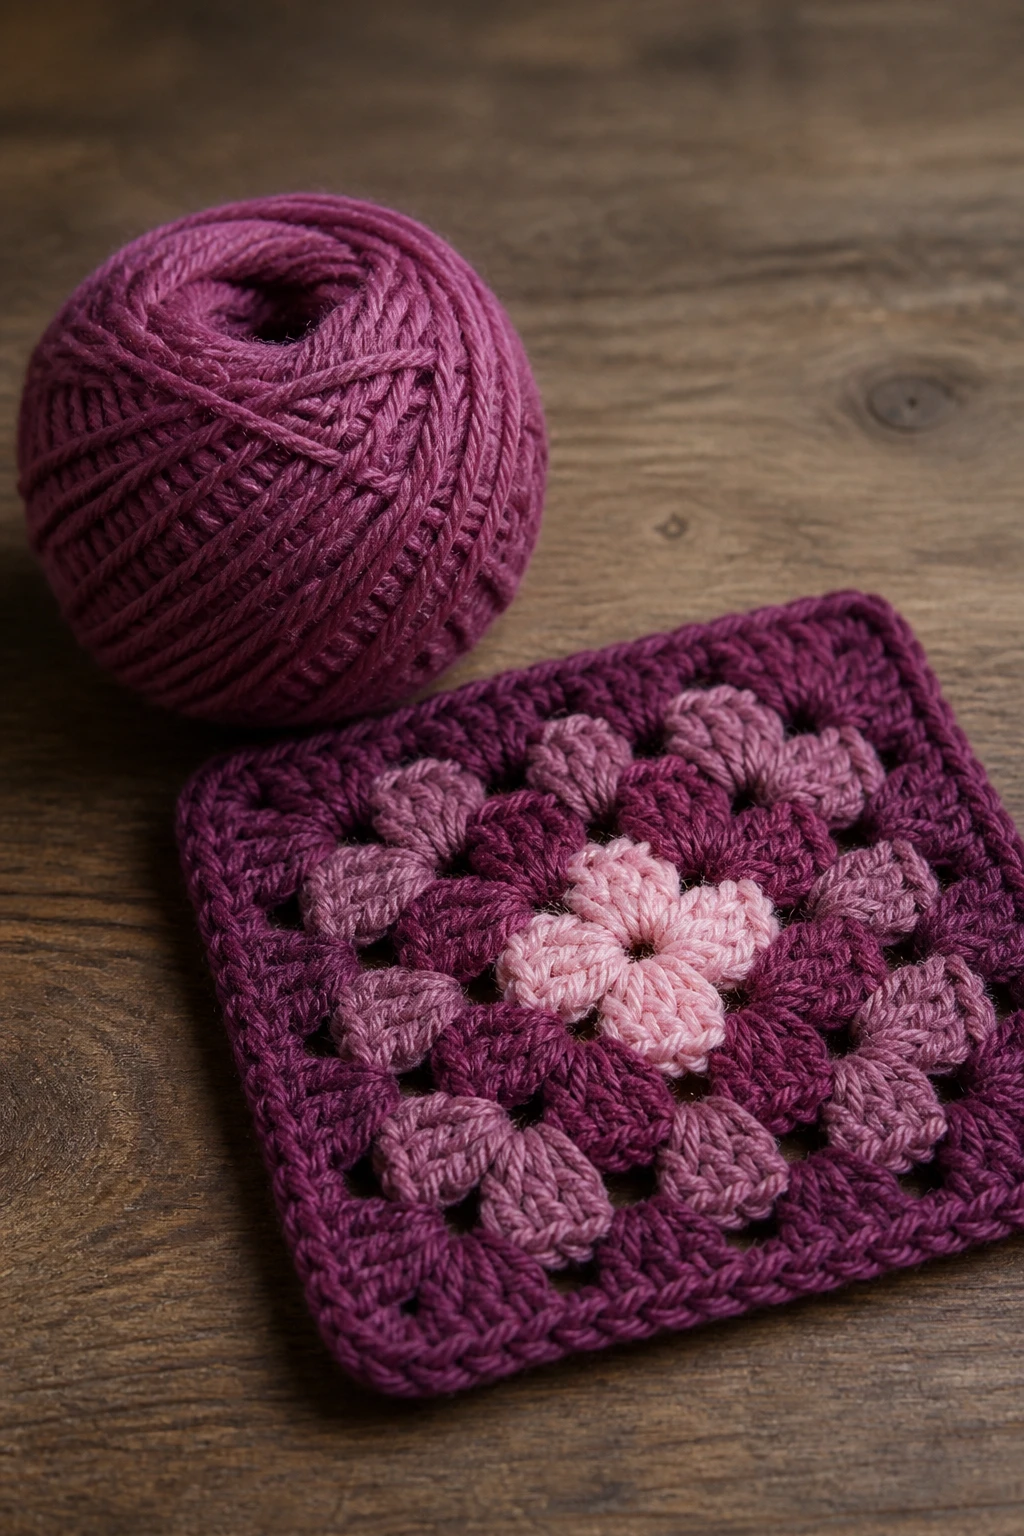
Whether you’re crocheting for a cold winter or a warm, sunny porch chair, these little tricks help you get the most out of your granny square journey.
– Plan your palette before you start: sketch a rough color map or jot down a few color combos you adore. It saves you from mid-project color heartbreak.
– Use a comfortable hook and yarn weight: a size that feels good in your hands makes a boring TV show feel like a spa day for your wrists.
– Keep squares uniform: count your stitches carefully and stay consistent in tension. Uneven squares drive you to the brink of snack-eating despair.
– Label and catalog as you go: number your squares or keep a small notebook. It’s like assembling a jigsaw puzzle without the annoying edge pieces.
Would you rather finish a granny square blanket or a wall hanging? The answer might guide your yarn choices, row counts, and joining method, so be honest with yourself from the start.
A cultural thread: granny squares in popular media and craft culture
Granny squares keep echoing through pop culture in unexpected ways. They pop up in indie fashion, DIY home tours, and retro-inspired interiors. They’re the kind of craft that announces itself with a wink: “Yes, I’m handmade, and yes, I’m proudly cozy.”
– In celebrity homes: you’ll spot granny-square blankets draped over a chair or perched on a coffee table during home-tour clips, paired with modern furniture for a clash-of-era charm.
– Online communities: patterns, color palettes, and join-as-you-go challenges keep the technique alive. The internet loves a good #grannysquare challenge, and honestly, who doesn’t want a new blanket in a weekend?
– Challenges and comfort: the square projects double as comfort during tough times. It’s small, manageable work that yields big, warm results—perfect for a mind that needs a gentle, repetitive task.
If you’re feeling magnetized by the nostalgia, you’re not alone. There’s something soothing about working in small, predictable steps and watching a larger story come together.
FAQ
1) Do I need to know how to crochet in rounds to make granny squares?
Yes, most granny squares start in a center ring and progress outward in rounds. If you’re new, start with a basic round pattern and then try a few variations. Practice makes perfect, and you’ll develop your own signature style soon enough.
2) What yarn weight works best for classic granny squares?
Worst case, worst case, you can use any weight you like. However, many crafters start with medium-weight (worsted) yarn for a satisfying balance of texture and speed. If you want a lighter, drapier blanket, try DK or light-weight yarns. FYI, you’ll get a totally different vibe depending on your yarn choice.
3) How many squares do I need for a throw or a blanket?
It depends on your desired finished size and the square’s dimensions. A common throw might use 40-60 squares, while a full bed blanket could require 100 or more. Plan ahead by calculating width and length per square and then map out an arrangement that pleases your eye.
4) Is it hard to join granny squares together?
Joining can be easy or fiddly depending on your chosen method. Start with a simple whip stitch or single crochet seam and a single-color seam to keep it tidy. As you gain confidence, you can experiment with decorative joins that become a design feature.
5) Can I mix different square styles in the same project?
Absolutely. Mixing styles creates a dynamic, quilt-like effect that many people adore. Just be mindful of color balance and edge finishing, so the final piece feels intentional rather than chaotic.
6) How do I care for a granny-square blanket?
Most granny-square textiles like to be treated gently. Check yarn labels, but generally, hand washing or machine washing on a delicate cycle with a mild detergent and cool water works well. Dry flat to avoid stretching. Your future self will thank you for not throwing it in the dryer like a reckless friend.
Conclusion
If you’re hunting for a craft that’s cozy, social, and endlessly adaptable, the granny square has your back. It began as a practical way to use scraps and has grown into a cultural symbol of warmth, creativity, and community. Each square is a tiny, imperfectly perfect piece of a bigger story—one you write with color, texture, and a little bit of patience.
So what’s next? Grab a hook, stash, and a handful of friends. Start with a center square in three colors, then add rounds until your heart says enough. The charm of the granny square isn’t just in the finished blanket; it’s in the ritual of making it, the stories you swap with fellow crafters, and the sense of warm, handmade comfort you’ll pass on to others. IMO, there’s no shortcut to the magic here—only yarn, time, and a bit of fearless color courage. Happy crocheting, friends.